HarleyFDMD
-
Posts
1122 -
Joined
-
Days Won
41
HarleyFDMD's Achievements
")


-
Fantastic work! Seems a shame to risk it all as a drift car lol
-

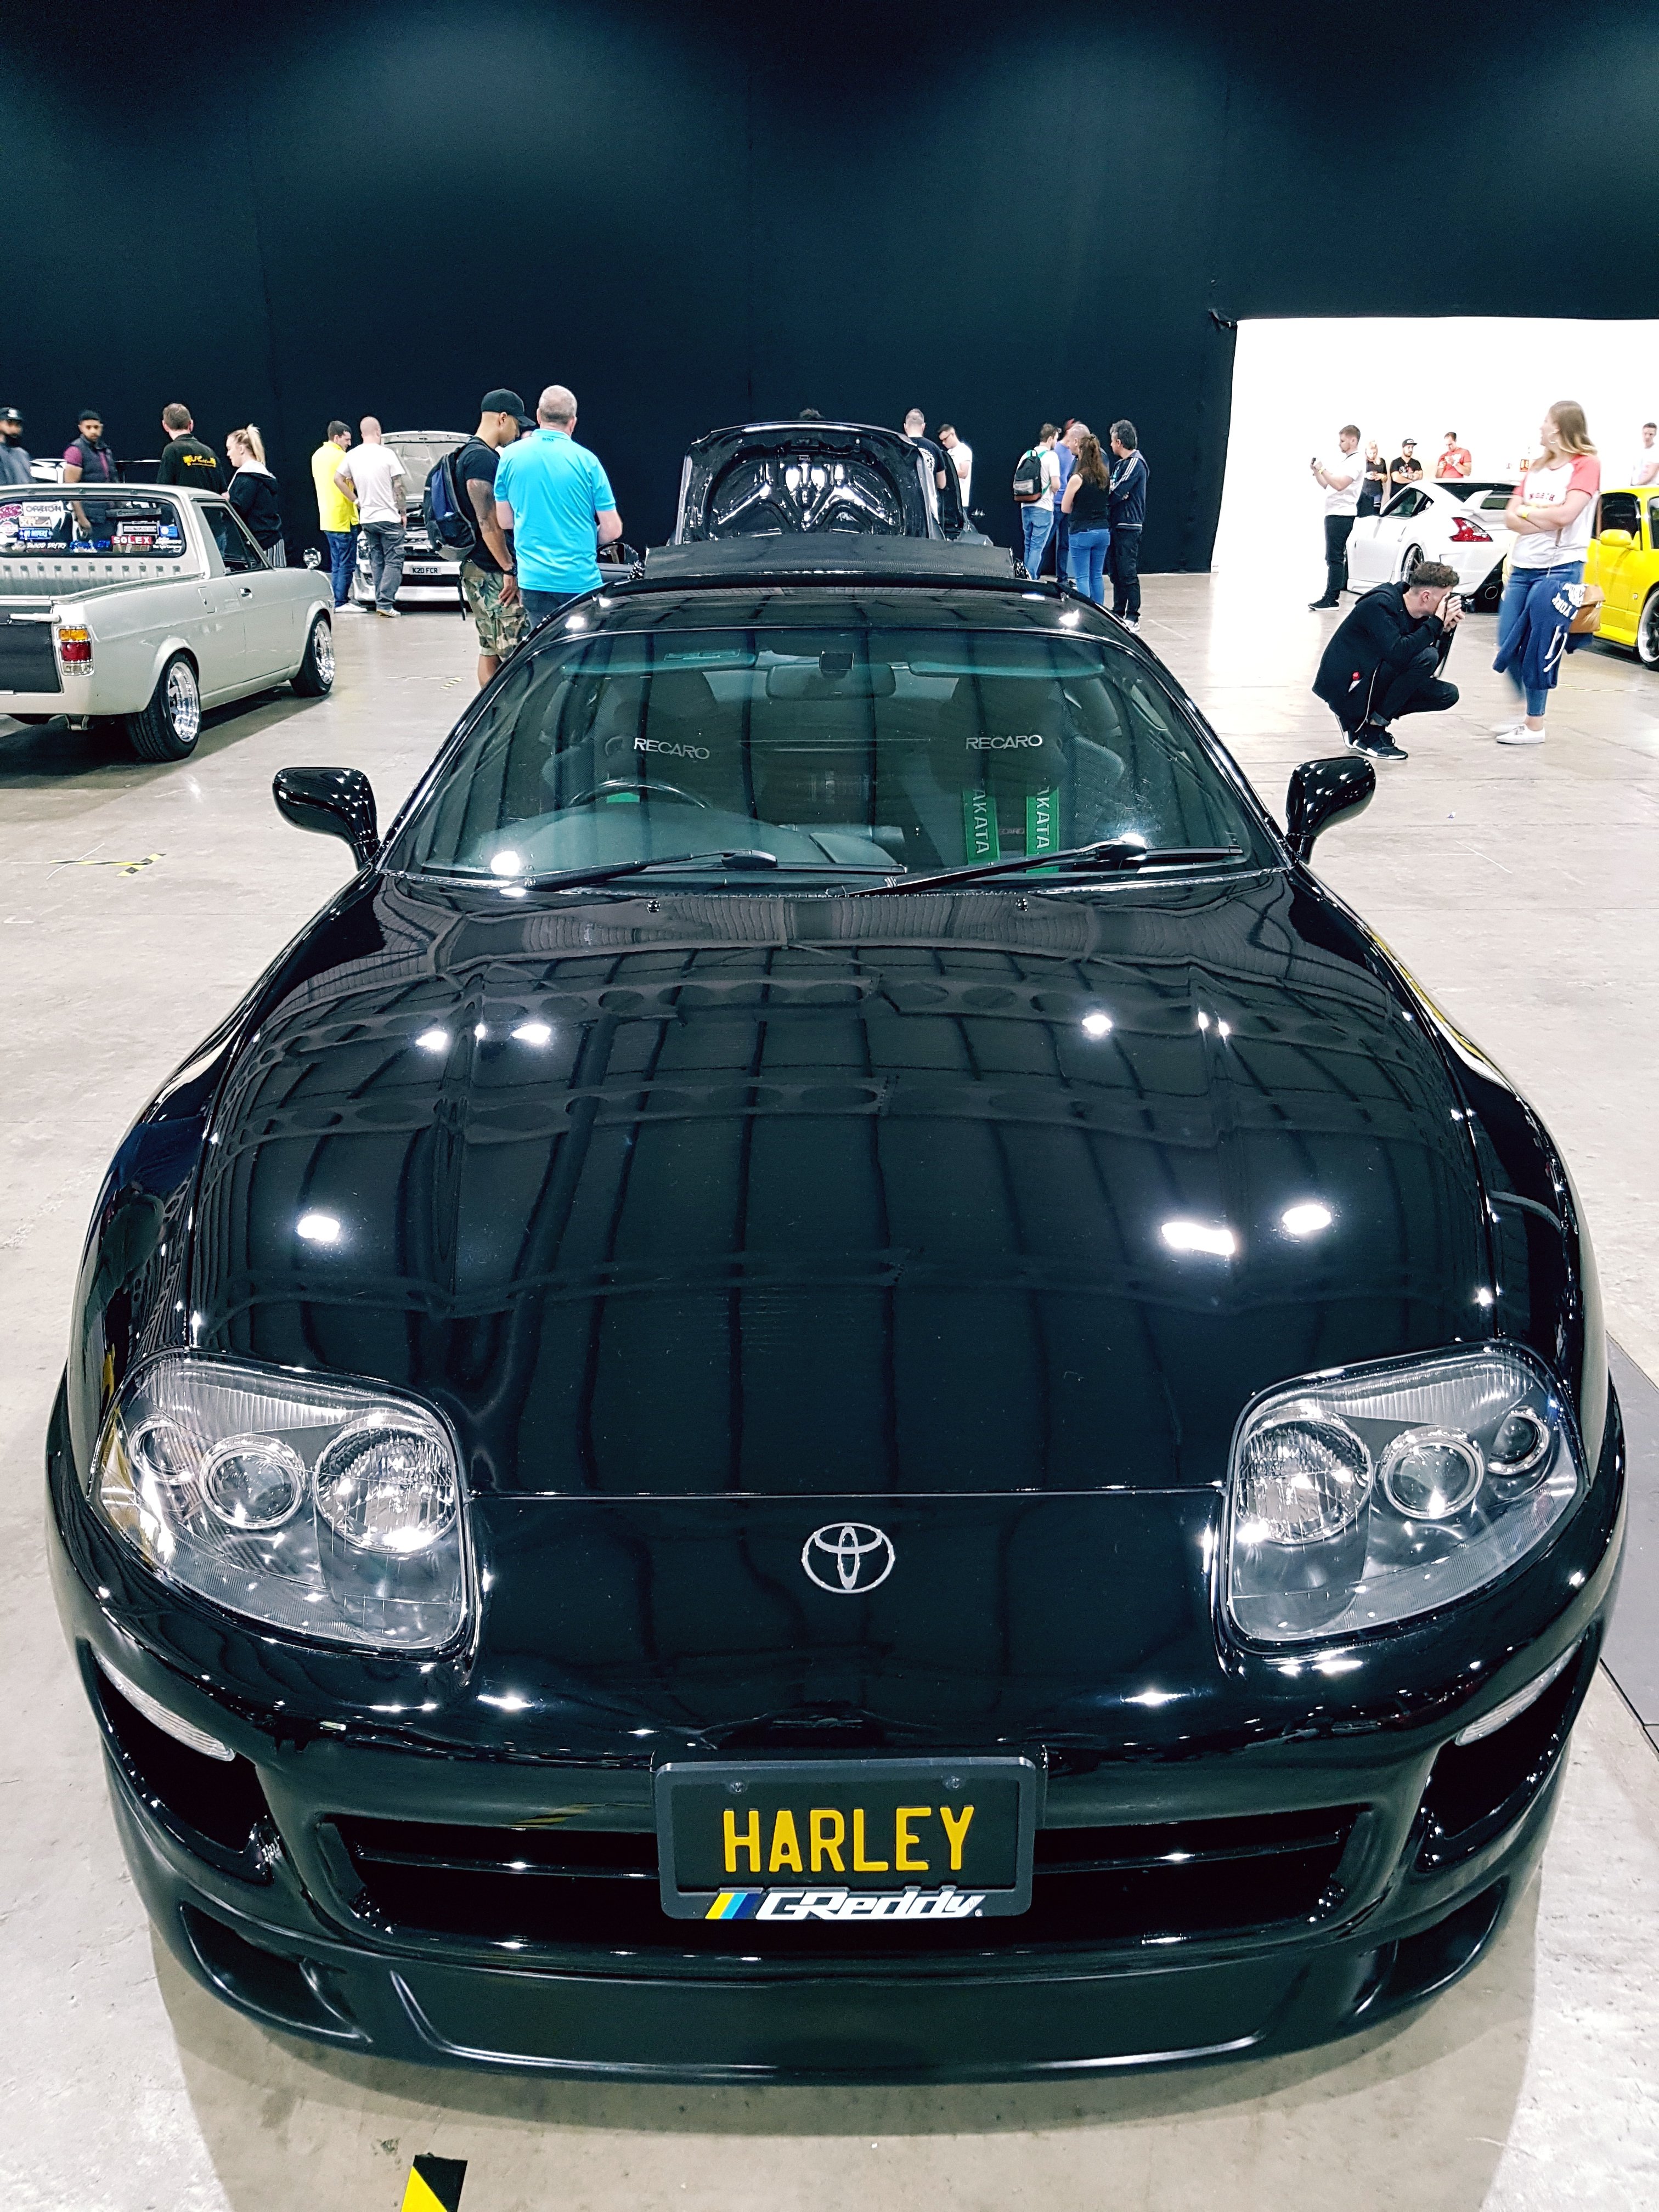
Harleys new progress blog from the start. My Na 5
HarleyFDMD replied to HarleyFDMD's topic in mkiv Supra Projects
Im 33 now, so need for speed underground 2 and the fast and the furious / 2 fast 2 furious were huge influences on me when i was a kid! -
Harleys new progress blog from the start. My Na 5
HarleyFDMD replied to HarleyFDMD's topic in mkiv Supra Projects
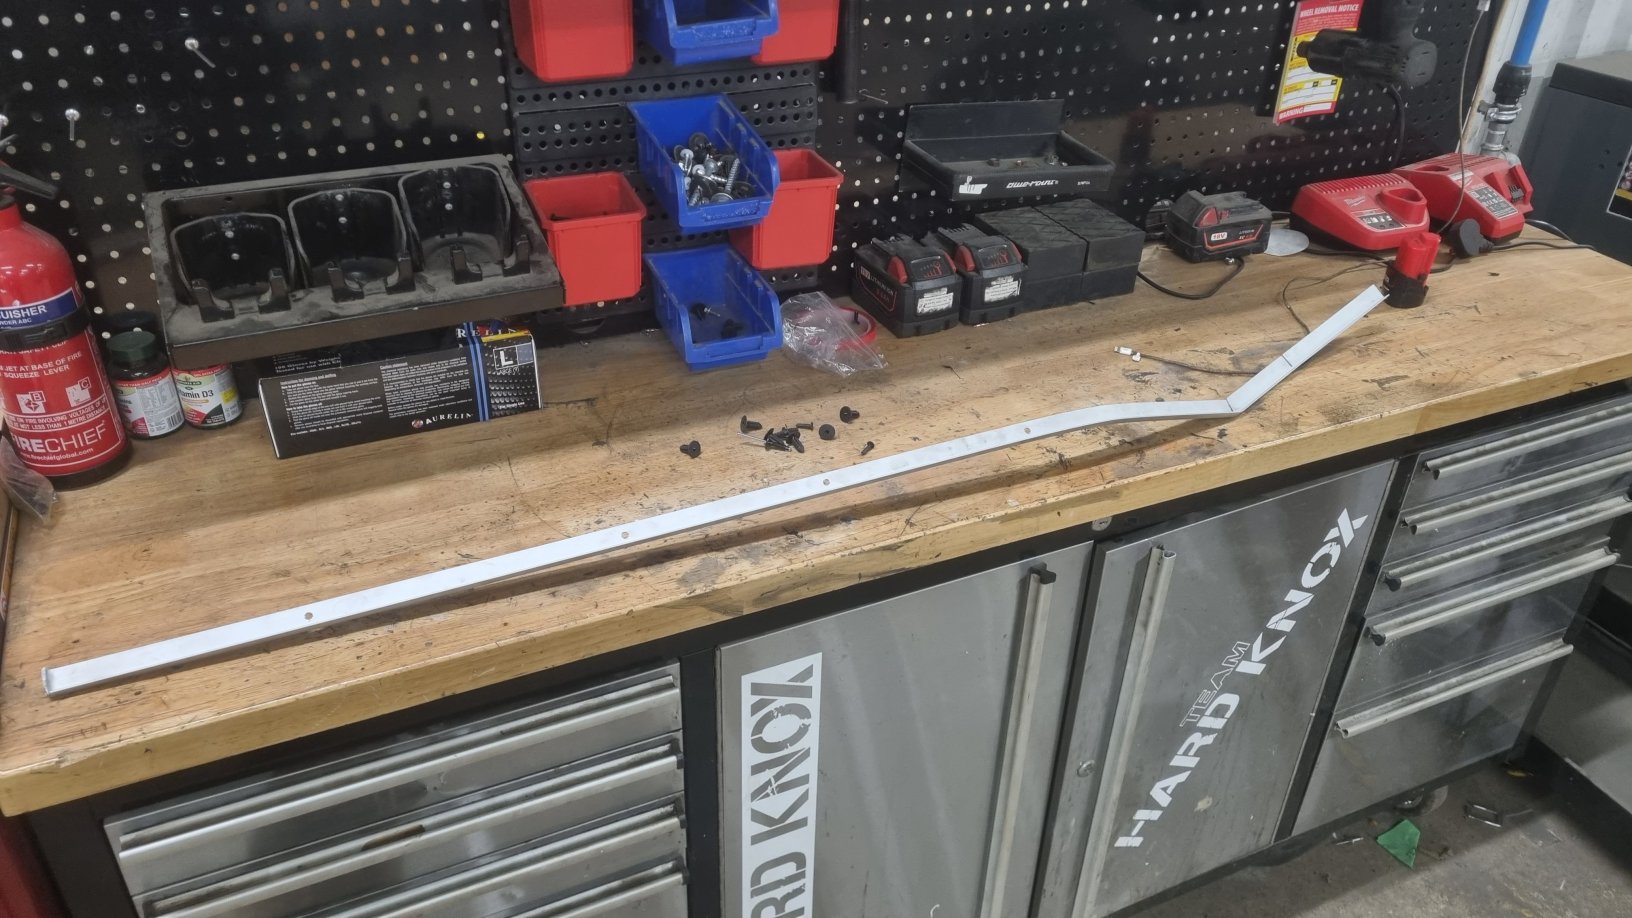
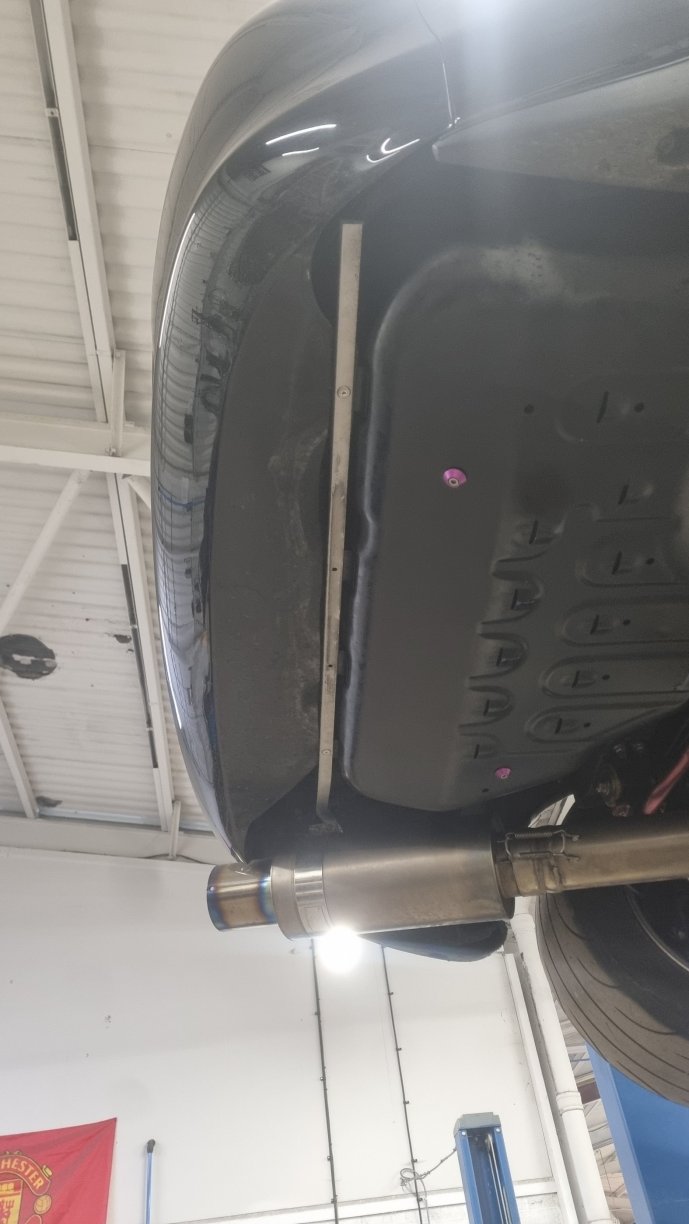
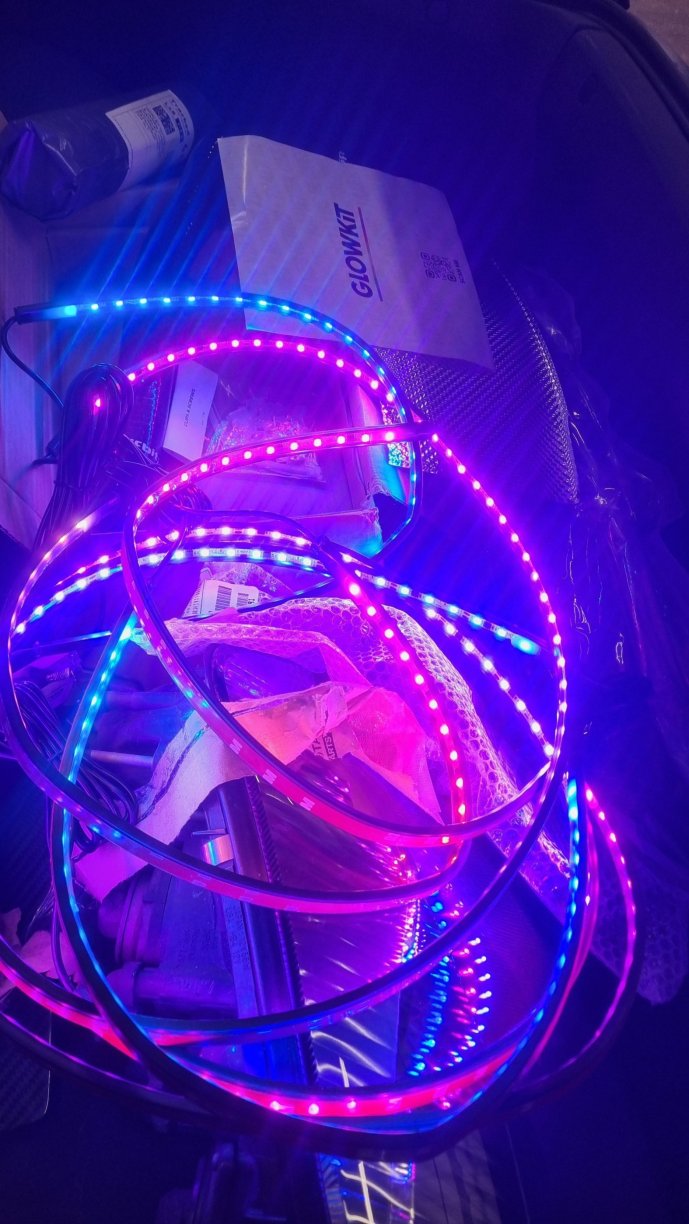
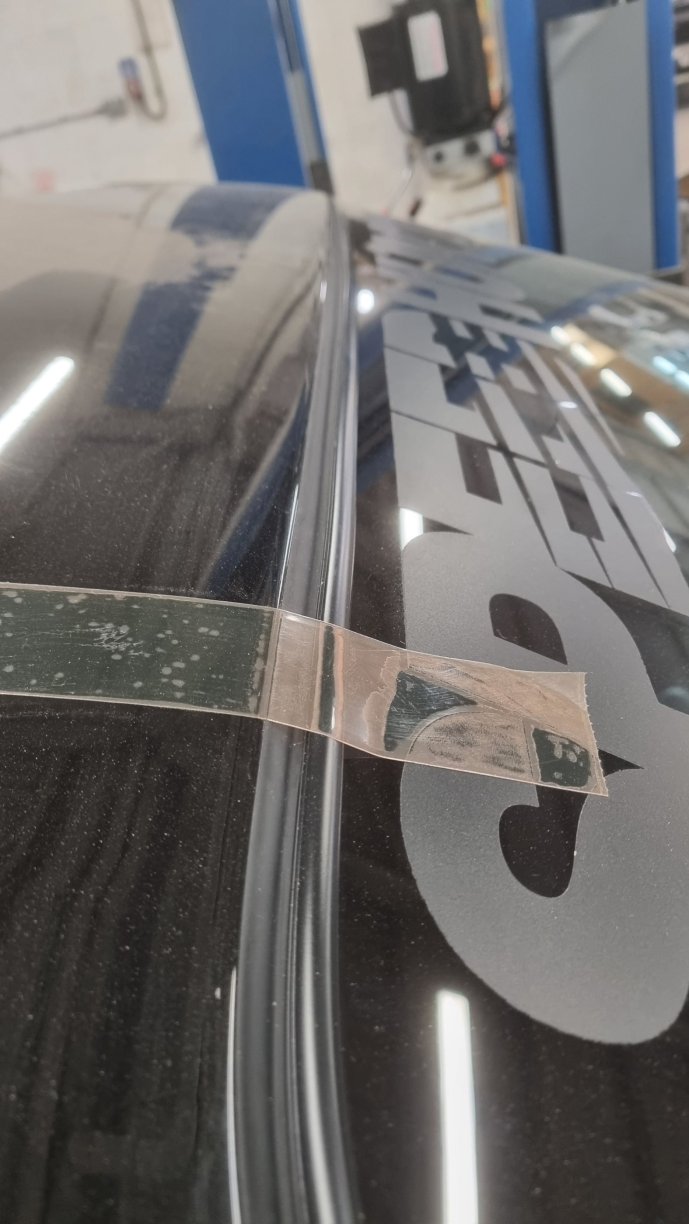
After getting the prop back on i then started to look at how i was going to go about installing the under glow 2 things are for certain. First of all i absolutely do not want to be able to see the actual strips and secondly i refuse to bodge this - like every single underglow installation I've every seen. For some reason people just seem to cable tie it where ever they can or screw it into the floor with zero sympathy for the car. Im going to make proper tracks for it to sit in using angle tray. Keeping it neat, not drilling additional holes into the car and not allowing the strips to be visible. So i bought some 10mm x 20mm aluminium angle tray and made a start on the rear bumper strip I removed the rear bumper lower strip that attaches the bumper to the fuel tank protector and riveted the tray into those holes.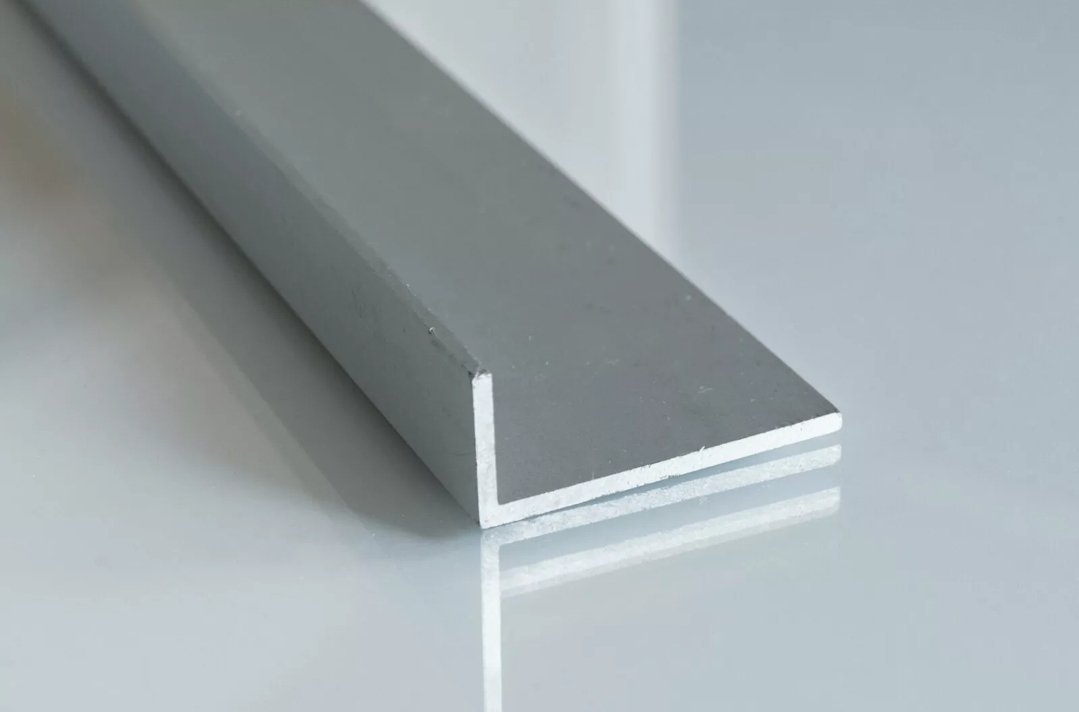

-
Harleys new progress blog from the start. My Na 5
HarleyFDMD replied to HarleyFDMD's topic in mkiv Supra Projects
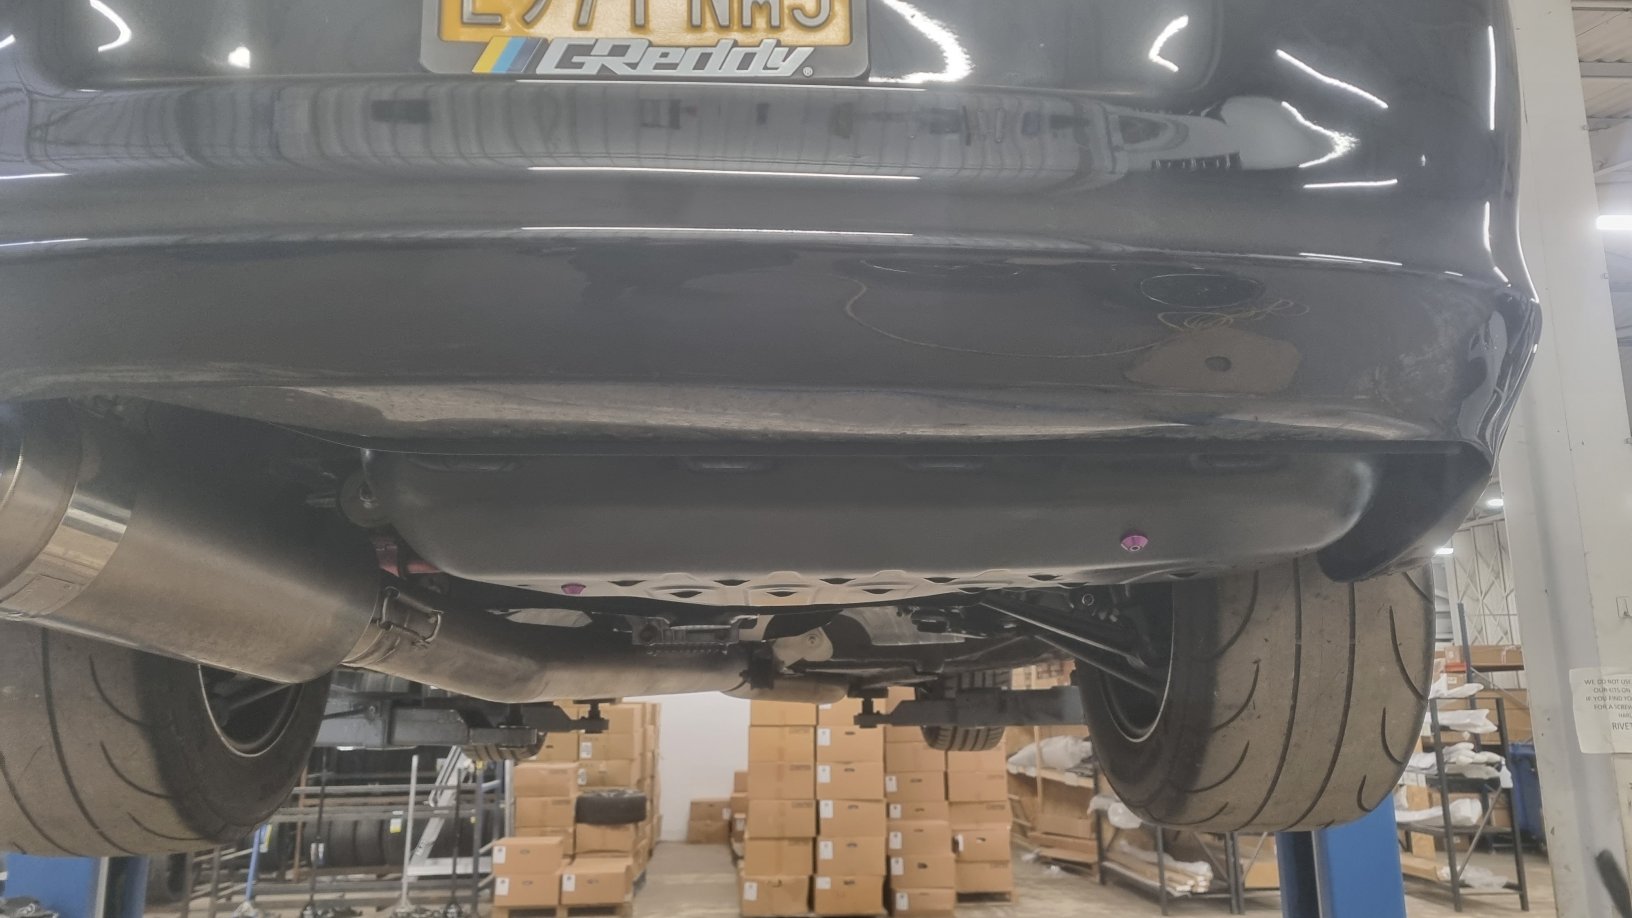
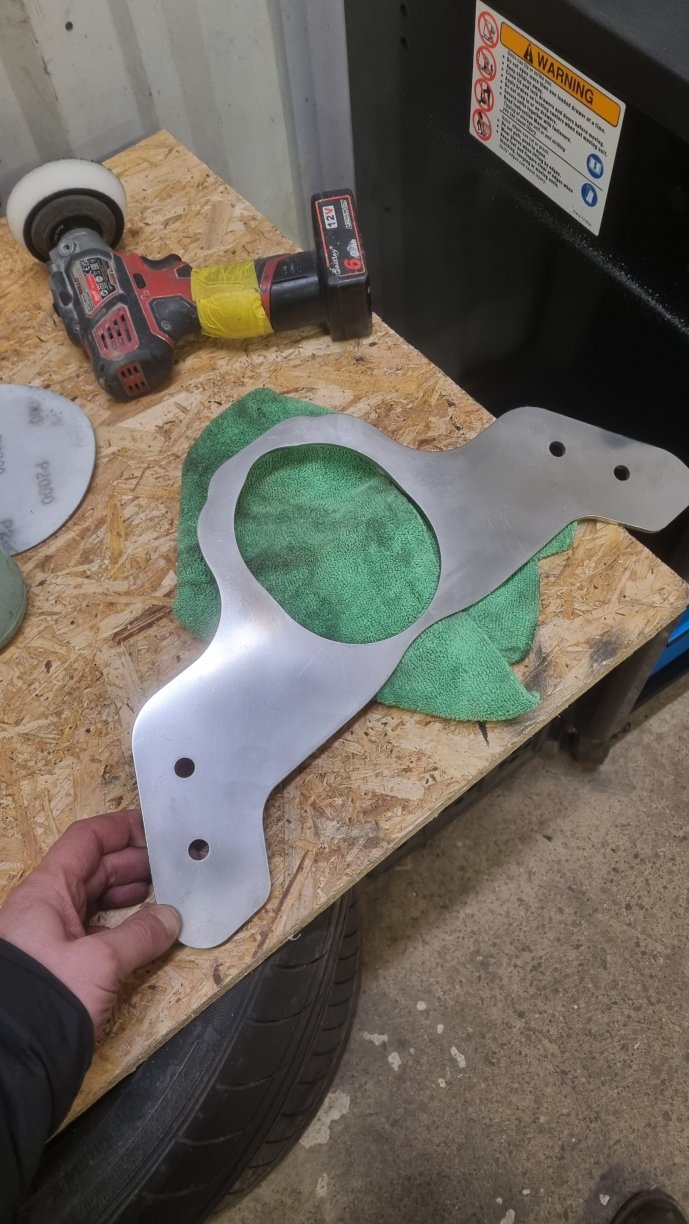
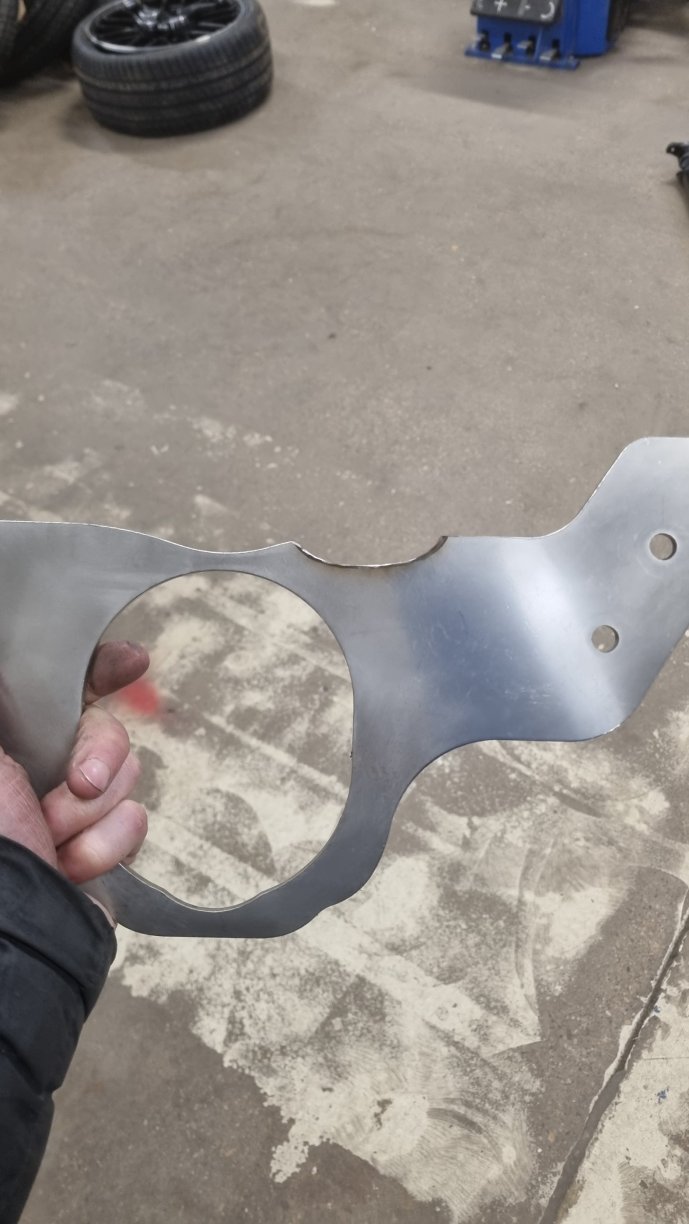
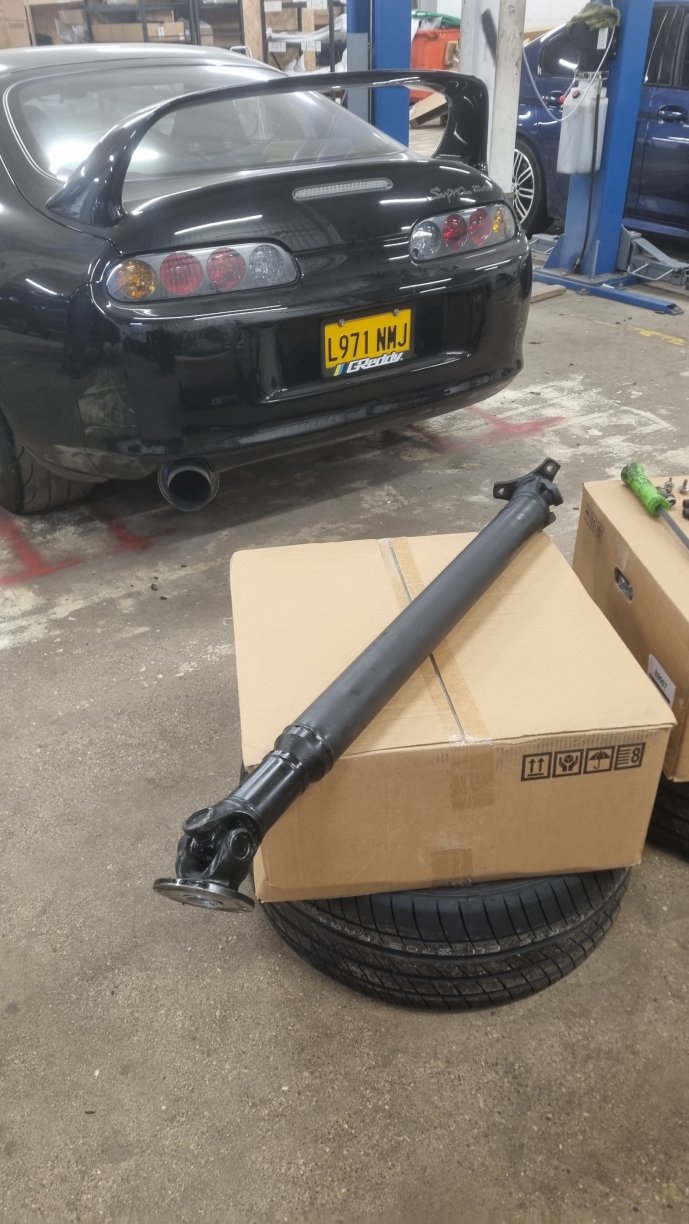
After receiving my prop shaft back from Bailey Morris (of which i have mixed opinions of) i also purchased an SRD prop hoop / tunnel brace. Tbf the prop came back looking brand new again and the guy i spoke to upon collection seemed nice enough. The first guy i spoke to whilst dropping it of was an absolute tool though. They have re clipped the UJs and re balanced it - begrudgingly under warranty (with the help of a gentle nudge from Lee) Fingers crossed this now cures my high speed vibration! The purchase of the prop hoop was a no brainer, in the event of the prop breaking, the hoop should contain it to prevent it from doing too much damage to the floor. Atleast on the diff end anyway. Gave it a little wet sand and a quick polish before fitting it. also had to trim a little bit off the bottom to clear my exhaust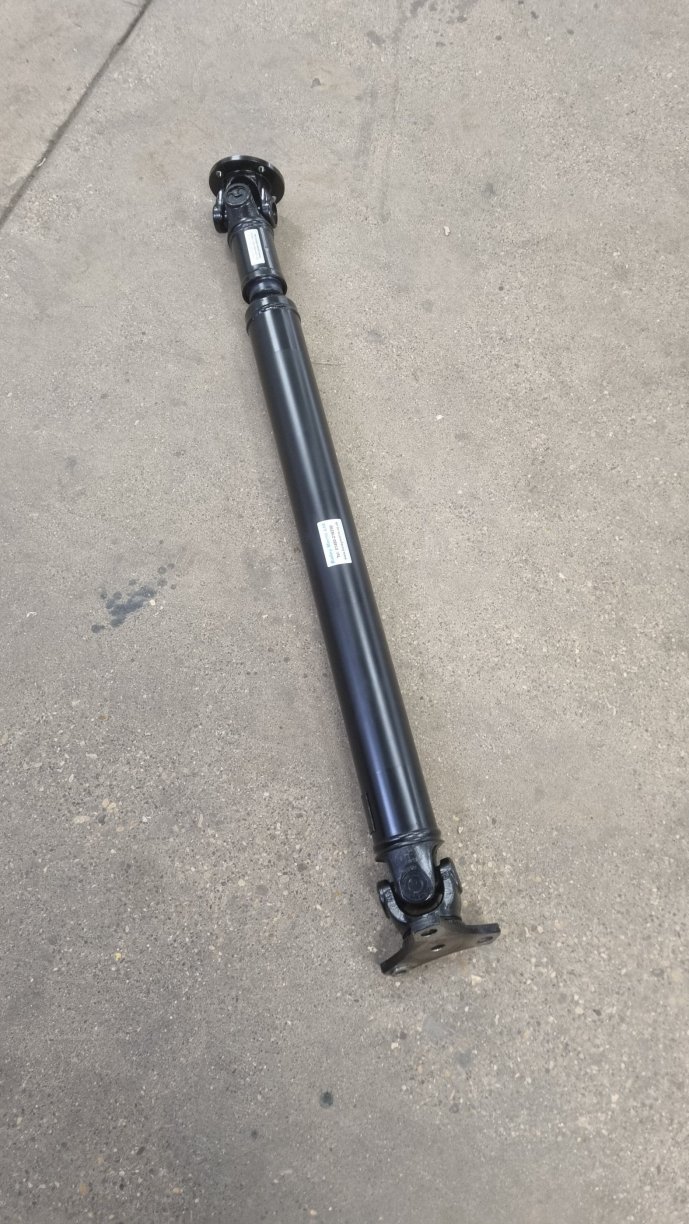

-
As above really. If you have any of these for sale let me know!
-
Harleys new progress blog from the start. My Na 5
HarleyFDMD replied to HarleyFDMD's topic in mkiv Supra Projects
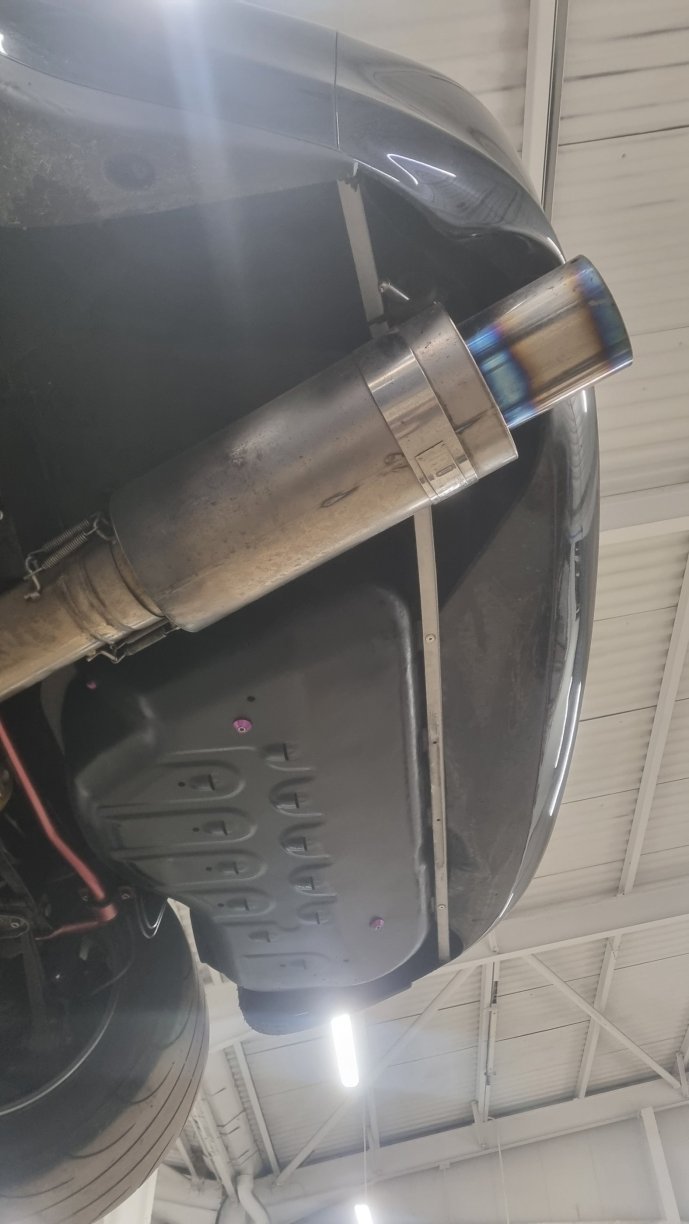
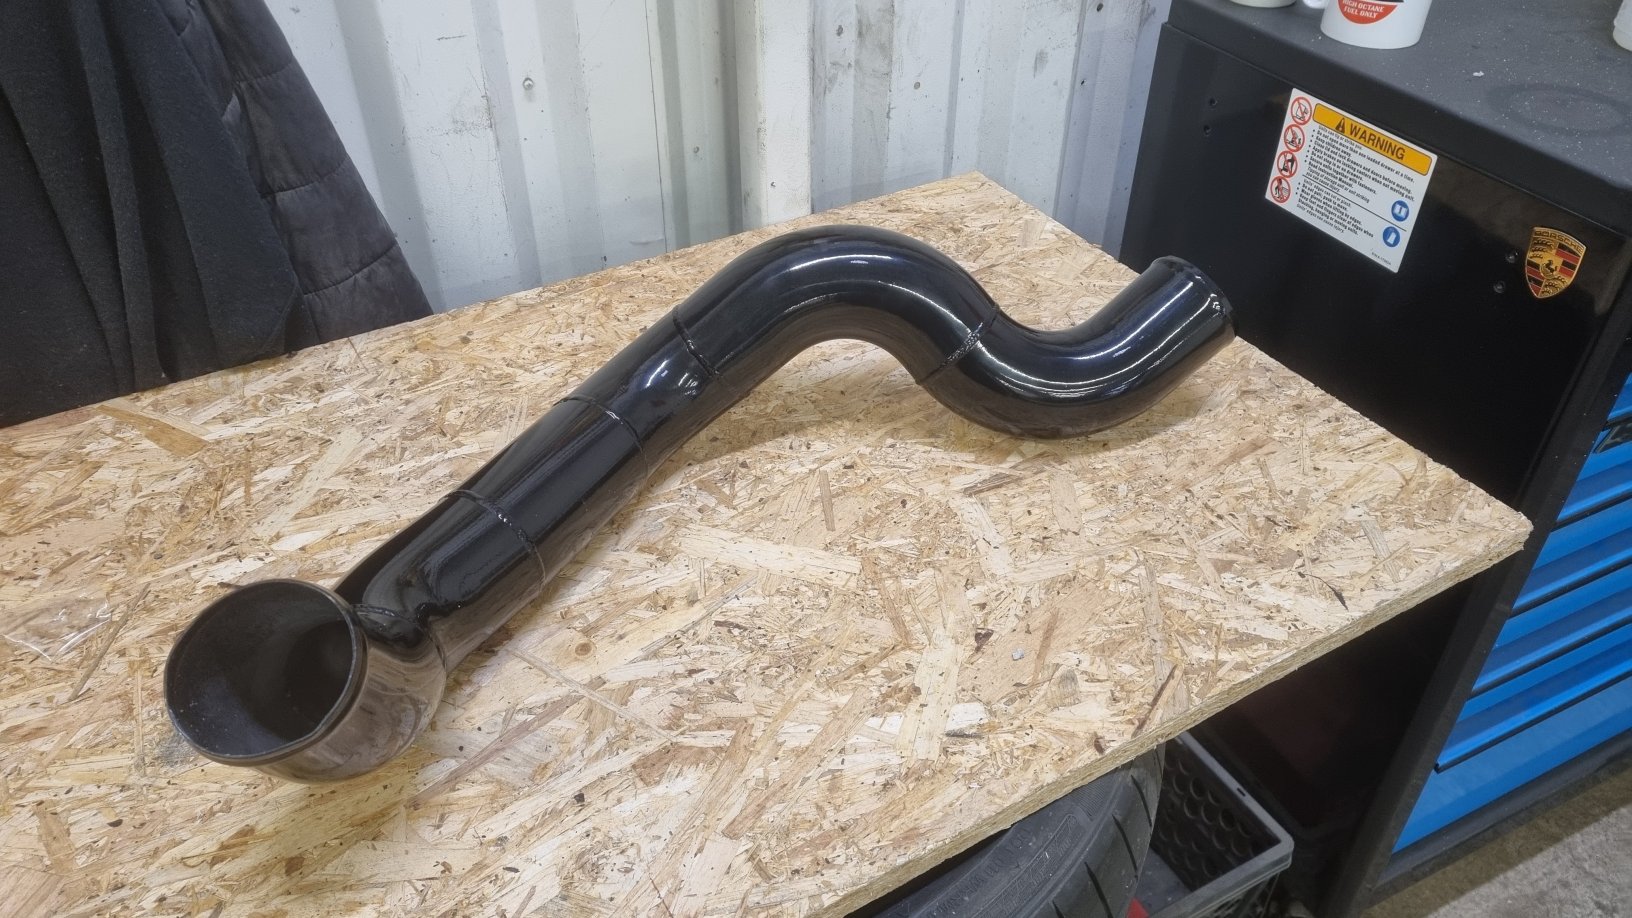
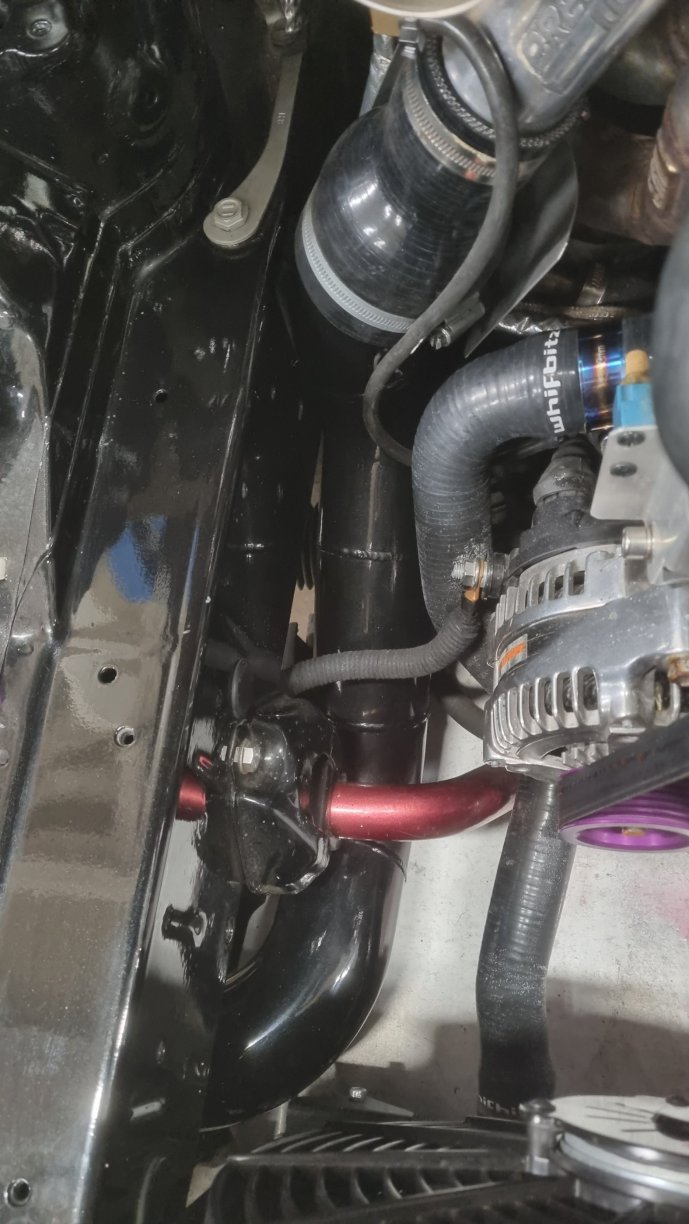
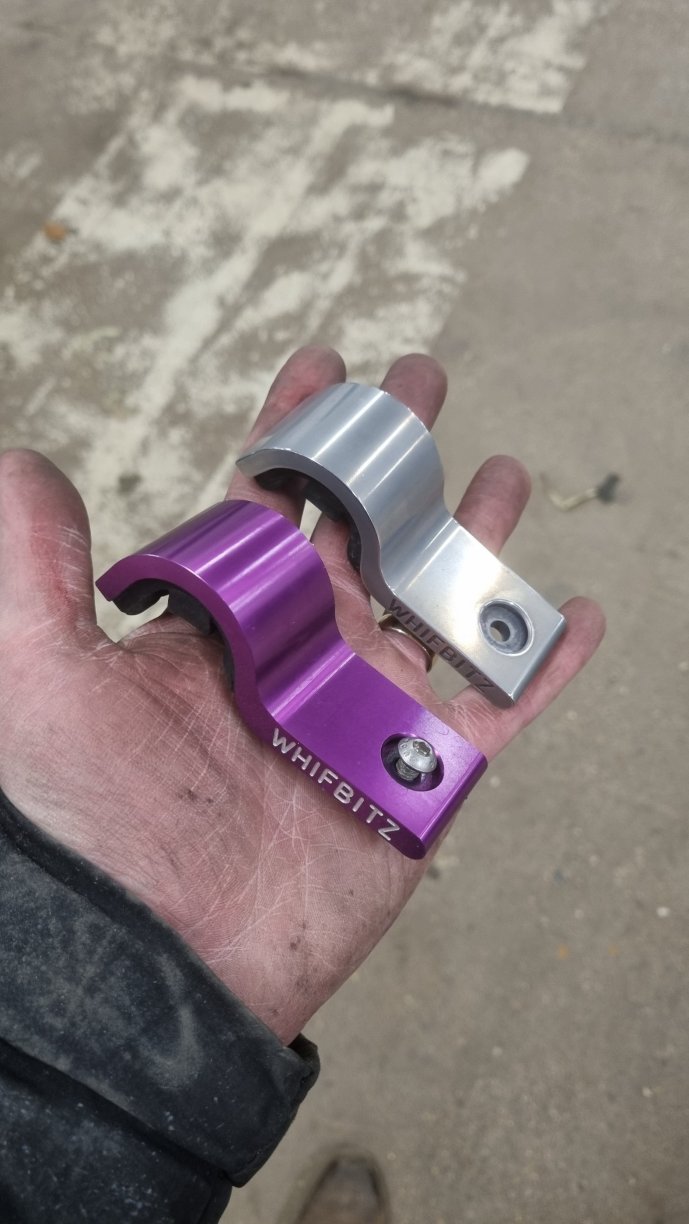
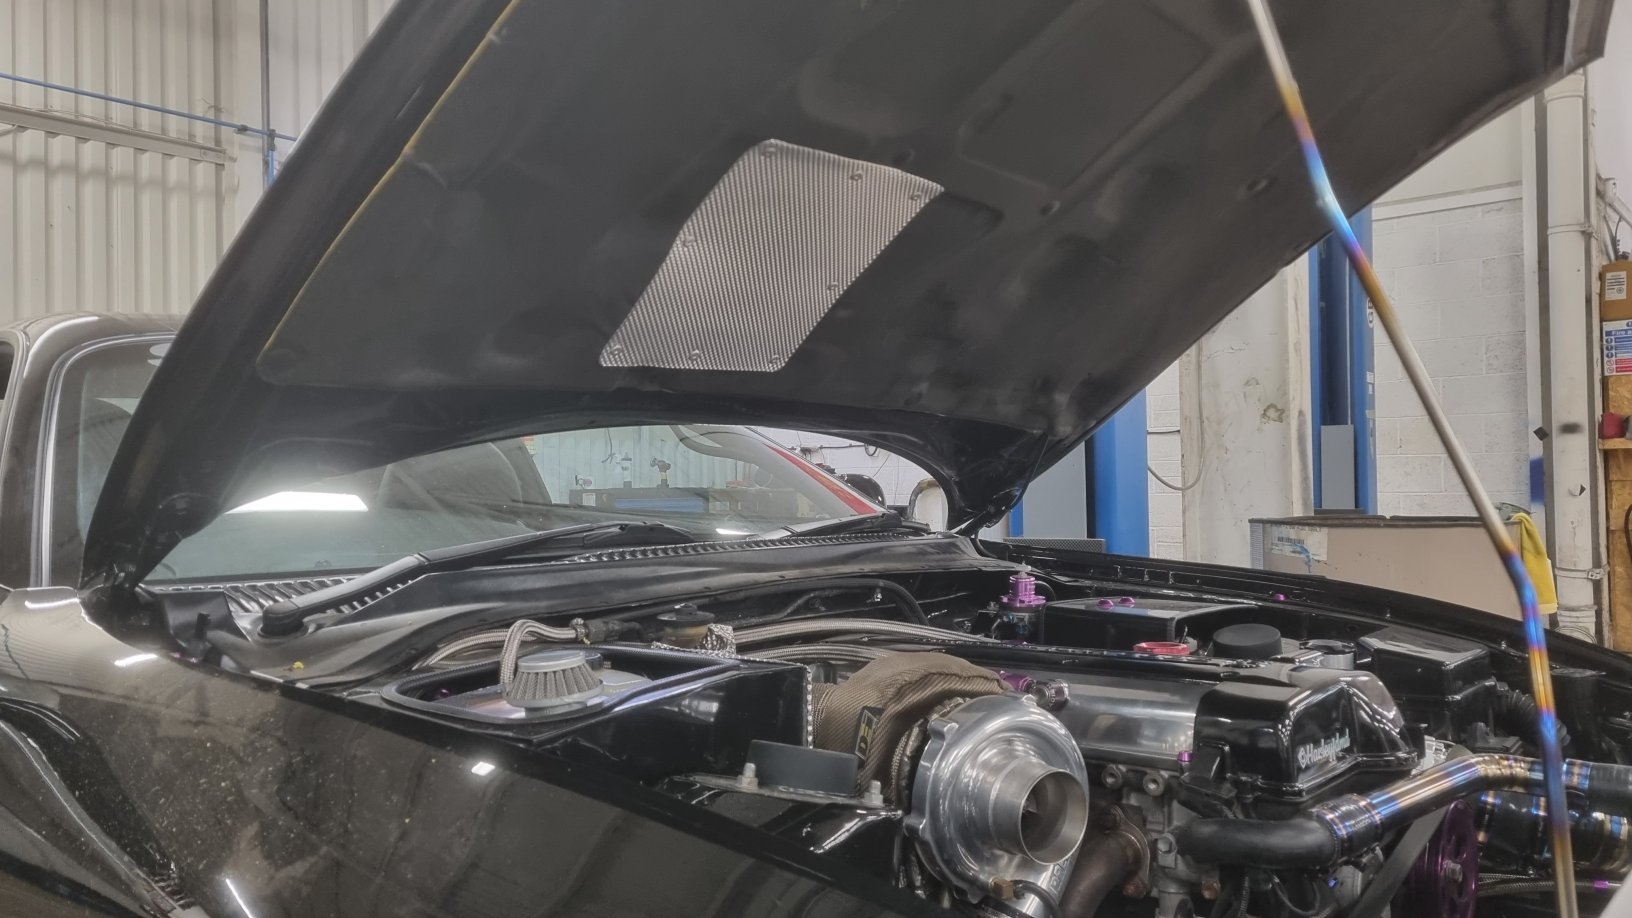
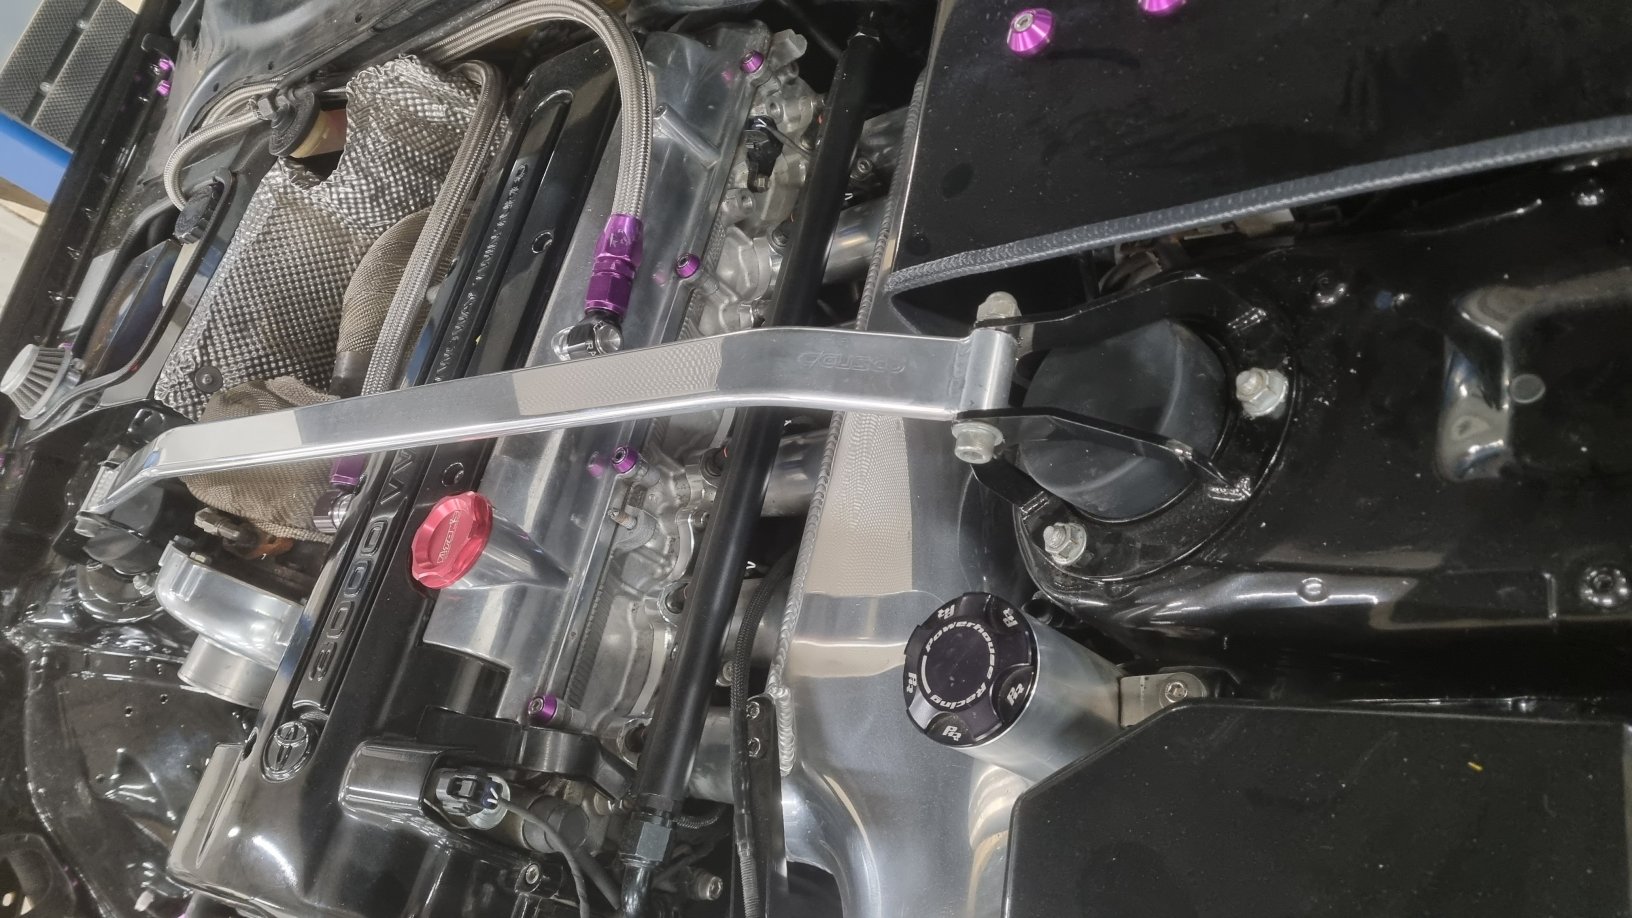
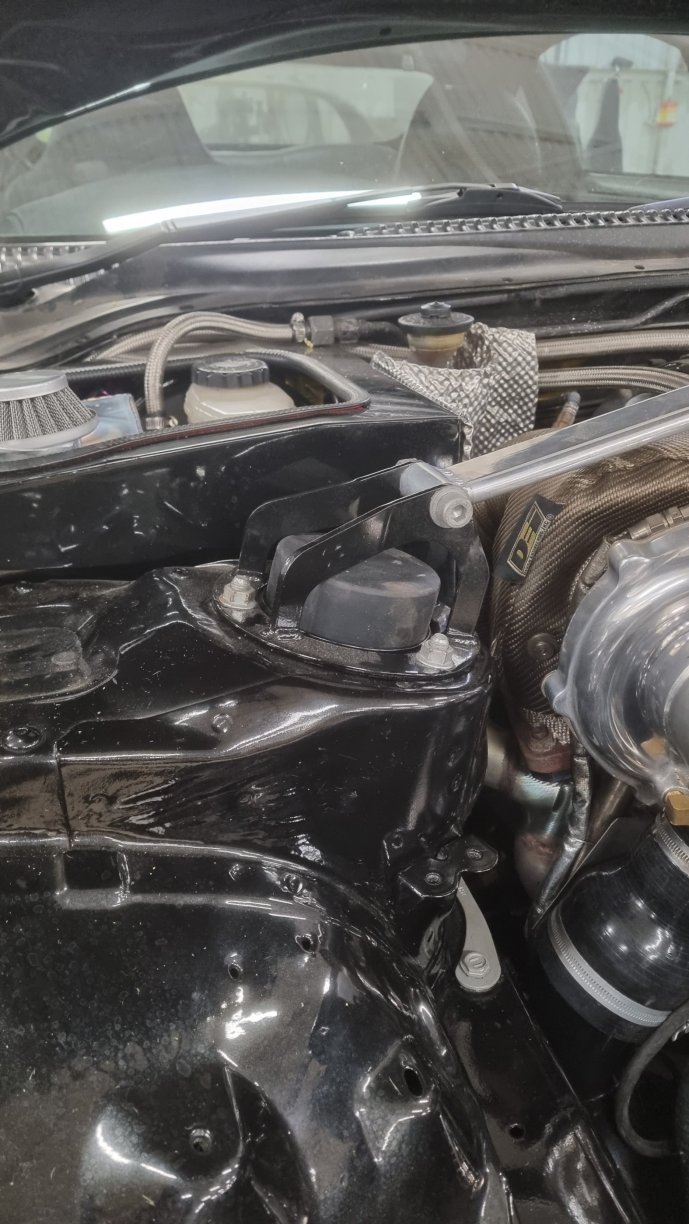
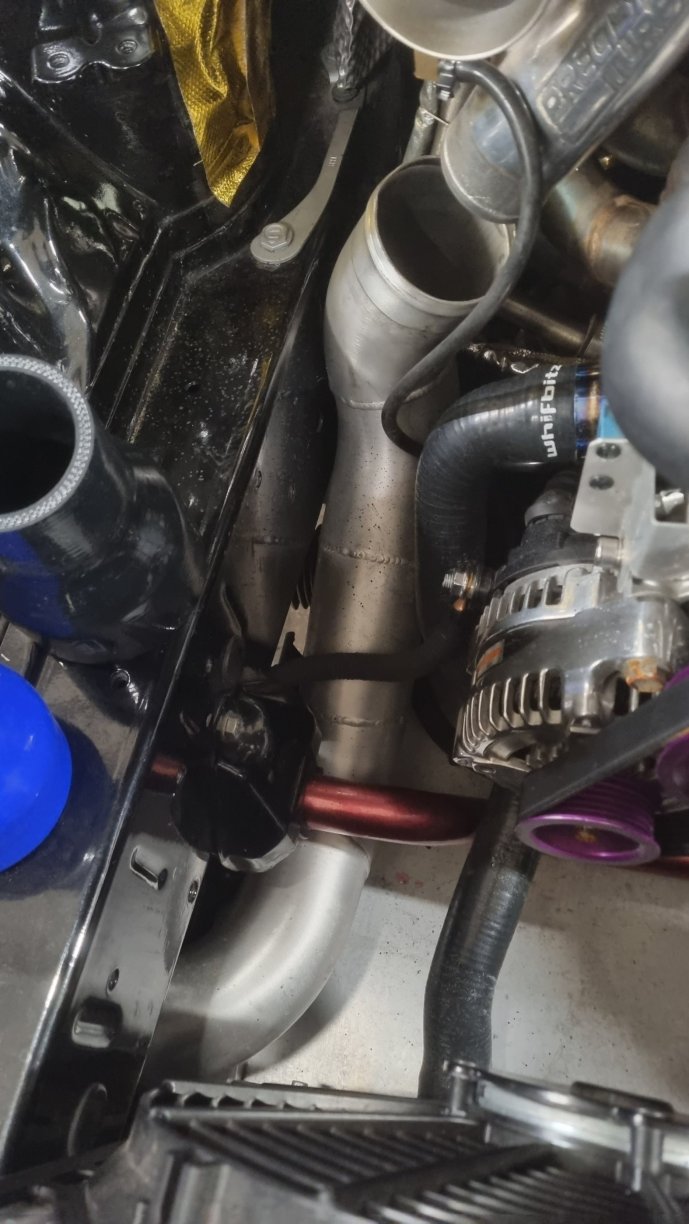
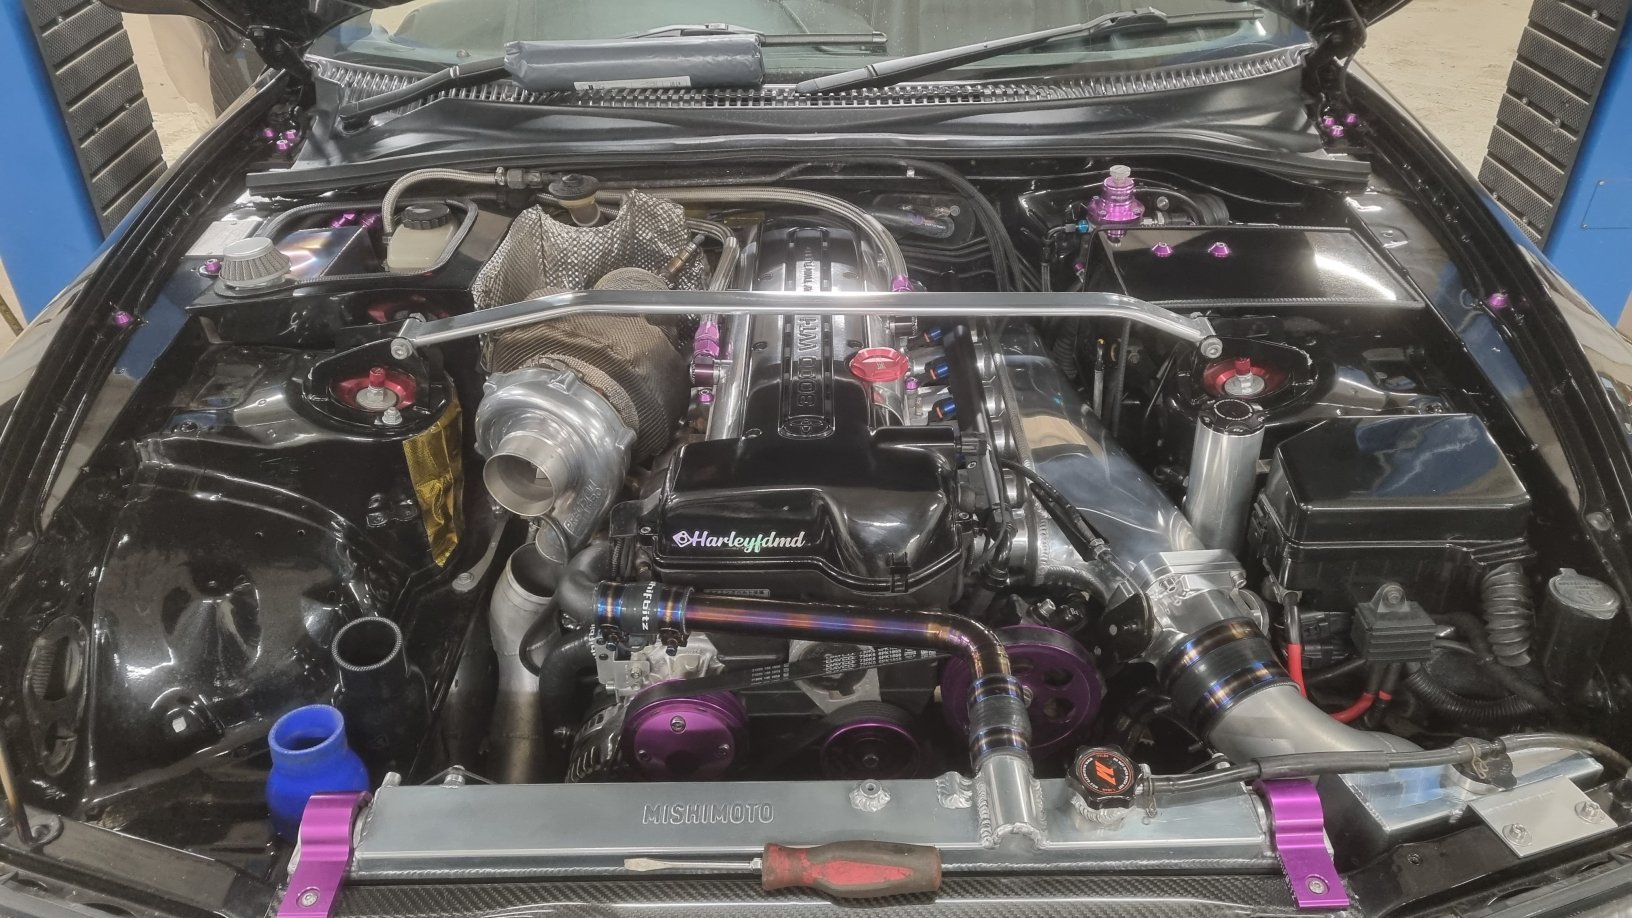
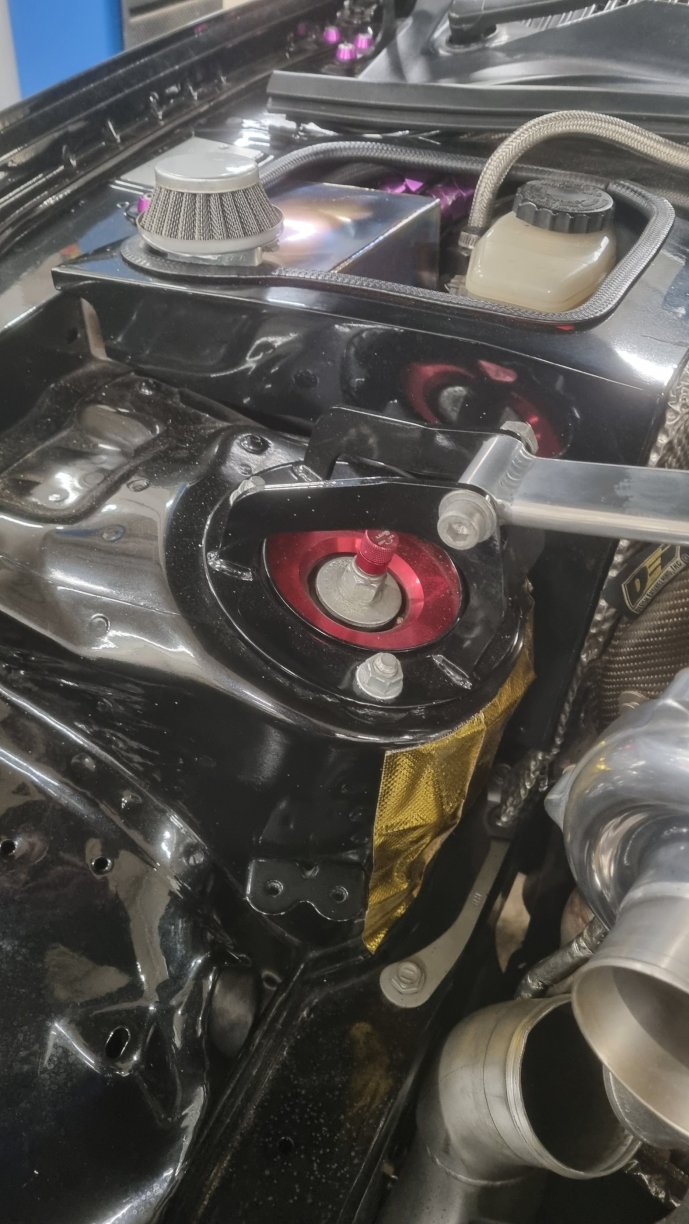
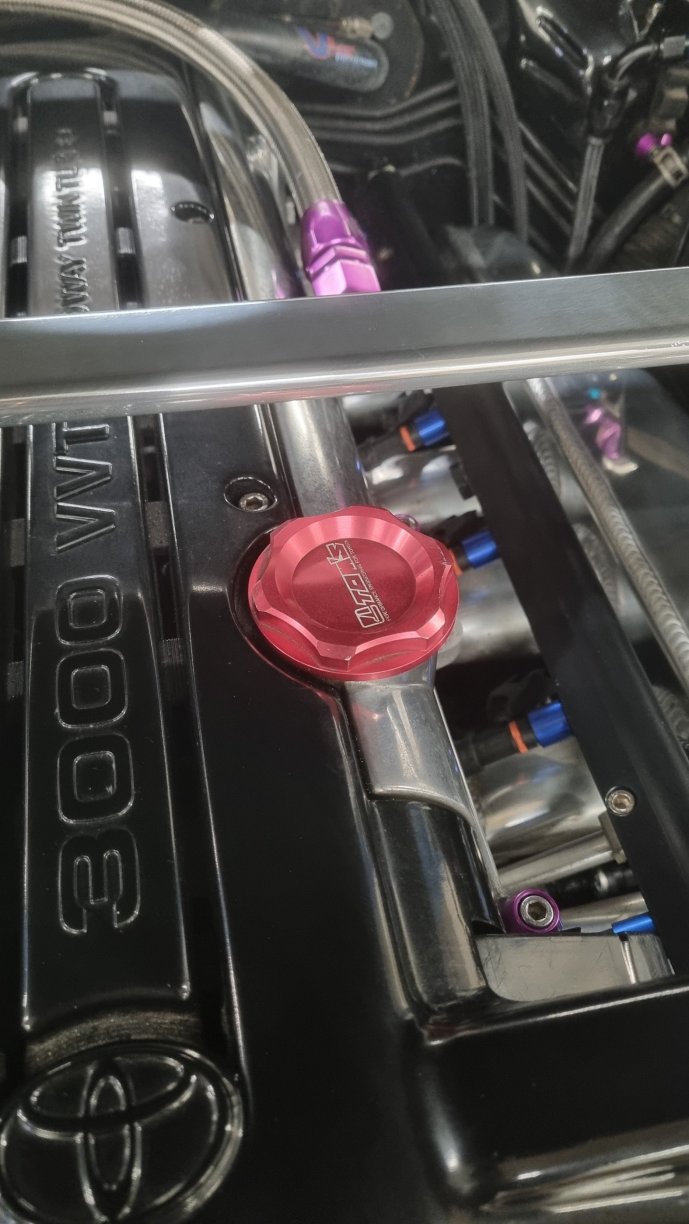
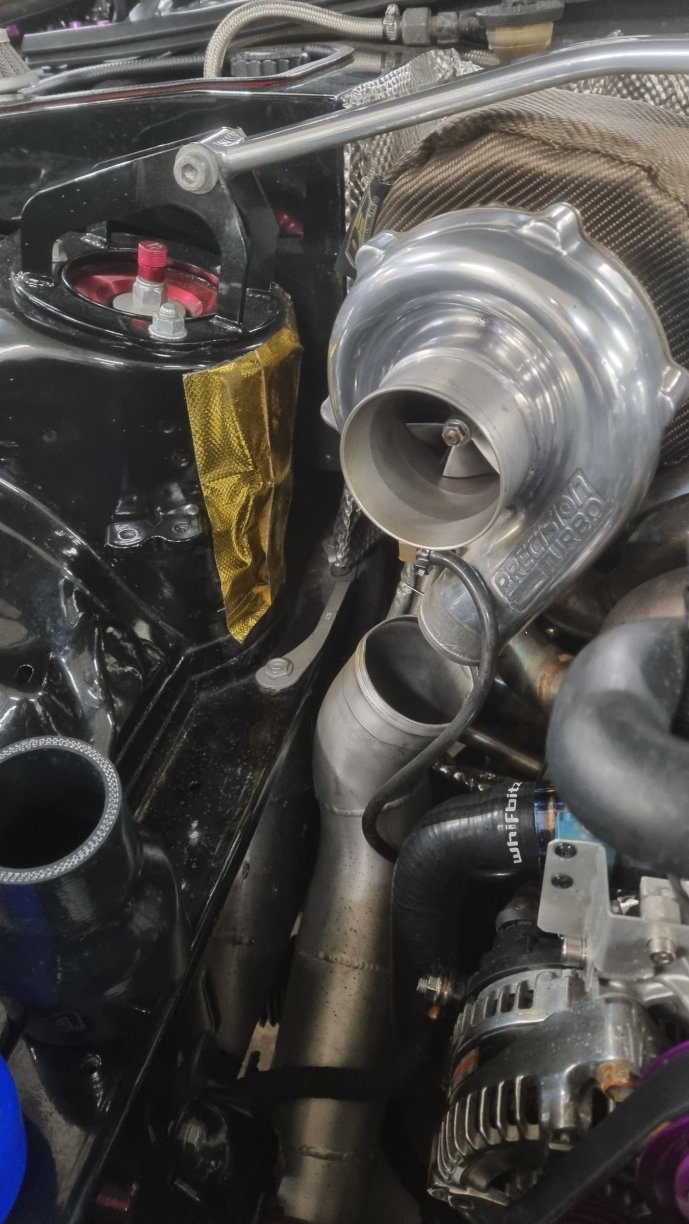
Spent a few hours over the past couple of days tying up some loose ends. First of all i got my windscreen removed and refitted as when we did it the first time after paint, we didn't push it into the recess enough, meaning the seal didn't sit correctly. Bloody nerve racking job and i was sure we were going to break it which would have been gutting considering it was a brand new oem screen 2 years ago.. but fortunately all went to plan. Next on the list was to paint the boost pipe coming off the bottom of the turbo. Eventually I'll have this remade in titanium to match the others, but for the time being I've just colour coded it black to camouflage it a bit thirdly, i blasted one of my radiator brackets then set about wet sanding and polishing it. Still a bit more to go before doing the other one but this is part of my attempt to get rid of some of the purple. I then made a heat shield and riveted it to my bonnet insulation. You've perhaps noticed in some of my previous photos that since fitting this brand new oem bonnet insulation i have rather quickly burnt a hole in it from the heat of the turbo/downpipe which was pretty frustrating. So this hides the hole and prevents further damage. Then last of all i re fitted my strut brace alongside the silicon caps which are enclosed within it to cover the top mounts. Tbh i think it looks ok. The oil filler cap is the next thing to sort out. I've ordered some black AN fittings for the breather lines and some titanium harware. Also the pulleys will be replaced with some polished ones
-
Harleys new progress blog from the start. My Na 5
HarleyFDMD replied to HarleyFDMD's topic in mkiv Supra Projects
I know what you mean and if i wasnt planning on putting my strut brace back on then i would buy billet top mount covers. But unfortunately those covers aren't compatible with a strut brace whereas the silicone caps will sit inside. Tbh you'll barely see them with the brace back on. -
Harleys new progress blog from the start. My Na 5
HarleyFDMD replied to HarleyFDMD's topic in mkiv Supra Projects
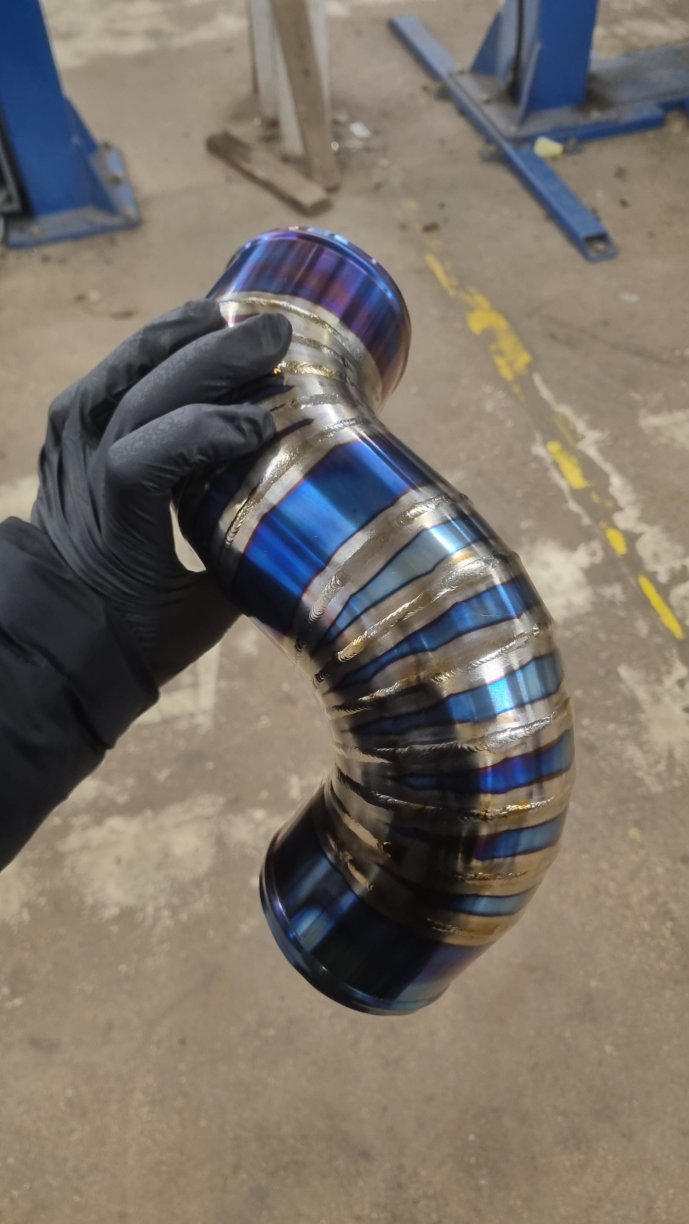
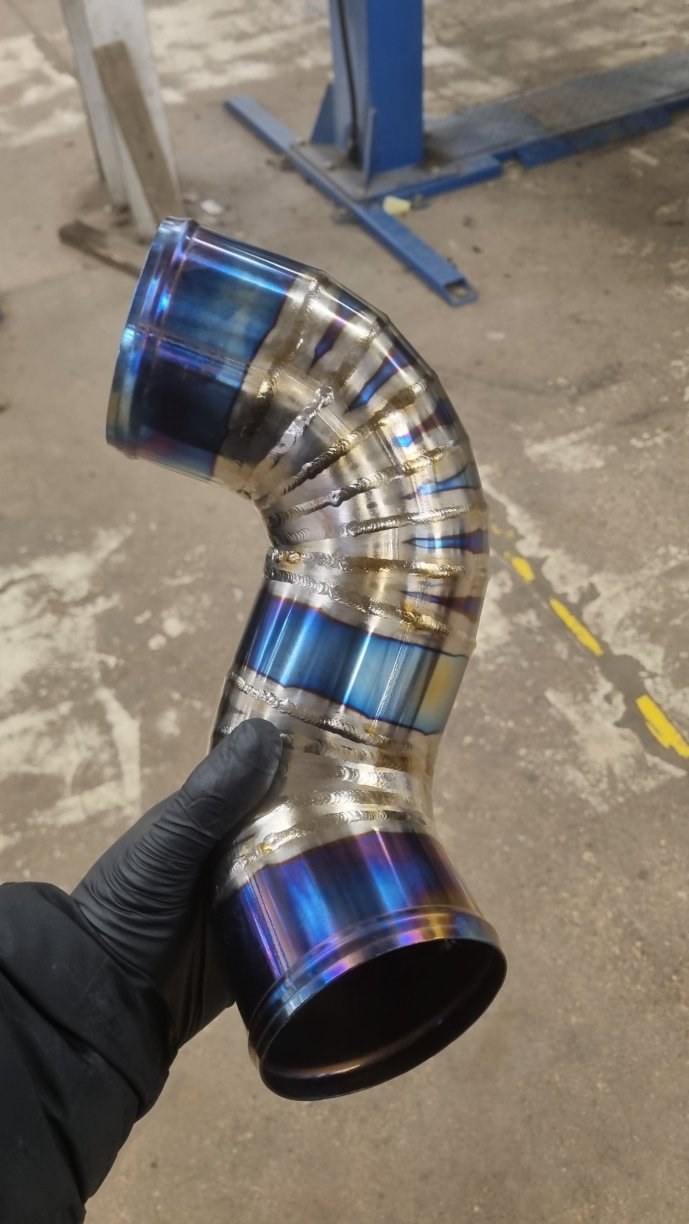
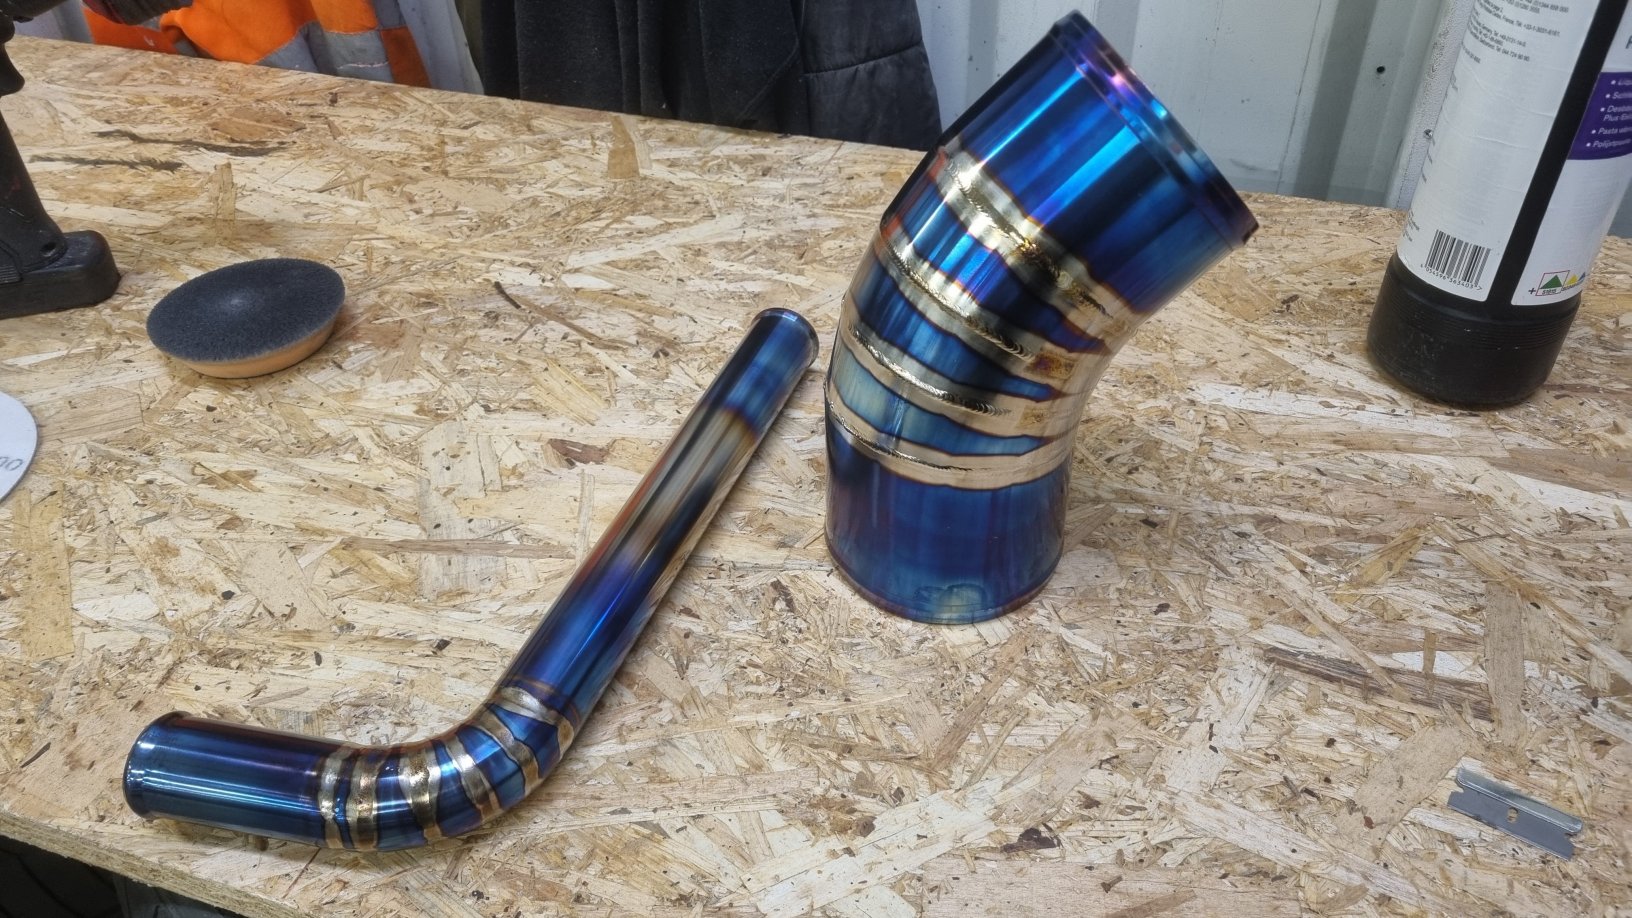
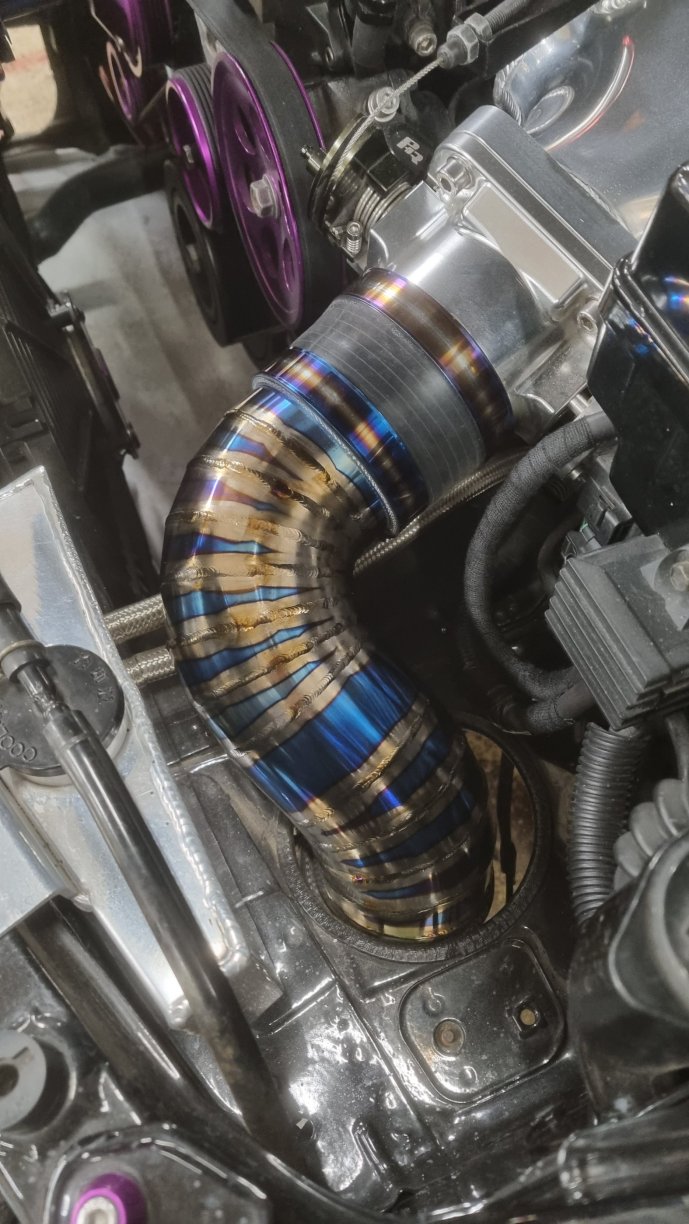
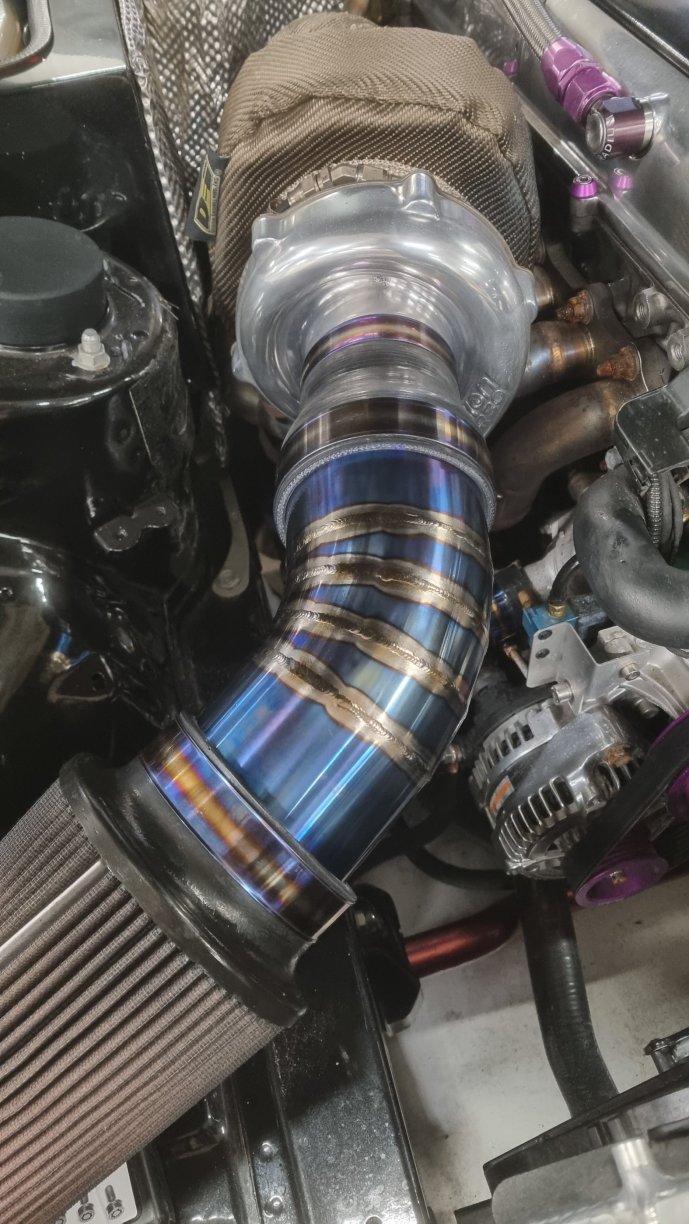
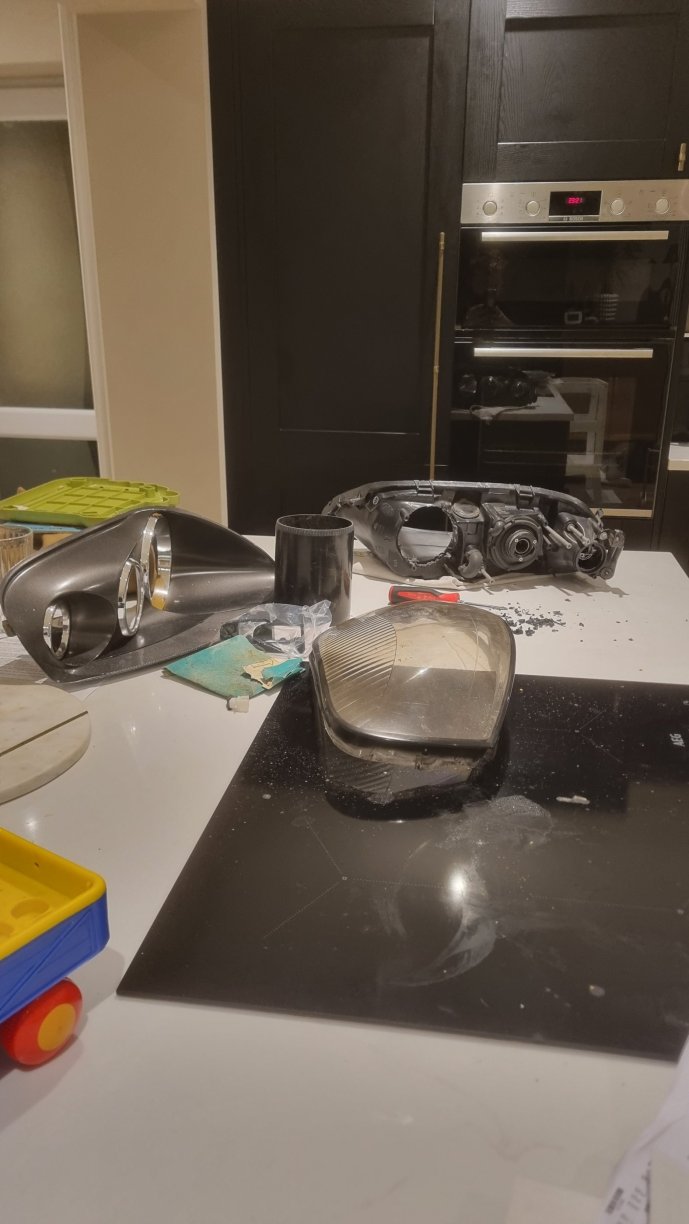
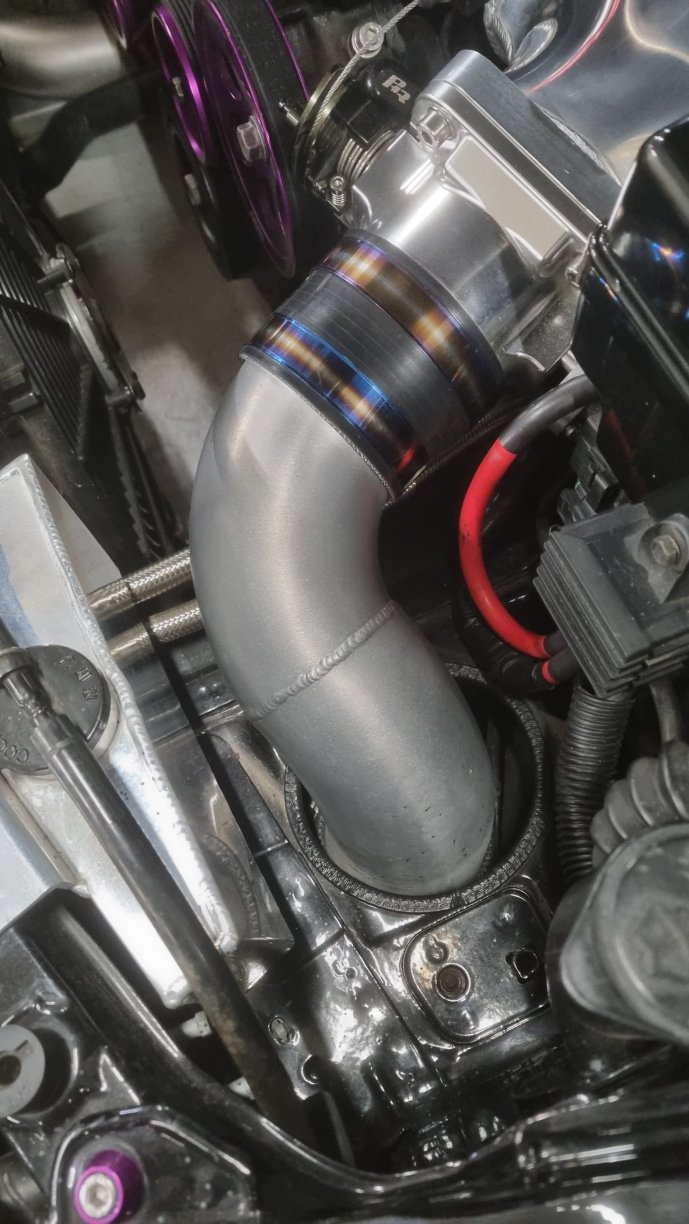
I have some success.. and some disaster First of all the progress on the headlight intake took a turn for the worst when the drill bit snagged and splintered a large chunk of the lense so thats now gone on the back burner indefinitely lol. In better news though the titanium pipework i had made looks (in my opinion) the bollocks!


-
Well up for this
-
The problem is I'd want 295s on the rear though. I used to have 10j et25 with 295s and that rubbed
-
I have been tempted by these but its the rear wheel offset that puts me off. They must be super aggressive?
-
Harleys new progress blog from the start. My Na 5
HarleyFDMD replied to HarleyFDMD's topic in mkiv Supra Projects
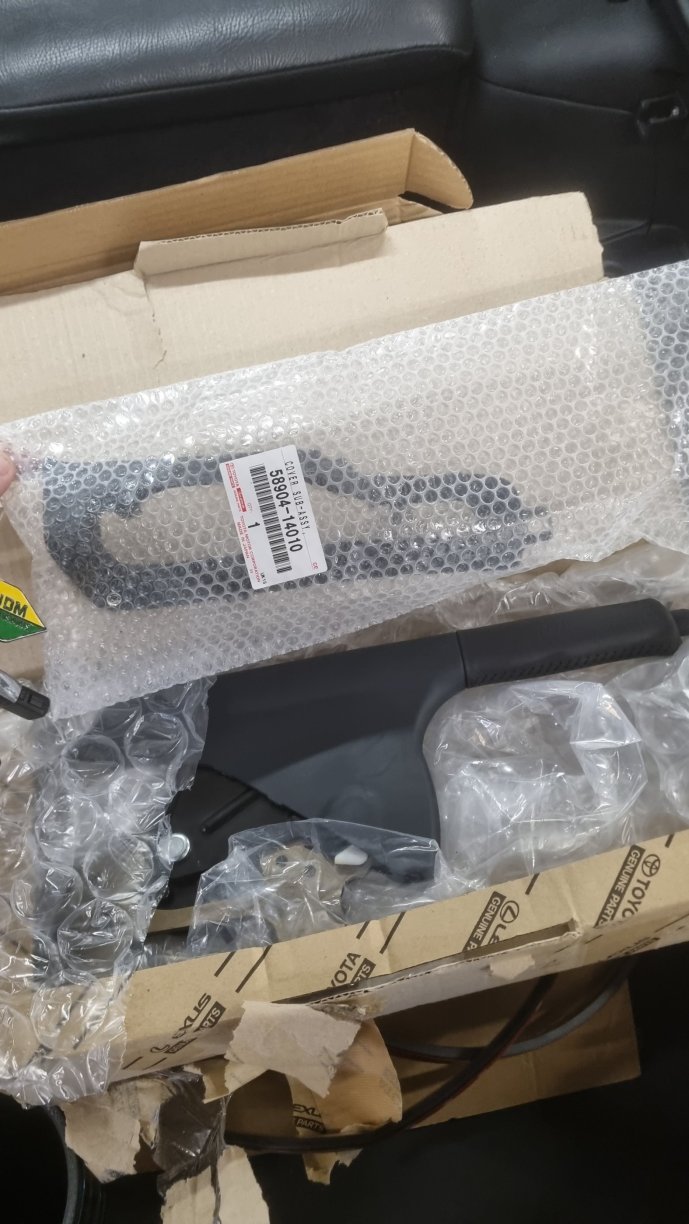
Im heading over to Bailey Morris today to take my propshaft for inspection and balancing as ever since doing the 6 speed swap I've had a terrible vibration at 80mph+ The silicone caps arrived to cover the red top mounts and i also ordered a new handbrake and the rubber surround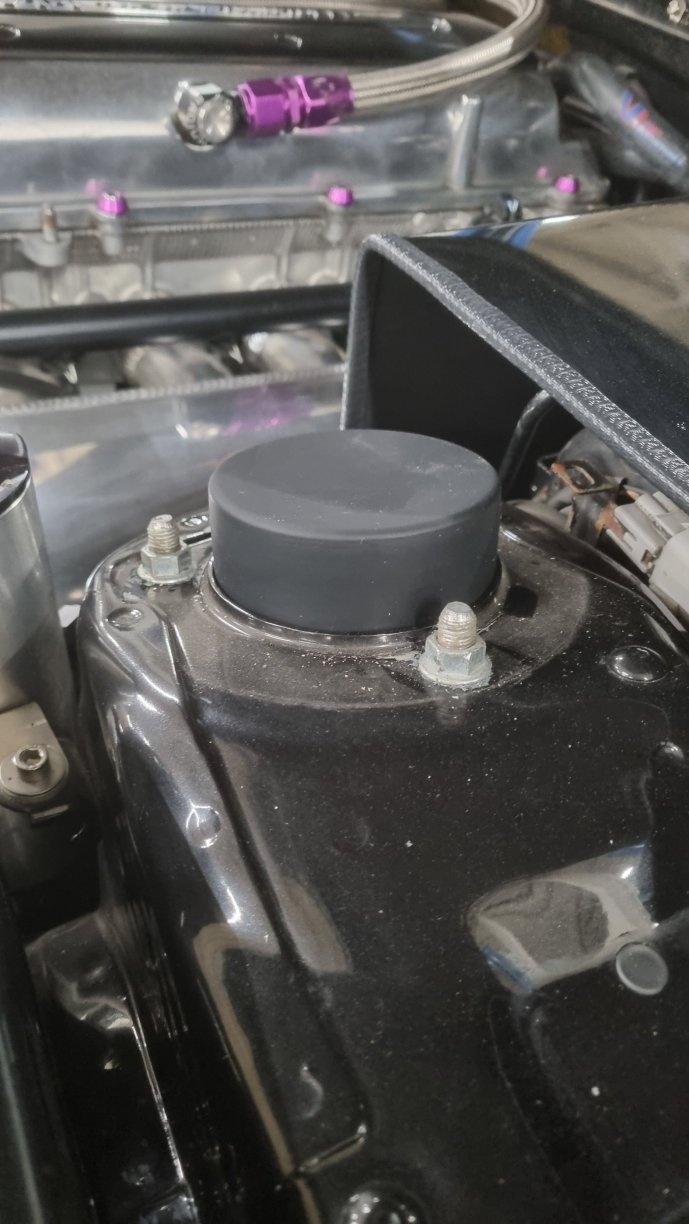
-
Harleys new progress blog from the start. My Na 5
HarleyFDMD replied to HarleyFDMD's topic in mkiv Supra Projects
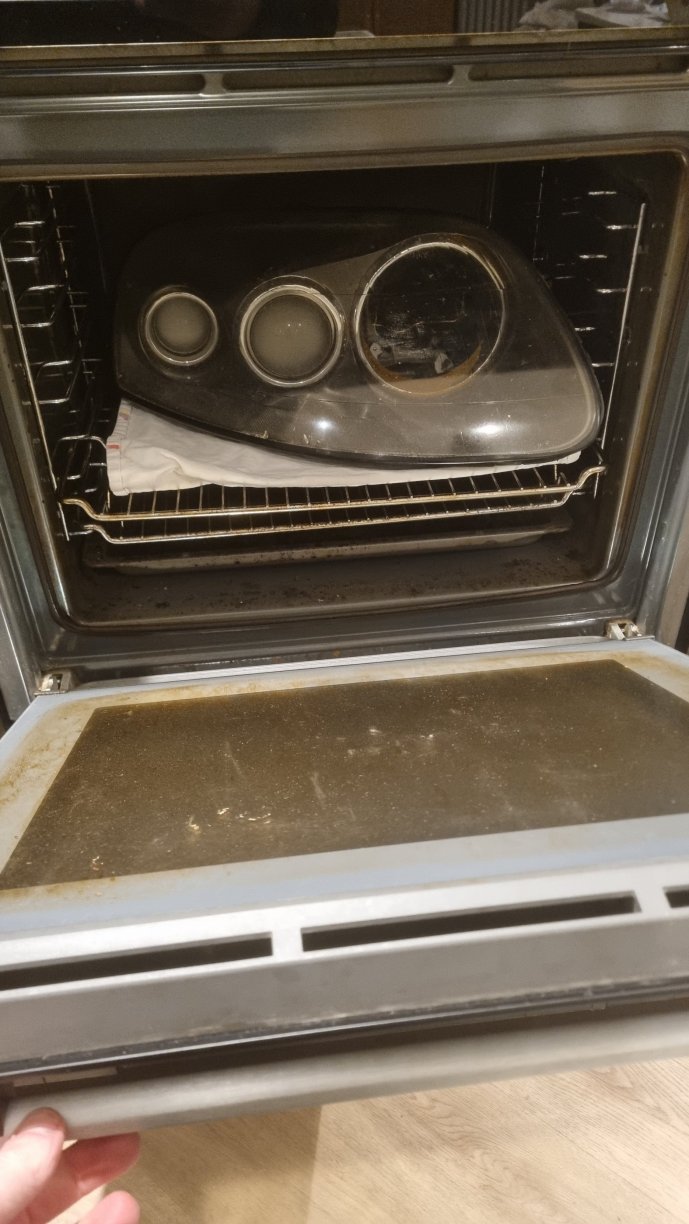
I have also bought a used drivers side head light which this evening i have had in the oven to separate and then make into a 'headlight intake' I did try doing it without separating it initially but there's no way it would have come out to an acceptable standard as all the debris from cutting the back of the housing falls into the headlight. Tomorrow i need to find somewhere that sells 120mm OD pipe!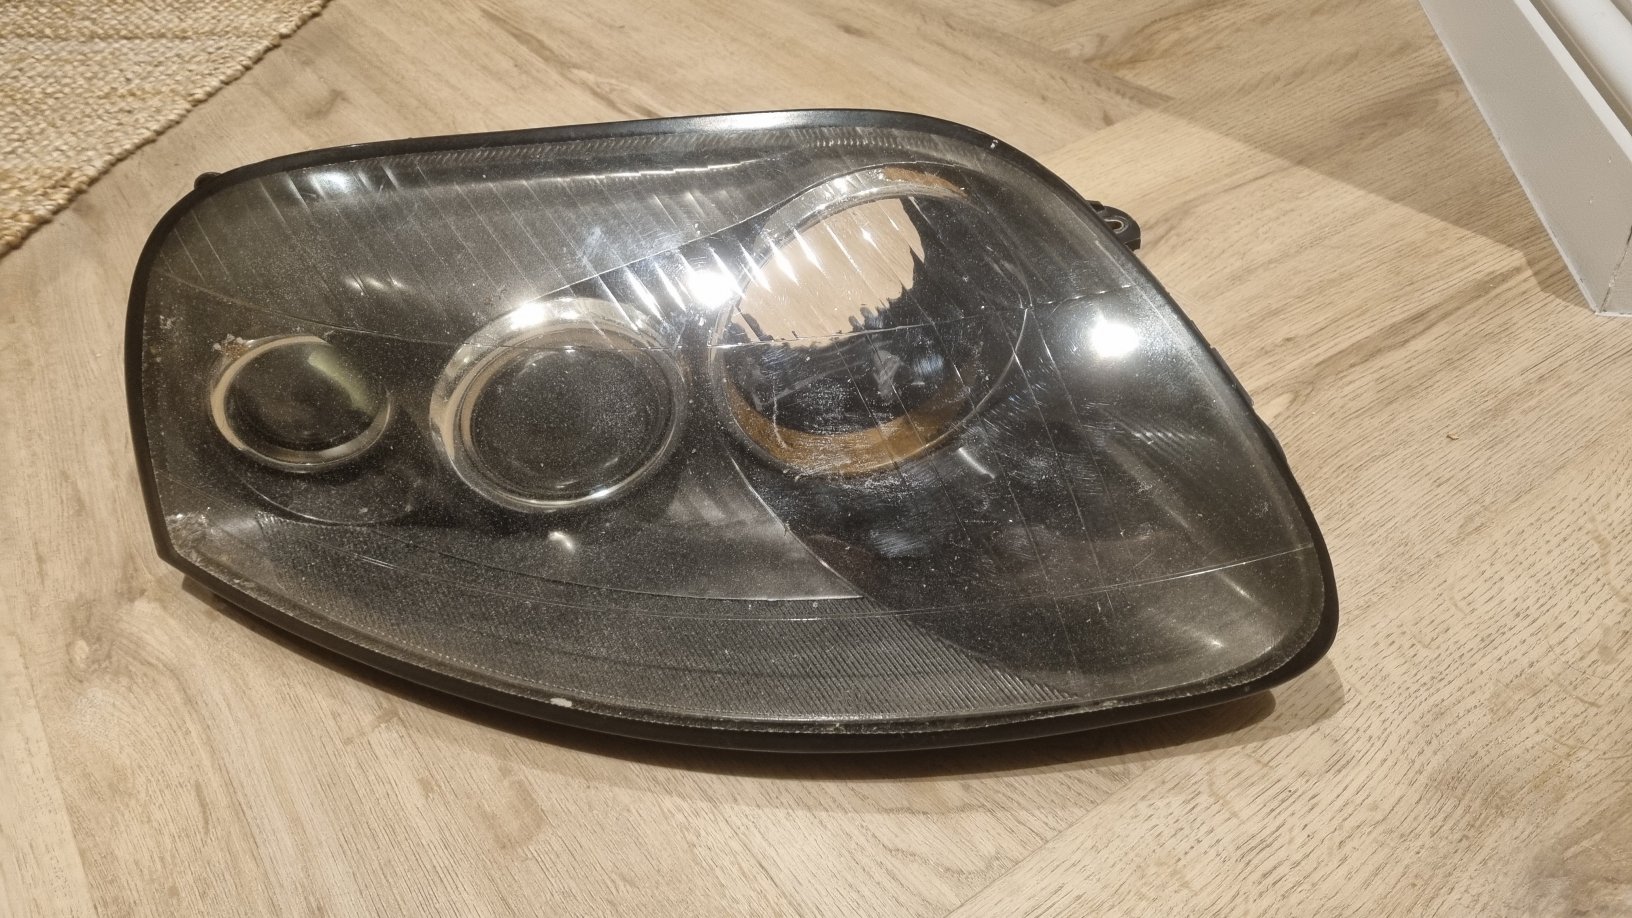
-
Harleys new progress blog from the start. My Na 5
HarleyFDMD replied to HarleyFDMD's topic in mkiv Supra Projects
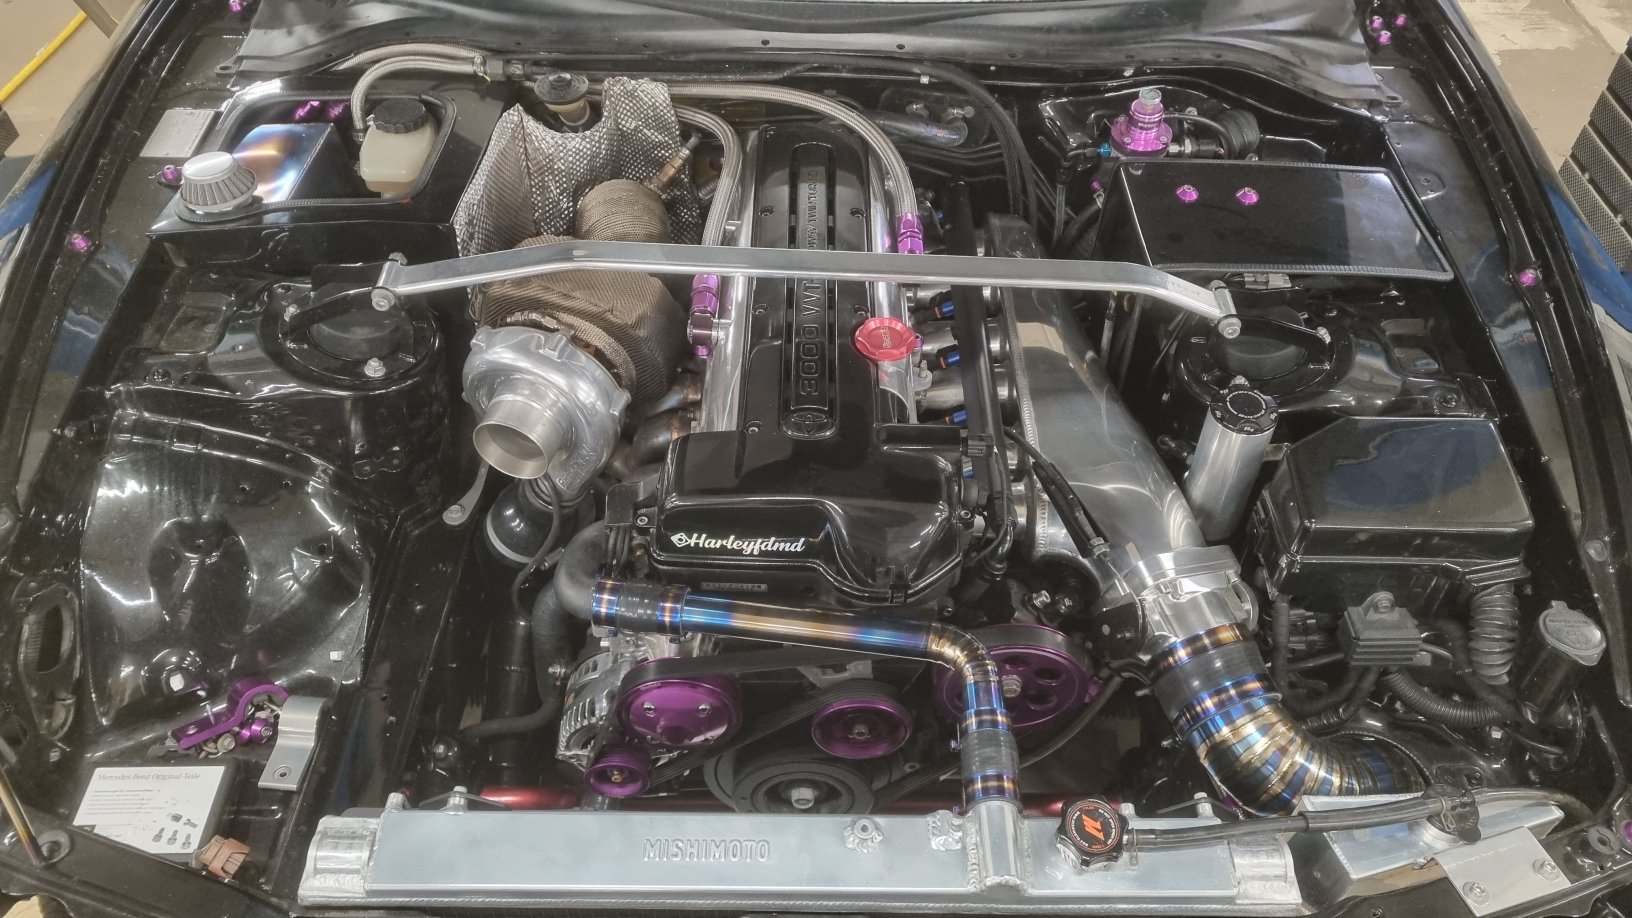
Yesterday i began stripping a few bits off the car. I like my engine bay but i dont love it and I cant quite put my finger on what it is that i dont like. Certainly some of the red accents (which weren't intentional) i will be changing, so I've bought some black silicone end caps to cover the top mounts, the oil filler cap will be either painted black or polished, the red battery wires will be wrapped in black tape and my whifbitz anti roll bar will also be painted black.. so that should get rid of all the red! I've also got rid of the gold heat reflective tape off the strut tower and im in the process of removing the lower boost pipe that comes off the bottom of the turbo because thats also going to go black. I have removed the intake pipe and strut brace and will also remove the intake manifold boost pipe and will be send them off to have re made in titanium. Some of the purple accents im going to replace with polished parts instead, like the pulleys and radiator brackets. Hopefully this will tone the colours down a little bit and tie everything in better.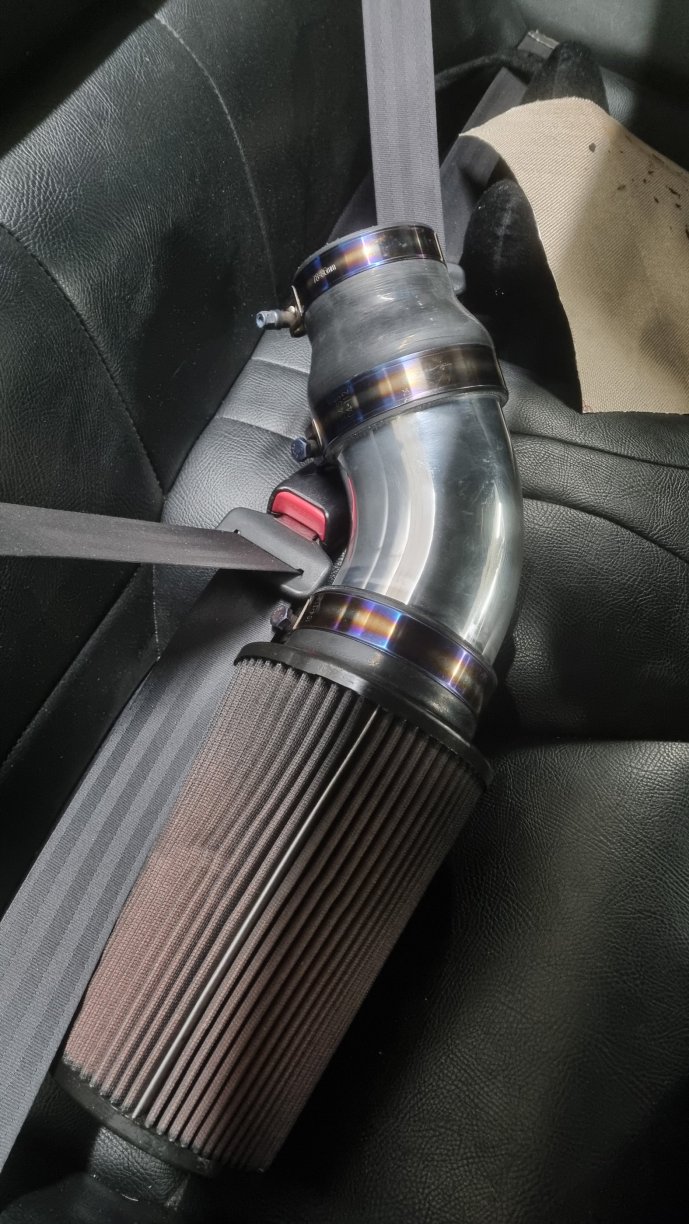
-
Harleys new progress blog from the start. My Na 5
HarleyFDMD replied to HarleyFDMD's topic in mkiv Supra Projects
Thanks mate. I do love titanium parts