Kaan W
-
Posts
5360 -
Joined
Content Type
Profiles
Forums
Store
Blogs
Events
Downloads
Supra Articles
Gallery
Everything posted by Kaan W
-

Kaan's SRD1000S - 3.4 Stroked Wide Body Project!
Kaan W replied to Kaan W's topic in mkiv Supra Projects
Thanks guys it's getting there, shouldn't be too long now everything's coming together perfectly -
Kaan's SRD1000S - 3.4 Stroked Wide Body Project!
Kaan W replied to Kaan W's topic in mkiv Supra Projects
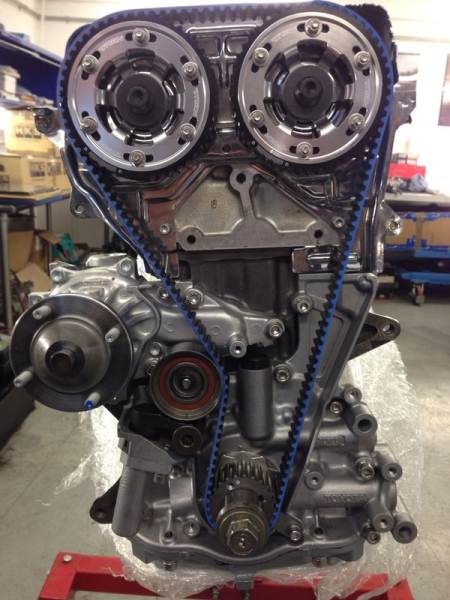
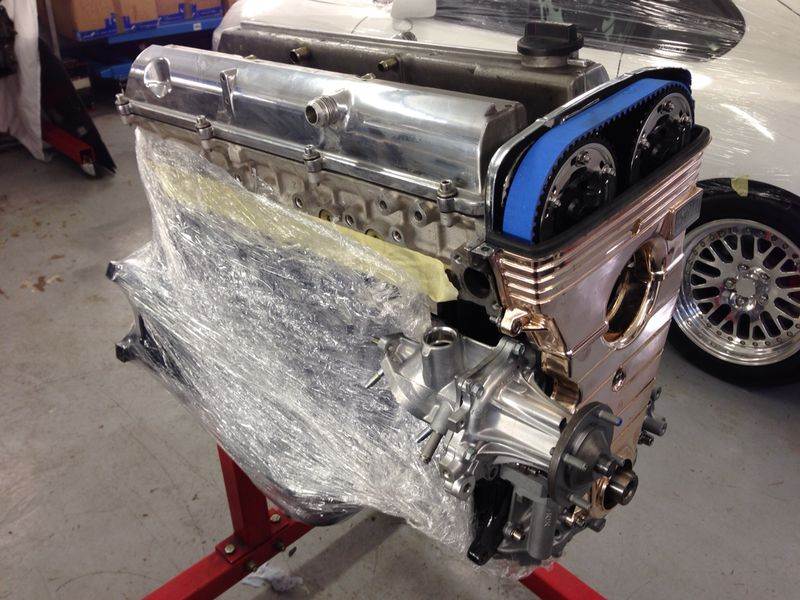
The eagle eye reader will also notice every nut bolt and washer replaced with new stainless steel Next fitted - New oil pump New water pump Welded timing gear Billet tensioner bracket New tensioner Gates timing belt Titan cam gears Chromed cam gear backing plate And this is how it stands now and I must say I am over the moon with how this looks, what a fantastic job by everyone at SRD good work guys I had the timing belt covers test fitted that I bought from Rob's gold rush supra but I think it would look better with painted covers? Im not a fan of carbon parts so either painted gloss black or colour coded to the body. The theme of the bay is silver and black, what do you guys think?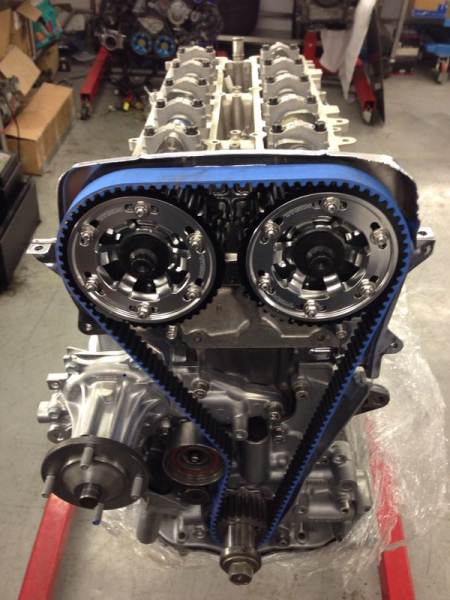
-
Kaan's SRD1000S - 3.4 Stroked Wide Body Project!
Kaan W replied to Kaan W's topic in mkiv Supra Projects
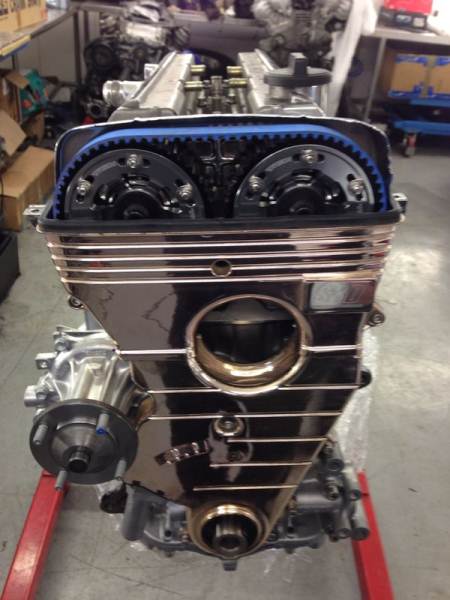
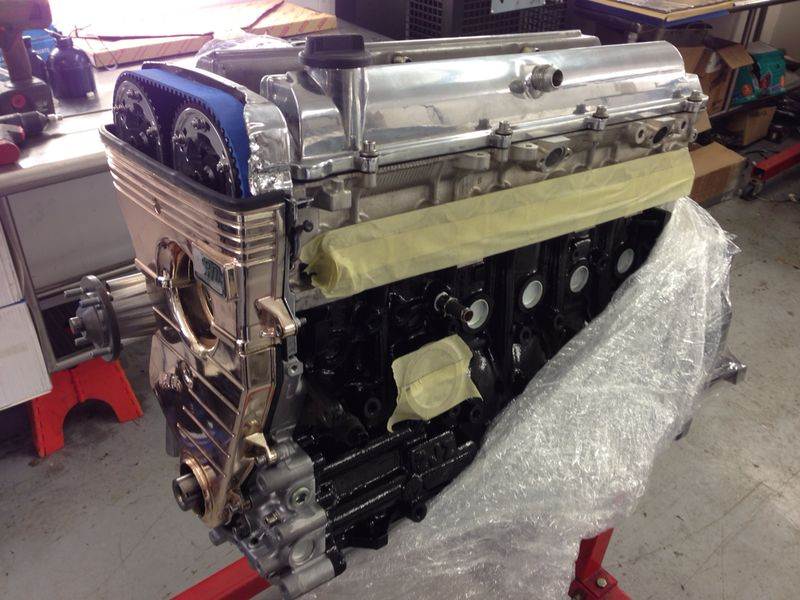
The head was then assembled and fitted next with the following parts - Stage 4 port and polished head Supertech valves Supertech dual valve springs Supertech locks Supertech retainers Shimless buckets SRD 280 cams L19 headstuds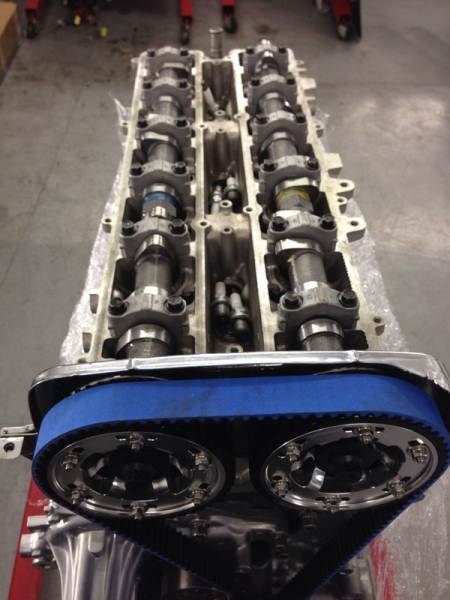
-
Kaan's SRD1000S - 3.4 Stroked Wide Body Project!
Kaan W replied to Kaan W's topic in mkiv Supra Projects
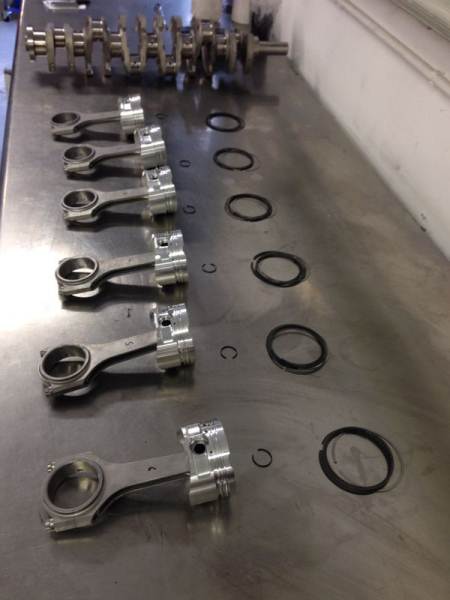
Then all assembled 3.4 Spool crank BC Pro rods CP 9.0:1 custom pistons with uprated pins Billet main caps Custom made extended sump pan ARP main studs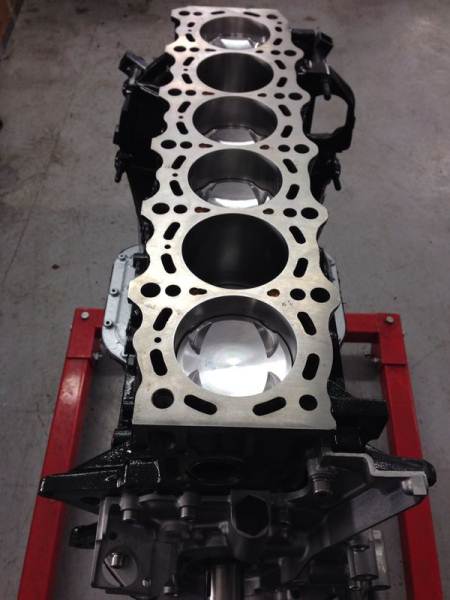
-
Kaan's SRD1000S - 3.4 Stroked Wide Body Project!
Kaan W replied to Kaan W's topic in mkiv Supra Projects
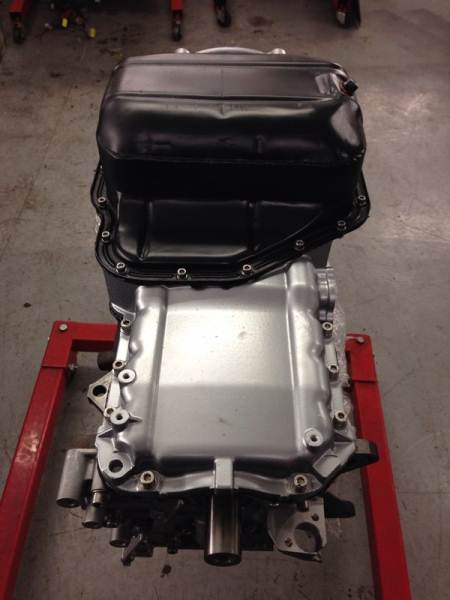
Well... I have just had some pictures sent to me from Lee @ SRD of the engine progress, all I can say at the moment is WOW what an amazing job he is doing! I cant thank SRD enough for the care and attention they are putting into this engine it almost looks to good to use. The block has had all the machine work carried out in order to take the stroker kit, it has then been flushed cleaned then painted with new freeze plugs fitted. Heres how its looking -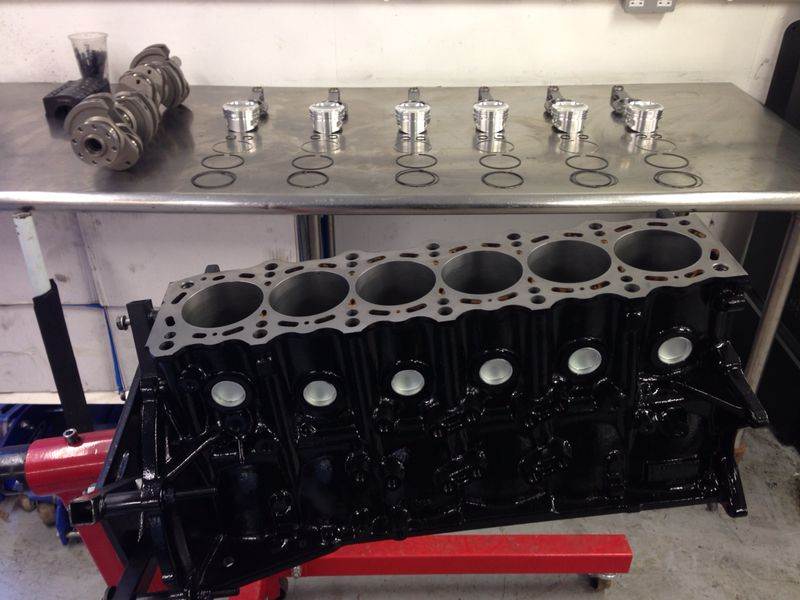

-
It would make for an exciting powerband also I've also seen someone making 850rwhp on a 3.4 with a 6266. I wouldnt mind the 7175 though as the autobox pretty much keeps revs in the powerband once moving. All of them are good turbos it's hard to decide lol.
-
Possibly the best alloy wheels ever fitted to a Supra available on Ebay
Kaan W replied to rider's topic in Supra Chat
Boring -
Interesting to know
-
When did you hit full boost with the 75 Jamie?
-
Kaan's SRD1000S - 3.4 Stroked Wide Body Project!
Kaan W replied to Kaan W's topic in mkiv Supra Projects
Thanks guys Of course bud Need a little help deciding on the colour for the bottom of the trial bumper, I think gloss black might not notice as the body is quite dark. Either satin black or maybe satin silver?? -
Glad I could help mate, it's an awesome exhaust just be prepared for the noise Lovely car btw!
-
Nothing I hope As said they should be fine. They wouldn't sell them otherwise I'm gunno be running a few more horses and maybe doing drag runs so I wouldnt use them for my car.
-
It's your car dude not mine, unless your running crazy power they should be fine
-
Safely? I wouldn't trust them, just look how thin the material is where it bolts to the hub. They're not even hub centric so the entire load is on bolts. Just by opinion anyway
-
I know, I said 20mm is the smallest bolt on Well... Safely any thinner and the amount of material to the spacer bolted on would be dangerous imo.
-
You will need extended studs mate, OR some bolt on spacers but I believe the smallest bolt ons are 20mm.
-
That sound!!
-
Nice to see you've successfully finished such a brilliant project Chris and well done to the guys at SRD An amazing car built by the best!!!
-
What make of spacer and stud were you using? That could have gone terribly bad.
-
I'm using H&R 20mm bolt on spacers for the rear, they have studs built in and come with nuts to fix the spacer to the hub. Then the wheel bolts straight on using normal wheel nuts.
-
Markssupra's HKS Big Twins Aerotop project.
Kaan W replied to markssupra's topic in mkiv Supra Projects
Nice work Mark, everything looks so clean and new. This is gunno be an amazing machine when finished so much attention to detail looks great -
Kaan's SRD1000S - 3.4 Stroked Wide Body Project!
Kaan W replied to Kaan W's topic in mkiv Supra Projects
Thanks everyone It really does look awesome in the sunlight with a different shade at each angle. I cant wait to see it done That was my fault We had about 5 minutes of sunlight so I was rushing them to compare the 2 colours but both panels need flatting back and primering anyway as it was just a tester. Thanks mate -
STAR T67R ~ 1.8 bar ~ 755bhp ~ 596ftlbs at the hubs
Kaan W replied to Carbon_Bullet's topic in mkiv Supra Projects
Love the carbon bits, the seats go with the interior well. Good job -
There's a proper tool for this, ive used mine several times and it works wonders in no time whilst keeping the paint work unharmed. http://www.ebay.co.uk/itm/290544377271?redirect=mobile
-
Kaan's SRD1000S - 3.4 Stroked Wide Body Project!
Kaan W replied to Kaan W's topic in mkiv Supra Projects
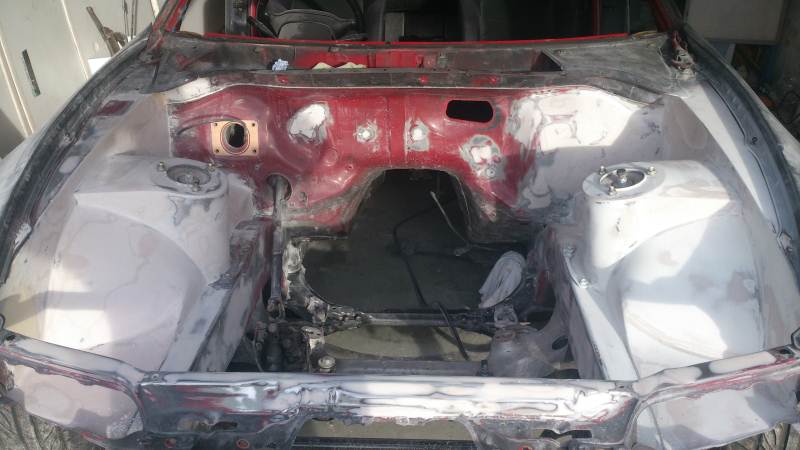
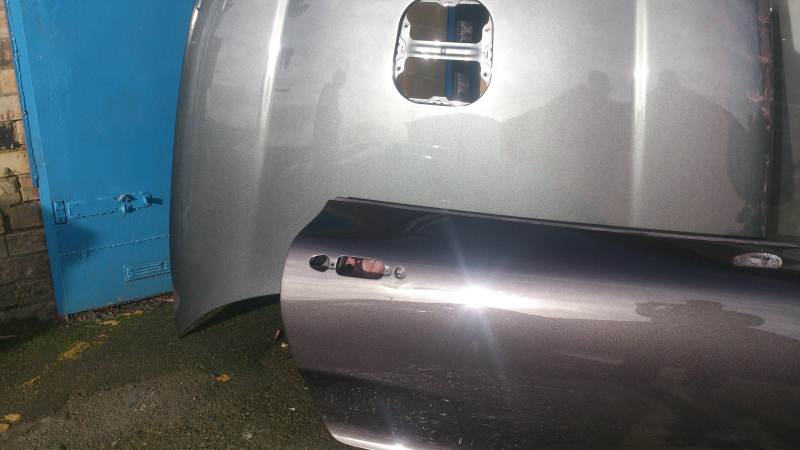
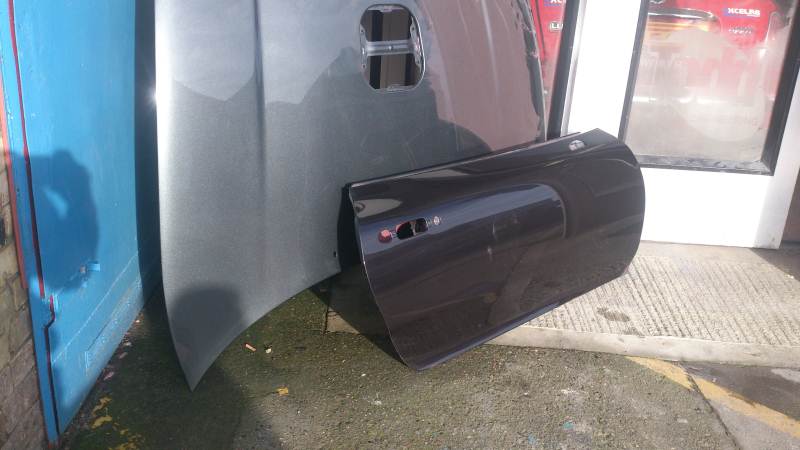
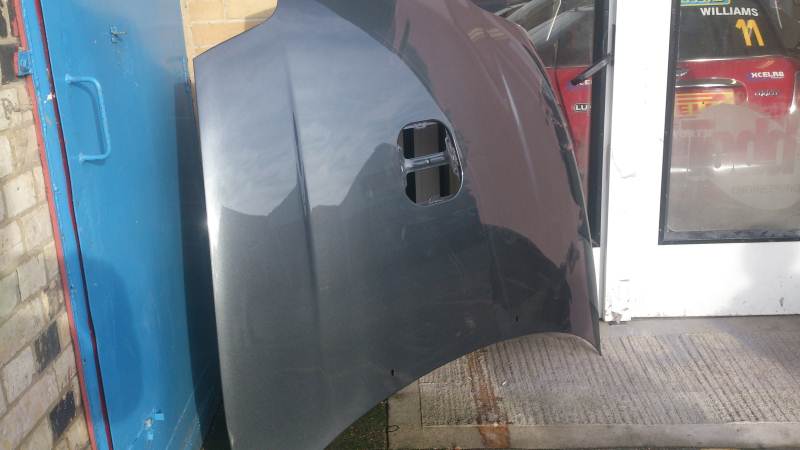
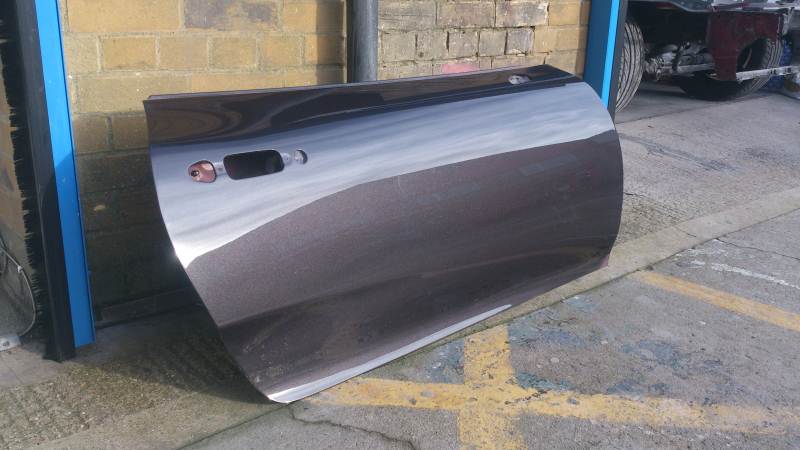
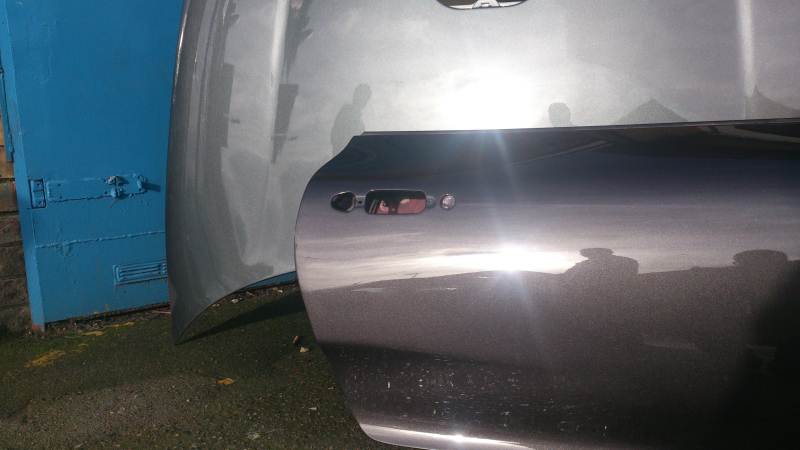
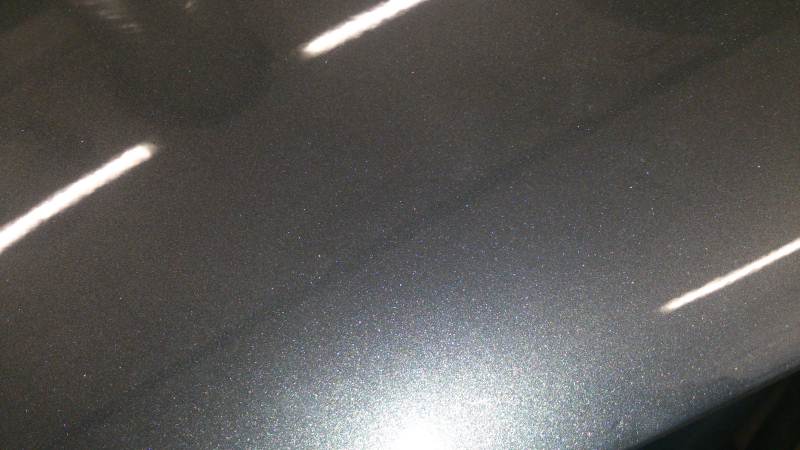
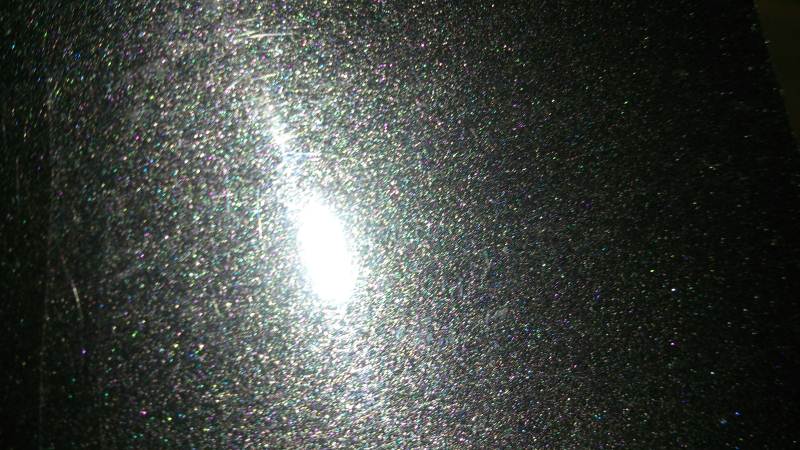
The car is now over the body shop where the doors, boot, bonnet, glass etc has all been stripped off, the rest of the engine bay has been finished off ready for primer and the body is prepped and ready for primer too. Now for the colour I had two panels test sprayed as I couldnt quite decide between the two from the colour chips, personally I think the dark pearl Grey looks much better than the light Grey. Whilst lucky enough to catch 5 minutes of sun today we had chance to see the real colour of the two panels side by side and I must say in person the dark Grey looks stunning! Im really intersted to see how this looks on the entire car especially the engine bay. I think it will look quite brutal but elegant Light Grey Dark Grey Comparison Closer picture of the darker colour, love the pearl effect