Mike2JZ
-
Posts
2660 -
Joined
-
Days Won
55
Content Type
Profiles
Forums
Store
Blogs
Events
Downloads
Supra Articles
Gallery
Everything posted by Mike2JZ
-
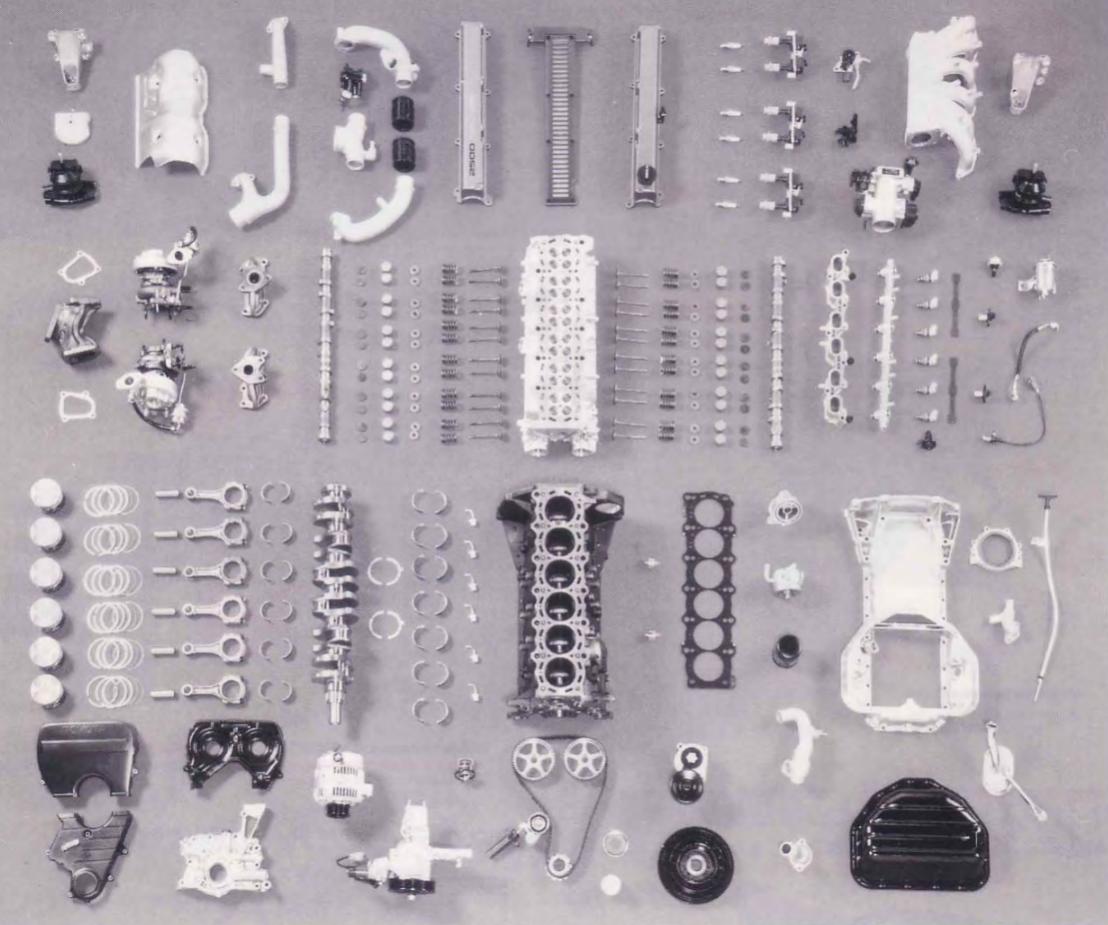
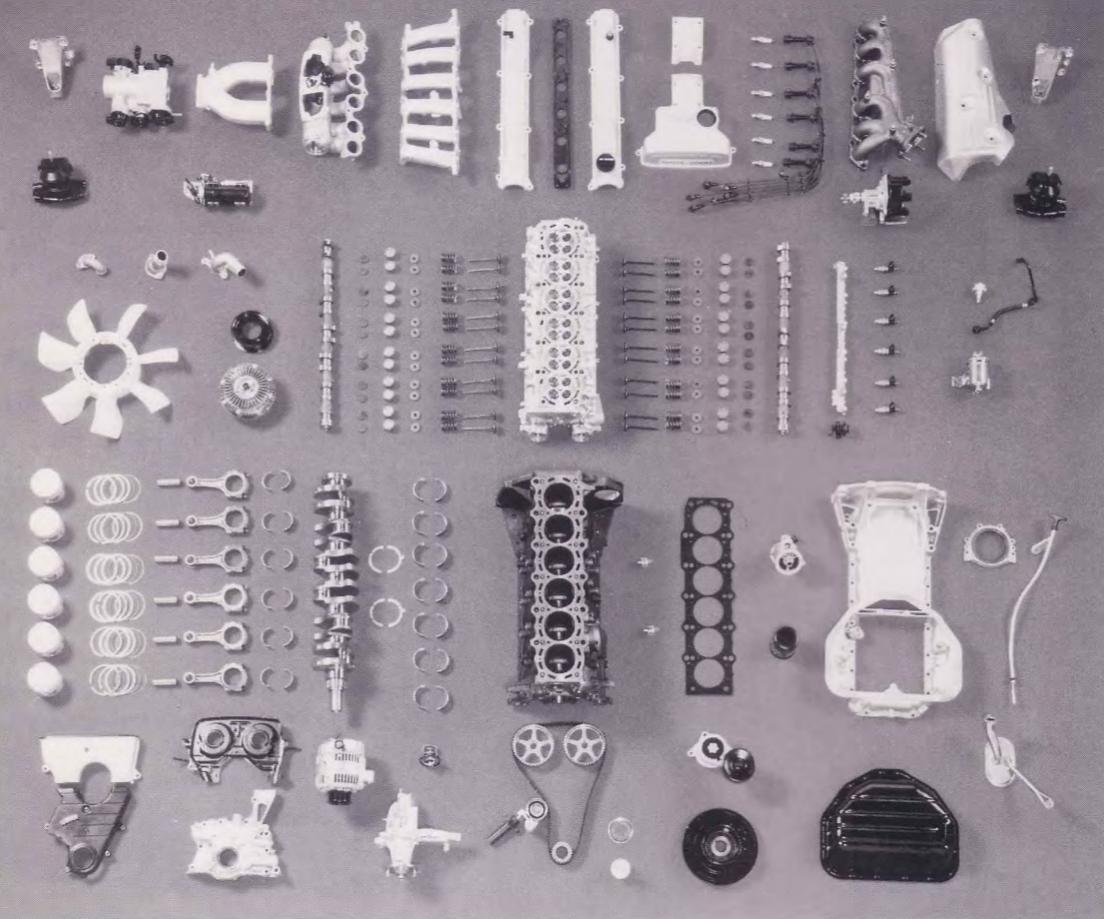
Found some nice photos of pretty much all the parts that you would find inside of your engines, haven't seen it before so thought I'd link it here. Photos show the innards of the 1JZ GE & GTE, but the architecture shared between the 1J and 2J still means that most parts you are looking at below will be relevant. Anyone seen photos like this of the 2J? How many can you name GTE GE
-
You could break it for a little more, so still not stupid money.
-
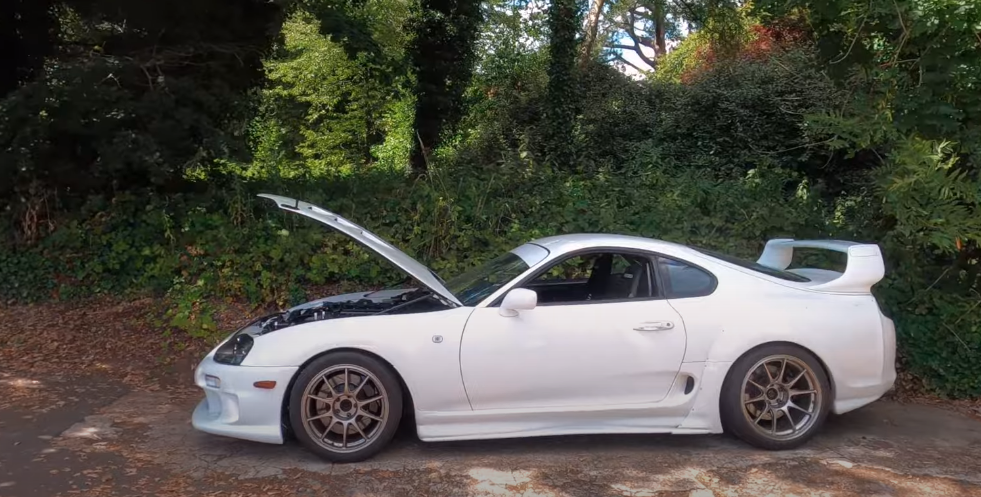
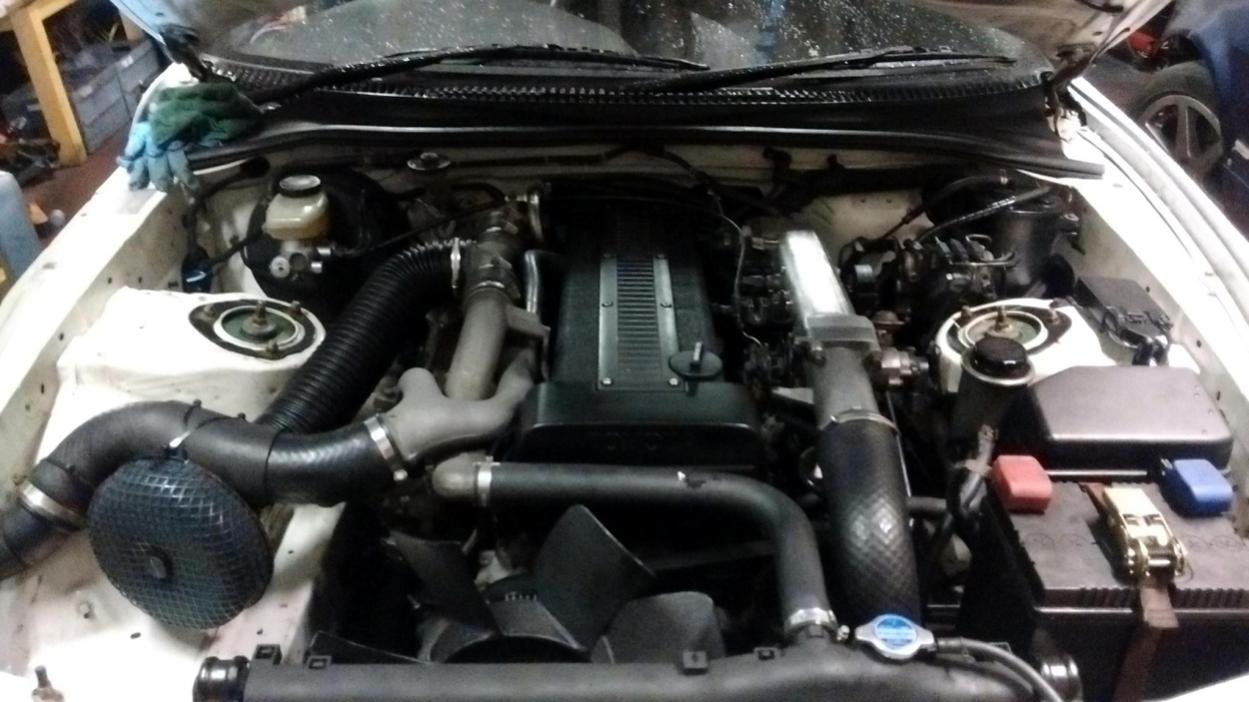
Cheers guys. Had some time to finish off the job last night. Loving these super quality photos Got a HKS mushroom filter for the intake. Held on with cable ties for the moment, need to make a bracket to attach it to strut tower next. Driverside sills straightened, stripped, undercoated, painted & undersealed. If I even see someone try to jack up off the sills now I'm going to go berserk. Floor pan is welded, sealed, undercoated & painted now. Not the worsts best paint job, but it's going under a carpet so meh. Can clean up the floor from all the crap on it and stick the carpet back in now.
-

6Speed Aerotop Single Turbo Project Aurora (PICS!)
Mike2JZ replied to Hitbox Junkie's topic in mkiv Supra Projects
Lookin good dude. Whats the ETA to get everything in -
They will be fine
-
The pulley can be changed, bit of a hassle as there are some C clips holding it on but not impossible.
-
Get a new rotor, I've never seen a rotor so worn. This is what it should look like new: Error 41 is to do with your TPS. Are you sure you plugged it back in correctly, as that error suggests that either you haven't plugged it in or there is a deeper issue.
-
Put a long screwdriver on the aux tensioner whilst car is running and I bet you can hear that clicking very clearly through it
-
Take the belt off and see if the noise persists. If it doesn't then you know it's something on the aux belt. From there you can take a long screwdriver or oscilloscope and put it on the different auxiliaries and listen to see where noise is coming from.
-
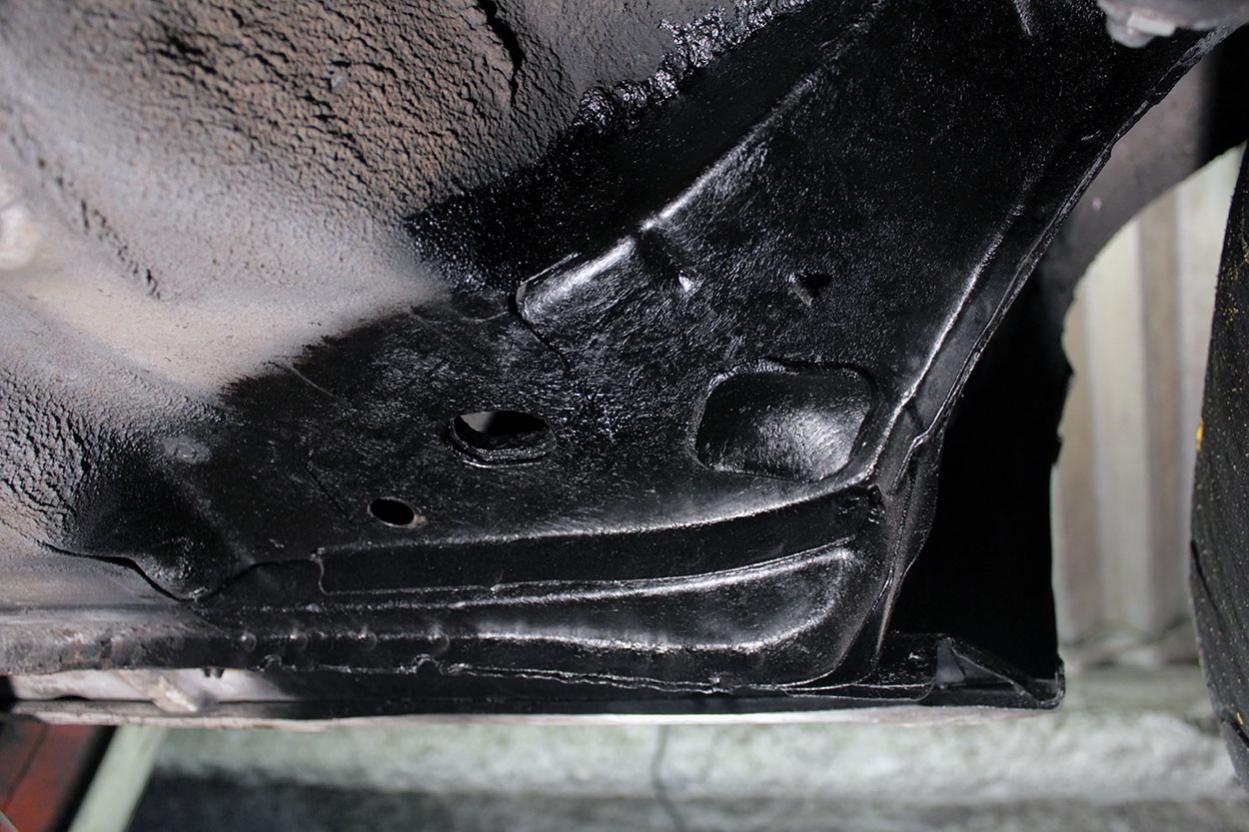
So with the sills straight, I figured I might as well strip them down and primer/paint/seal as they were looking a bit tired. Really need to invest in some ear covers as that bloody wire wheel grinder has made me deaf again getting the sills back to bare metal. From bare metal, I applied anti rust treatment, followed by zinc etch primer, one coats of black base paint, finished with one layer of underseal. End result is like this on each corner of the car now Ran out of time this weekend, just need to finish off the middle sections of the sills, tidy up/repaint the interior floor pan area and then it's bodywork/paint time (yaaaaaay)
-
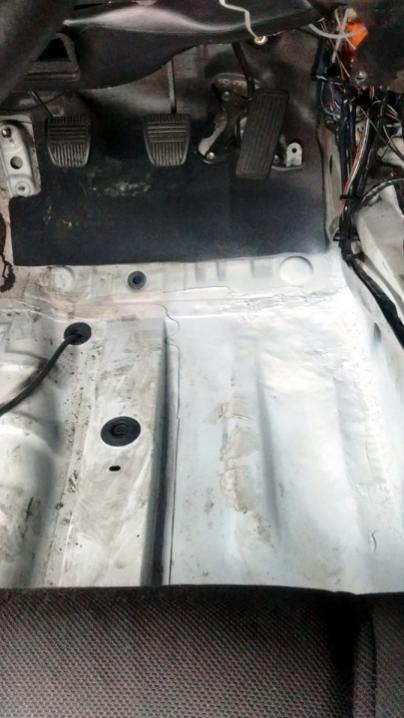
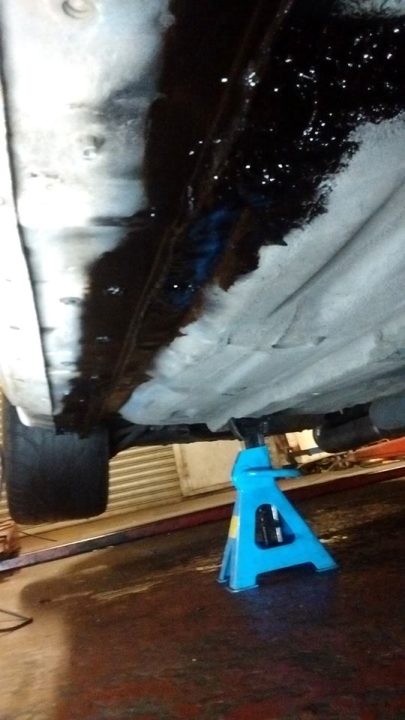
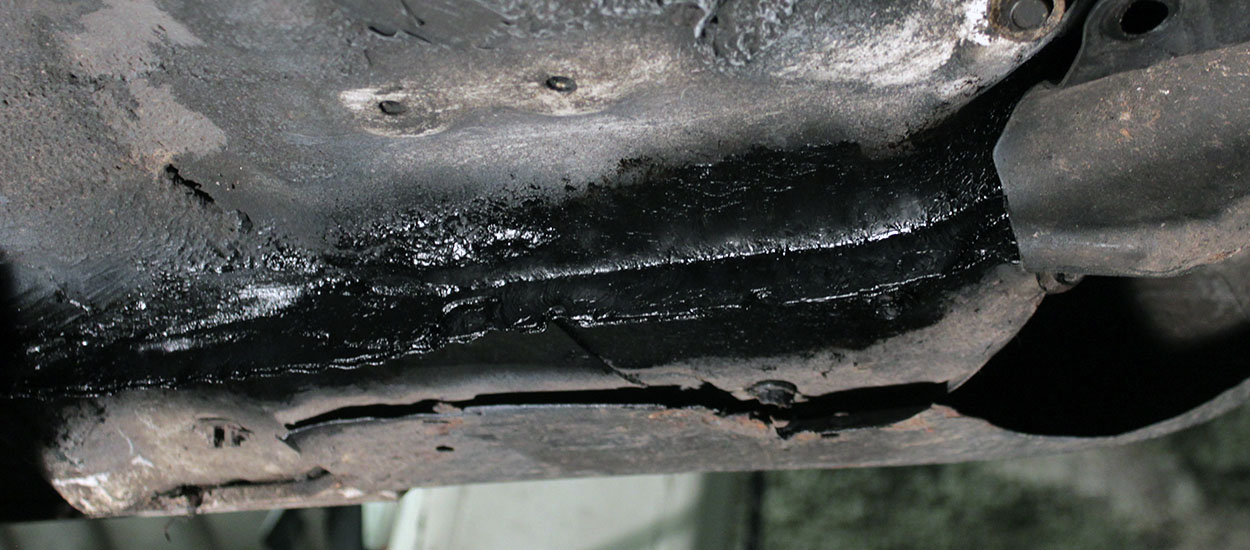
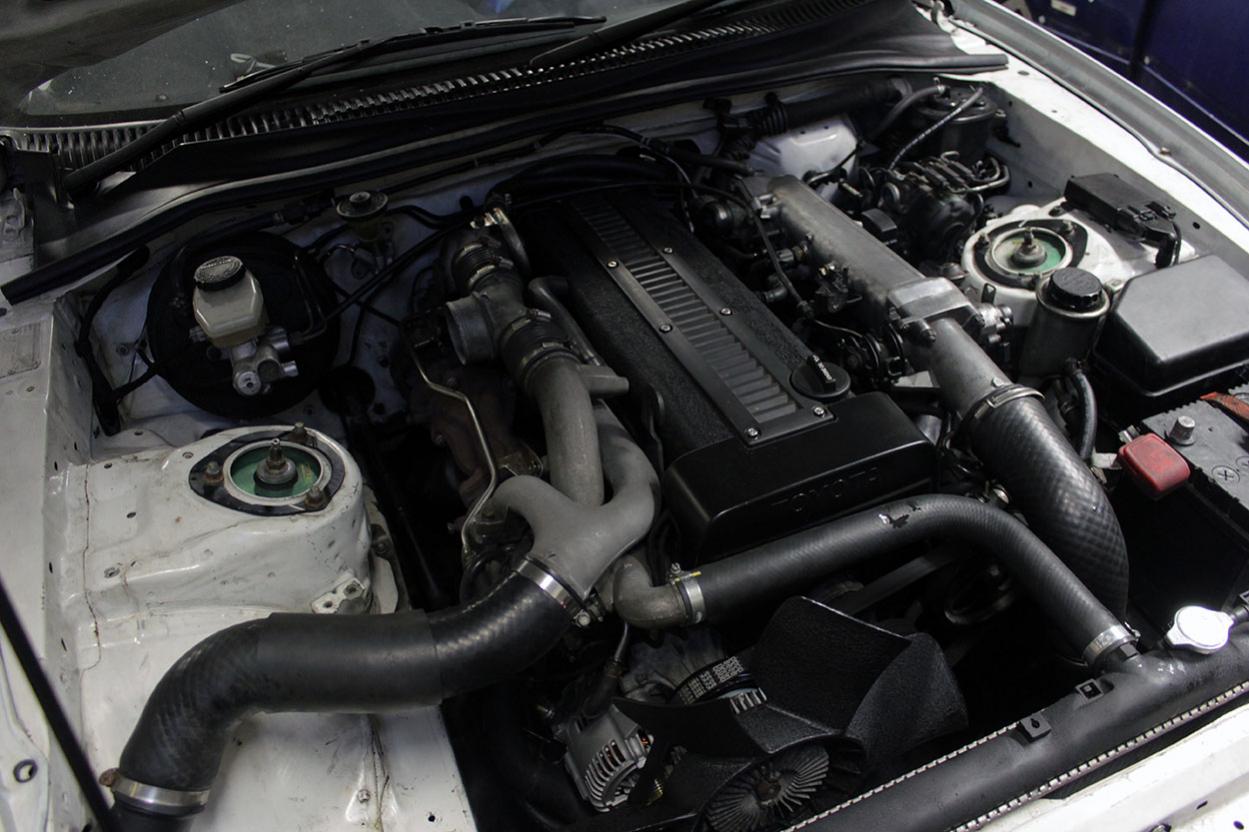
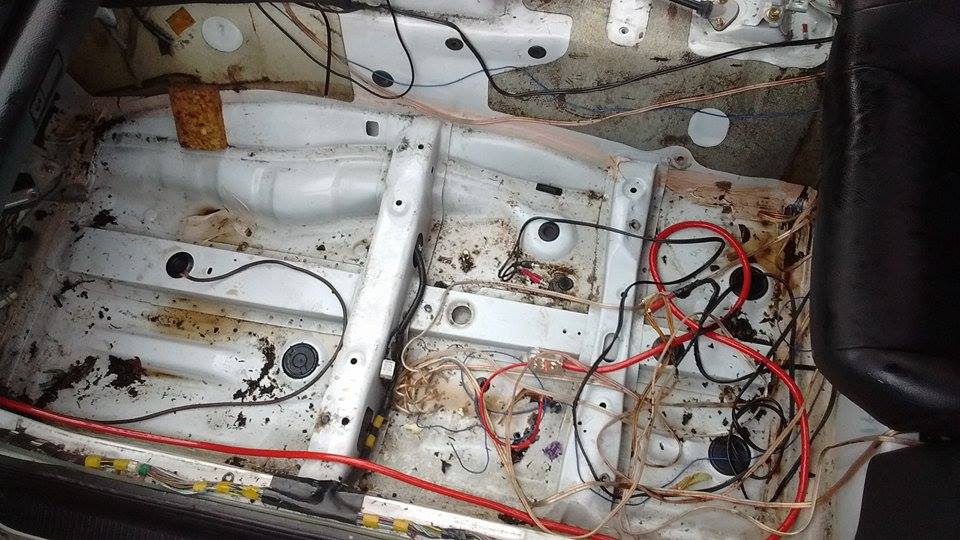
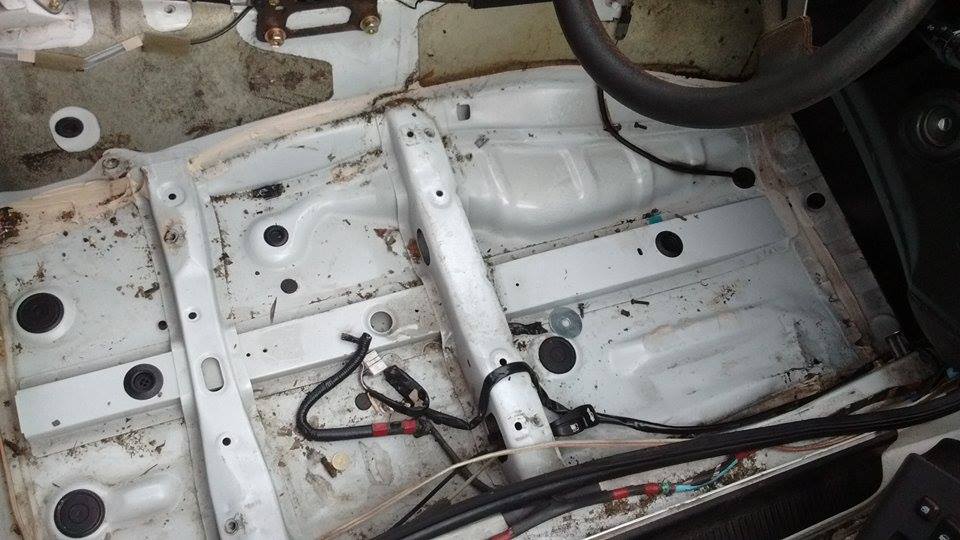
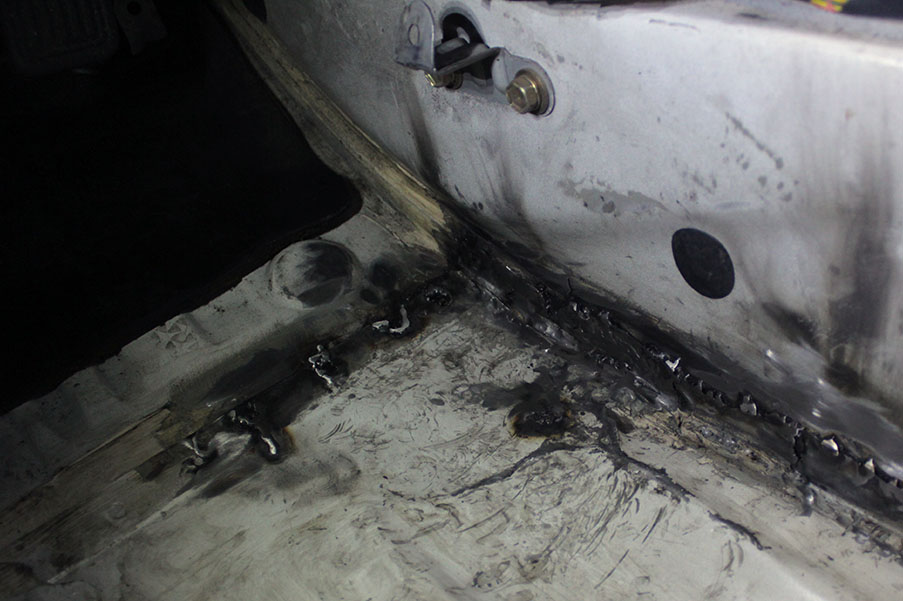
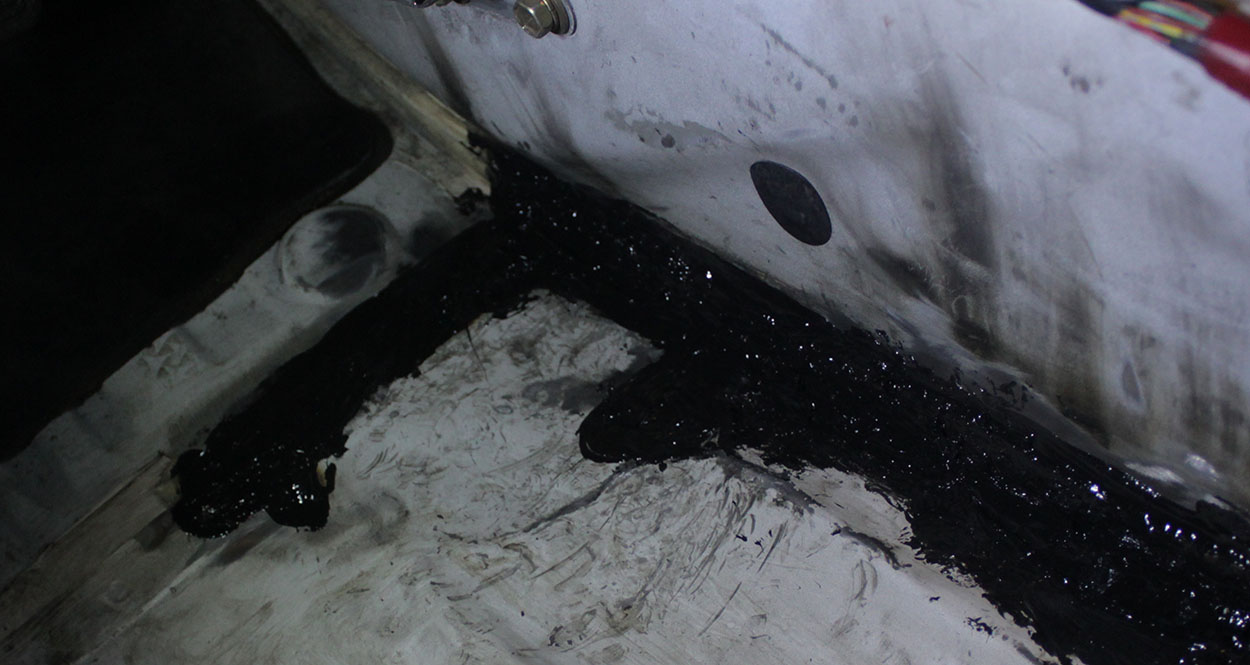
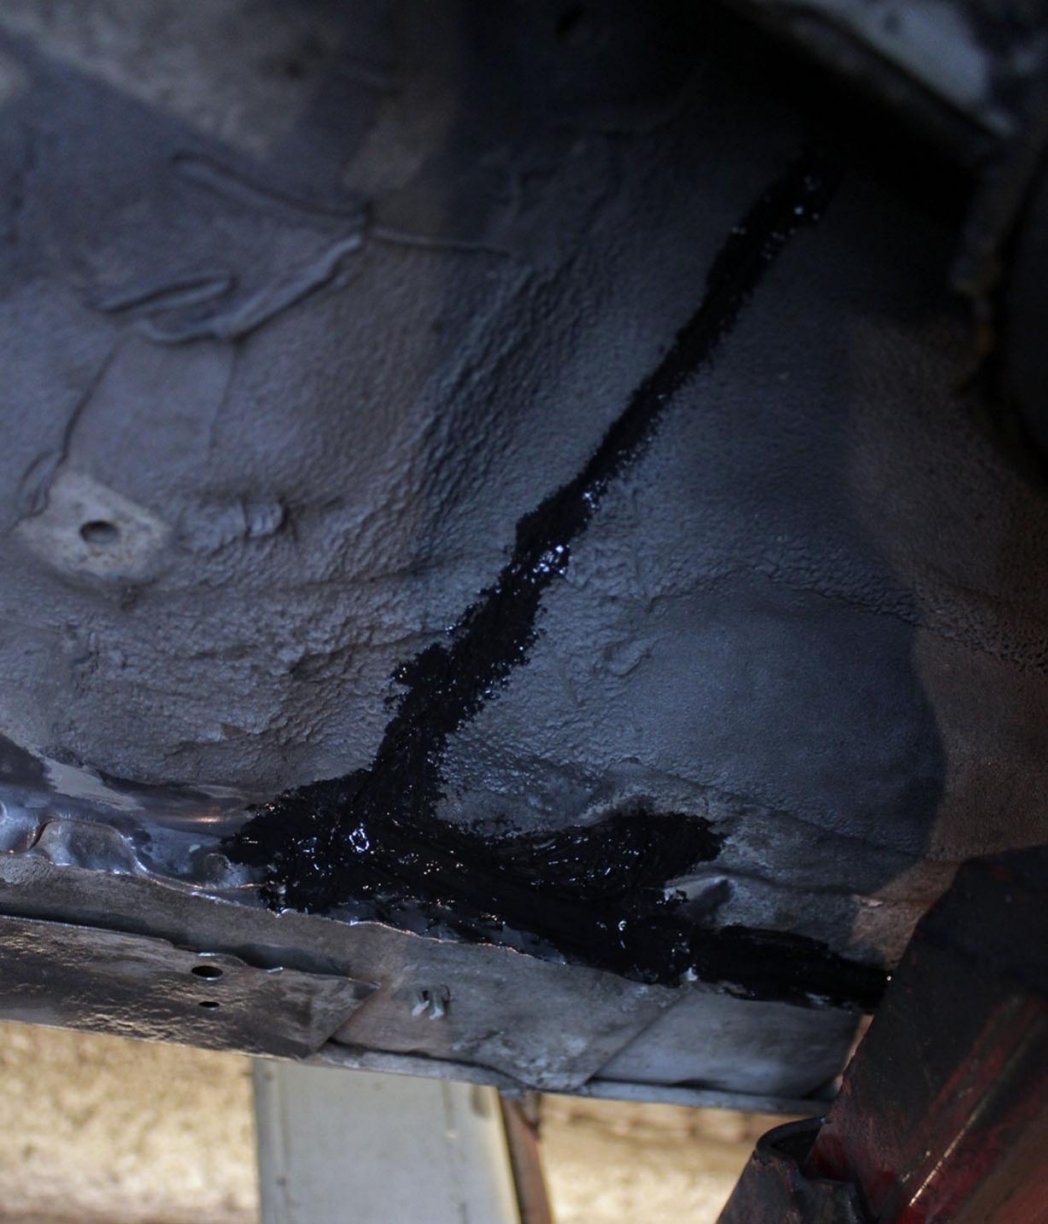
Whilst waiting I also started to tackle the loom. Last owner had made a mess of the loom, plugs missing, weird splices etc etc Don't think I have any photos of the mess, but I stripped the whole loom back, isolated each wire, checked continuity & redone a load of splices according to translated japanese wiring diagrams. Thank god for Wilbro666 Wrapped the whole loom in tesa automotive high temp tape as it worked really well when I did it on my 2JGE. Means I can also remove the whole loom without removing the 1J inlet manifold which came in handy as I had to remove to loom twice already to sort out little niggles. Loom test fit & connector test pre-wrap. Again I've got a lack of photos. But eventually I got the bits I was waiting on and had sorted out the loom for the final time and everything went back in. Plumbed everything back in as it should and was left with Fits nice! Engine is running nicely now, just need an air filter to finish off the engine bay for the moment. With the engine and drivetrain pretty much sorted at the moment, I moved onto preparing the chassis and bodywork. First I stripped out the carpet from the interior to see what was hiding underneath. Driverside Passenger Both sides were ok, nothing shocking that I could find or that a quick clean wont get rid of. Bit of old coolant on passengerside from where I guess the heater matrix let go before. Suprised it didn't rust that whole area, got lucky I guess. Aside from being interested what was sitting under the carpets, I also had to sort out a bent floor pan on the driverside where some muppet decided to jack the car up from. (may or may not have been me) Had to break some of the stock spot welds to get enough leverage on the floor in order to get it bent back to follow the floors normal shape, before welding it back. Not super pretty, but that pan is sealed again Went a bit OTT with the seam sealer above and below, but rather have more then less! Just waiting on that sealer to dry properly before I can paint it back and start cleaning it up. Whilst I was under the car and dealing with annoying chassis bits, I thought now would be a good time to sort out the sills, as they had been bent in several places. Was dreading the worst, but it was a suprisingly easy job. Good old adjustable spanner followed by metal block + hammer got everything sorted in no time.
-
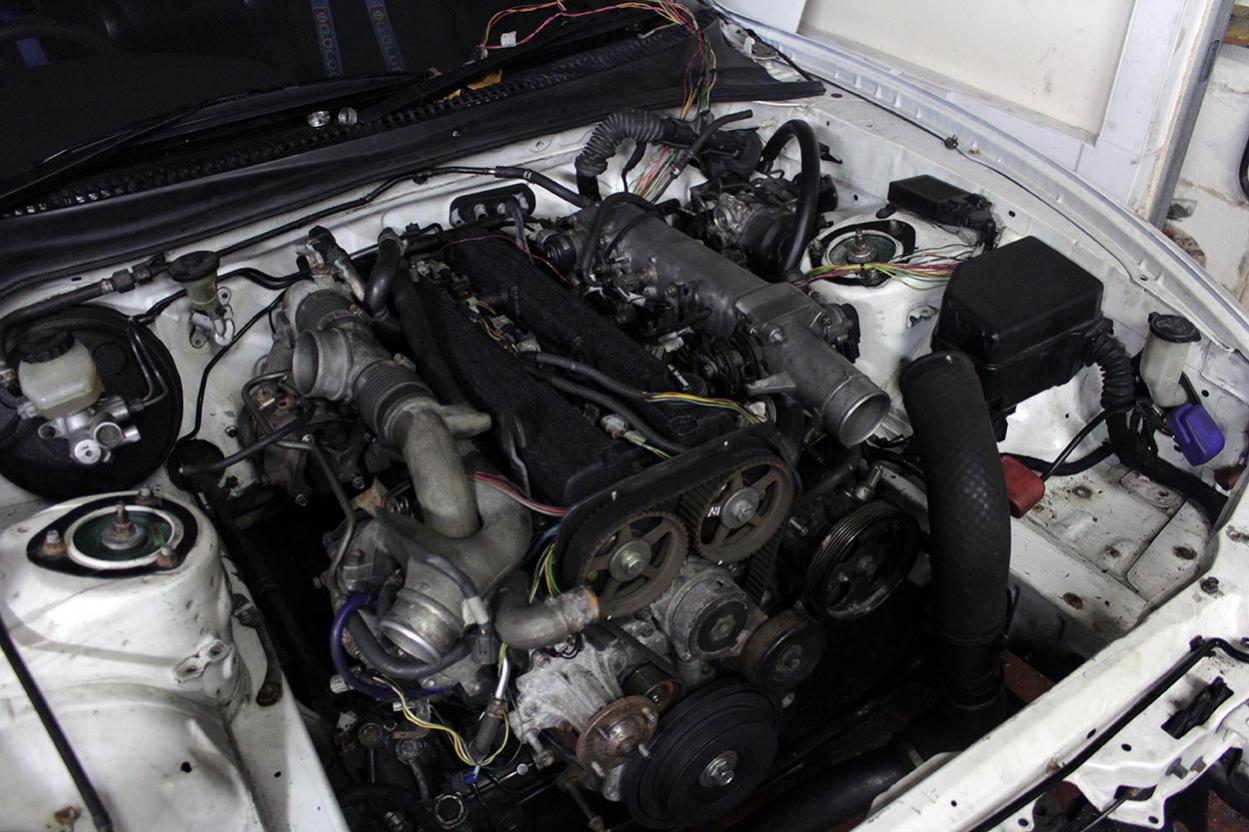
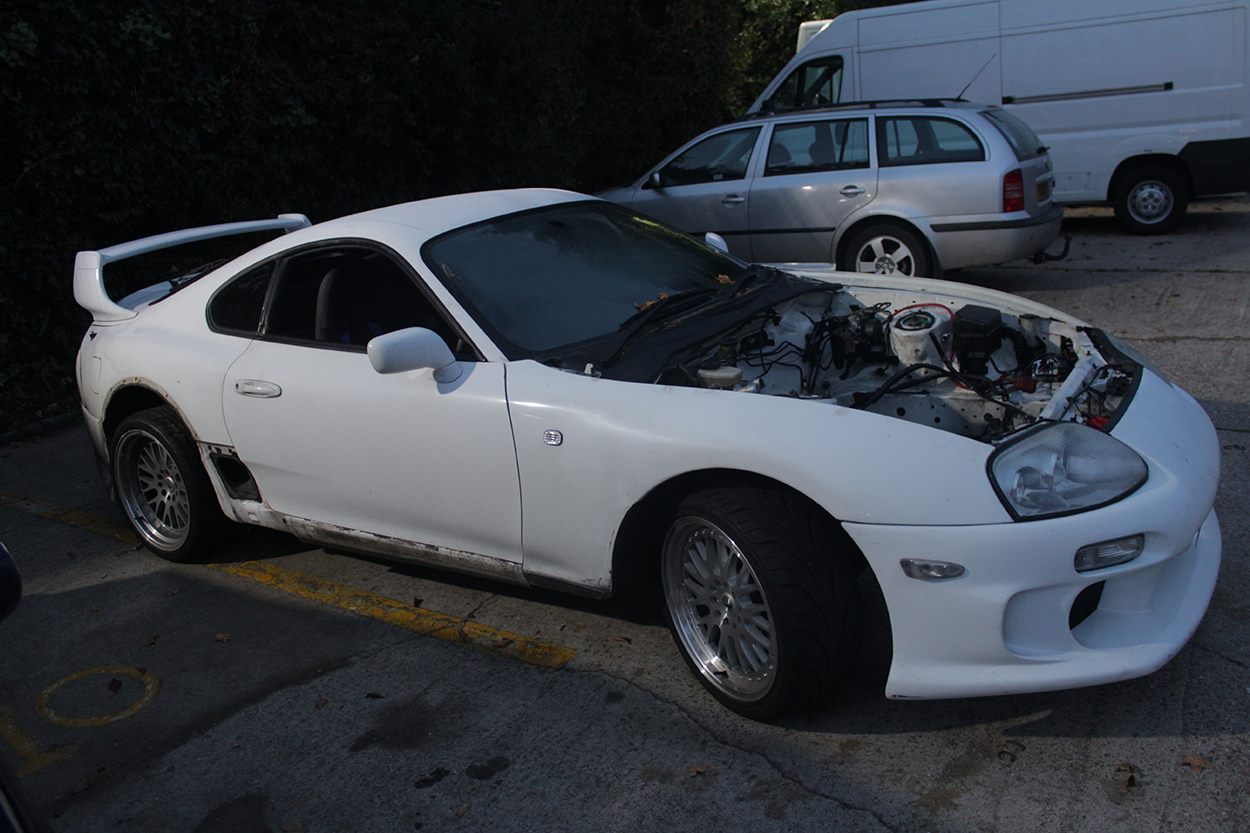
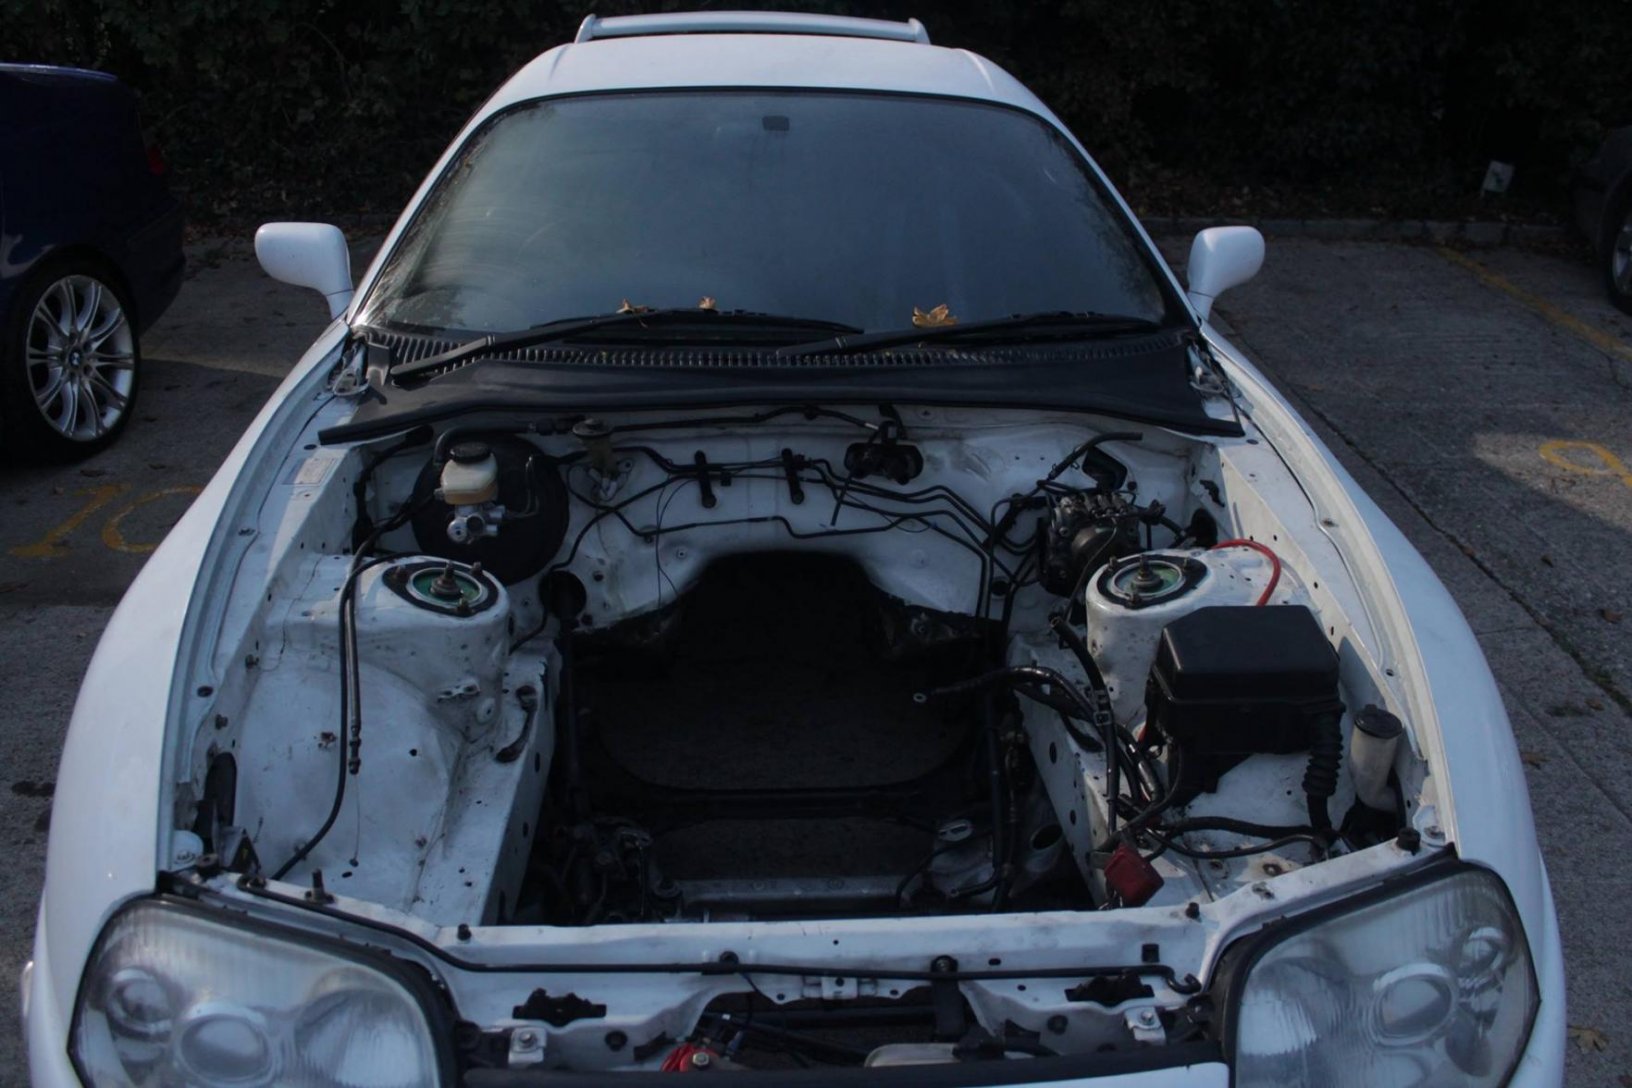
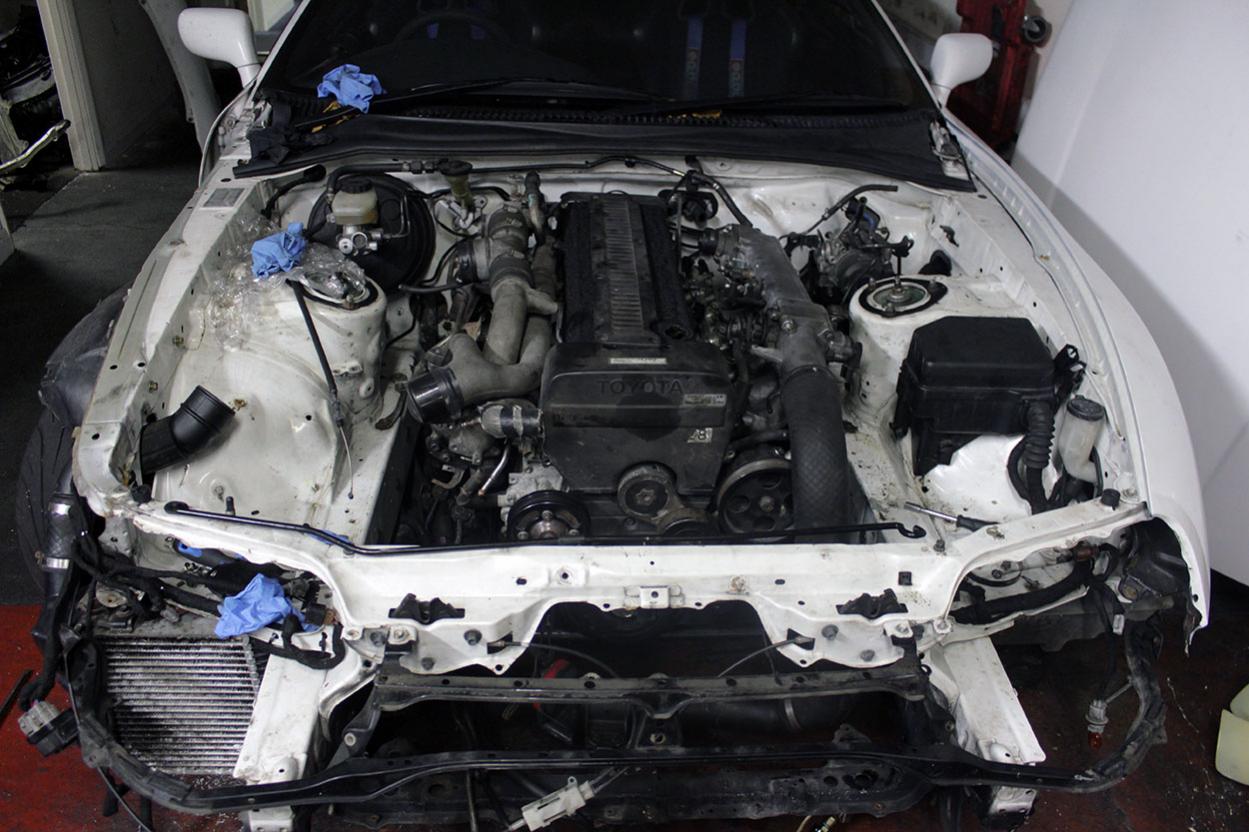
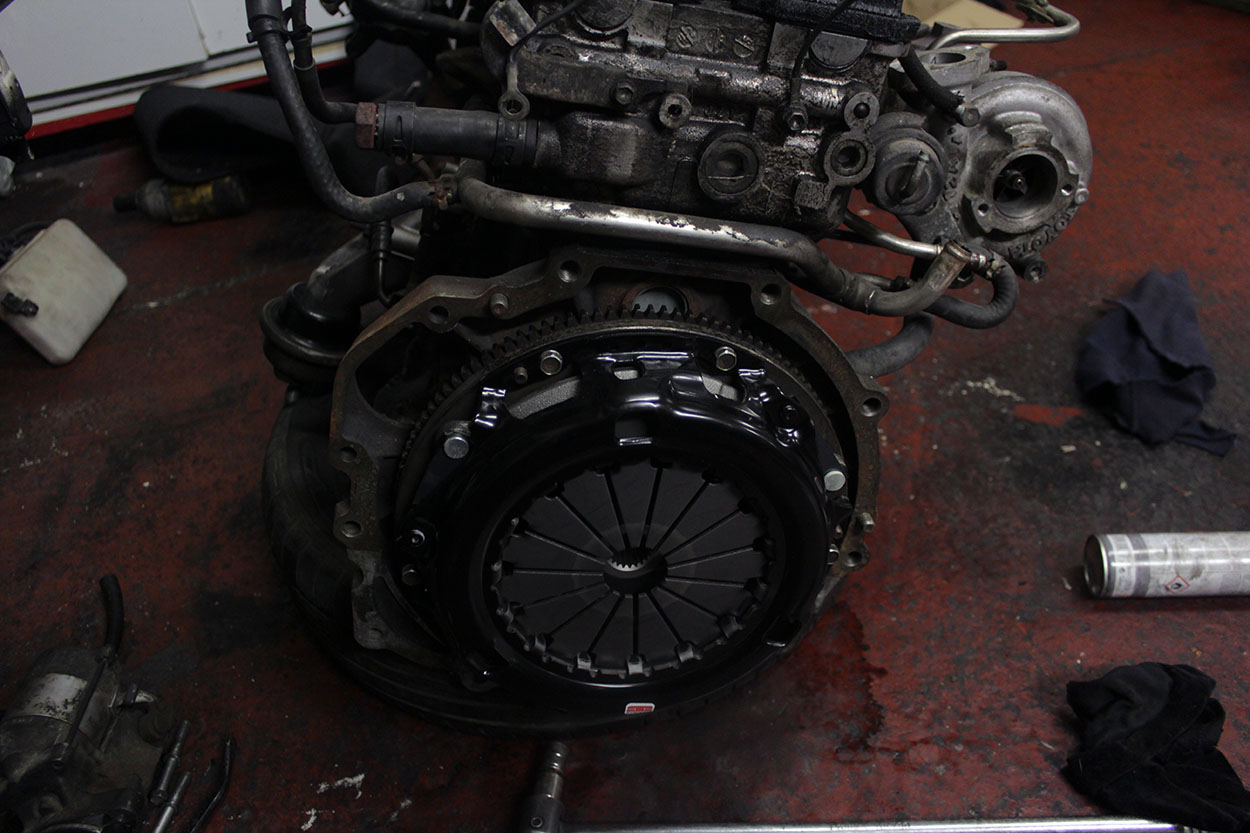
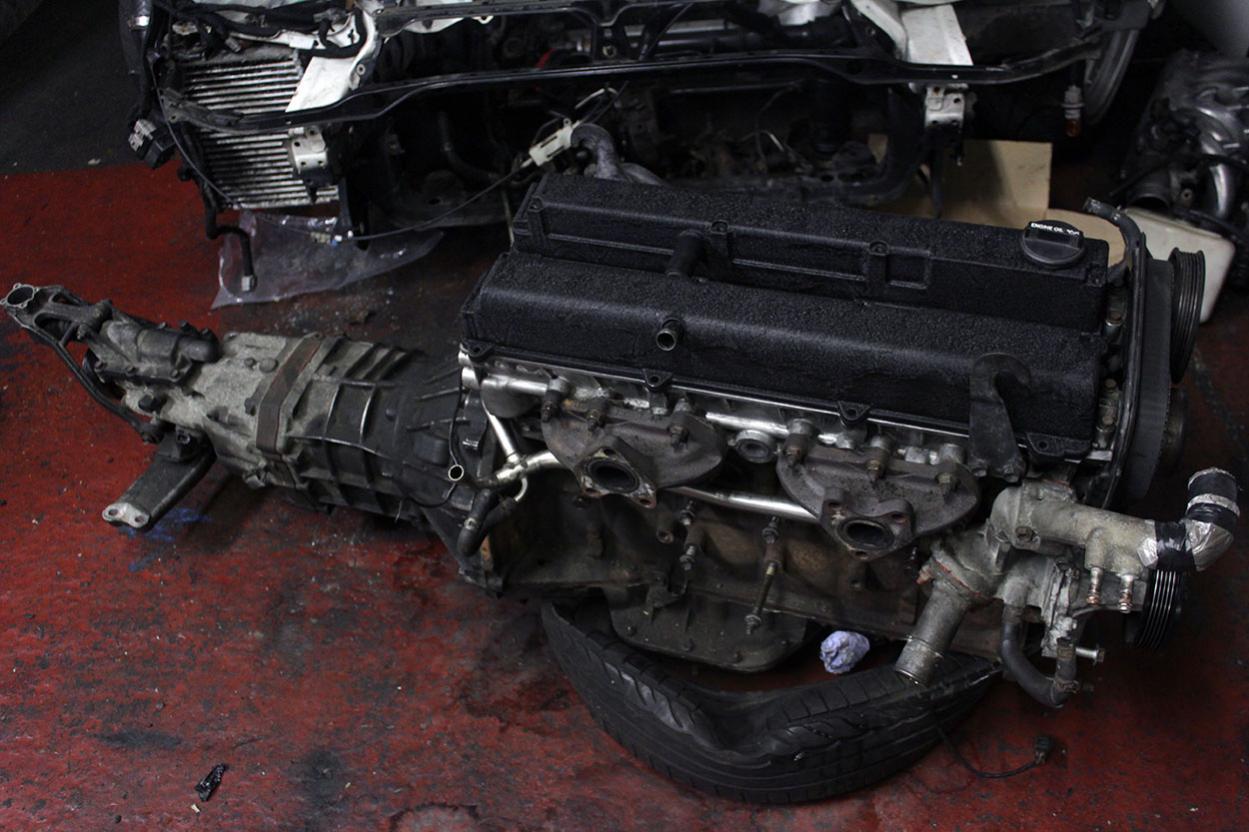
Been a bit crap at keeping on top of the build log lately so here's the recap. The two main parts to this phase of the build was the 1J engine and a ridox widearch kit. First off, before any work could commence. One last burnout with the GE engine and to kill off what was left of the 2016 tyres. With the formalaties out of the way, the strip down begun. Veilside skirts off and engine out The new 1J was pretty straightforward. I didn't really take much photos of the process but the rough list of things I had to do: - Clean up rocker covers/paint/new gaskets - Check valve clearances (all came back within spec) - Previous owner used the 1J on the track and had a number of the water ports blocked off, so had to get some new hoses and a block outlet from toyota before the oil cooler and heater hoses could be done - Attatch turbo's, connect oil lines etc. - Install new engine mounts that would fit the 1J mounts. - New 02 Sensor - New turbo Y pipe - New alternator - Full service - Oil pressure block adapter - Install SMIC + piping Quick test fit With everything fitting like it was meant to be, the engine came back out ( i had some time to kill in between ordering parts ) Wasn't feeling confident that my old clutch was going handle the 1J, so get a new competition clutch stage 3 kit and a new braided clutch line from master to slave cylinder. The the gearbox could go back on. I think I was still waiting for the turbo elbow to arrive at this point, so turbo's back off and engine got a basic clean as I had two weeks to kill waiting for the bloody thing to arrive.
-
Why? Oem radiators can support big horsepower supra's, their radiator cores are a lot denser then most of the ebay crap ally rads. Or do you just want it bigger for the bling factor?
-
TCB parts do an oem auto replacement rad for £100.
-
Just FYI, if you are planning on changing the shields. In theory they are held in with bolts. Most I've seen are seized on there for good thanks to 20 years of heat cycles. So be prepared for a bit of a fight unless you get lucky.
-
Just had a read through the whole manual, should be put under repair manuals on our sections, quite a few good bits of info and diagrams there that would of saved me so much time in the past.
-
Nice find.
-
I've never once mentioned the forum, but over the years they have always given me the max discount they can per part as I'm always returning. Try another dealership
-
Don't worry someone is going to buy his knackered chassis for 60k in 60 years from now cause it has the right vins. Playing the super long game on this one.
-
You talk so much rubbish sometimes. 1JZ and 2JZ GTE VVTI's are non interferance from the factory.
-
Aside from the cool factor that they are factory originals, I absolutely hated mine. Look terrible imo
-
If you are just running pump petrol then why do you need specs? Not like you have e85 running through the lines
-
Might want to edit your post then as what you wrote before is a contradiction to your last post.
-
Never a good idea to block one side of the PCV system imo. Either connect it to the catch can system or leave it as it was stock.
-
Pretty simple. If you are planning on using the stock outlets, then measure them and order rubber hose to size. Connect to catch can and go (make sure your catch can has suitably sized ports). Routing back from catch can to intake is optional. However. The stock pcv valve on the passengerside of the engine closes under boost (especially if you are single turbo), which doesn't really help with nicely distributed pressure release. Keep this in mind if you know your engine suffers from a lot of blow by pressure. For a stock TT, I doubt it will cause any realistic issues. Ideally you want to weld in an AN adapter on in place of the stock PCV outlets in order to remove any possible pressure reliving restrictions for blow by gases.


