-
Posts
506 -
Joined
-
Last visited
-
Days Won
11
Content Type
Profiles
Forums
Store
Blogs
Events
Downloads
Supra Articles
Gallery
Everything posted by J-Meiser
-
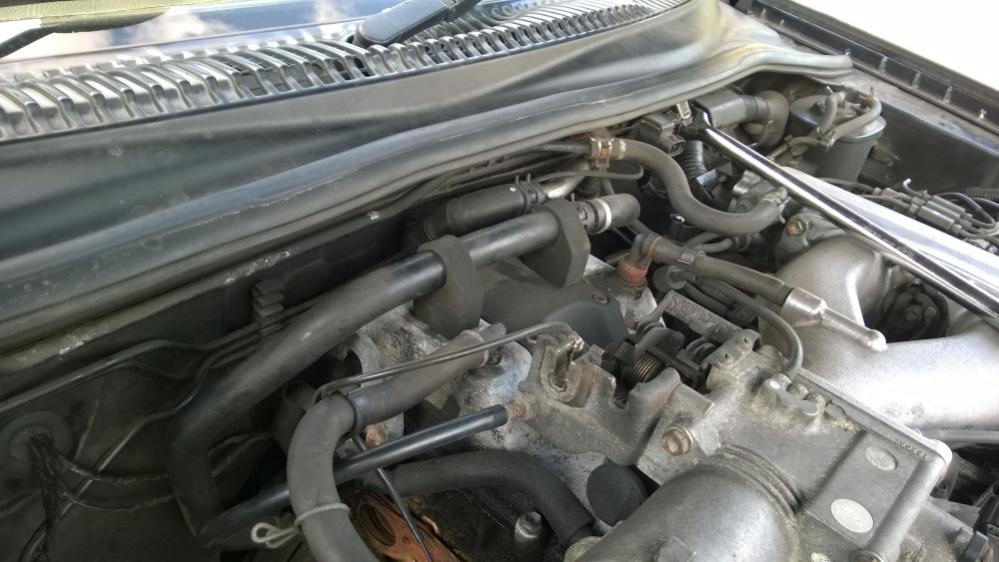
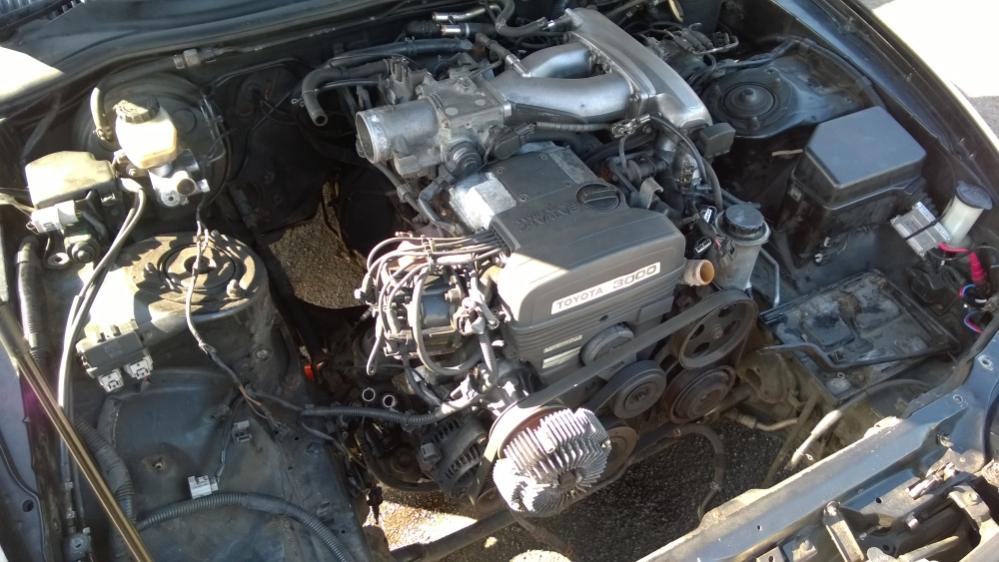
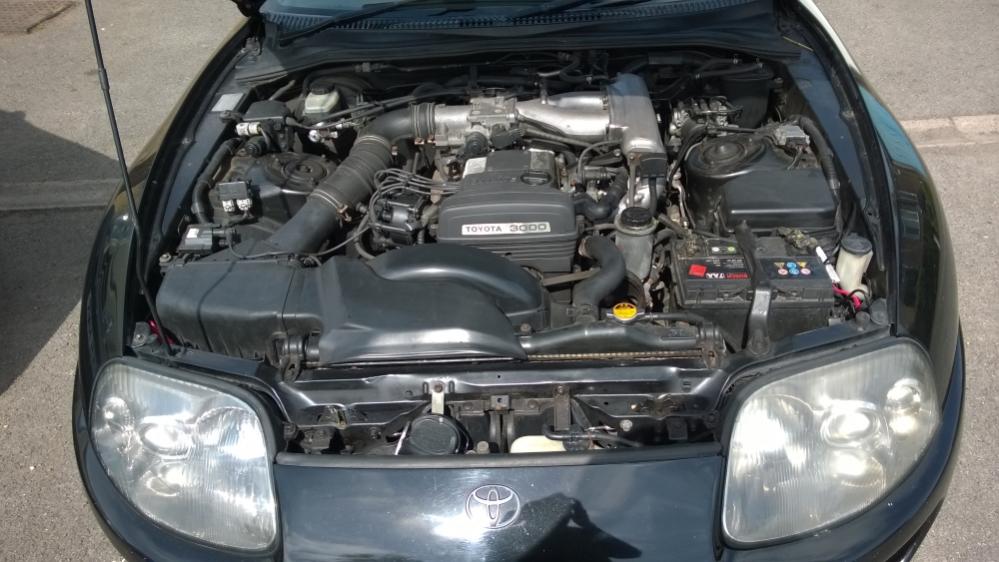
Over the past few days I have managed to get a few bits done, but not quite as much as I wanted to . Tuesday was the first time I was able get back out onto the Supra since swapping the engines on Saturday and I couldn’t do any of the underneath stuff as the weather wasn’t playing ball . So, I was consigned to garage and mooched about doing whatever I could. During a break in the rain, I cut the ends off the 2JZ-GE loom as I am going to need them to complete my adaptor. I didn’t take many pictures as I was busy seeing what fitted and what didn’t; by the time I remembered to take some I was nearly ready to wrap up and head indoors. However, here’s what I managed to achieve and a couple of accompanying pictures : Shortened the heater hose going to the heater matrix as it was far too long. Fitted the ignitors to the passenger side of the bay. Started wiring up the loom to the fuse box. I swapped the main live/positive cable on the 1UZ loom with the one from the 2JZ, as that cable fitted to the fuse box in a better way than the one that came with the 1UZ loom. Discovered that the Supra accelerator cable is both far too long and too short to be of any use :/ and cruise control cable is a bit too long and doesn’t have the correct end on it to fit . I kept the cruise control motor and cable from my Soarer, but I didn’t retain the accelerator cable, so I’ll see if I can do anything with the cruise control bits from the Soarer over the next few days but the accelerator cable, hmmm… (I am open to suggestions! ). I faffed around for ages with my gas bonnet struts but I couldn’t fathom how to fit them properly, in the end I gave up and decided that I would tackle them at a later date. That was it for Tuesday, so I took a couple of pictures at the end of my session and left it there. On Wednesday, I was determined to make some headway! The weather wasn’t too bad, but I didn’t feel like taking a risk, so I was confined to the garage once again. I started off with wrapping up the ends of the loom in a plastic bag to make it easier to feed through into in cabin. However, this actually made things more difficult, so after unwrapping it again, I fed the ECU connector into the aperture first, followed by the loom-to-chassis-loom connectors and with some persuasion, they went through! Once they were through, I had second thoughts about the way I had connected the Supra bay loom to the alternator and decided to clear out any excess wiring. I then moved onto the vacuum connection at the rear of the inlet manifold. Now that it is redundant, I needed to block it off, so I recycled the one-way valve and the bit of pipe that was used for that same connector but inverted their direction so no air gets in. I would like to find a more permanent solution, so once again, I am open to suggestions ! I decided to test-fit the Soarer’s stock inlet tract, so I dug the components out from the back of my garage and prepared to fit them. I had to move the MAF sensor from my decrepit remains of an air box to the one that I bought from Fruity_South last year . I believe that the air feed from under the headlight extends a little too far into the bay, as I could not get the air box and MAF sensor to fit onto the resonator’s flexible hose. Has anyone fitted one the stock air box from a 1UZ into a Supra bay? If so, how did you do it? I’d rather not cut anything if I don’t have to, but if needs be then I will. After trying numerous times, I figured I would look at it again with fresh eyes on another day, so I removed the air box, fastened down the charcoal canister and wrapped up there.
-
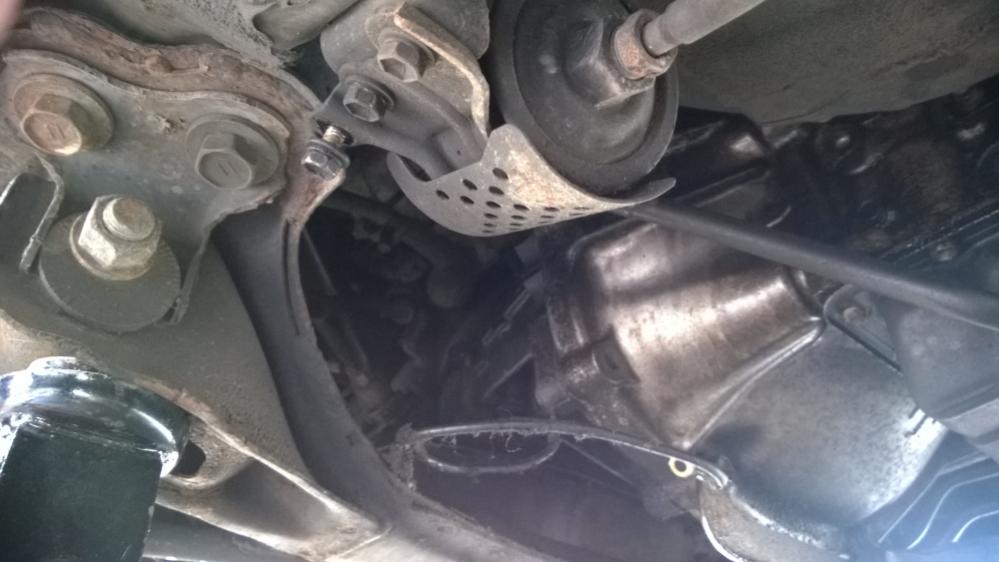
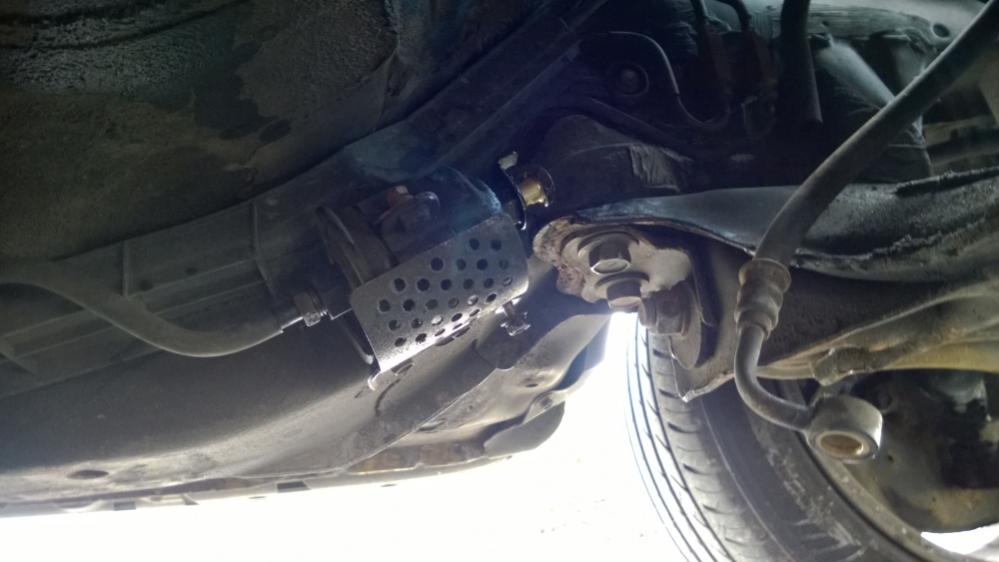
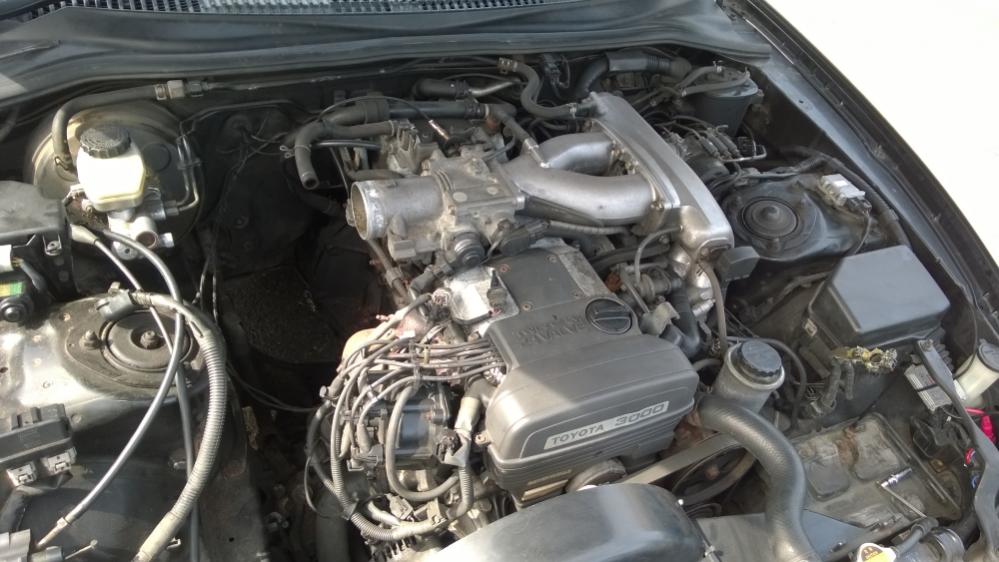
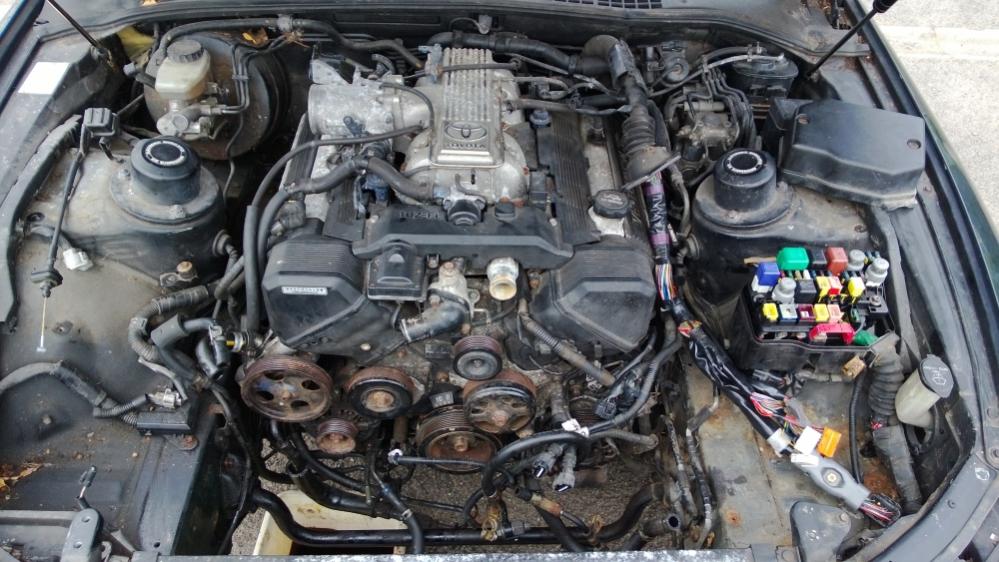
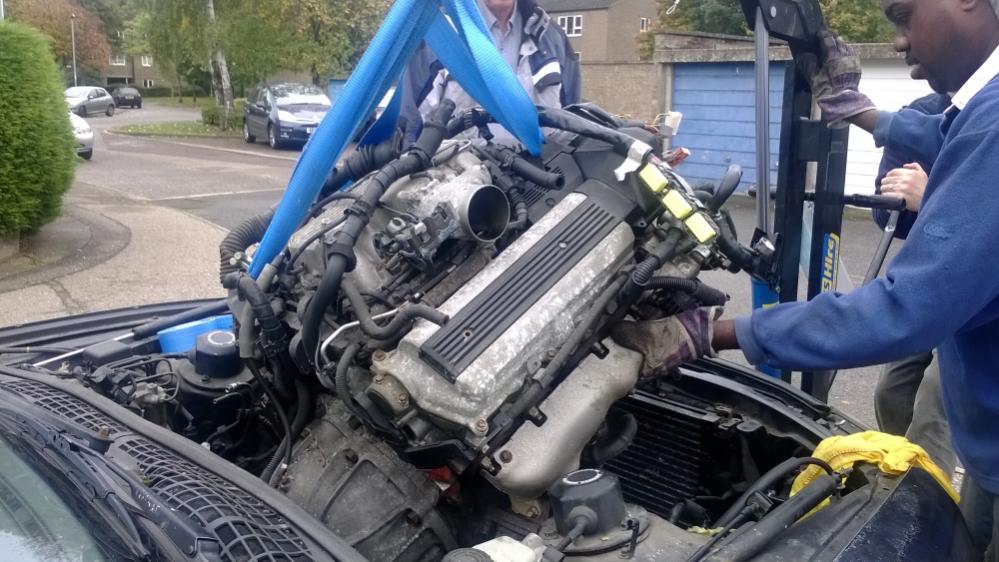
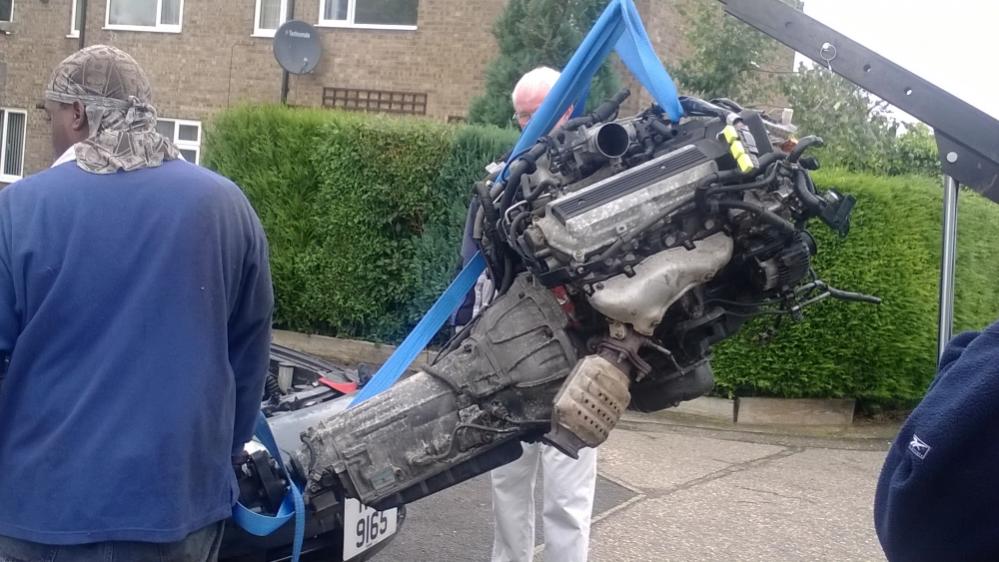
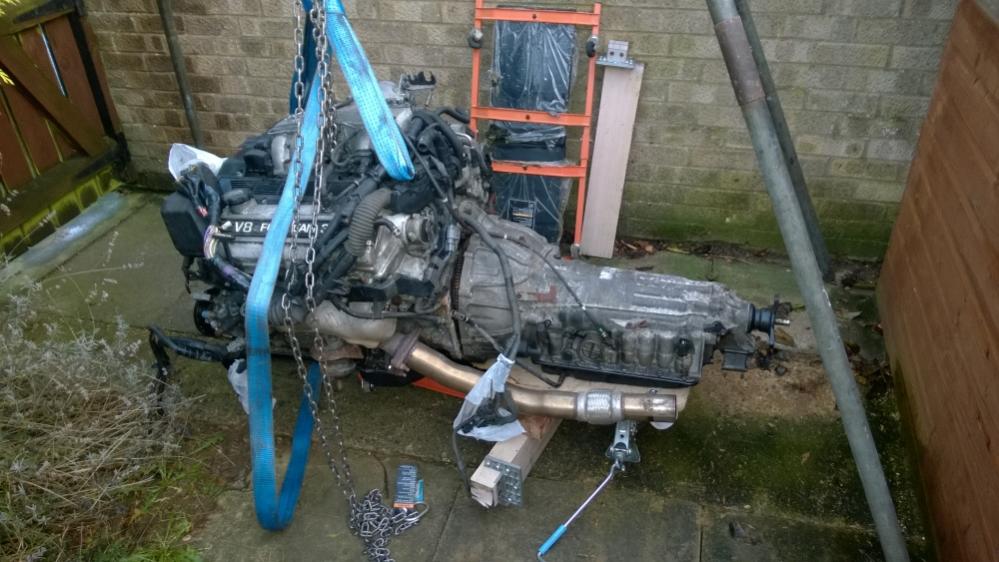
I won’t dwell on how I got the 2JZ out, as that has been covered many times before, however I will advise the following: Remove the driver’s side engine mount as that will catch the steering box. Raise the front of the Supra quite high, by placing the jack and a block of wood underneath the front cross member, that way you can raise and lower the front as required. Lowering the front whilst raising the engine will make life a lot easier. A LOT of (auto) gearbox fluid will leak out of the end, once the engine is tilted steeply enough, despite draining out the fluid beforehand. Have a large bowl ready beneath the end of the gearbox, ready to catch the excess and let it drain for a while. As long as all goes well, here’s what you should be looking at: In my opinion, lowering in the 1UZ was more tricky than lifting out the 2JZ; if I was to do it again, I would definitely remove the front bumper, as that would allow the hoist to get much closer to the bay; I was up against the number plate and worried that I was going to do damage to something . Getting the 1UZ in, it was a case of raising the front whilst lowering the engine and I would advise the following: Remove both engine mounts and secure them onto the cross member, as then you won’t have to worry about them catching whilst you’re manoeuvring the engine/gearbox. Have a second jack with a block of wood to raise the end of gearbox, that will allow the engine/gearbox to slide into position easier. Once it was in, I secured the gearbox using the gearbox mount, using the second jack to help lift the gearbox into position and then bolting in the engine mounts. I'll get some of my more recent activity posted shortly .
-
Thank you, will do Likewise! Actually, your timing was spot on, as that gave my wife and her parents time to sort out our daughter, have a reprieve and get some lunch . Once you left, I had a 5 minute break before we started on moving the 1UZ out of the garden and getting it ready to into the Supra . I may well do so in the not too distant future; I'll drop you a text or a PM, if that's ok?
-
Thank you very much Ant ! I'm quite glad that we got everything moved yesterday as I really wouldn't have fancied doing it today...
-
It's in !! Now the real work begins . It was also great to have Nellie1966 come by today with his sweet sounding (and looking) 1UZ-converted Supra ; great guy, we had an ace chat and seeing his Supra definitely gave me some food for thought .
-
I will bear that fact in mind
-
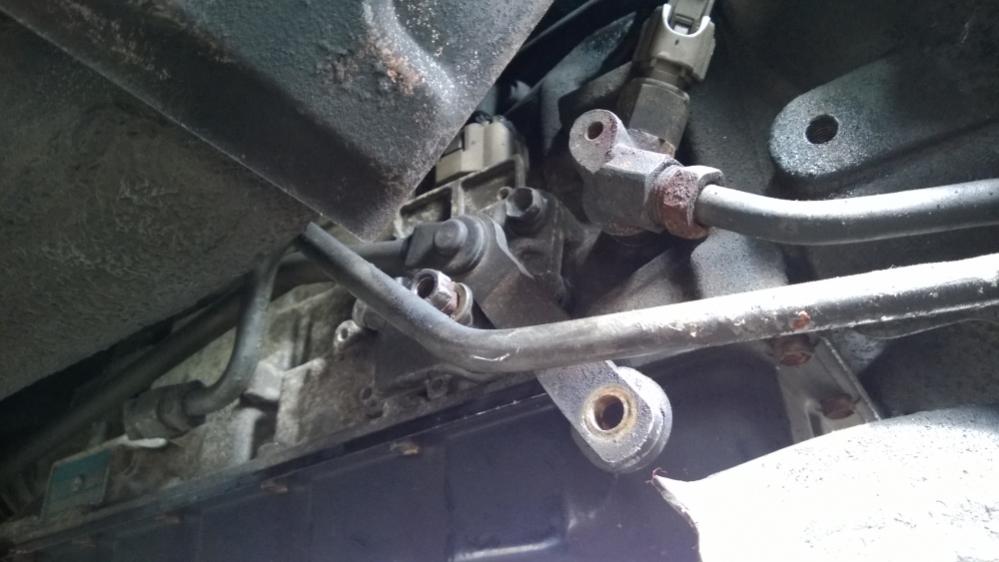
Yesterday went pretty well ! Disconnecting the earth wire from the fuel filter was a quick and easy job however undoing the 17 mm bolt at the other end of the filter was not . It did eventually move and come out but it did put up a heck of a fight; once it was out, fuel started syphoning out of the tank and putting the bolt back in (with the pipe removed, of course) did nothing to stem the flow of fuel ! So I had a mad dash to the boot to remove the (also stubborn) 17 mm bolt securing in the other end of the pipe onto the outside of the tank. I then tackled the auto selector linkage but firstly taking photos of the linkage in the “Park” and “Neutral” positions, so I know what position they both the gearbox switch and selector need to be in when I connect them up later. I left the selector in “Park” whilst I undid the nut as it kept moving between “Reverse” and “Drive” when I first tried to loosen it. The 12 mm nut securing the linkage together was VERY stubborn and I had to use my locking pliers on it just to get the thing to turn. Once it was free, one of the cooling pipes was in the way and stopping the nut from screwing off completely, so I had to gently pull the pipe away from the nut just enough for the nut and the linkage to slide off the end of the thread. Whilst I was under there, I removed the engine mount nuts and bagged them up for safe keeping and it was at that point that I realised that I forgot to undo the drain plug for the coolant on the block on Tuesday, so I undid that once I had finished underneath the car. So, apart from disconnecting the ECU and pulling the loom through to the engine bay (a 5 minute job), I am now ready to lift out the 2JZ and lower in the 1UZ. Fingers crossed, I should be doing this job on Saturday – as long as the engine hoist I am due to hire arrives on time! I would rather not have this roll over onto Sunday as that’s my birthday ! I’ll update this thread once I’ve got the 1UZ in .
-
Good evening Whilst stripping my engine bay ready for the engine swap, I found two wires running from the fuse box in the engine bay, around the back of the engine and into the cabin (on the driver’s side). There are then two sets of wires running out of the cabin that connect to the black/orange wire for the coil pack. Is anyone able to provide any assistance as to why my car has been given these extra two wires and what they're for? I’ll get behind the dash as soon as I can to try and see where those wires go once they pass through the bulkhead. I’m going to cut them off at the point that they join the black/orange wire as I’m going to have to take the loom out with the engine, but my concern is will I need to wire them back up again once I have done the conversion? Any help or guidance on this would be greatly appreciated !
-
I have a feeling that you're going to be waiting for a LONG time
-
Yes, I am. I will have a look for a spray version as it is useful stuff . I know what you mean, I'll see what I can do once I've swapped the engines .
-
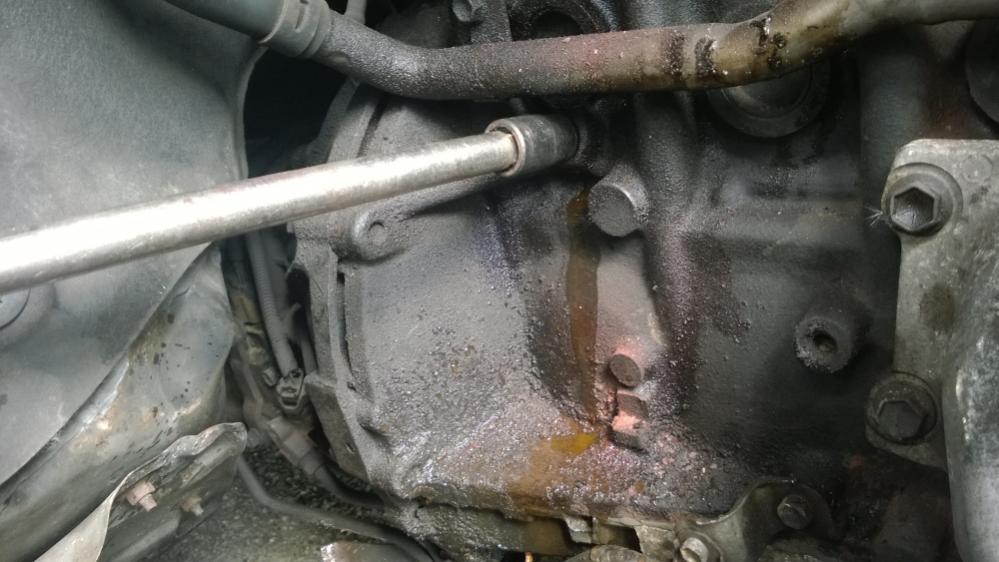
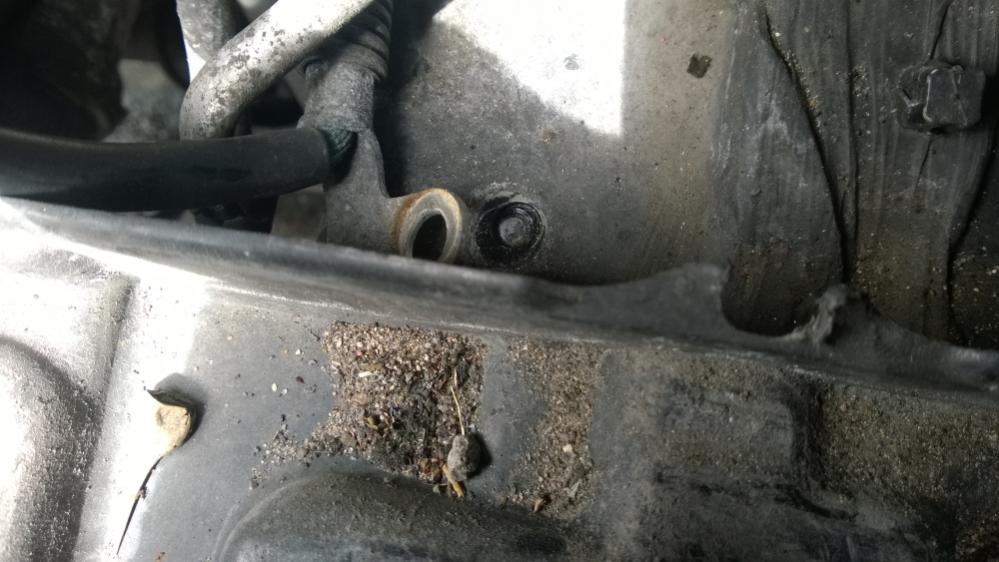
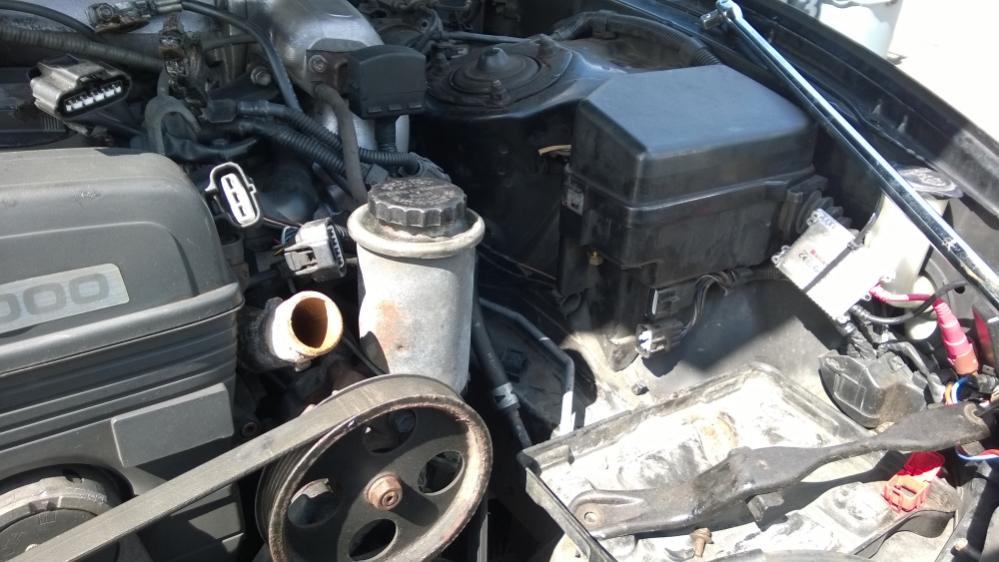
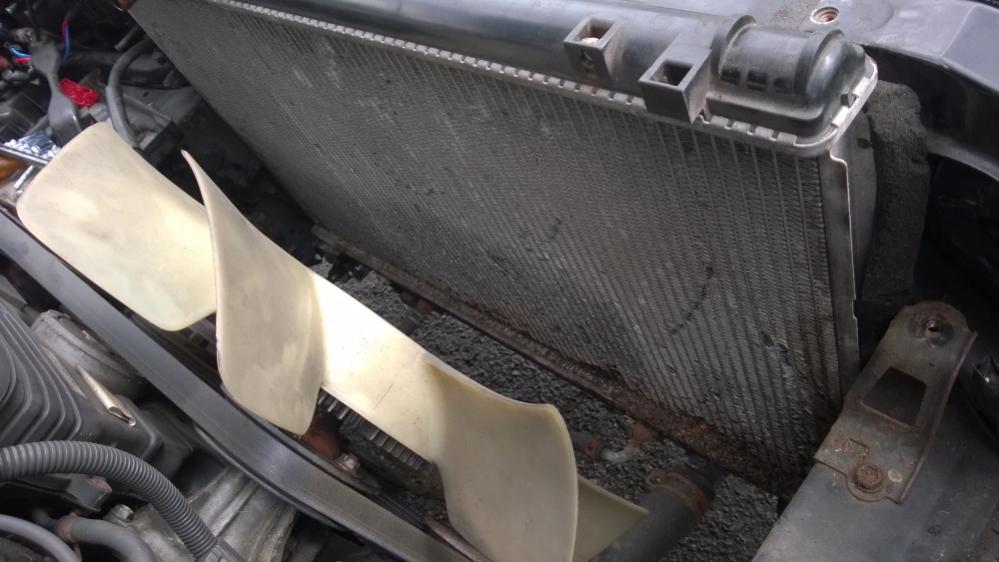
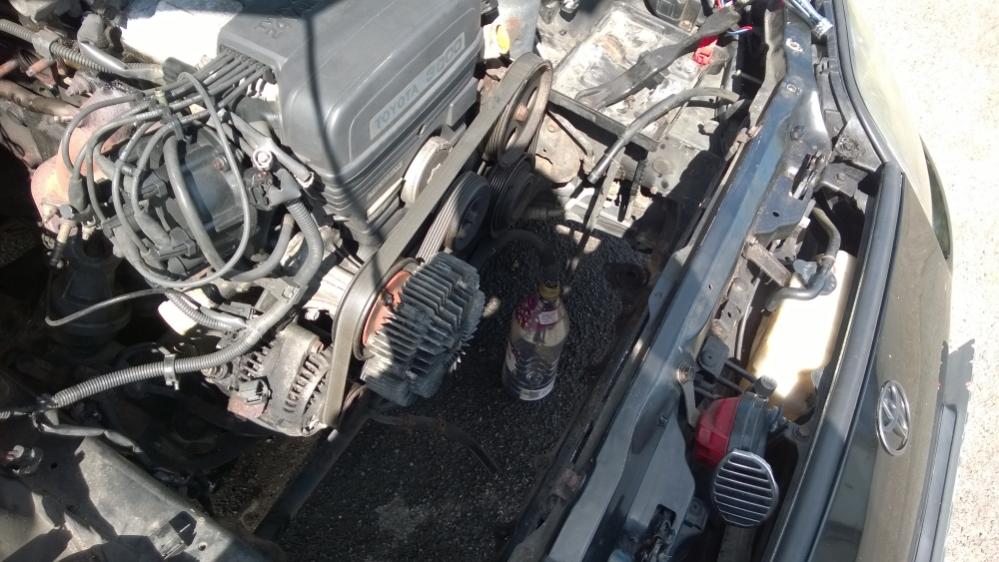
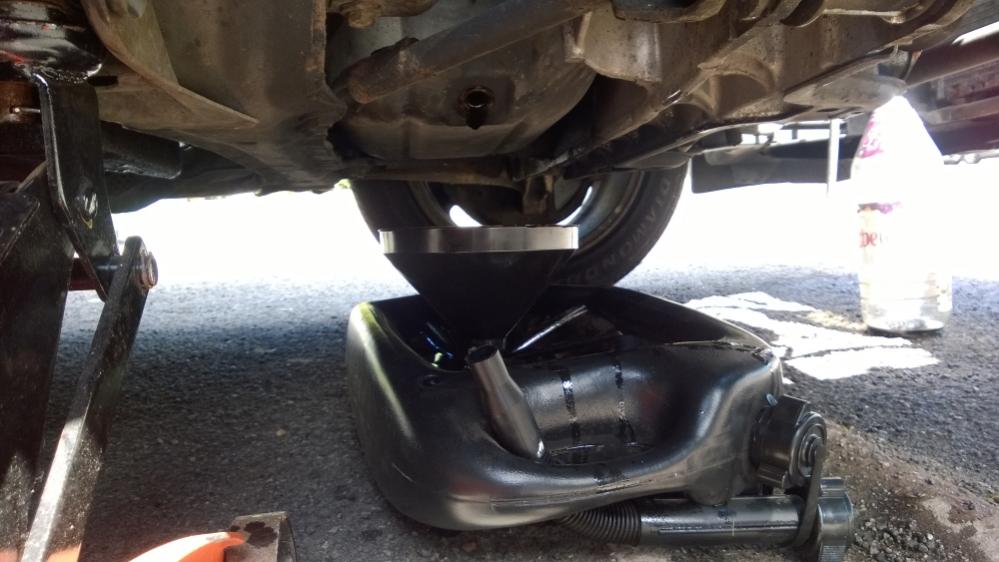
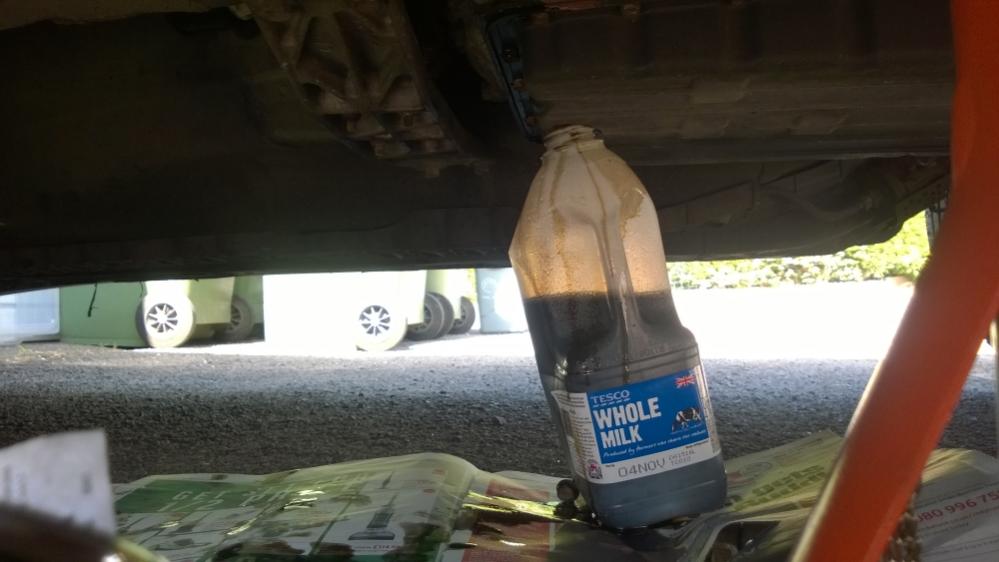
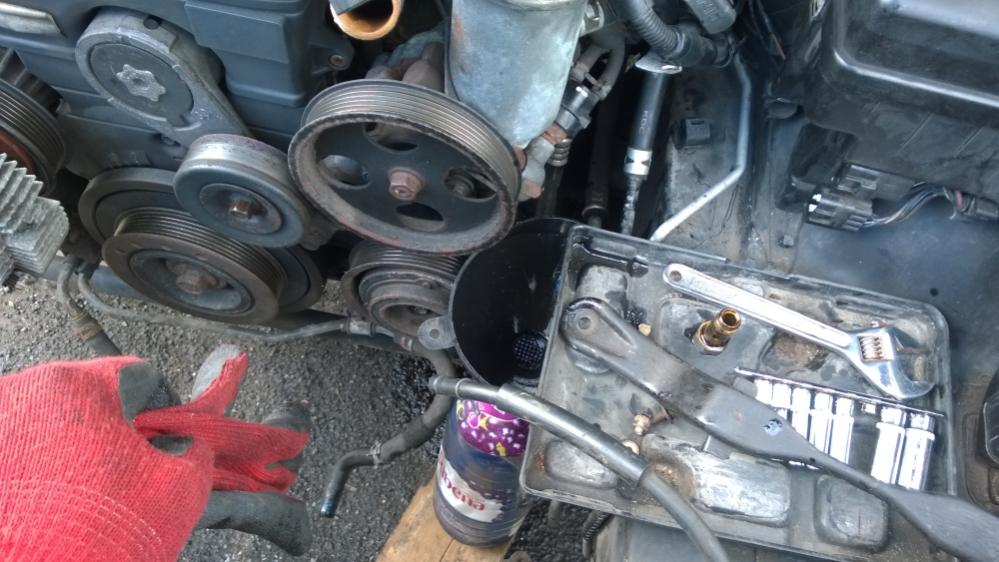
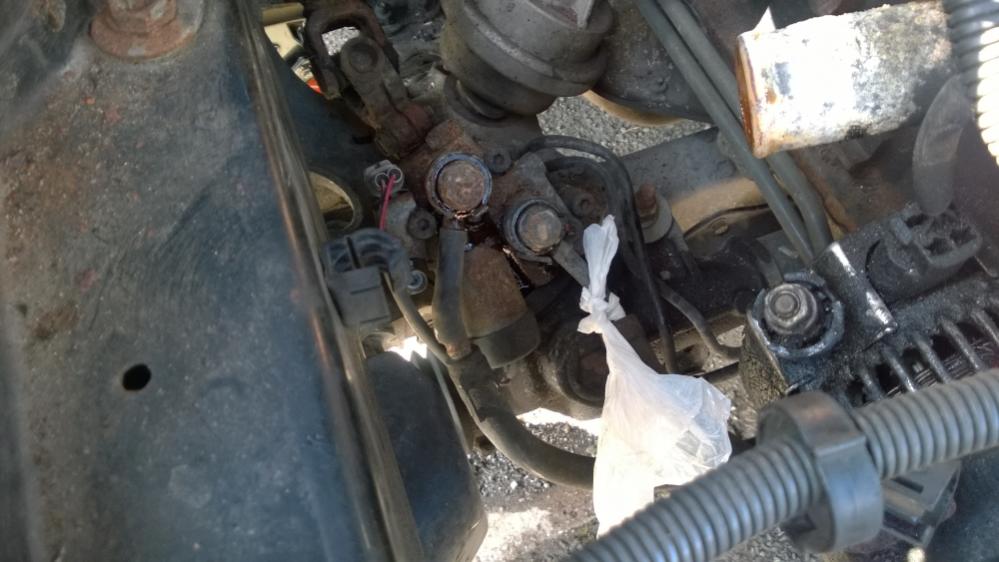
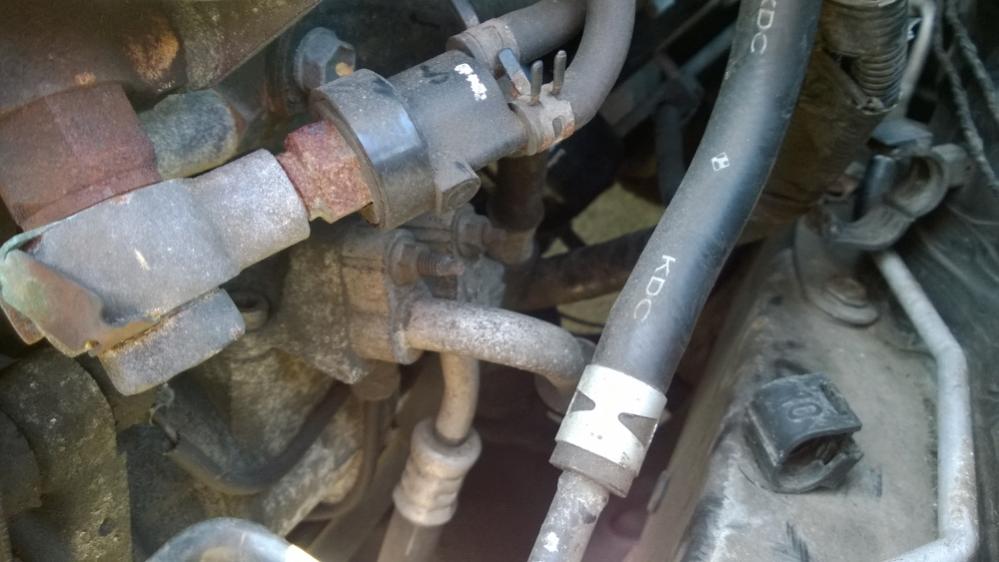
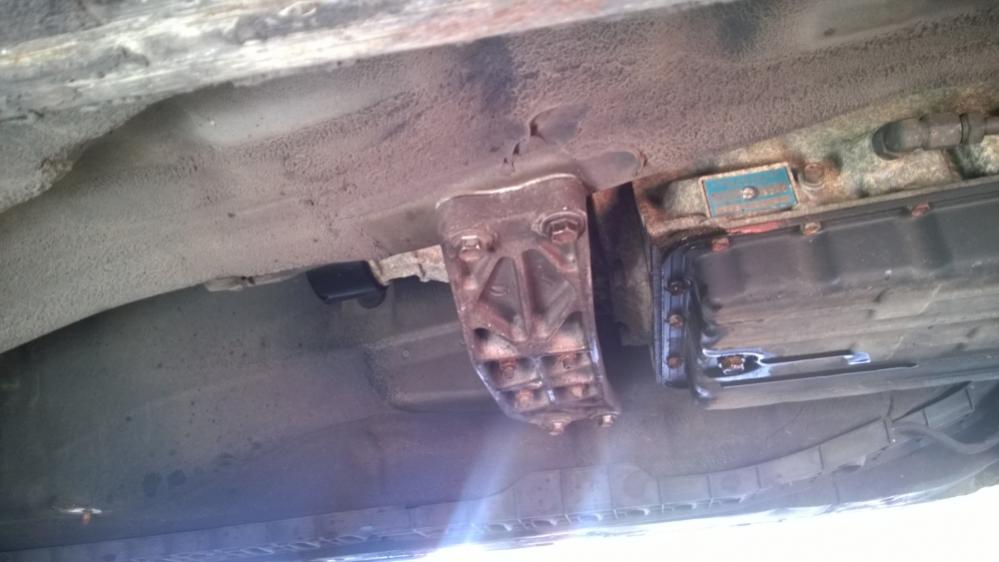
Yesterday didn’t get off to the best of starts, whilst removing the earth bolt behind the battery tray, the head sheared off , so I’m going to have to find another location to use as an earth – unless I can drill it out ? I then proceeded to disconnect all of the wiring from the fuse box. There were two extra wires running from underneath the fuse box and I have no idea what their purpose is/was. I’ll go into more detail on a separate thread. The cooling system was next and the drain plug at the bottom of the radiator was rather stubborn, but it did twist and open in the end – I was worried that I was going to snap off the little plastic lugs but they held . Once the coolant was draining out, I removed the top pipe from the radiator and the block. The fan shroud was removed whilst the system was draining and it became apparent that my radiator had gone way beyond its best before date . Once the system had finished draining, I disconnected the auto box cooling pipes from the radiator; I did them one at a time so that any excess fluid in them could drain into the bottle I had ready. Whilst they were draining, I removed the fan to provide better clearance when I get around to removing the engine. The bolts on the fan were quite corroded, so I used PlusGas on each of them and they came off with little fuss . Fluid was still dripping out of the cooler pipes at this point, so I moved on to draining the oil from the engine. This did get quite messy, despite my best attempts to avoid making such a mess, however, using a dedicated oil catch can and funnel did reduce the fallout . Whilst my socket and gloves were still a bit oily, I decided to drain the auto box fluid whilst I was there. Again, this was messy, but not quite as messy as the engine oil… The power steering fluid was next on my to-do list and I found it difficult to get my bottle and funnel into a decent position under the reservoir/pump. I removed the aux belt to get better clearance, but it wasn’t brilliant ; a smaller bottle or funnel might have made it easier. Once the oil had finished dripping from the reservoir, the bolt was put back in to stop any extra leakage and I then removed the pipes from the power steering box on the rack. I tied a plastic bag around the pipe from the pump so I can tell the difference later on when I refer back to the photos. One of the pipes from had a lot of fluid in it and it took a while to empty; I would advise sticking a bottle with a funnel underneath it and leaving it for a while whilst you do something else! I took off the pipes going to/from the heater at the back on the engine and, the vacuum pipe for the brake master cylinder and undid the pipes leading to/from the air con pump. Again, I tied a plastic bag on to one of them to differentiate them. Finally, once all of the fluids had stopped dripping, I sealed up any open bottles/containers, loosened the 8 nuts on the gearbox support bracket (I’ll undo them on the day I’m ready to remove the engine), loosened the bolts supporting the power steering pipe brackets onto the underside of the engine and wrapped up there. As far as I’m aware, I just have the fuel lines to disconnect, undo the linkage between the auto box and the selector, make sure any extra earth wires have been disconnected and then undo the engine mount nuts; I’ll give everything a once over and make sure .
-
Thank you all for subscribing and for the encouragement - hopefully you find this thread of use, even if it is just to kill some time . Shane, all the best with your build, hopefully we'll be able to bounce some ideas around, should we need to. Will you be doing a thread? I don't (yet) recall anyone using a TT body as a base and in theory, it shouldn't make much difference, but I guess we'll see . I did make some pretty good progress today and I'll try to post an update soon .
-
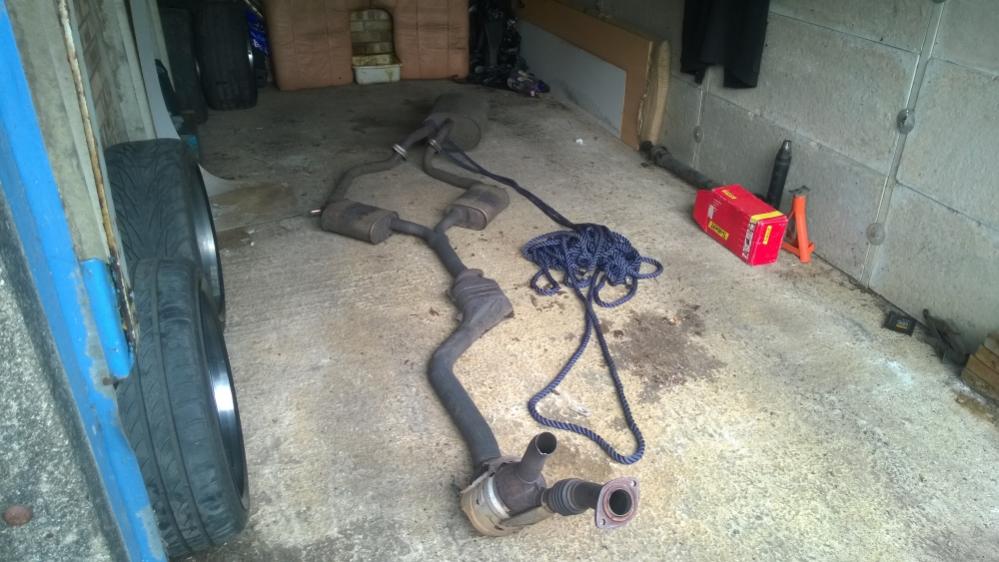
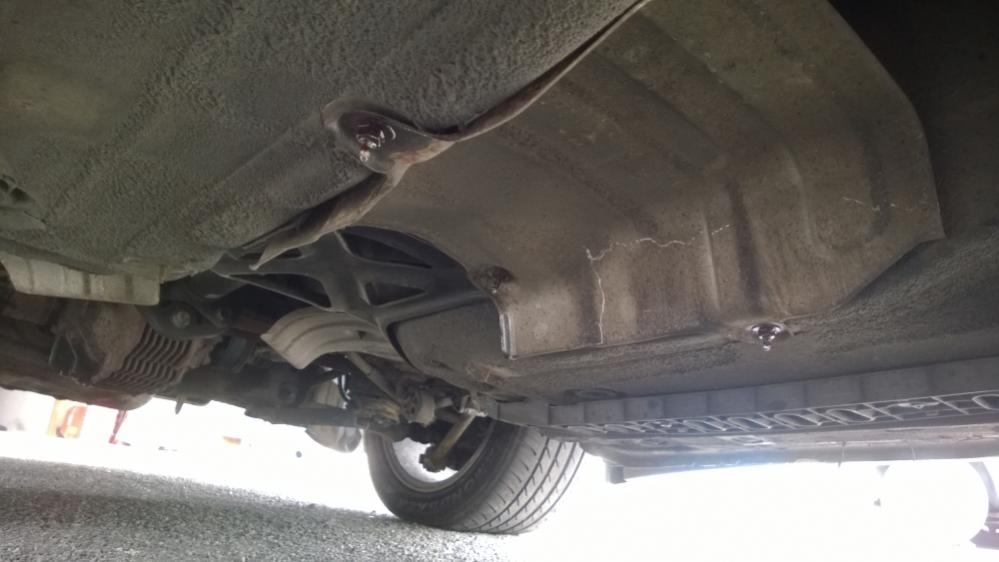
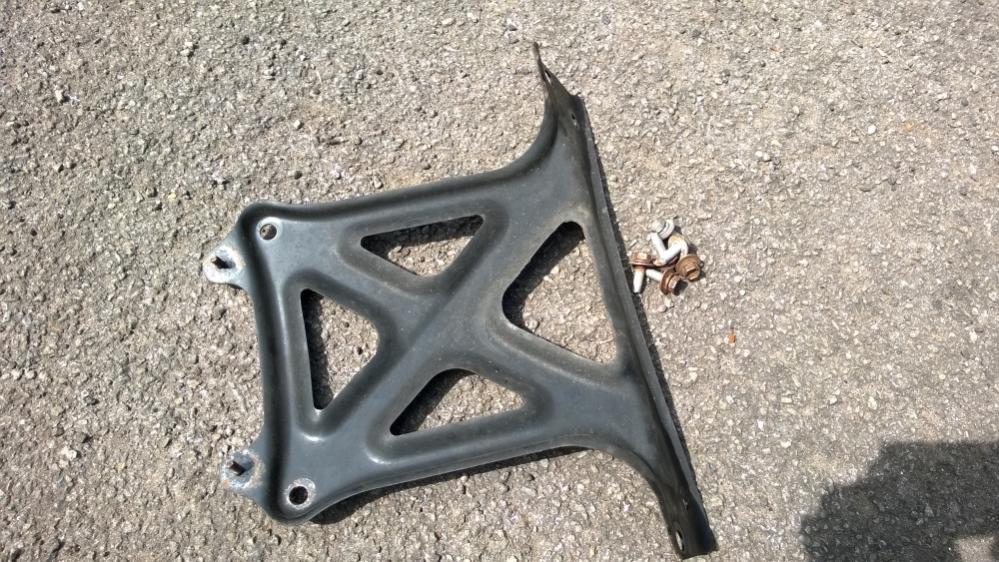
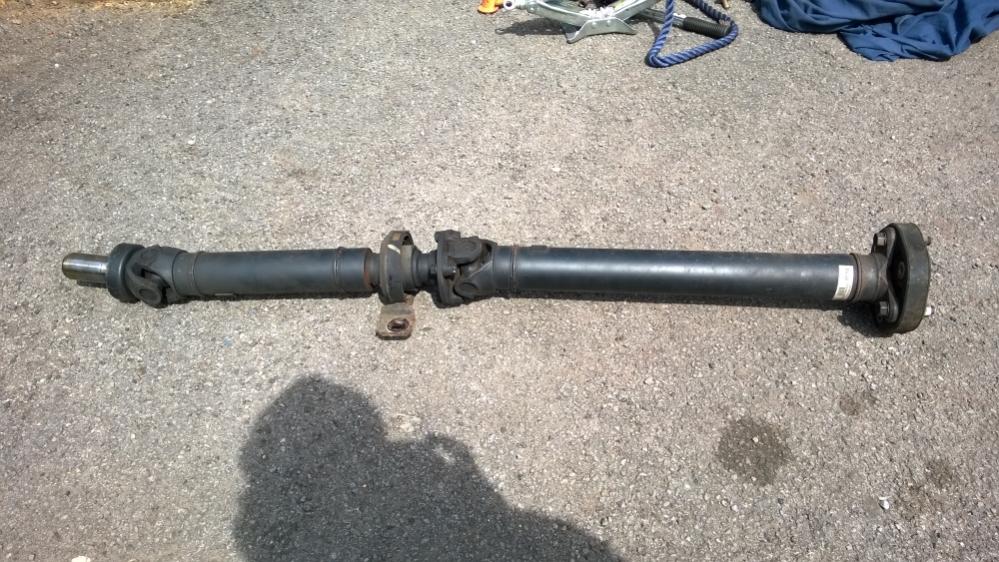
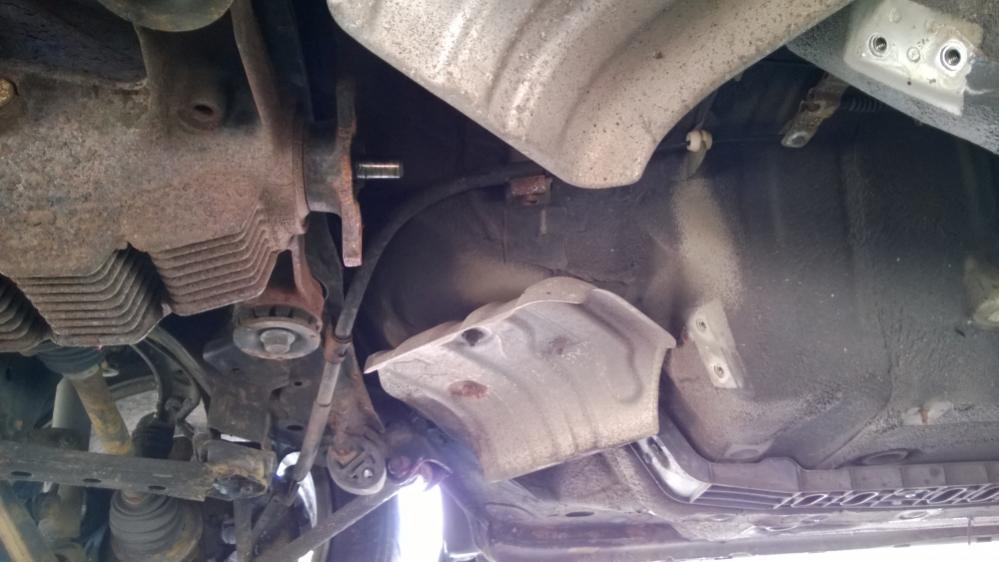
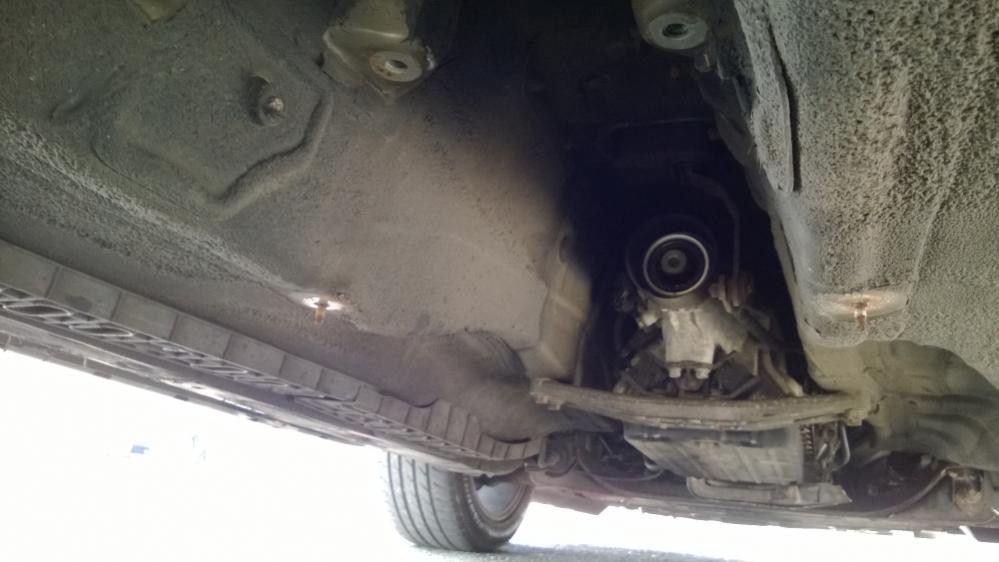
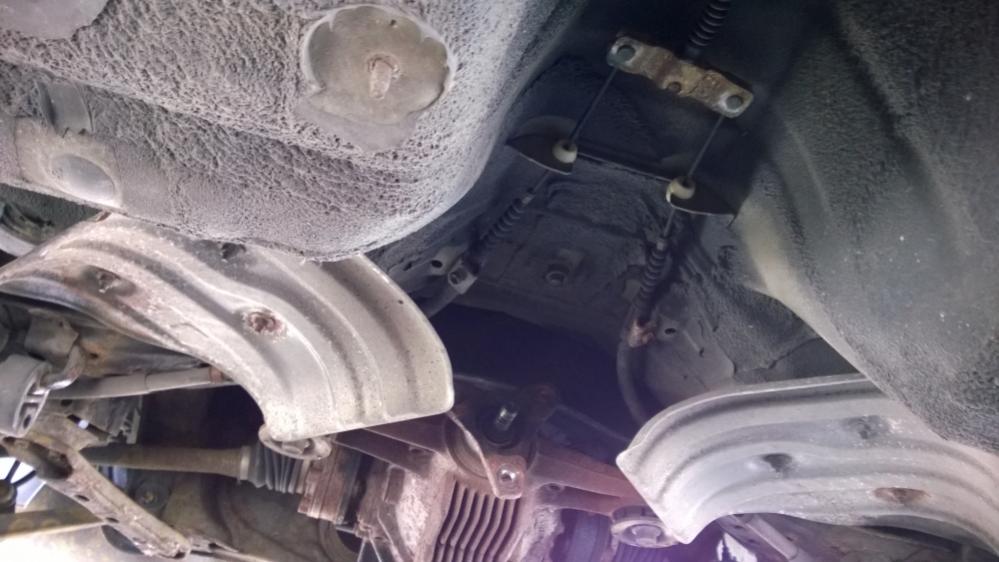
Recent activity… On Sunday, I made a start on my Supra; I decided to start by removing the exhaust system, as they normally give me a lot of trouble and this one did not disappoint. Yesterday morning I finally got it off, but one of the flanges on the first cat was a casualty . The heat shield and rear chassis brace were next and they came off without a fight; I’m assuming that because aerotops have extra bracing to strengthen the chassis, the rear brace is larger than ones I have seen in hardtop build threads. The bolts on the heat shield look wet because I sprayed them with WD40, I couldn’t get my PlusGas up onto them, but WD40 did the trick anyway. The prop shaft came out with a bit of persuasion but it I had a much easier time of it compared to when I removed my Soarer’s prop shaft. The underside is now looking rather spacious! Late in the afternoon I started on the engine bay and mainly removed smaller items like to igniter and coil pack, freed up some of the connections around the engine and started loosening the fan shroud. All being well, I should be back out on it sometime today and I’ll post the next set of updates as soon as I get the chance .
-
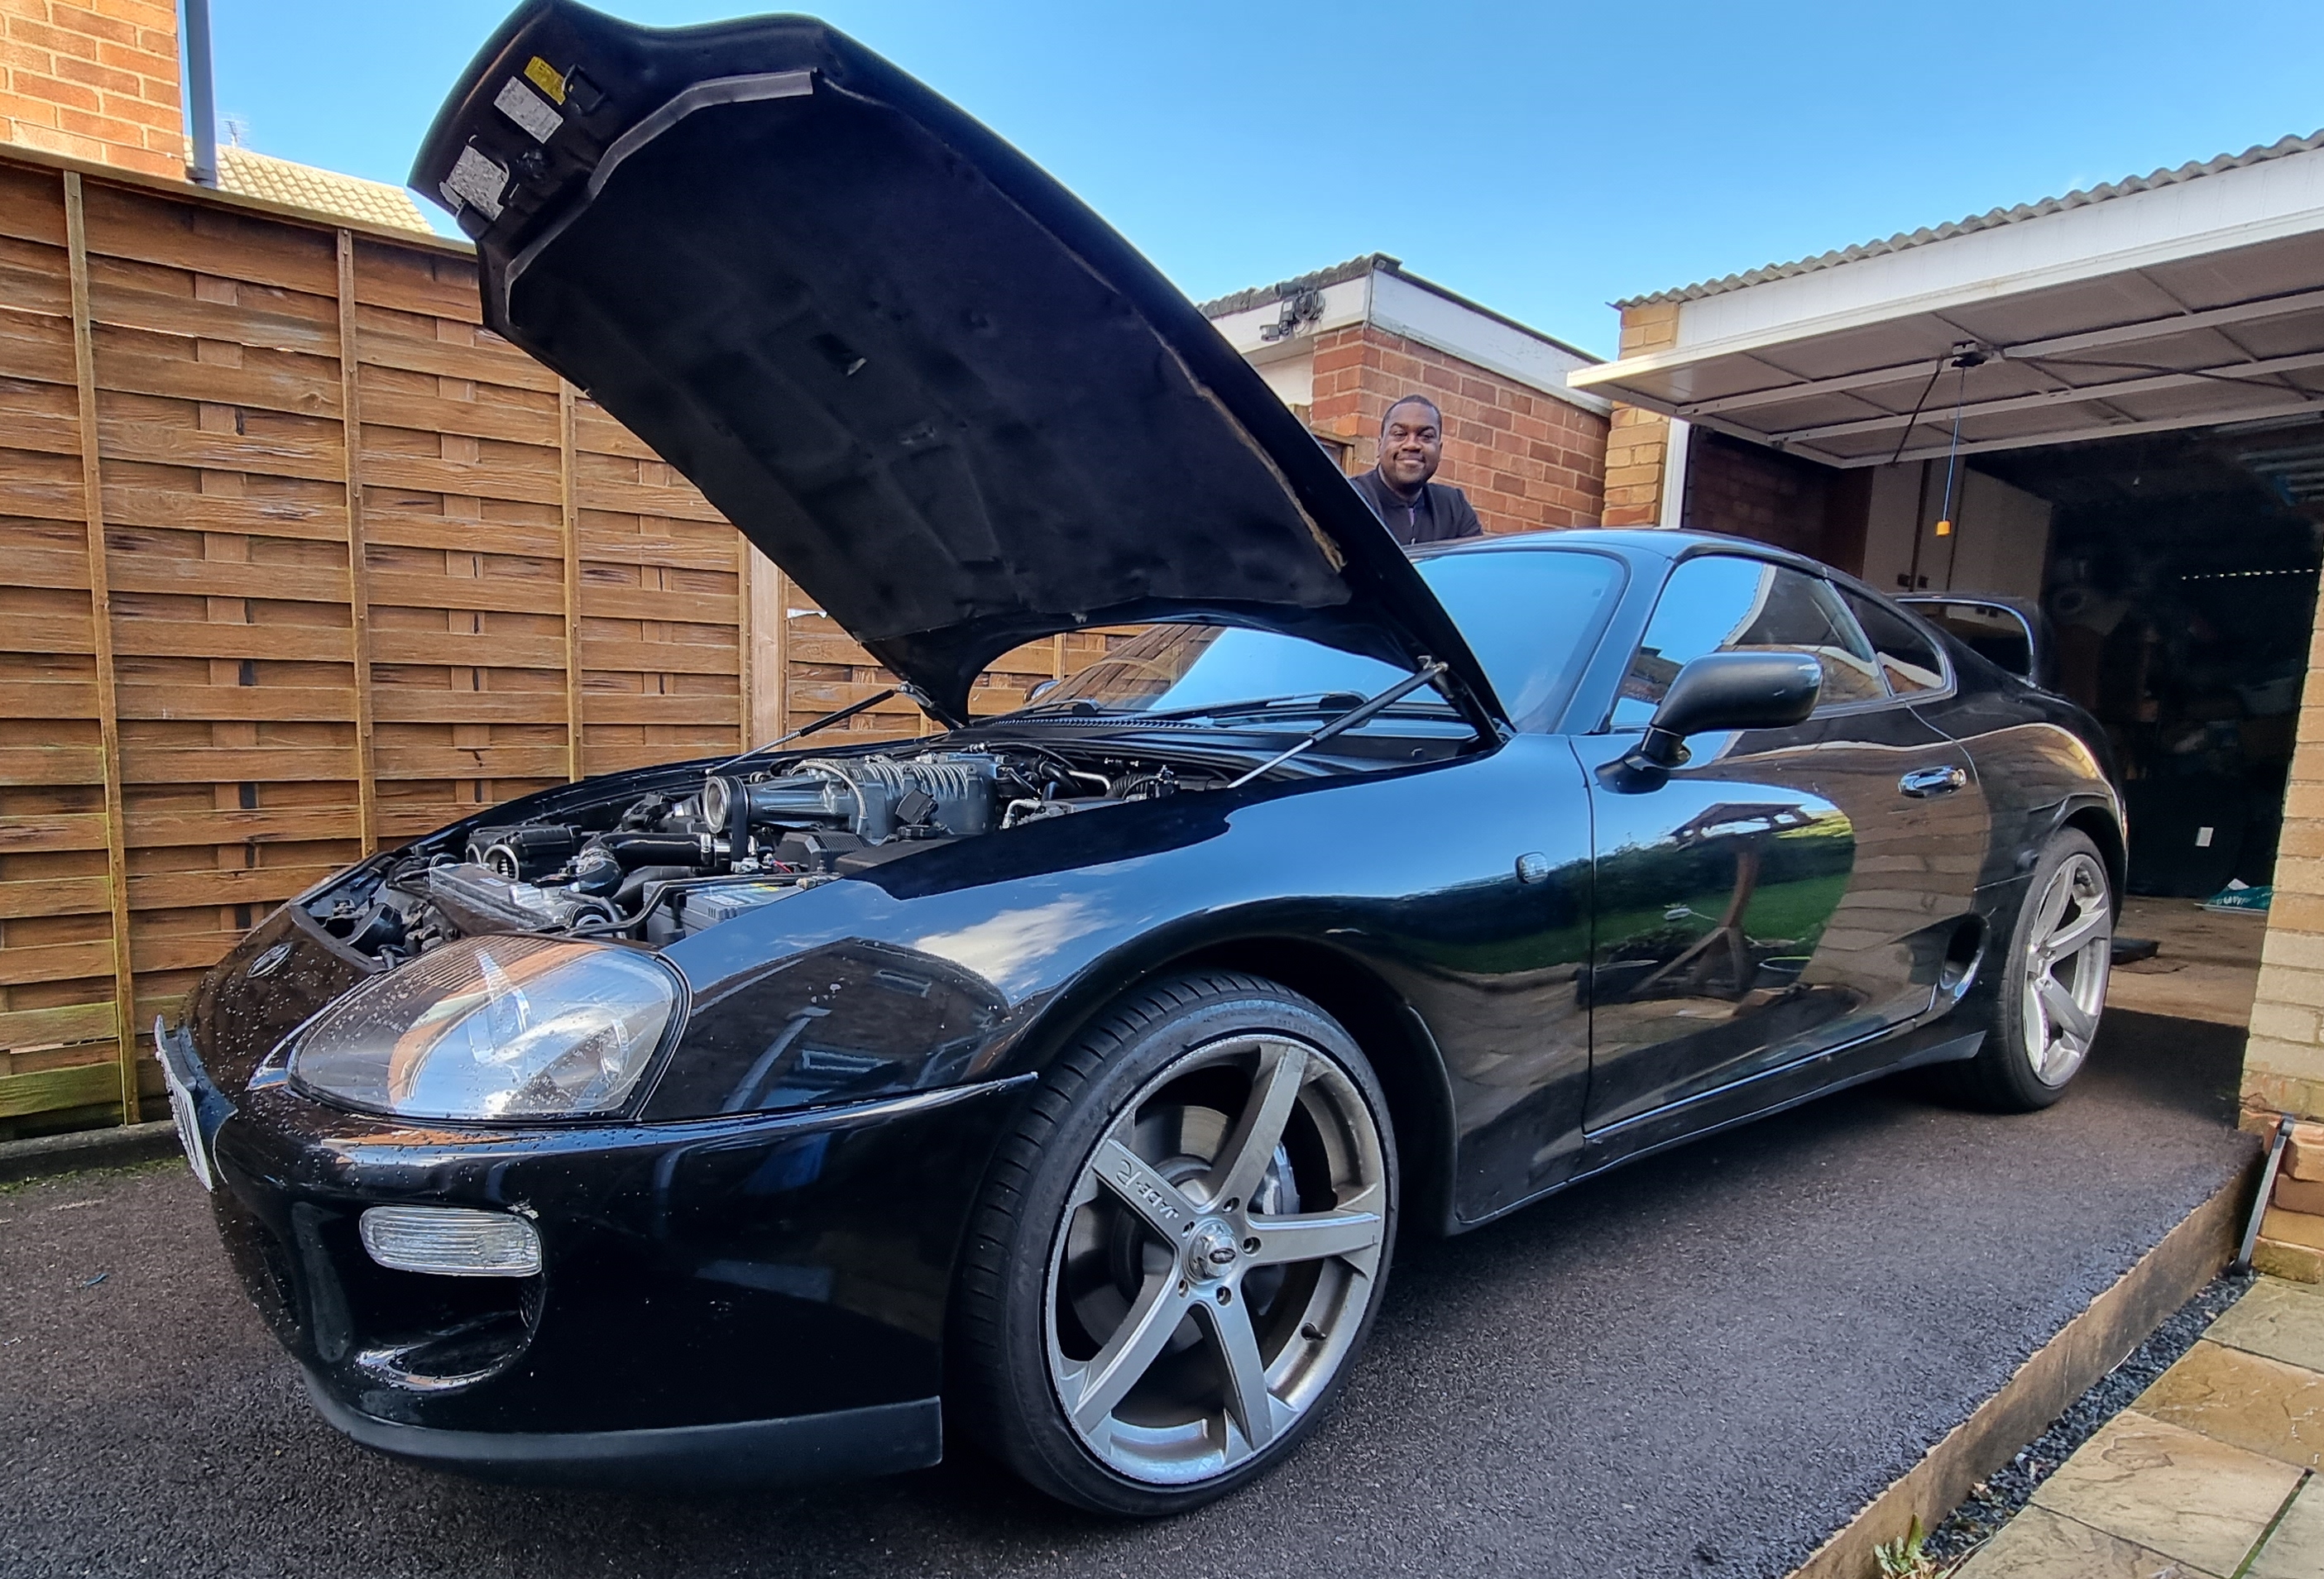
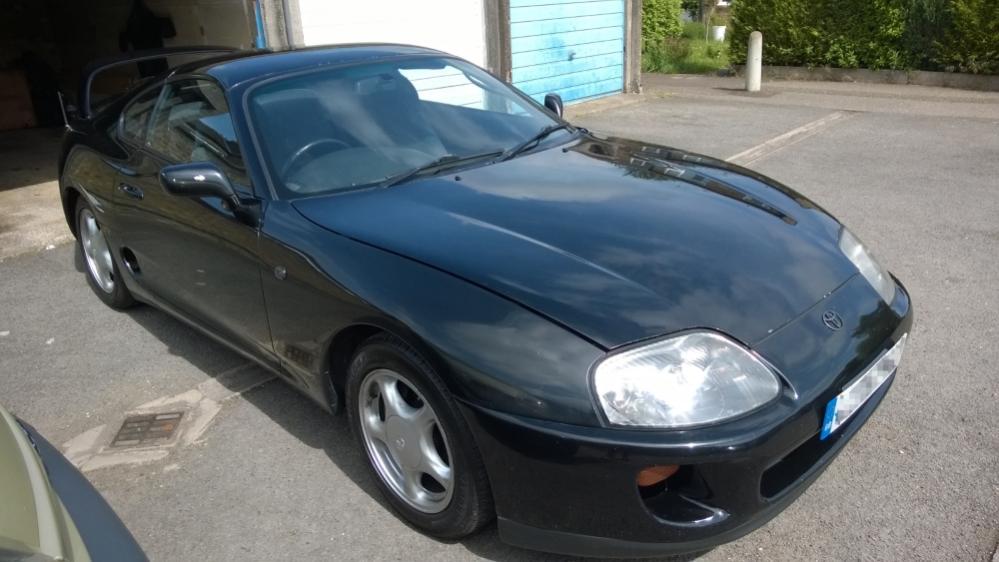
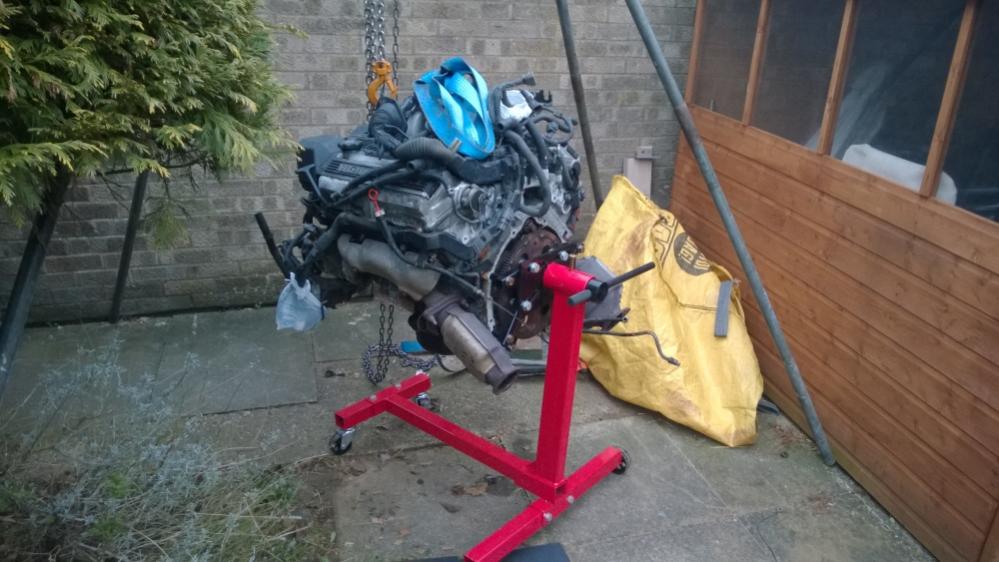
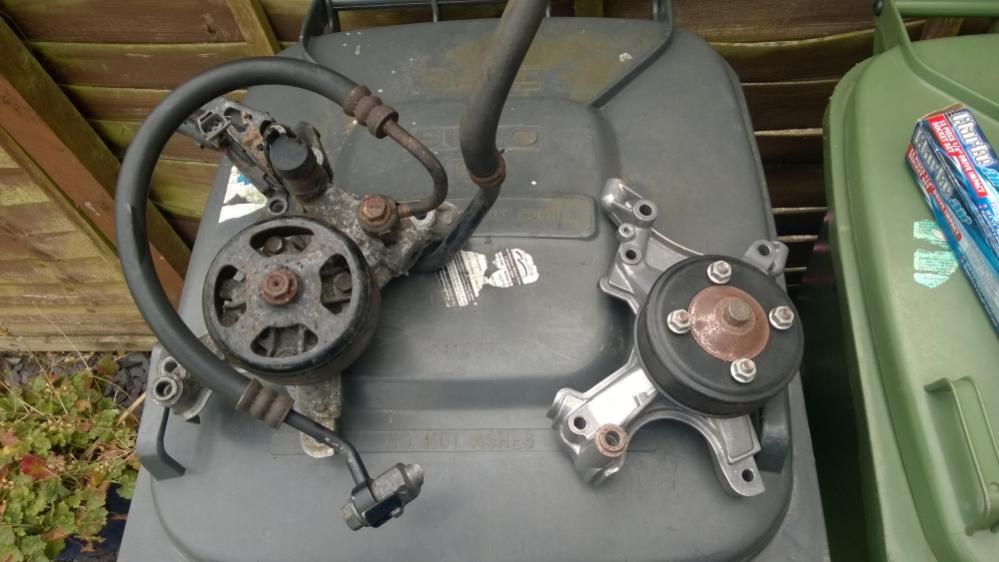
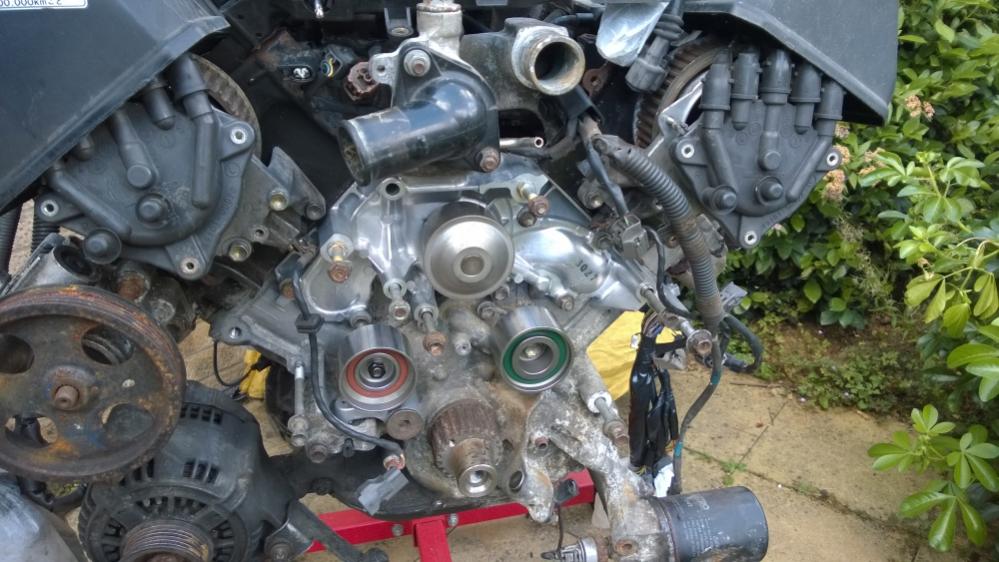
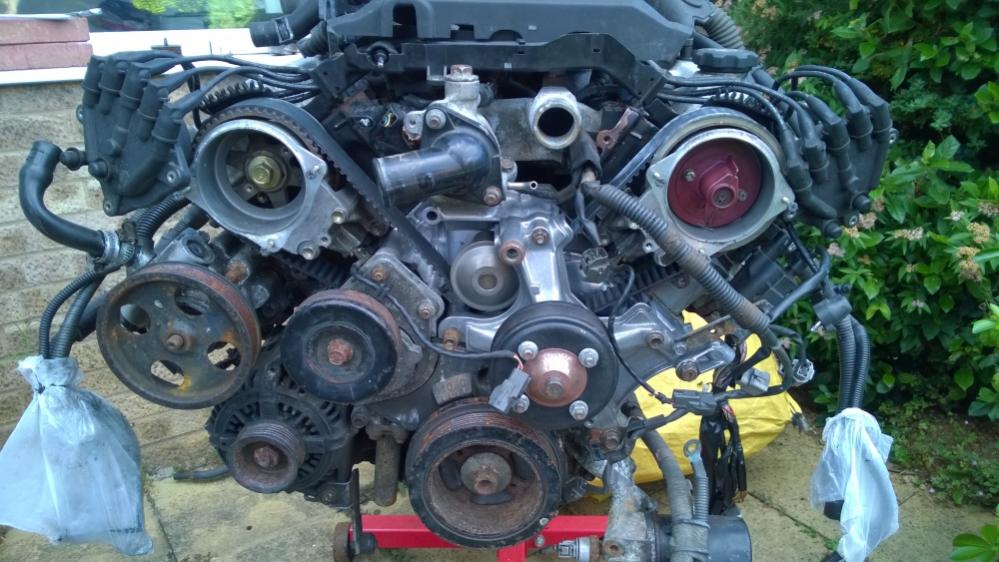
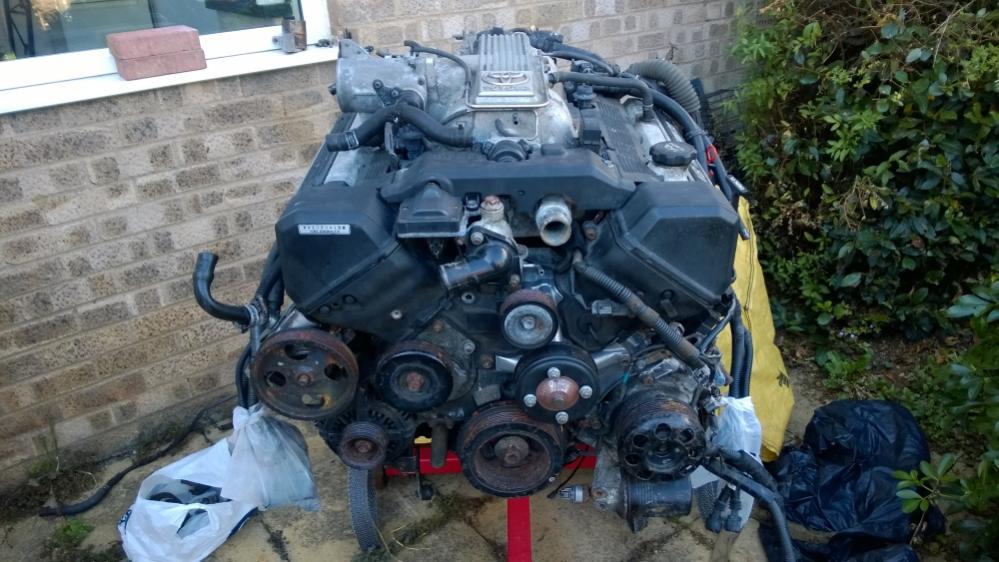
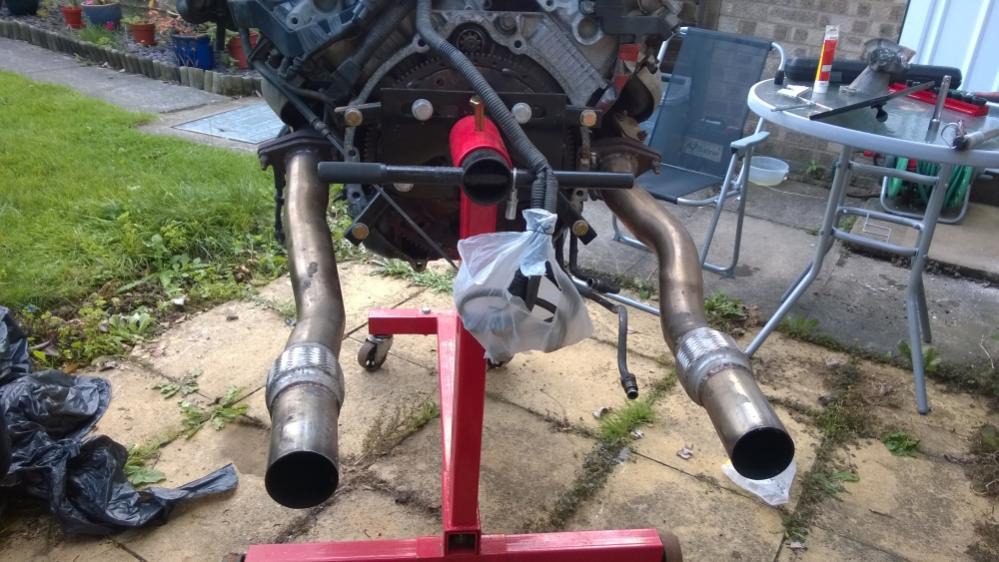
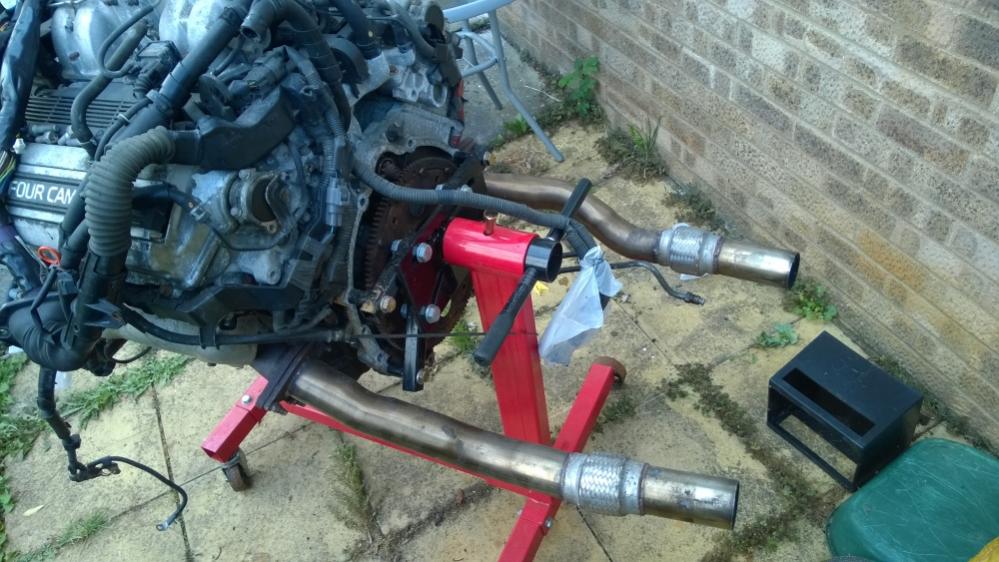
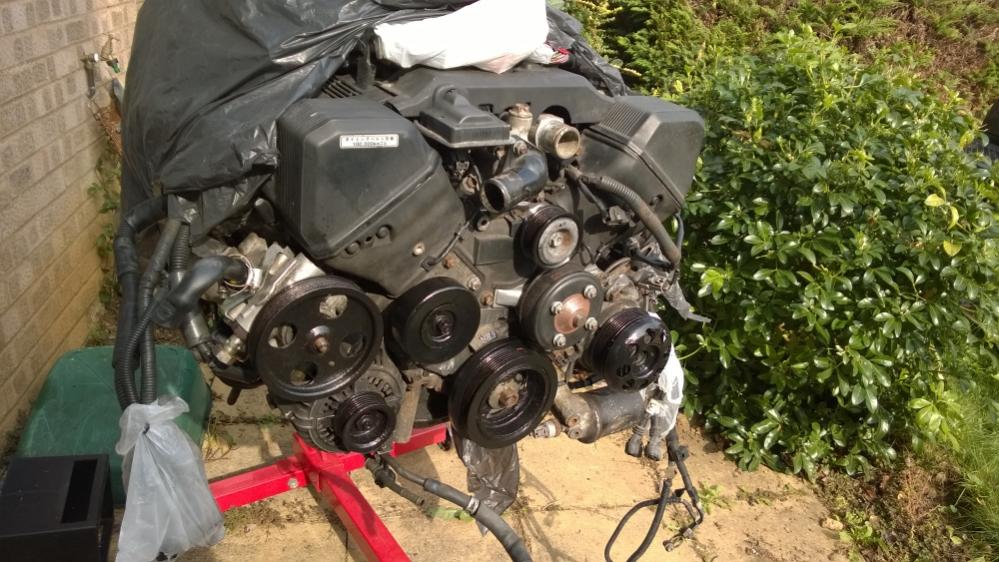
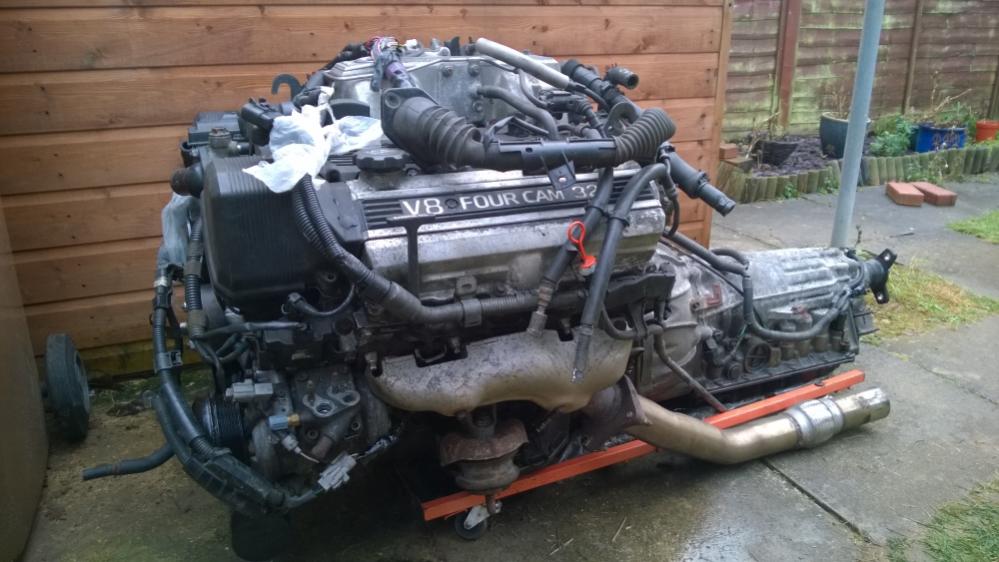
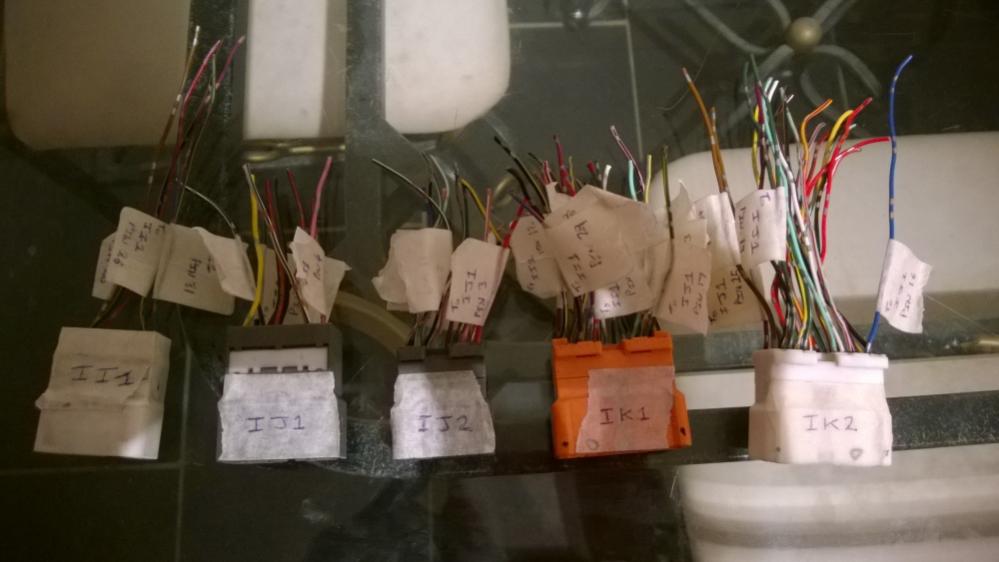
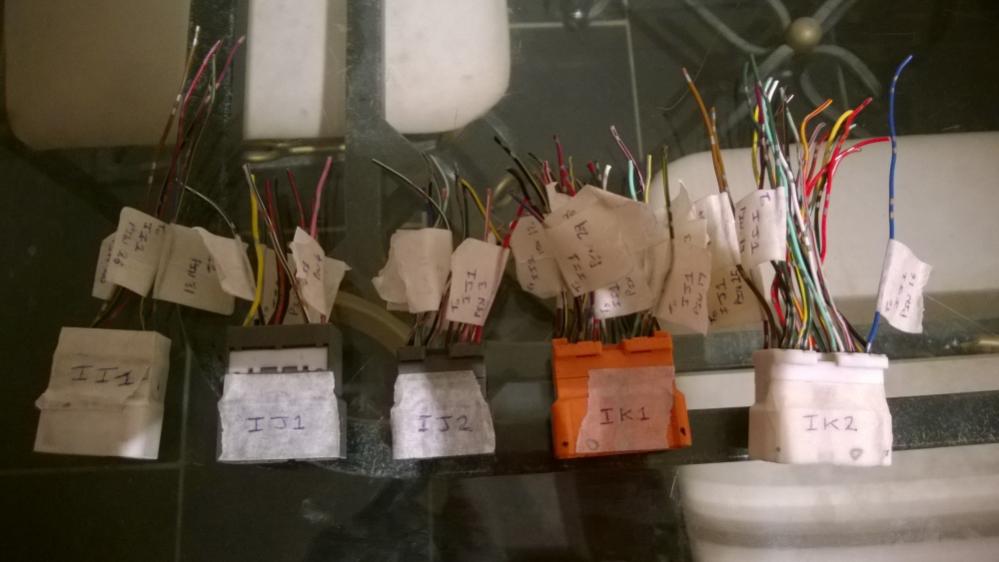
Hi everyone I've finally begun the process of stripping my Supra's running gear for my V8 conversion project, so I figured I would put up a thread to share my progress - both good and bad. Updates will be sporadic, but I'll try and do them as soon as time allows . A bit of history… I started with my ’92 Toyota Soarer 4.0 GT-Limited (UZZ31); once I’d resolved a couple of issues, I began stripping it and finally got the engine and auto box out in Oct ‘13: I got the engine onto a stand (sourcing the correct bolts took a while) and throughout ’14 I replaced the following: 2 of the core plugs in the left bank head Timing belt Water pump Idler and tensioner pulleys Thermostat Oil filter The oil pump for the radiator fan with an idler from an LS400. I got my exhaust system (amongst a few other parts) from a former member of this forum (no, they weren’t banned) and fitted the downpipes. I then painted the pulleys as some of them were looking terrible. My handywork isn’t brilliant, but they looked a heck of a lot better than it did and that was what I was going for. In December I finally reunited the engine and gearbox and it was at this point that I was ready to tackle the Supra, but that had to wait after I had my knee operation in January earlier this year. Following some advice, I am going to use a plug-and-play adapter to interface between the 1UZ-FE and the JZA80 wiring systems, so I got all of the connectors from the Soarer and labelled up which wire needs to connect to which on the corresponding 2JZ-GE loom. I will be cutting the appropriate connectors off the 2JZ-GE loom, labelling the wires up and then soldering them together when I get some time in the evenings.
-
If my Supra is back on the road by then, I'm in
-
Hi Is the sensor that goes into the first cat (pictured below) required for the V8 conversion? The exhaust I have for the V8 doesn't have a port for it and the bolts are heavily corroded, undoing them will be a real pain in the rear, so I'm tempted to simply cut it off if it is no longer required. Any thoughts or help would be greatly appreciated
-
I was a bit surprised by my result, but I'm glad that I took the "test" - it did take me nearly an hour as I chose every subject available
-
Is anyone thinking about going to the RWYB session at Santa Pod tomorrow evening? Also, what's happened to our meet thread?
-
If I'm already driving, I pull over at the next layby and remove the roof, otherwise I take it off before I set off and hope for the best
-
Would it be worthwhile creating a new thread for our proposed meet?
-
I'd be up for a meet around July/August time too
-
Sounds good ! I've been wanting to do a RWYB for a while now - weather permitting it could be worth a shot
-
Welcome to the "East" group! We haven't had a East group meet up for a while; I think we're due one. Does anyone have any suggestions or ideas ?
-
I swapped my stock 3-spoke, non-airbag steering wheel for a 7th Gen Celica wheel w/airbag and it was a straight swap in terms of fitting it to the column. I never connected up the airbag as I don't have the connections to do so, but as a precaution, I do swap back to my stock wheel at MOT time. I'm not sure how your horn is currently wired up, but I had to wire in a "B" shaped blade connector and slide it on to one of the protrusions on the back of the airbag to complete the circuit for the horn; someone who has an aftermarket setup may be able to assist in this department better than I can.
