SPG
-
Posts
4223 -
Joined
-
Days Won
14
Content Type
Profiles
Forums
Store
Blogs
Events
Downloads
Supra Articles
Gallery
Everything posted by SPG
-
Yeah that was my fault , I have an aftermarket set to install and forgot to take it off before she went in . Well spotted!
-
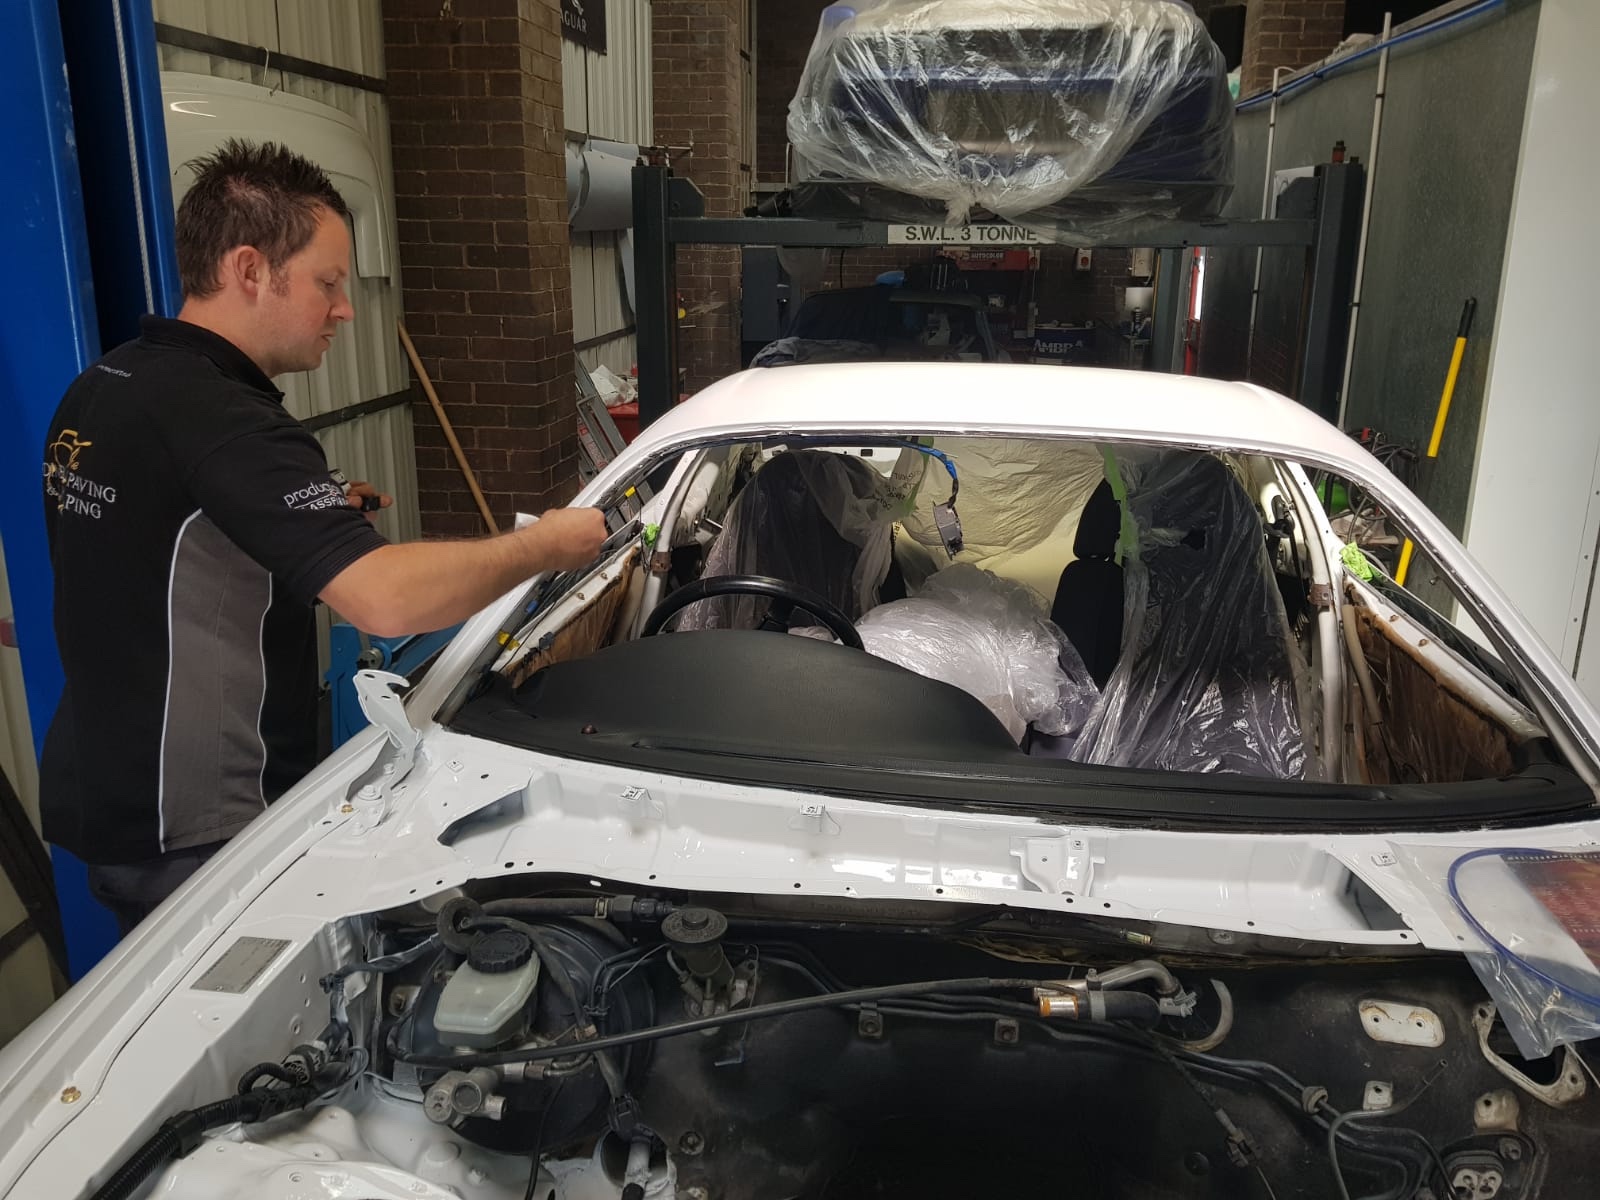
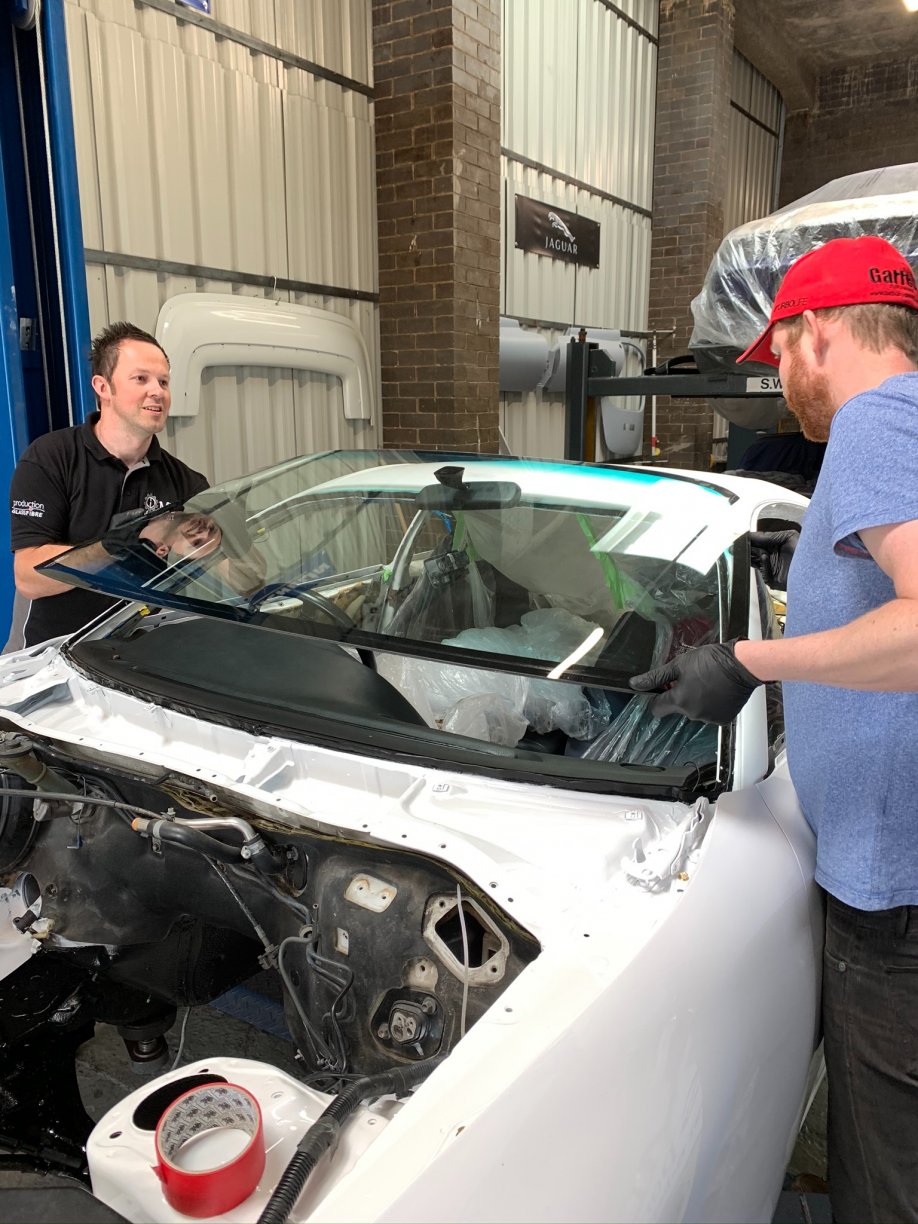
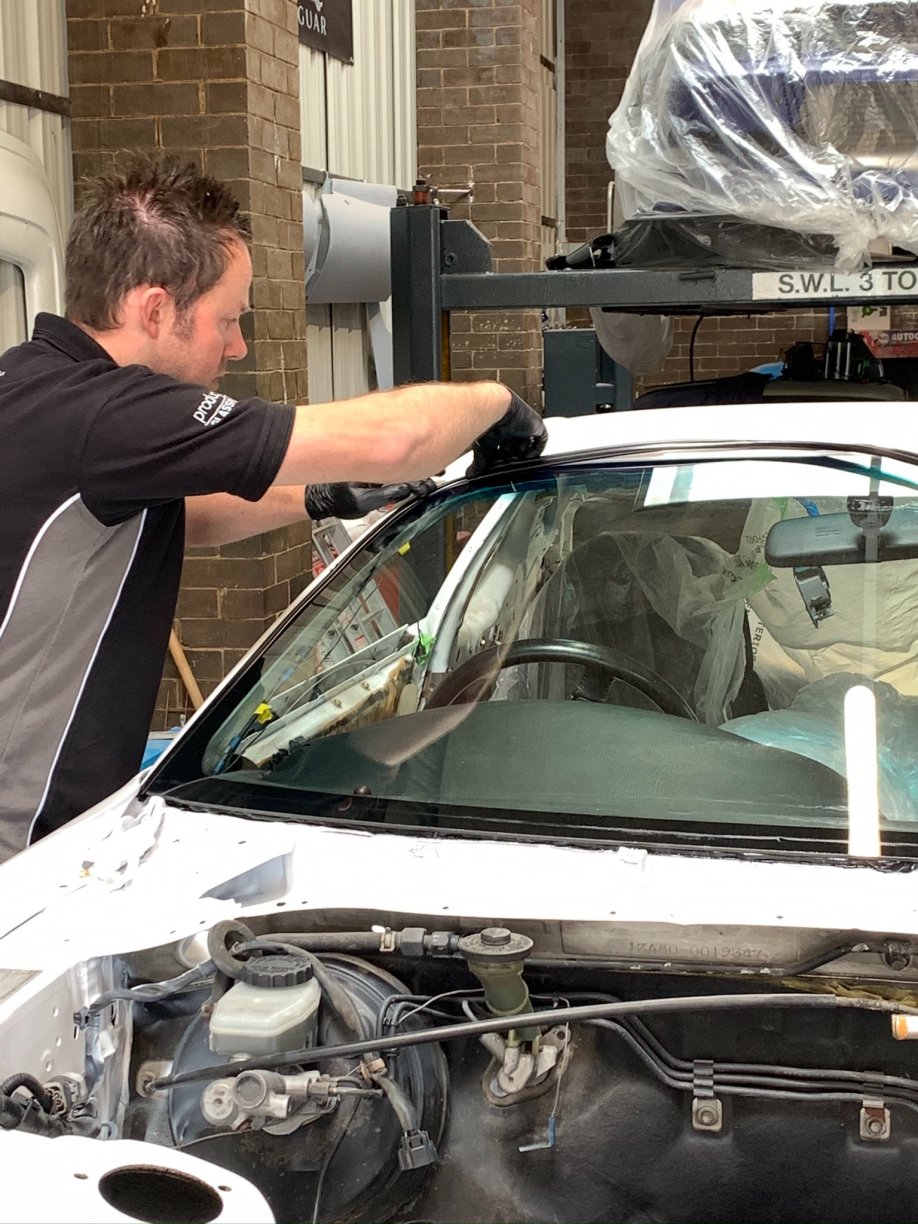
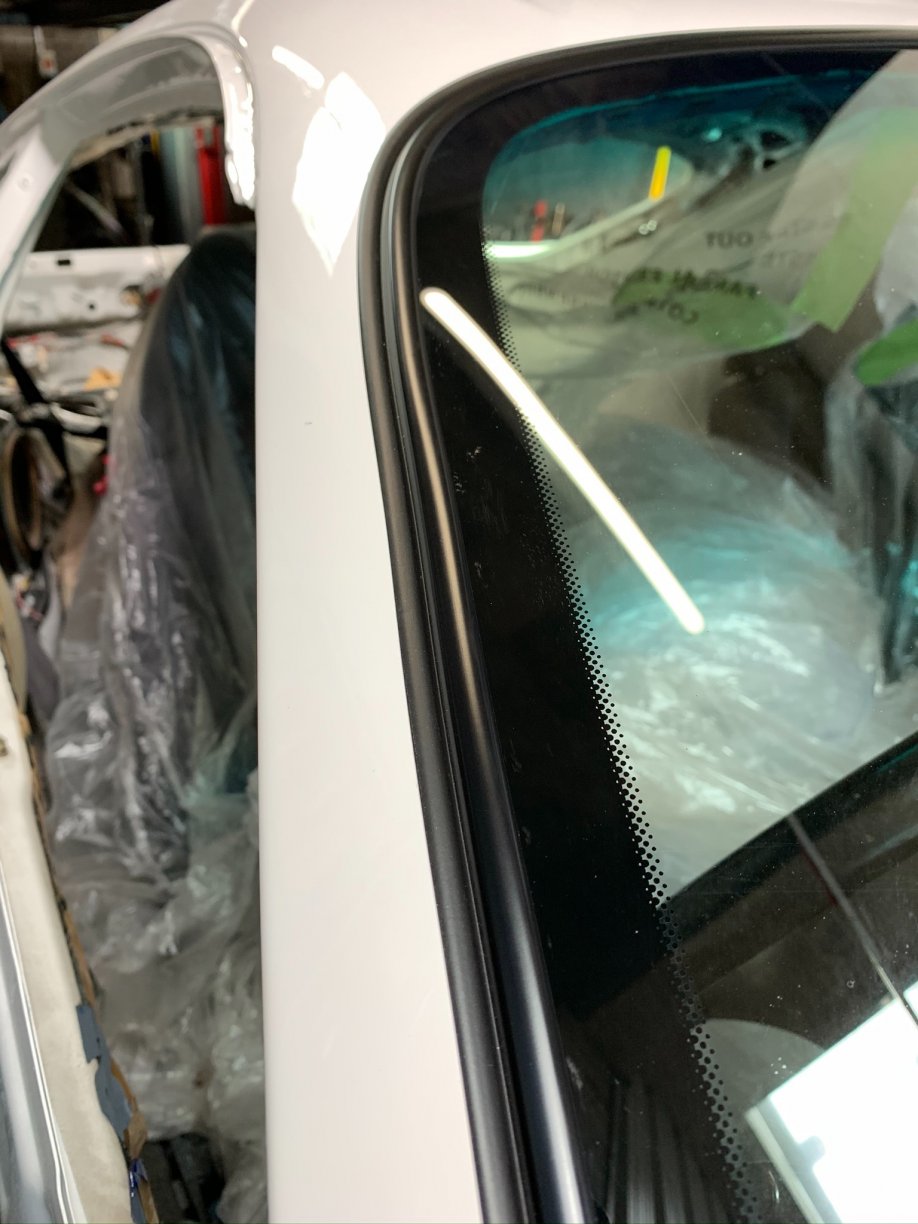
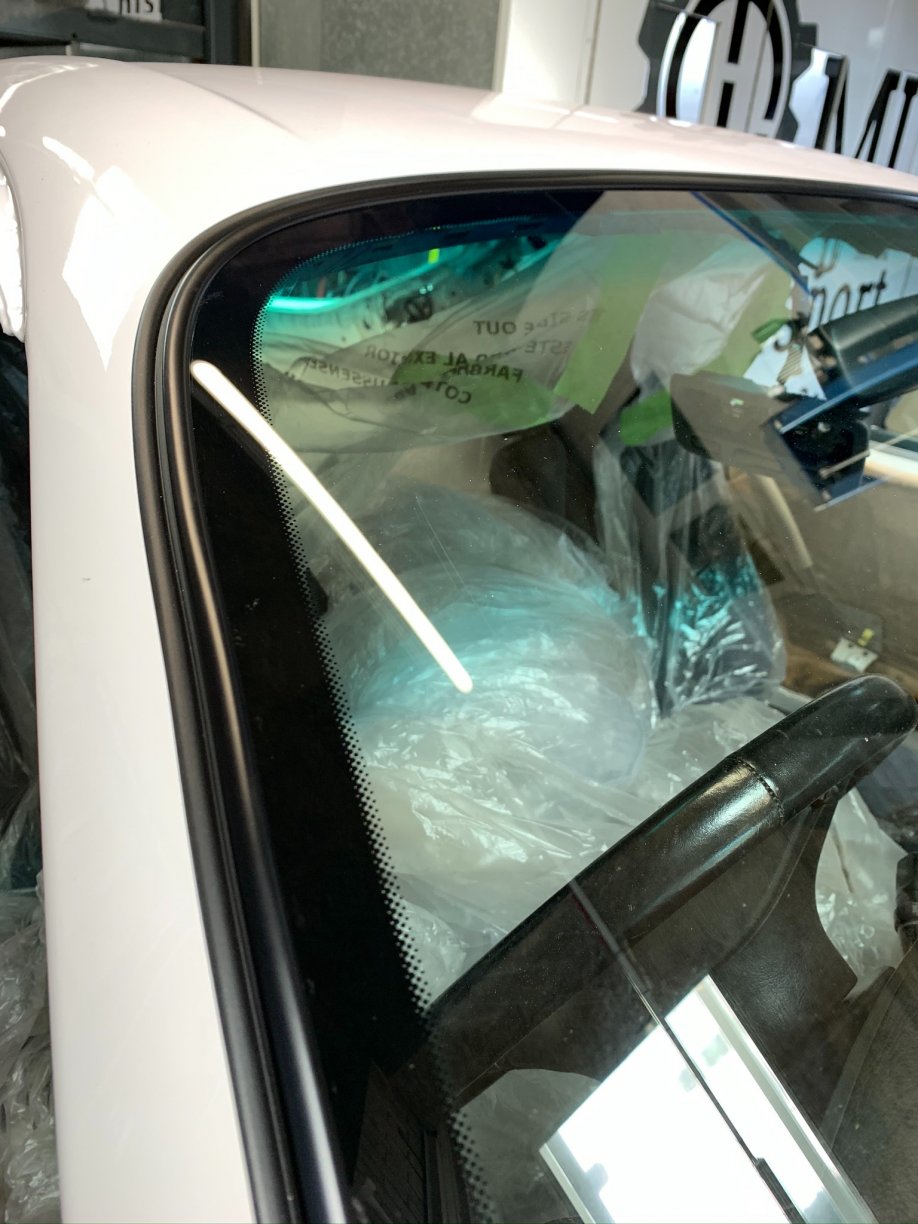
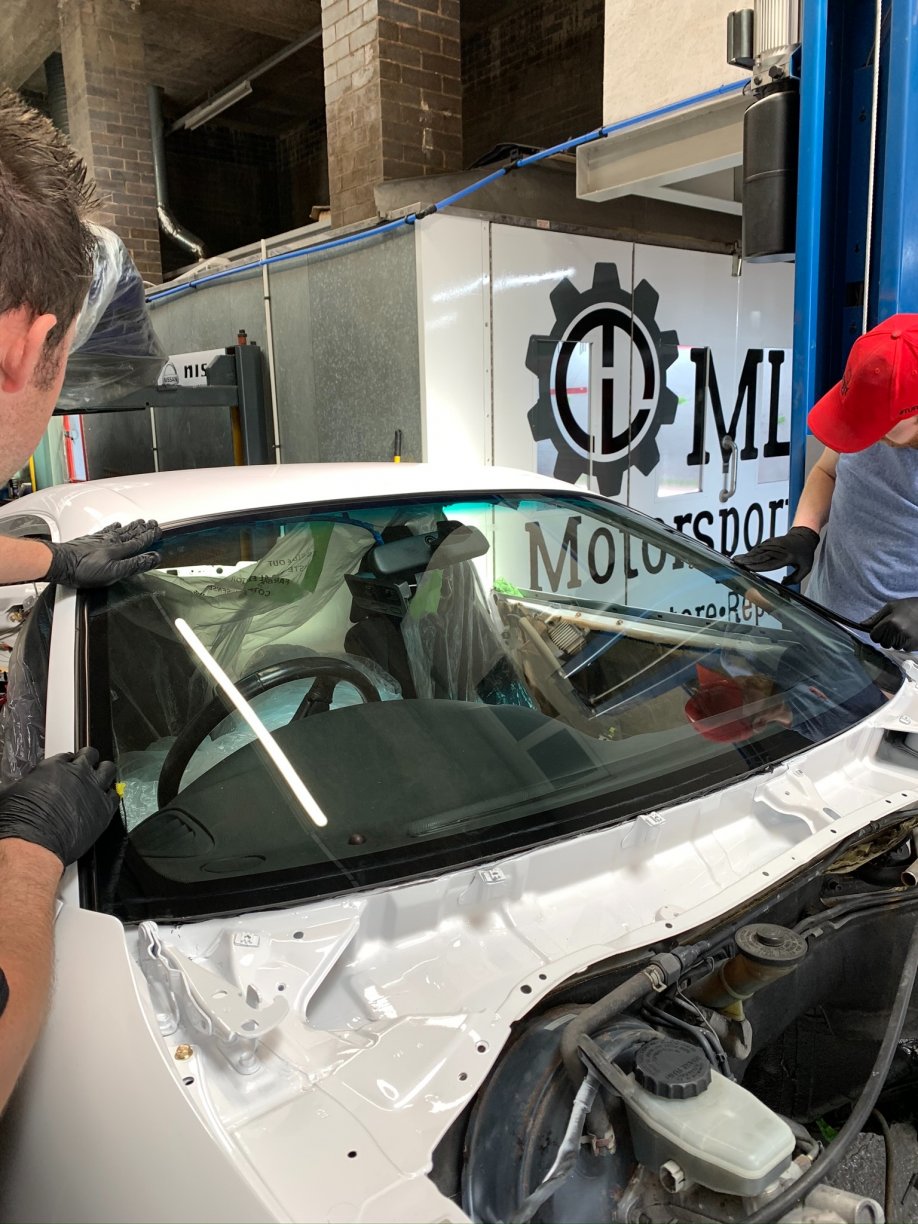
As you can see from the pics above the glass was installed and a new seal was used both back and from. I spend a fair bit of time cleaning up the screen and scraping off any buildup. Front and Rear seals were ordered at TCB. Screen going back in:

-
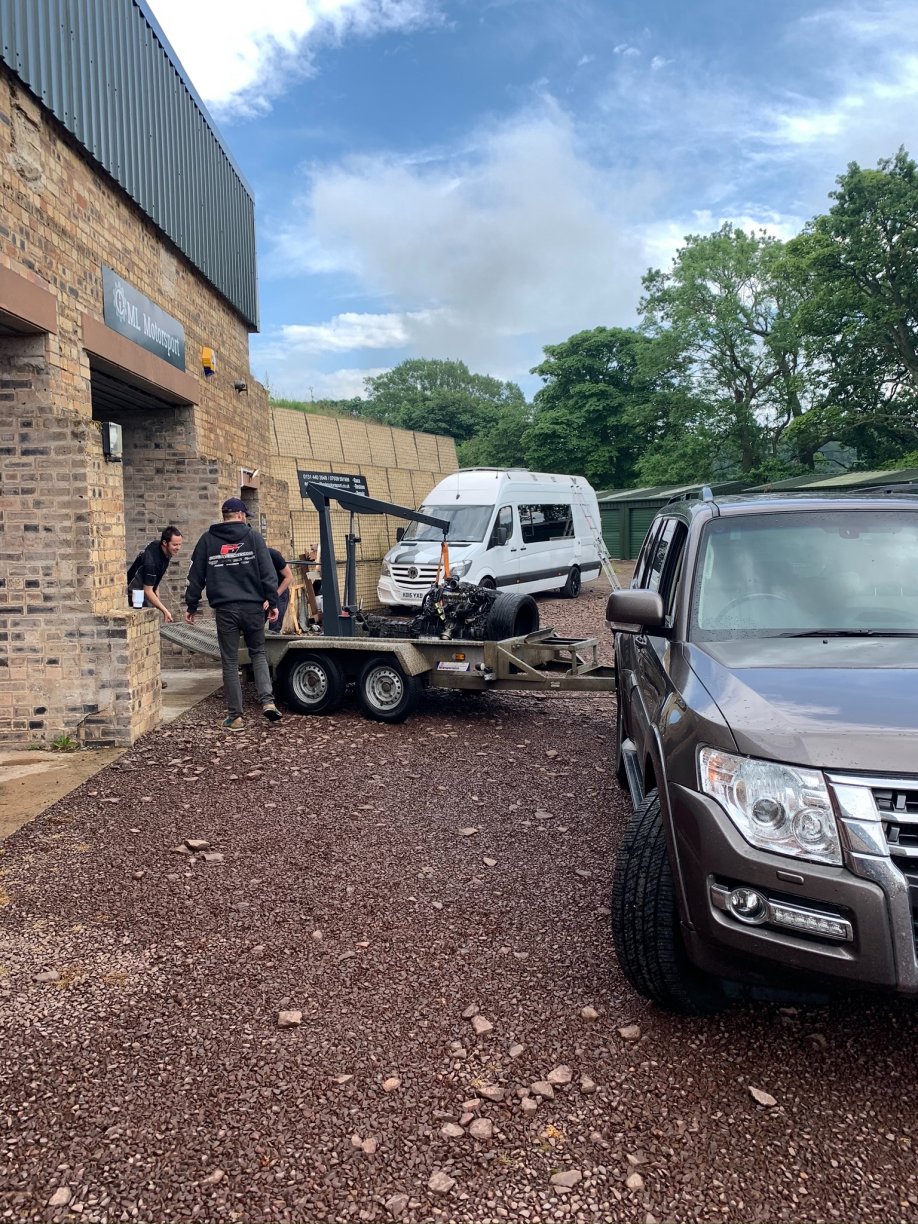
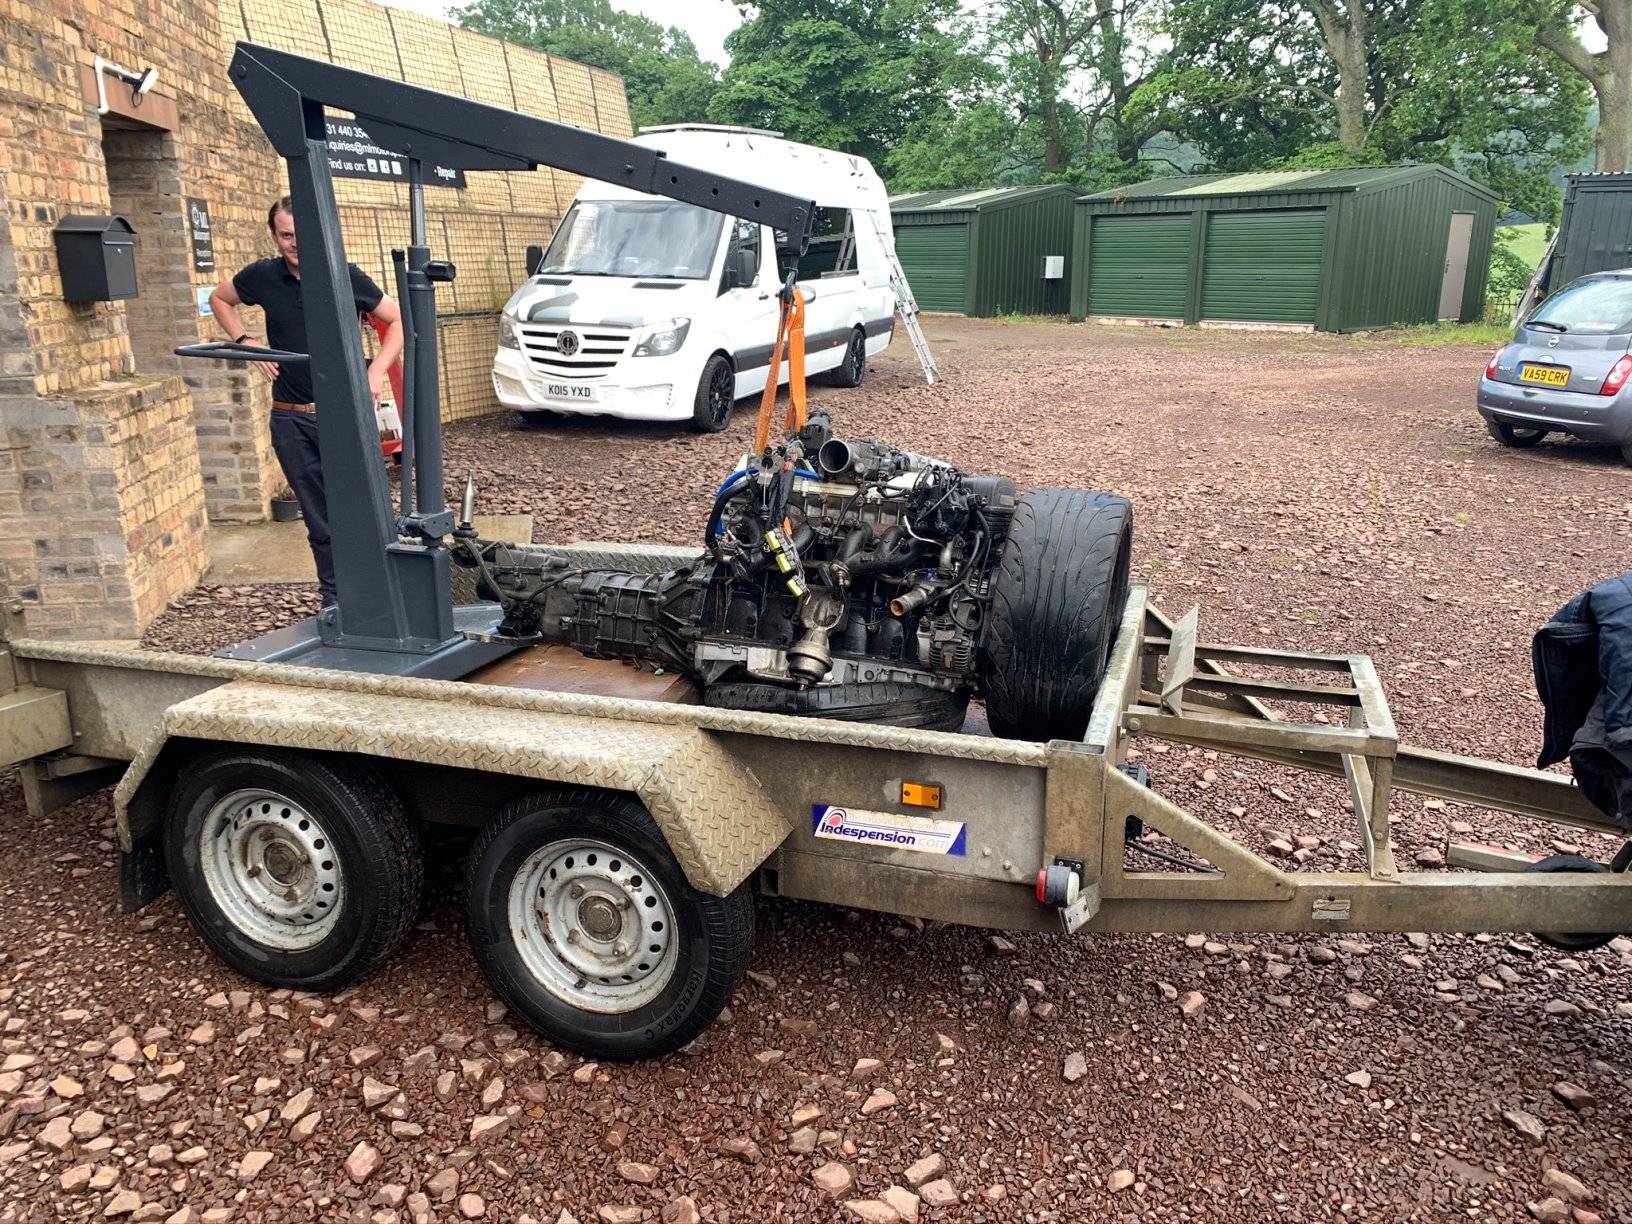
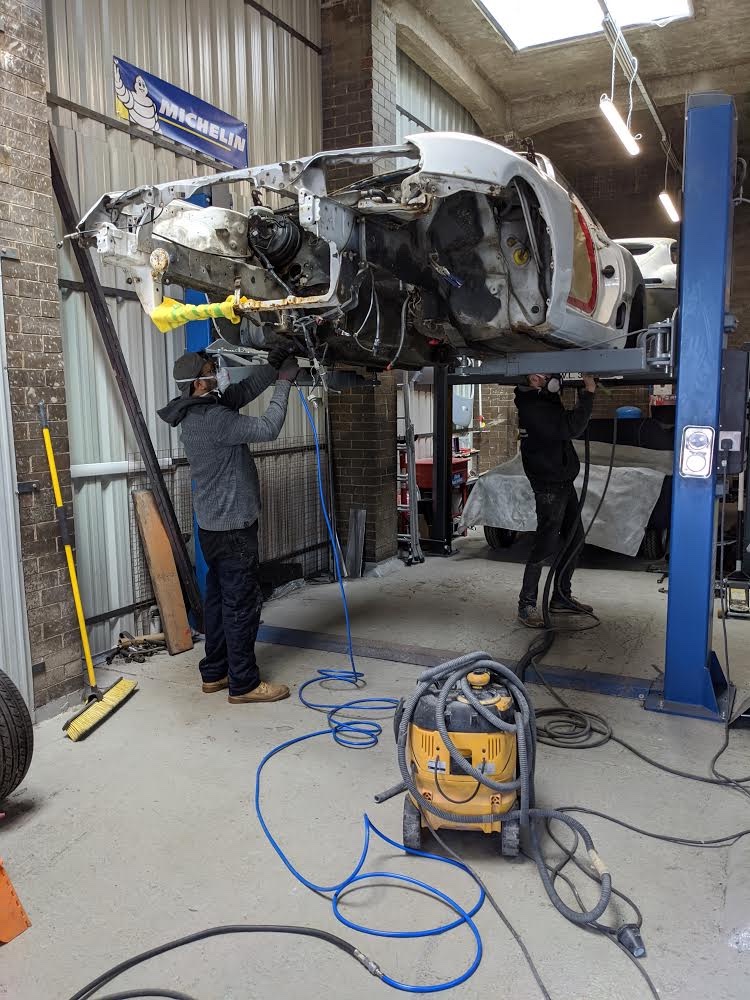
With the body back from paint, the engine was move in a very unorthodox manner up to ML .
-
Absolutely over the moon chaps, very satisfying after all the challenges. Will be sad to see this one drive off with whoever the new owner is, when the time comes, as I’ve tried to be involved in most aspects of the project. I think that’s probably been the driving factor for the spending acceptance .
-
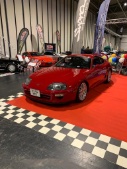
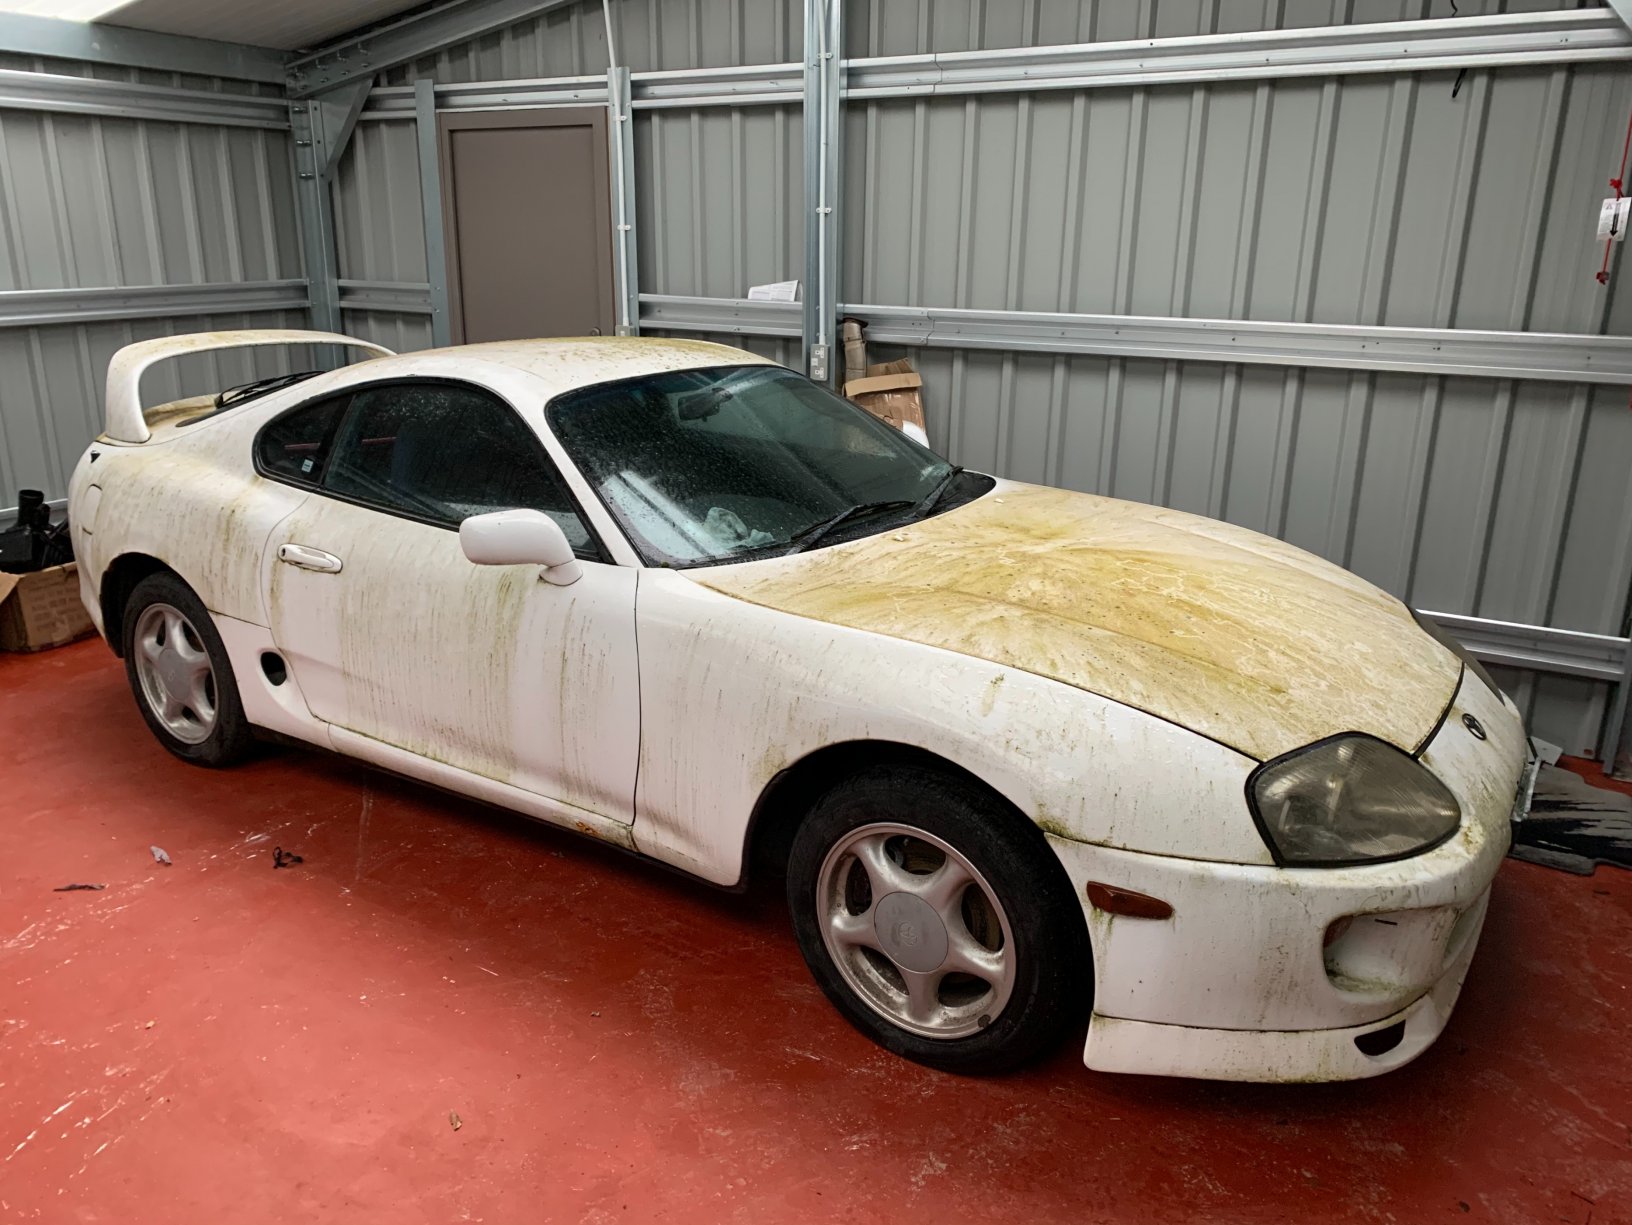
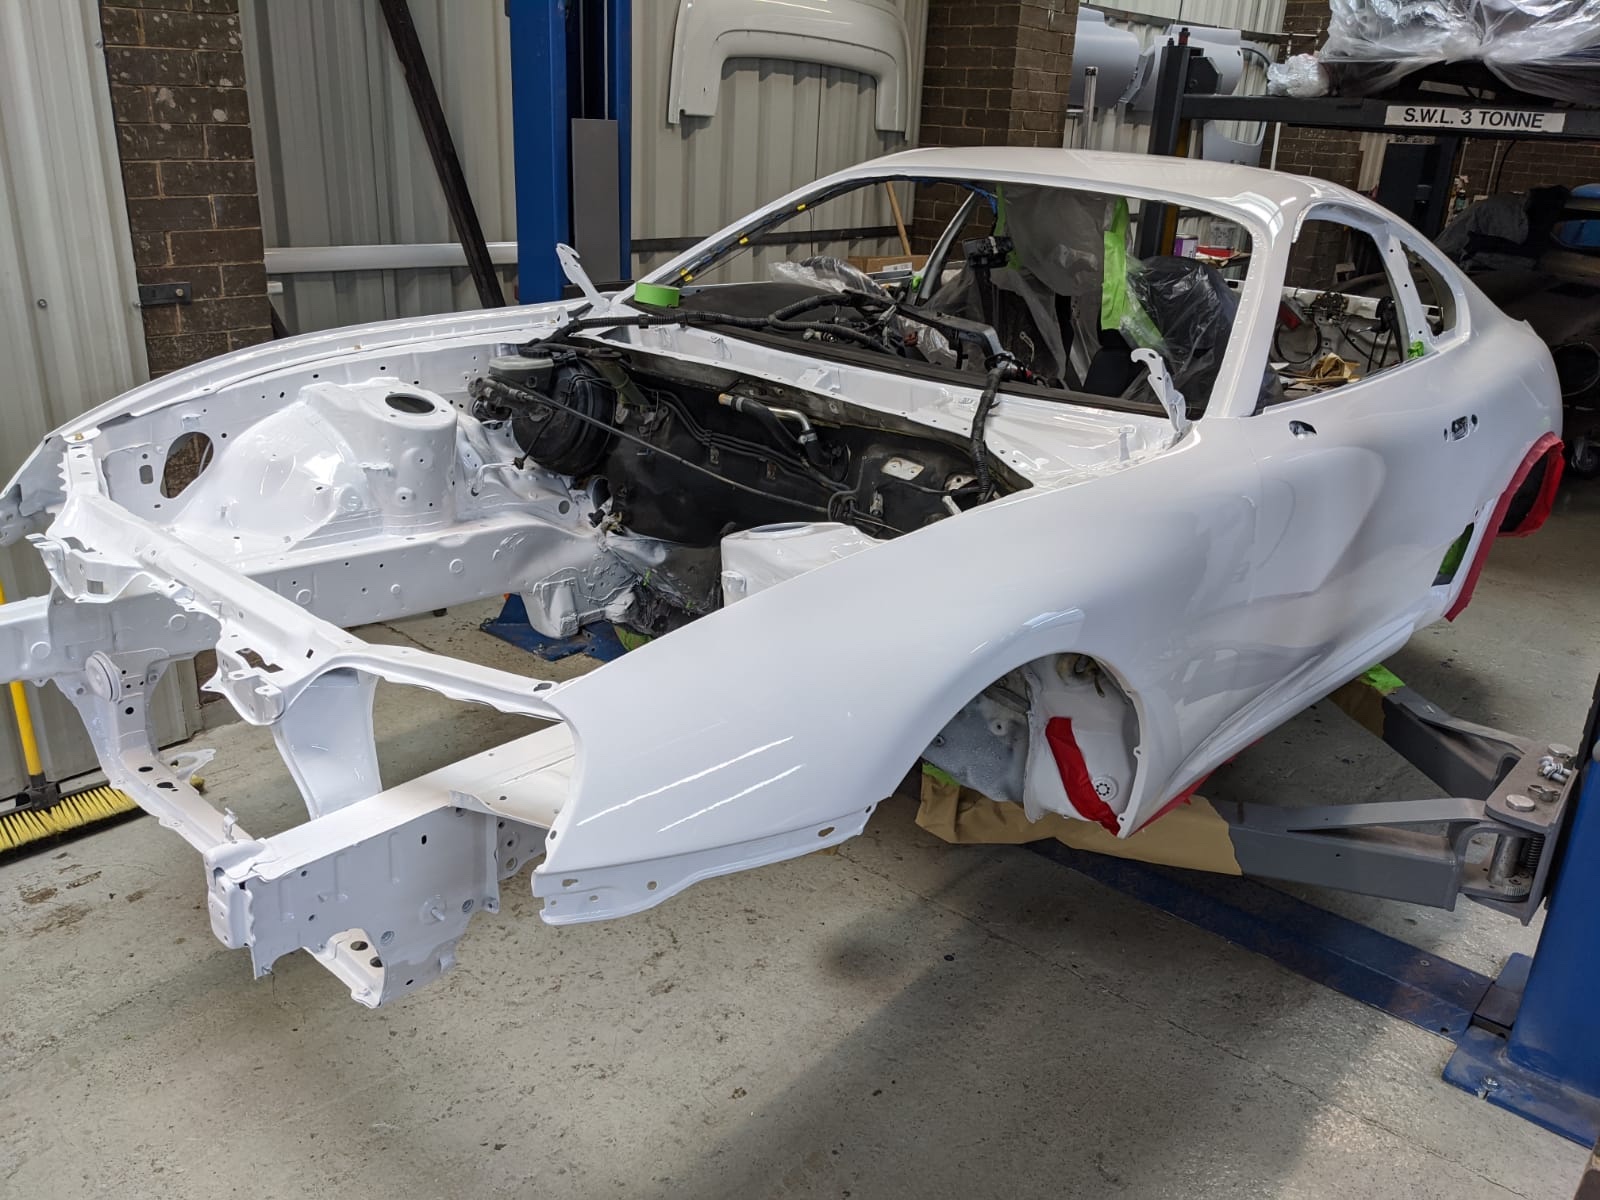
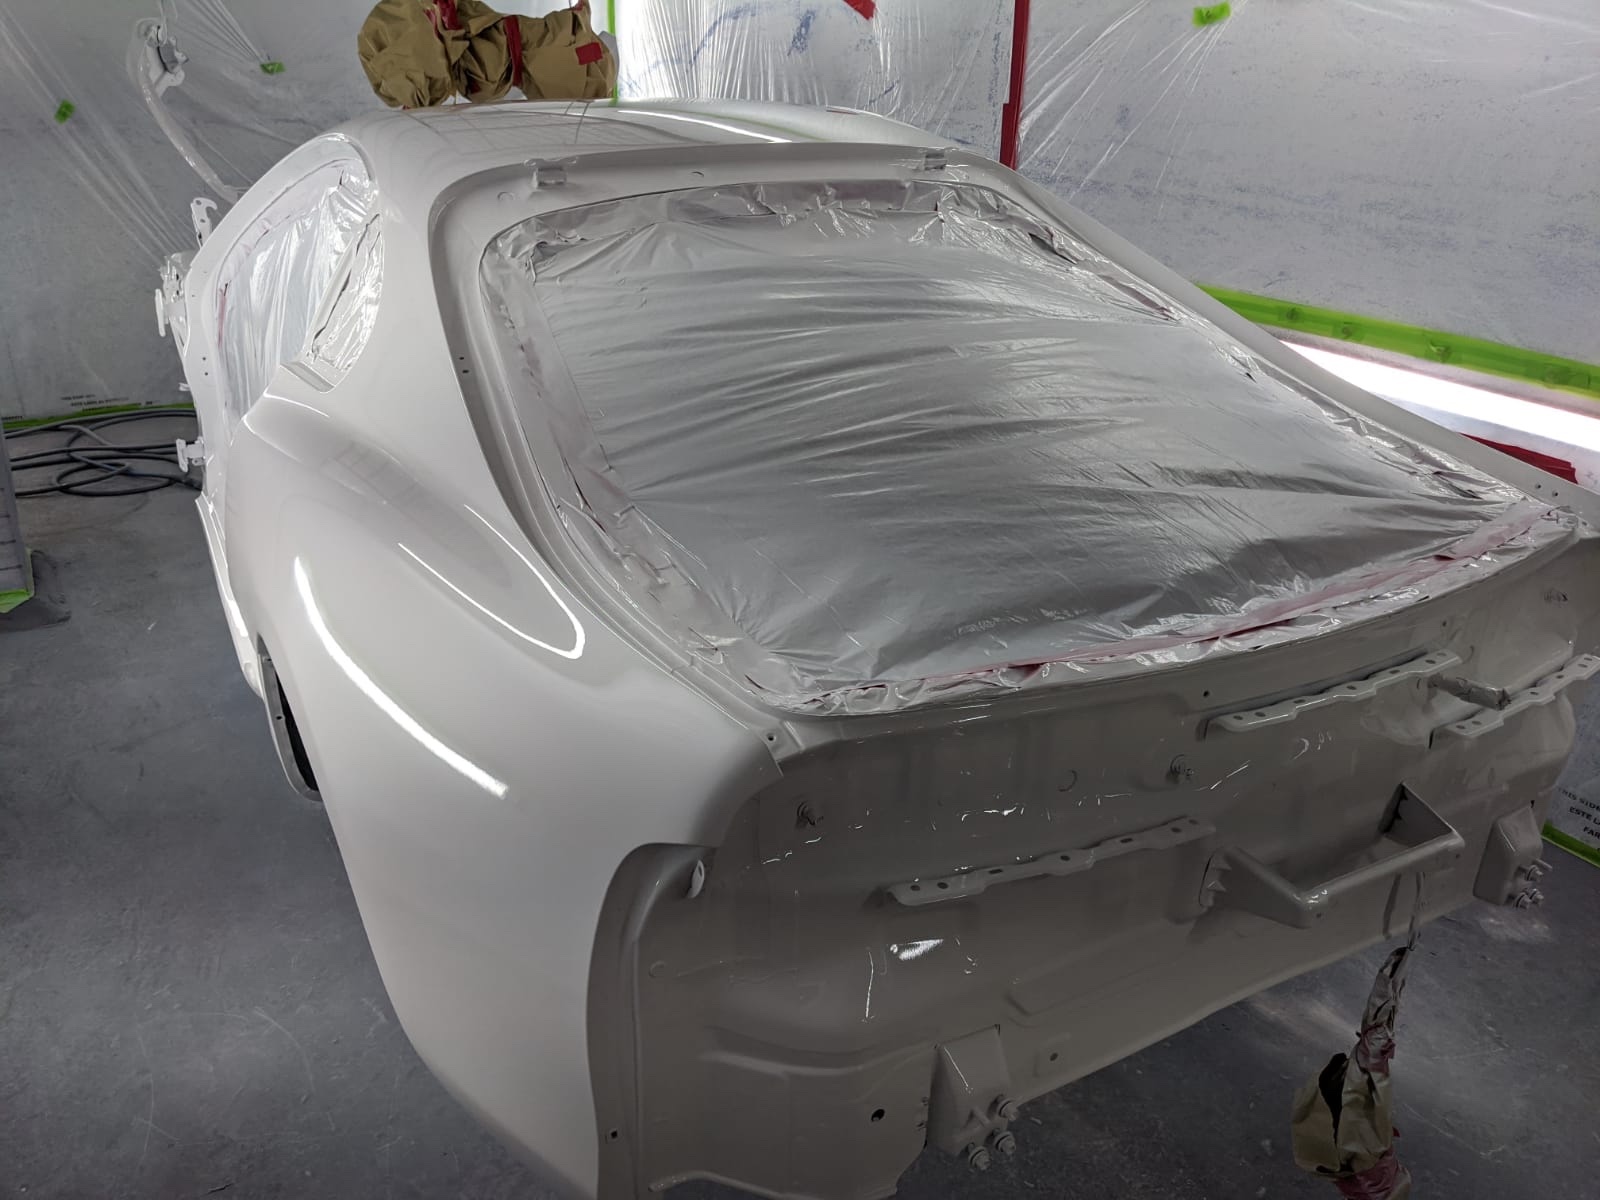
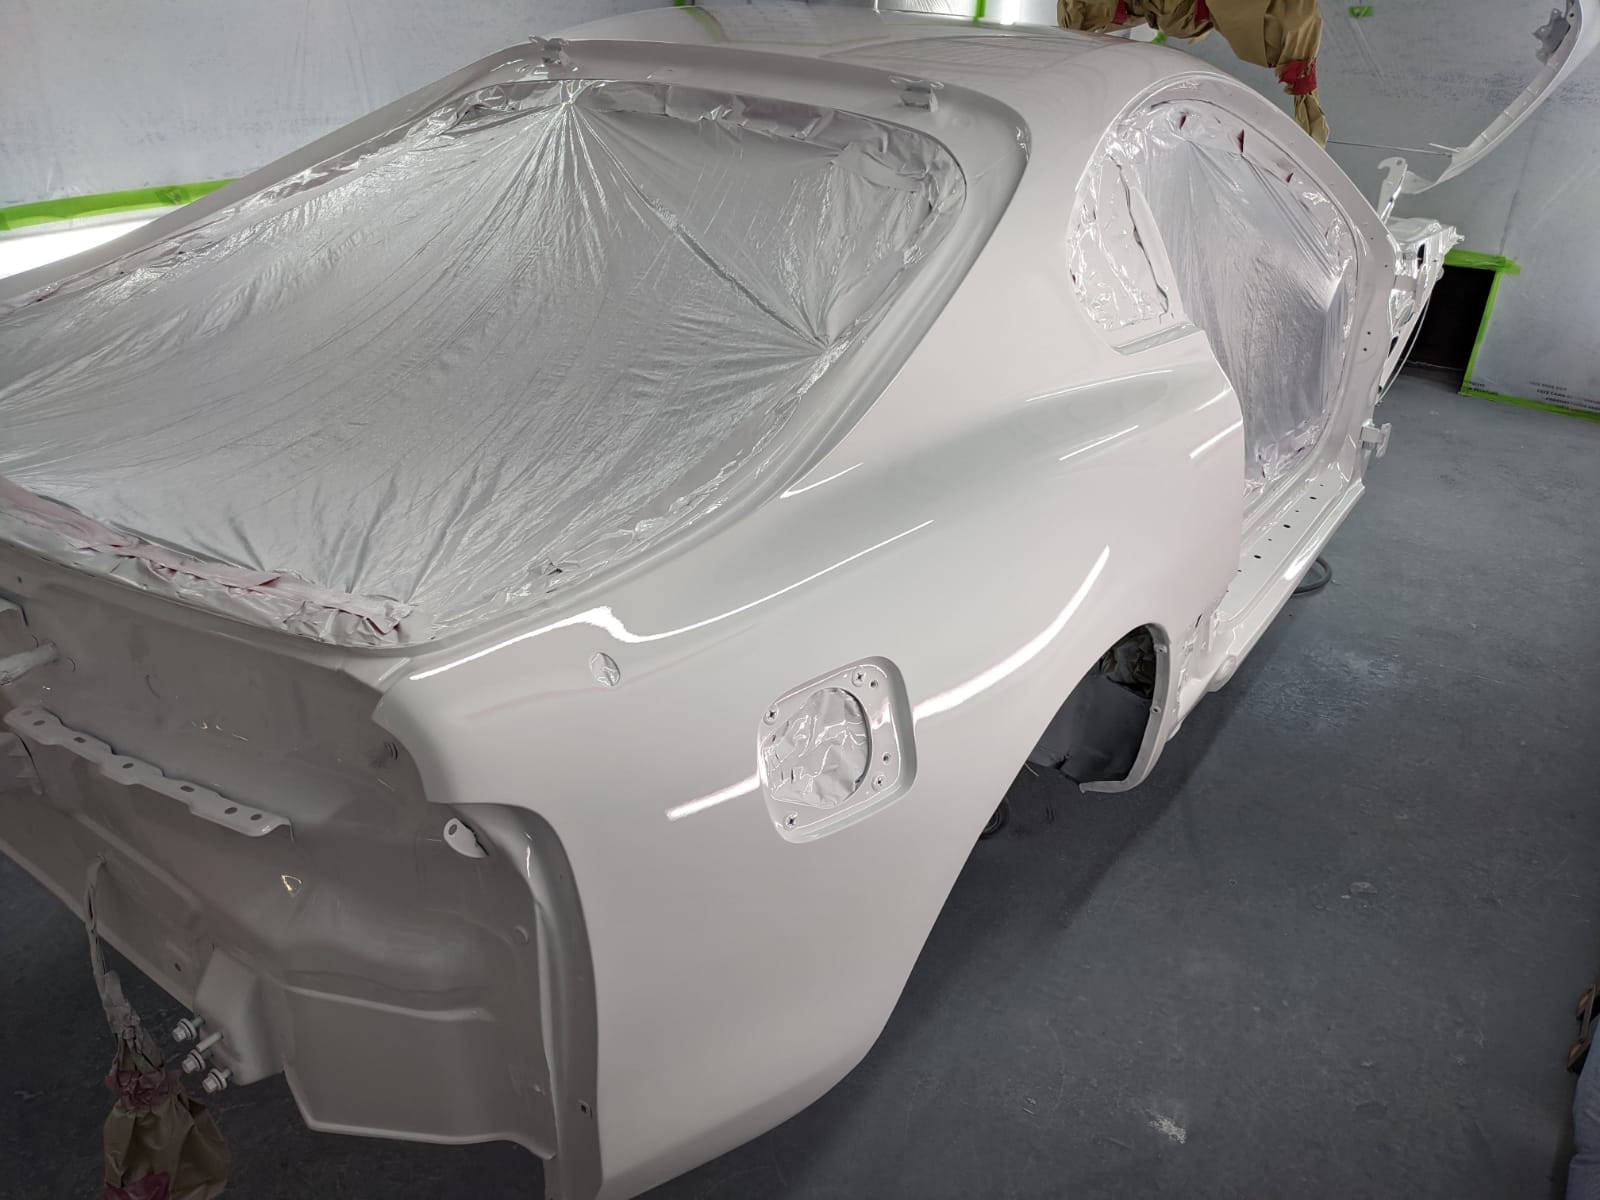
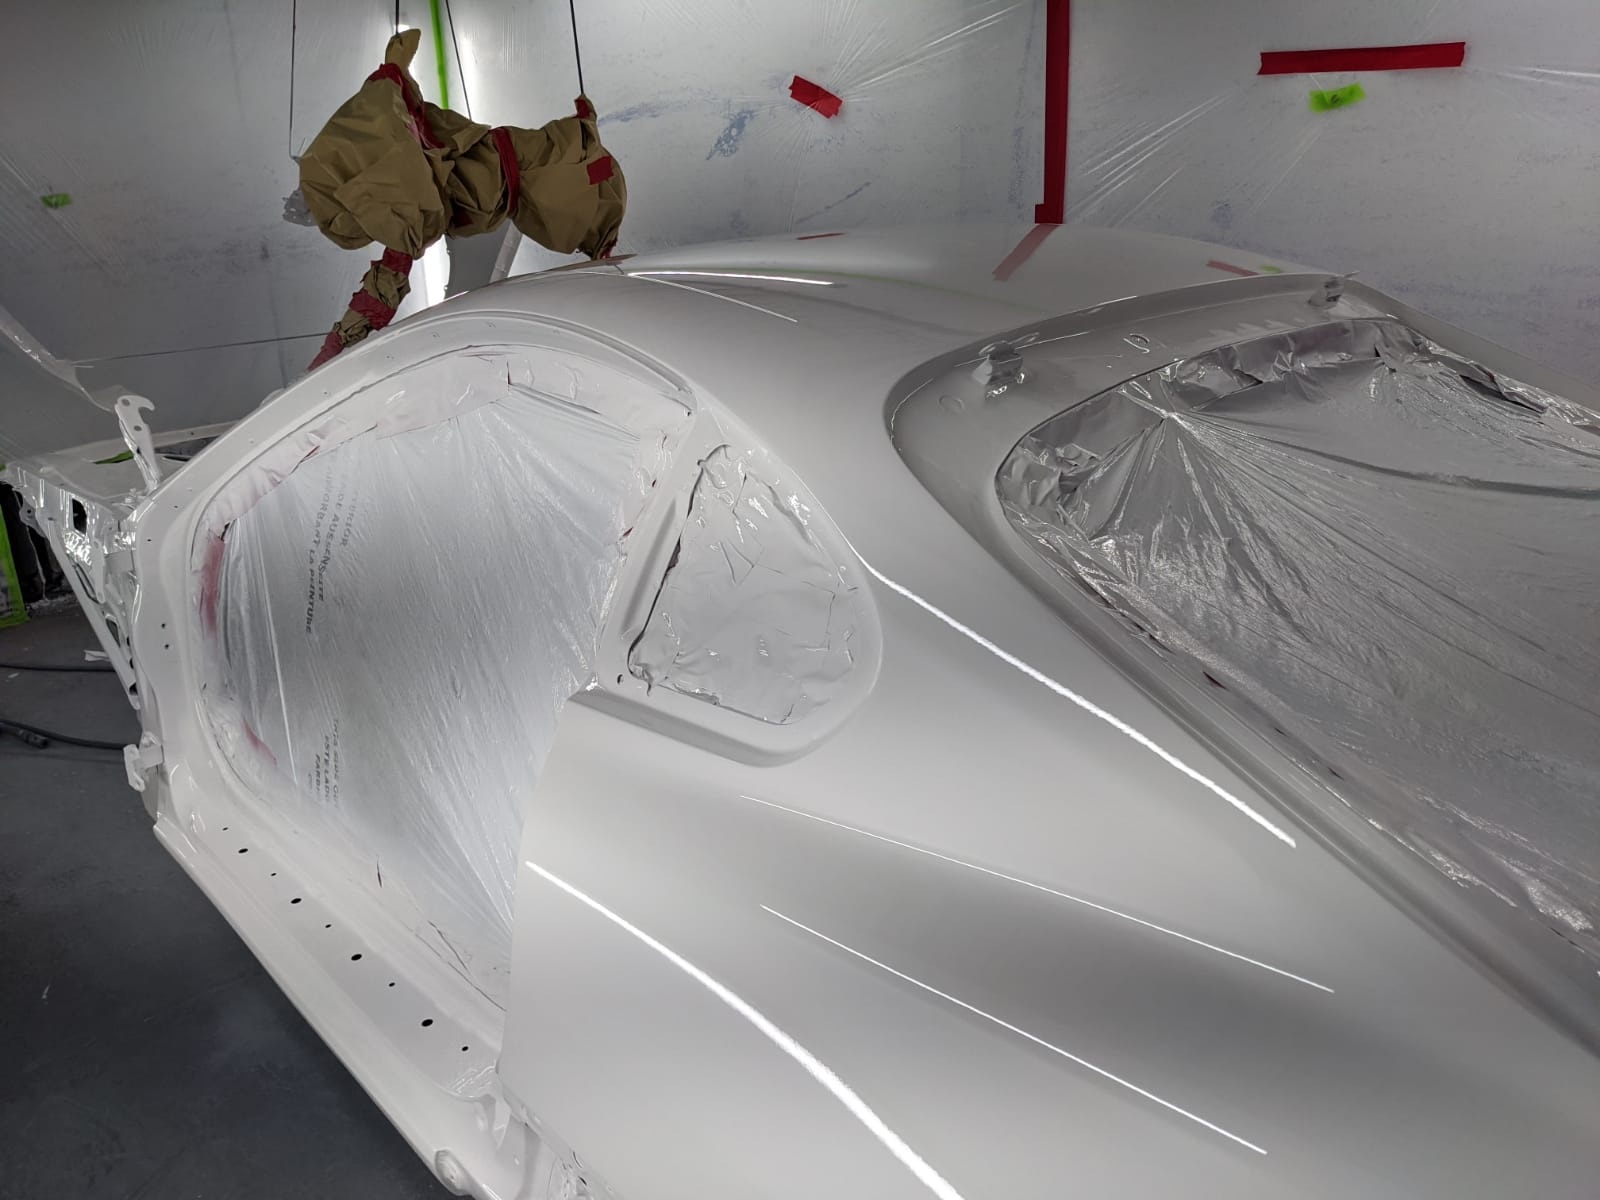
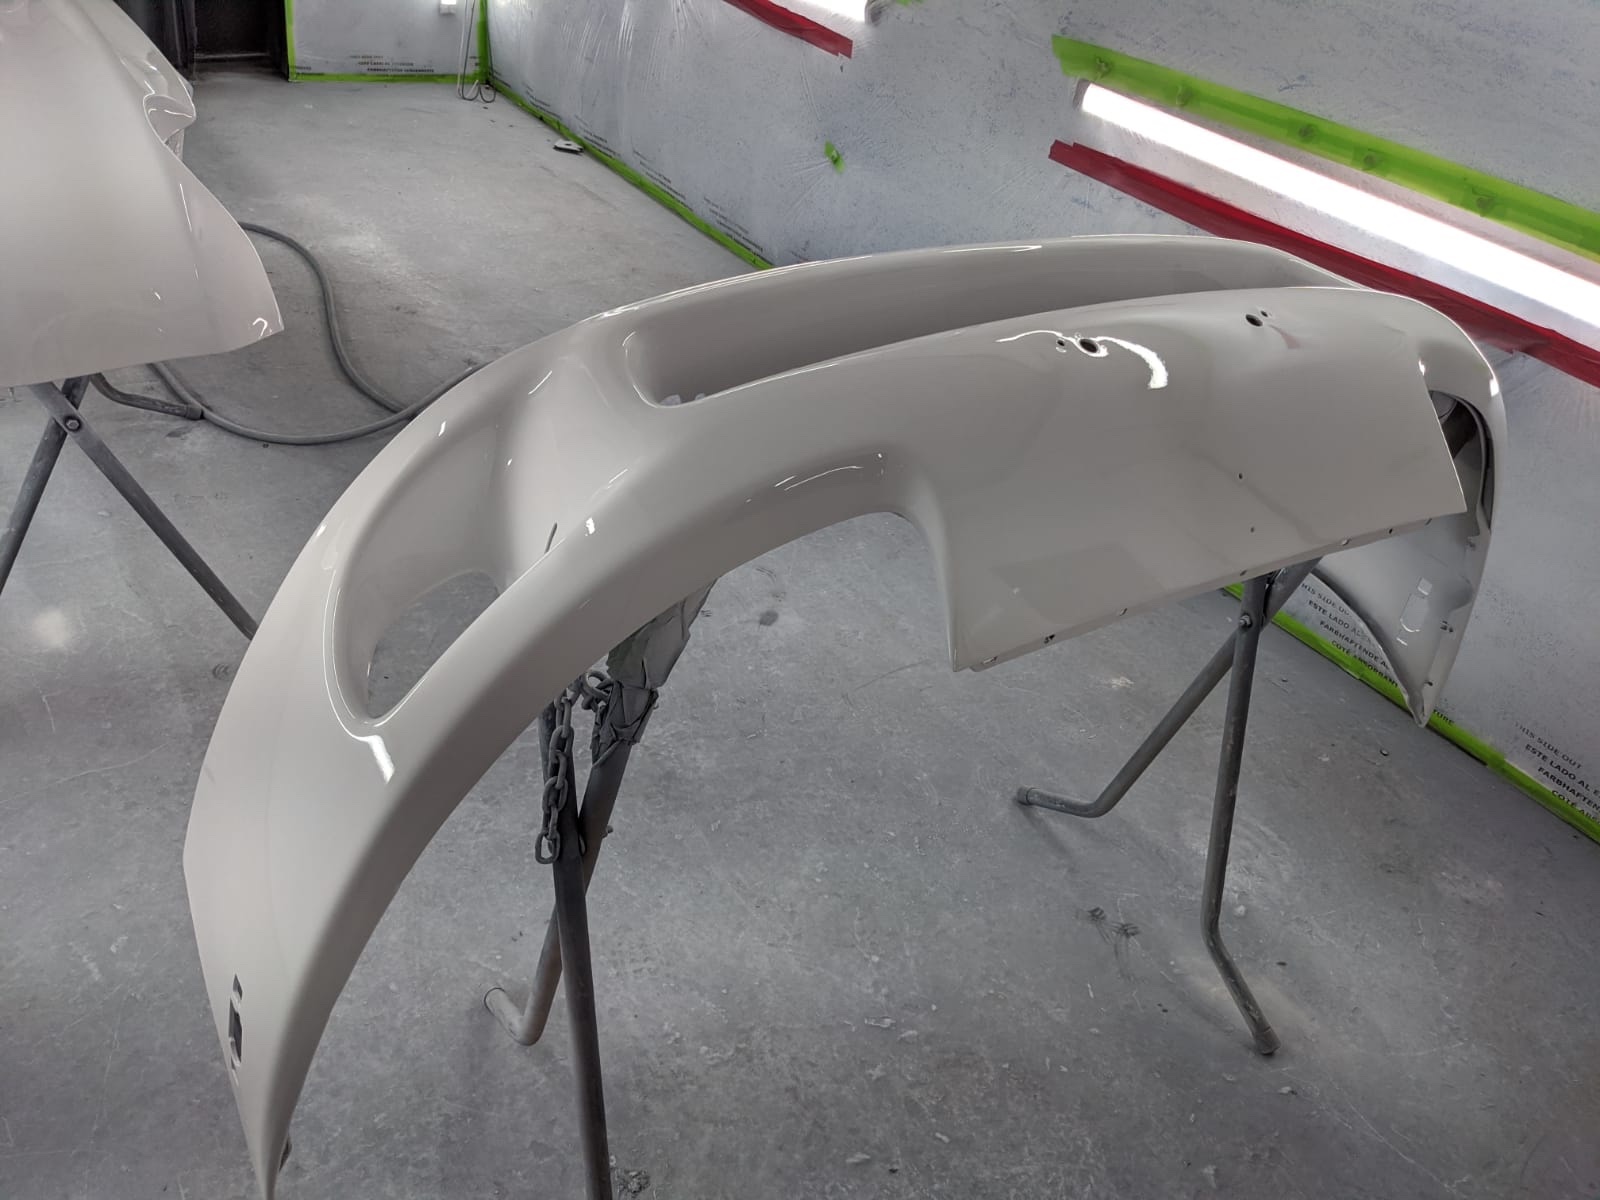
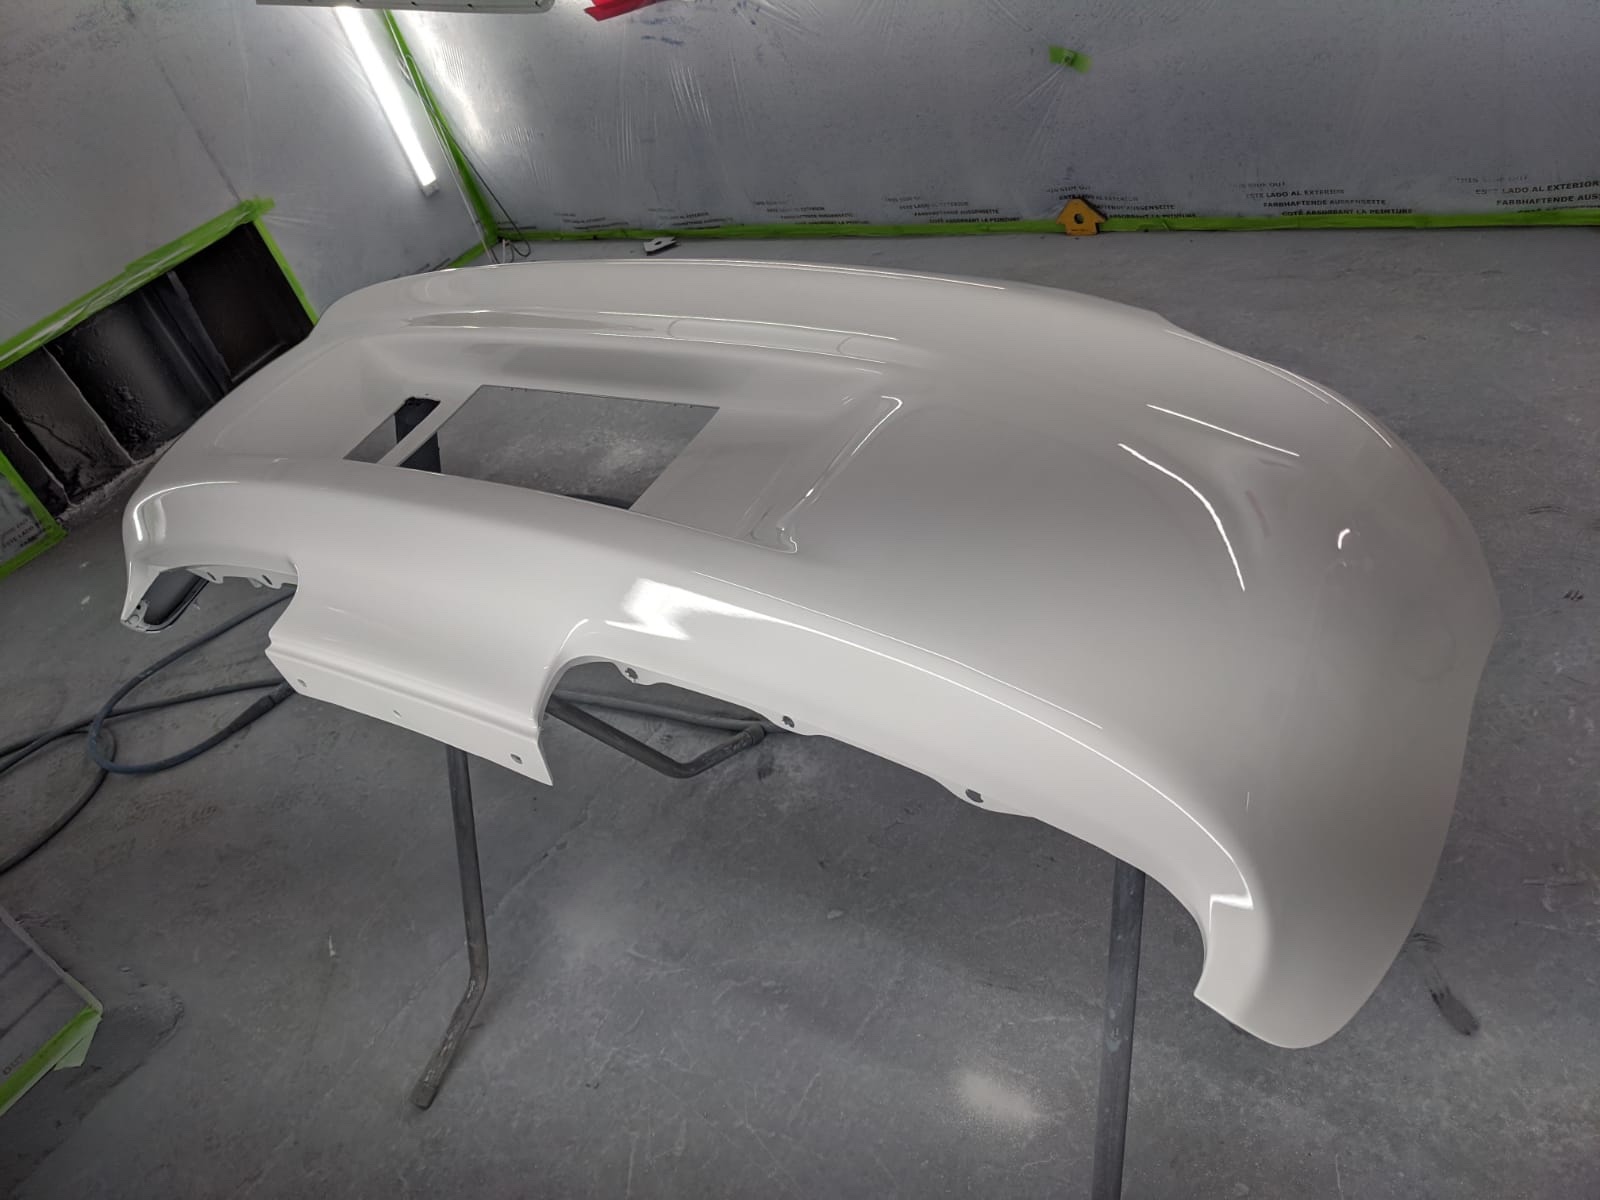
Thanks Chaps, I was super happy with the outcome, and here she was fresh out of the oven, a stark contrast to how she began her journey I’m sure you’ll agree.
-
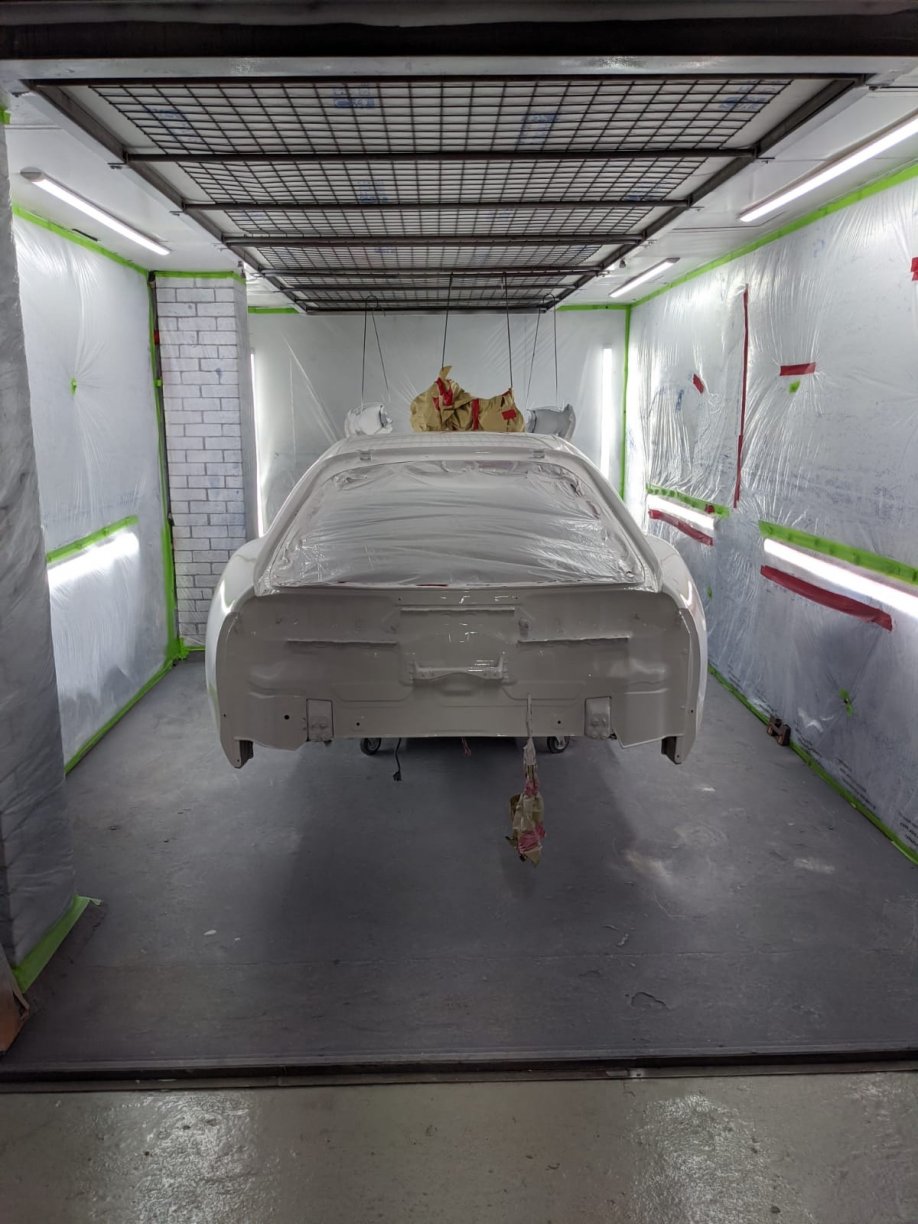
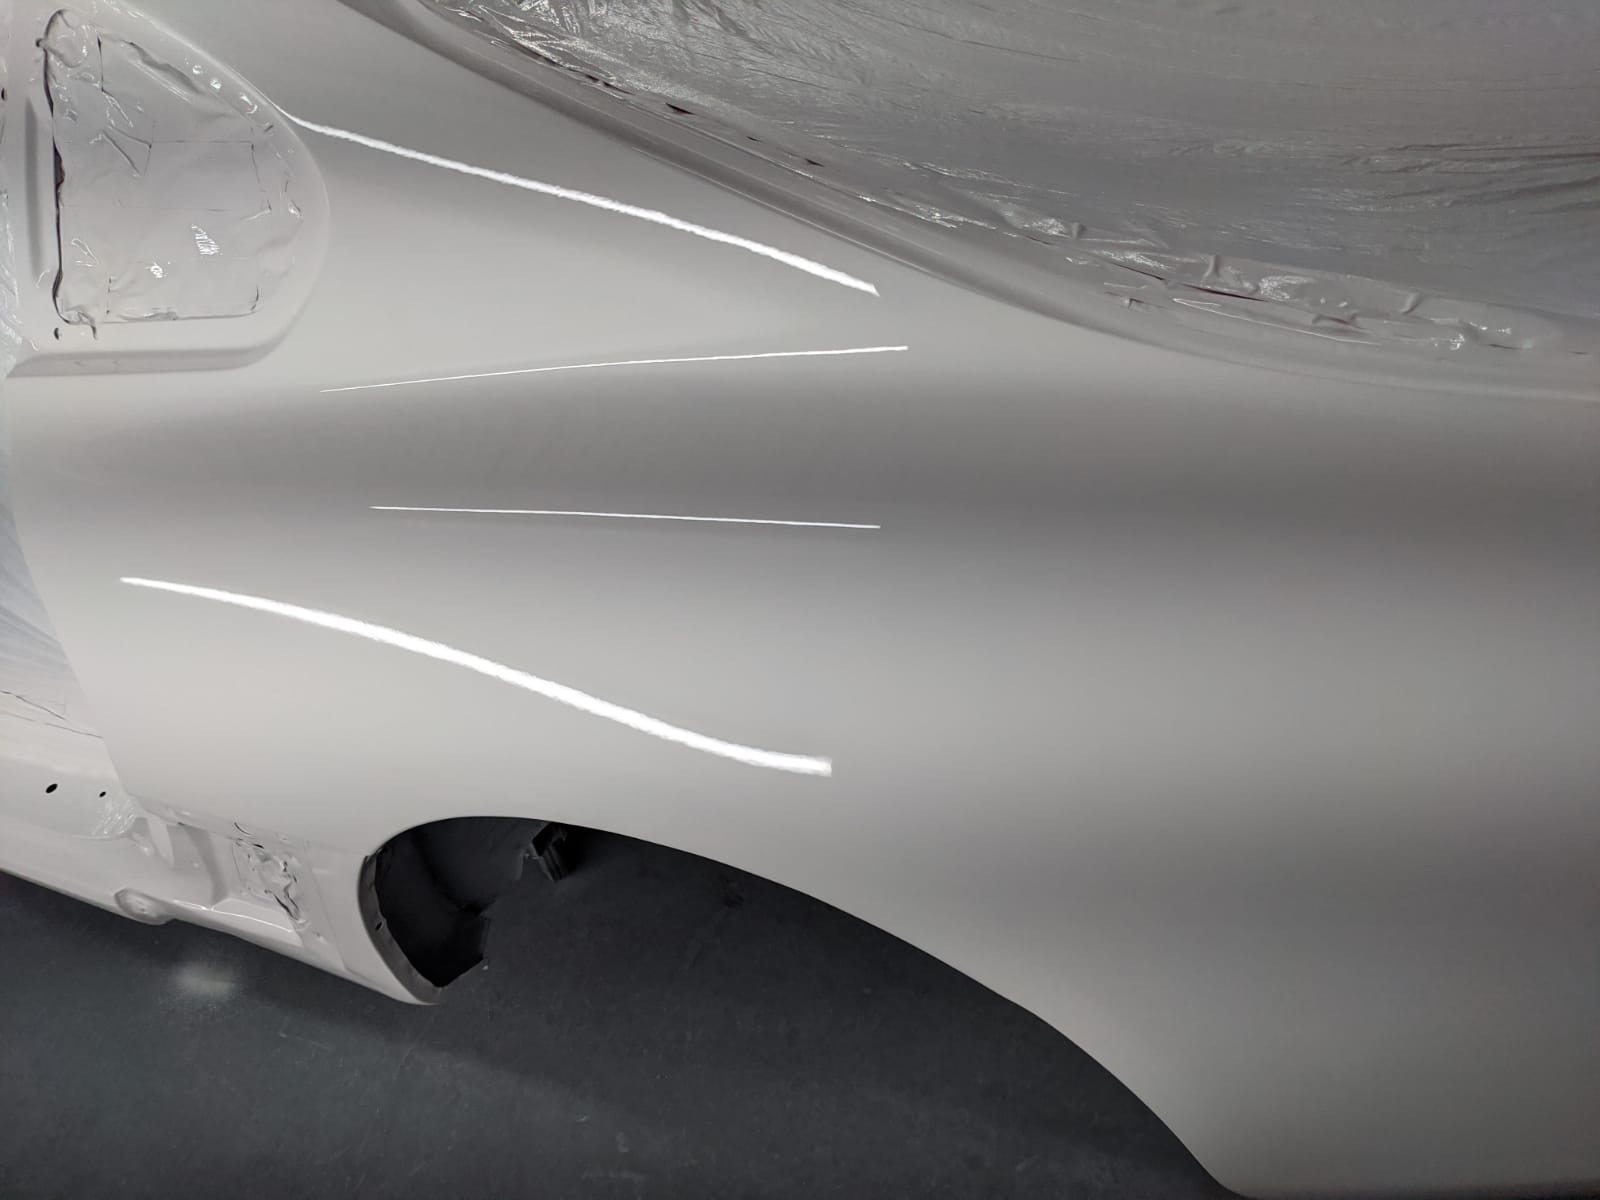
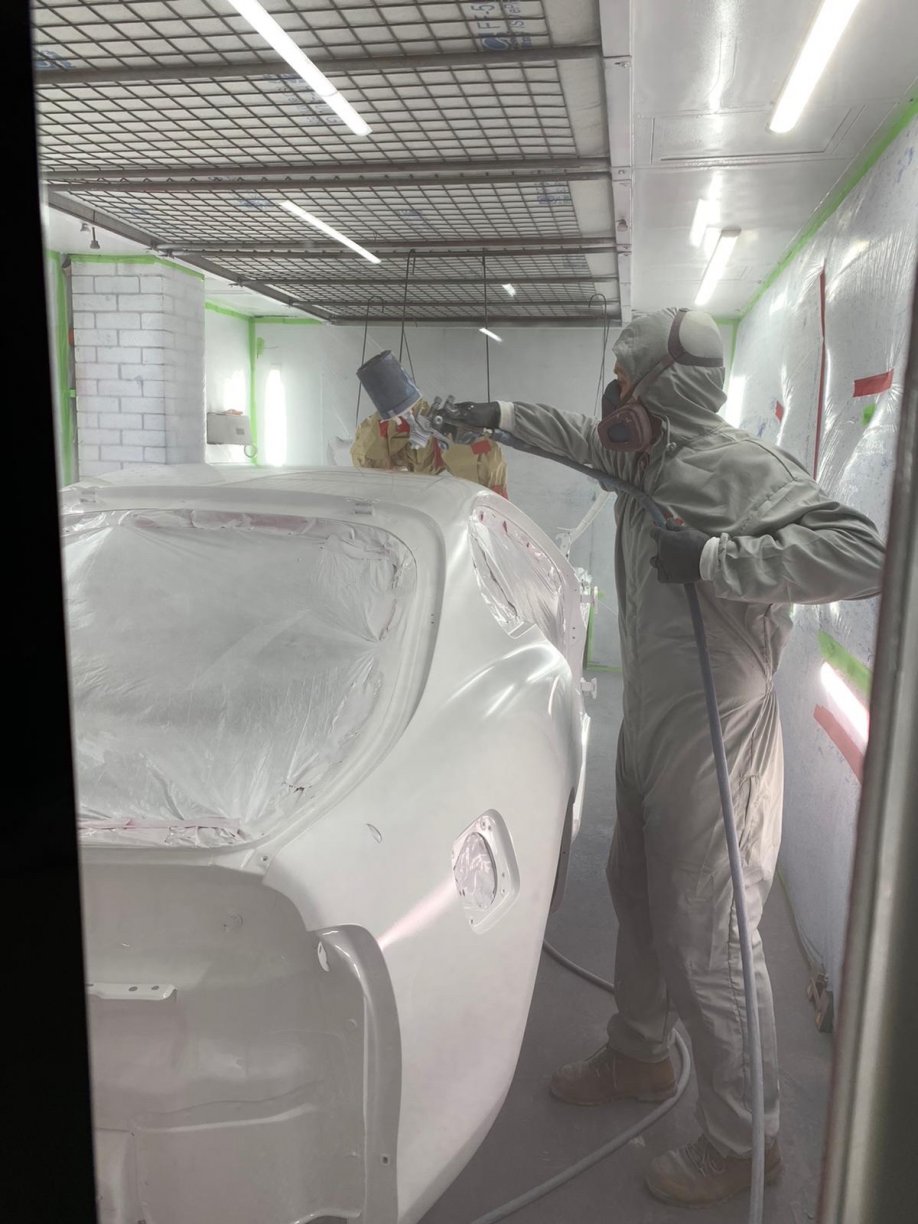
Final few coats, and the Sup really started to take shape: IMG_2878.MP4


-
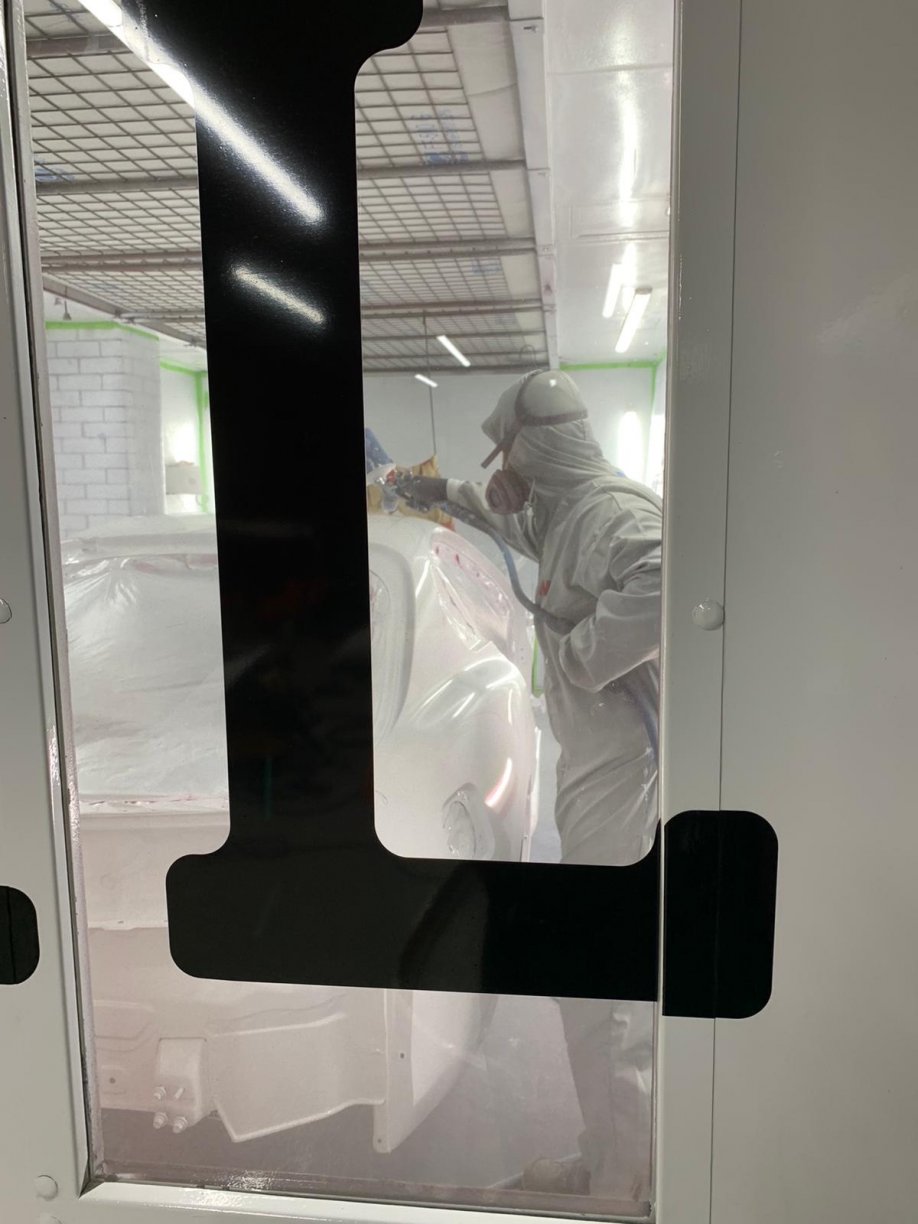
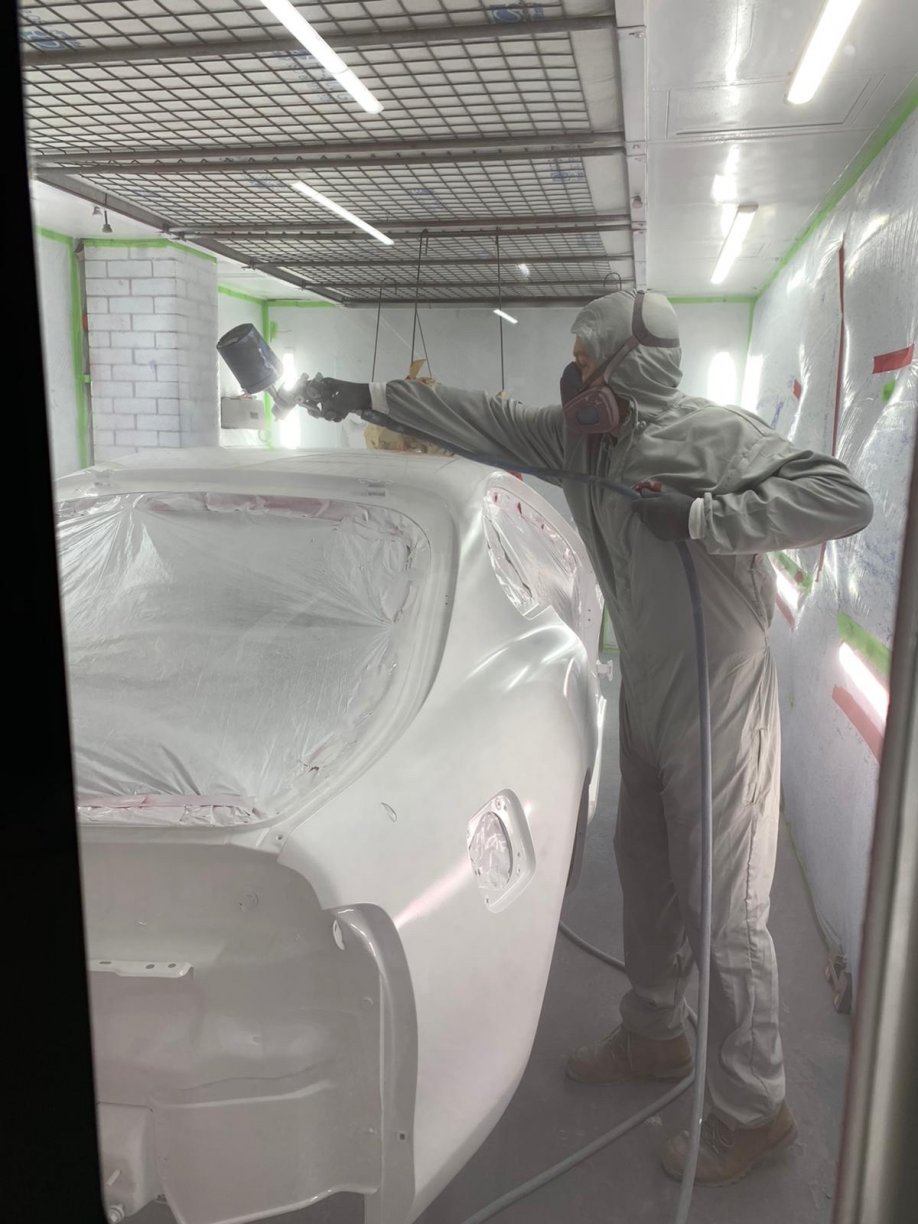
Martin in the booth laying it down
-
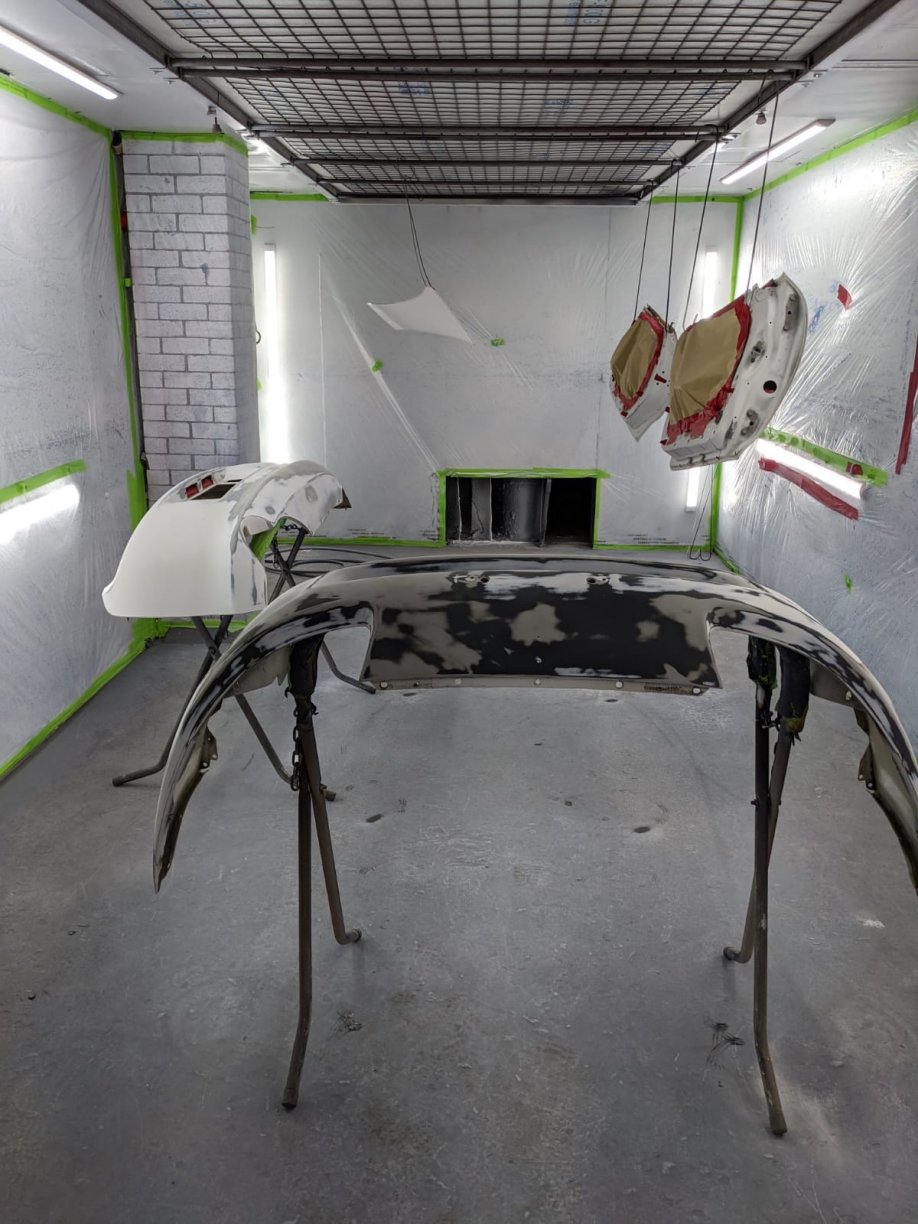
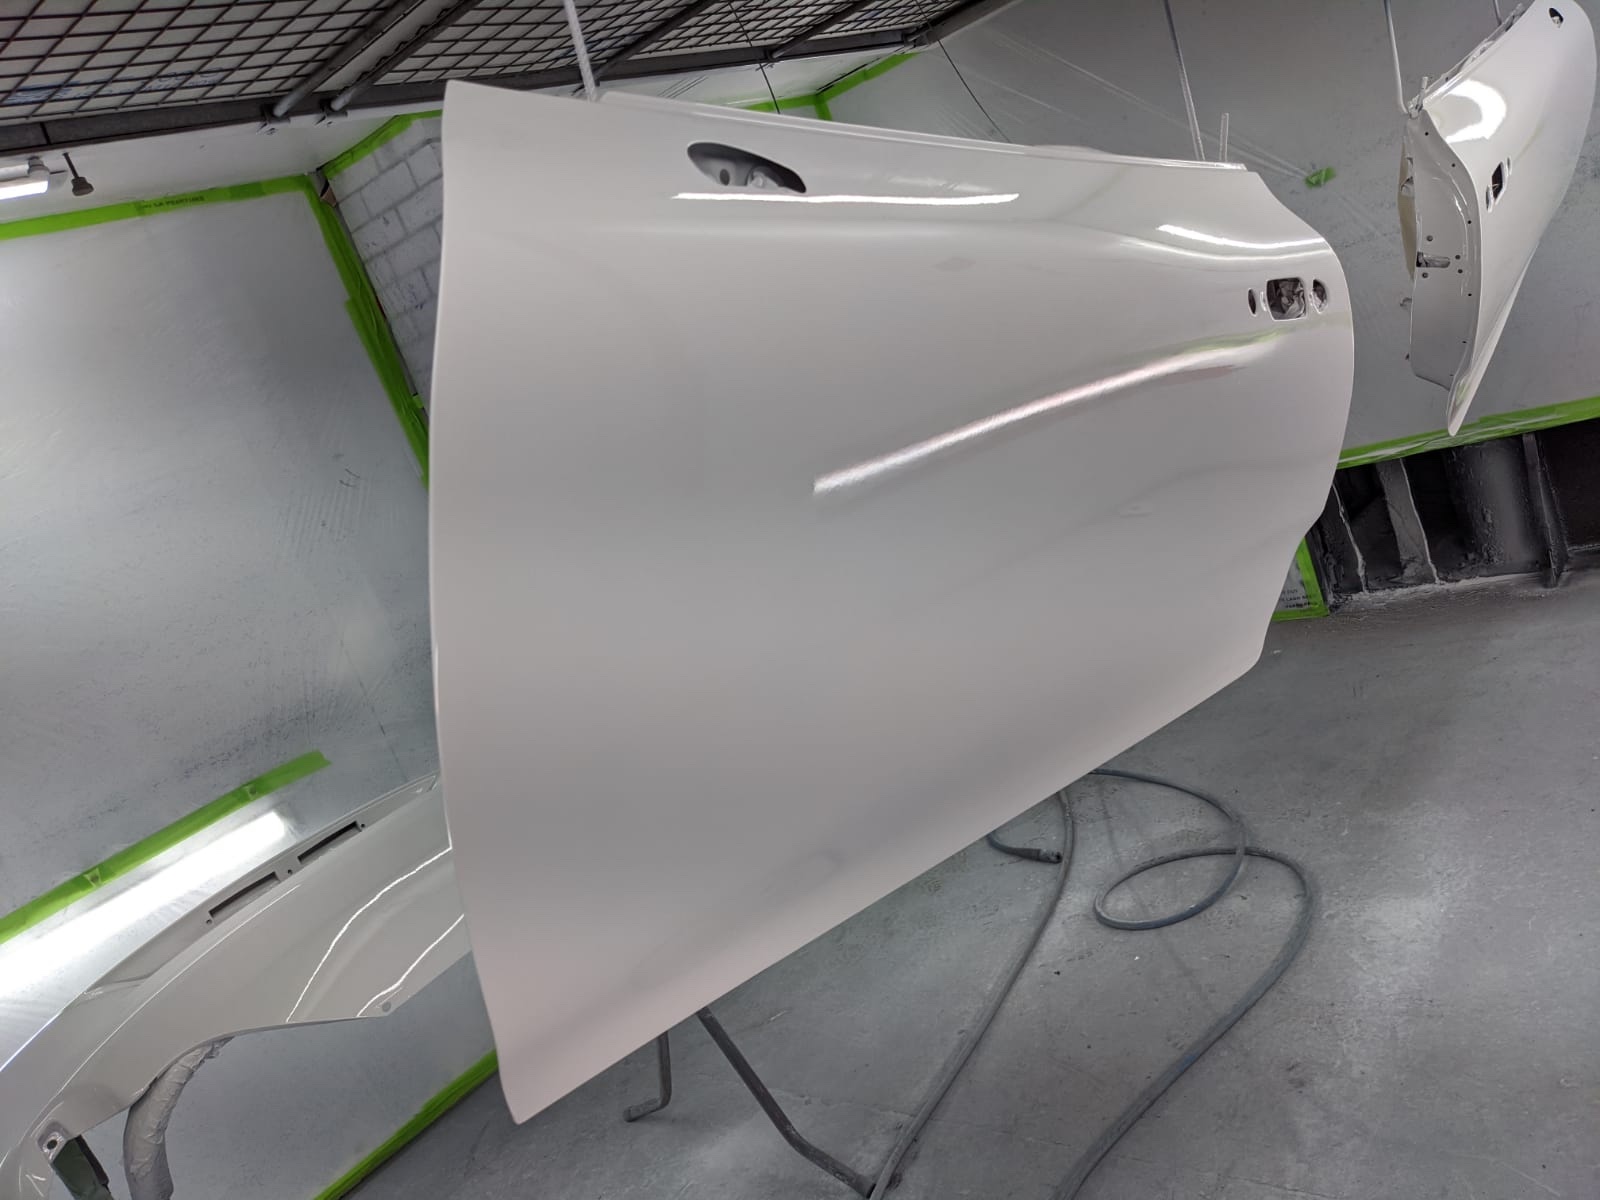
Onwards to some more pics, freshly painted doors, mirrors, spoiler. prepped for paint: New tailgate gaskets were also purchased so that the newly painted spoiler could be mounted.


-
Thanks Spike, I’d like to think that this was a very tired example and that most cars out there are in a better state overall. But I suppose with the age of our cars getting on, preventative measures or refurbishment of components is going to be a trending topic.
-
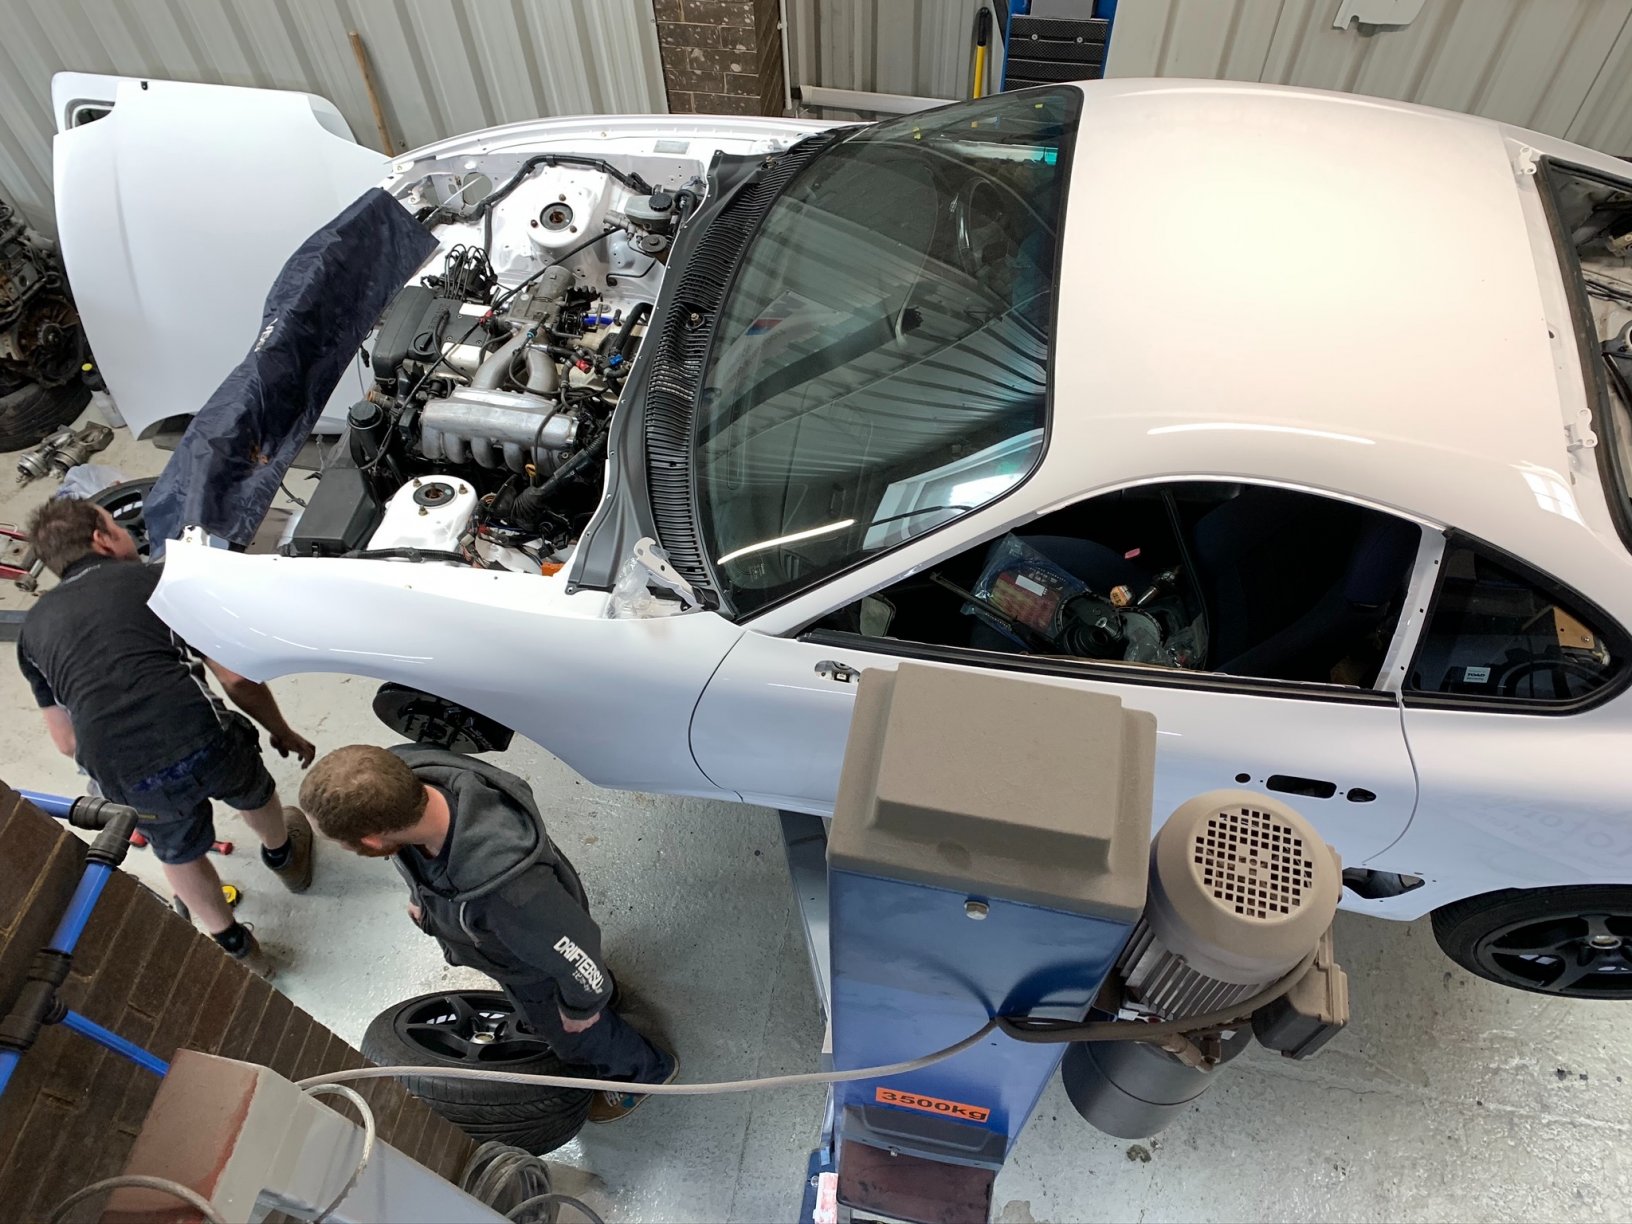
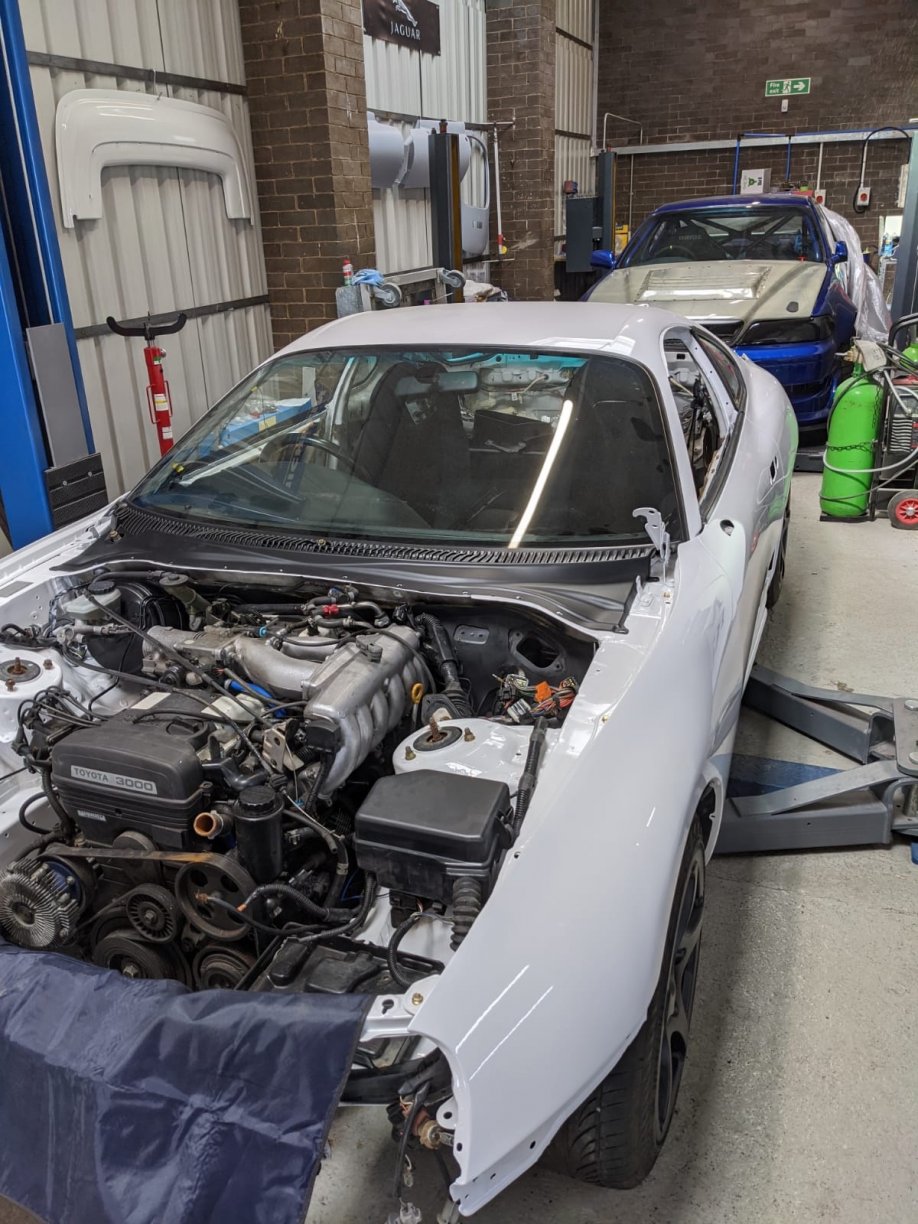
Thanks Marc, trust me I wasn’t bargaining on the level of work that’s went in. It’s actually almost back together now, just waiting on parts from TCB but the pandemic has slowed down the distribution channels for the new parts arriving. Just need to get these updates loaded, and writing some description of each bit takes a little bit time . Hey Jim, I will be reverting back to the NA-5Speed set up yeah, also keeping the LSD as i feel it should have come like this from the factory. I have upgraded certain parts on the car like the Suspension, I’ve went with Tein Mono-Flex Coilovers so that I could get the ride height set the way I want it, and the added adjustability. Being a NA it would be rude not to decat it, so I’ve added some these to a Stainless 3” system. Interior will be receiving different seats, but I will post these later on, and the sound system has just had a light upgrade. other than that I might be adding facelift fronts as they will break up the white nicely, and I’ve sourced a Facelift center bar and front indicators. Thanks very much guys, I’ll get the paint shots up next and I honestly couldn’t recognise the car compared to what it started like .
-
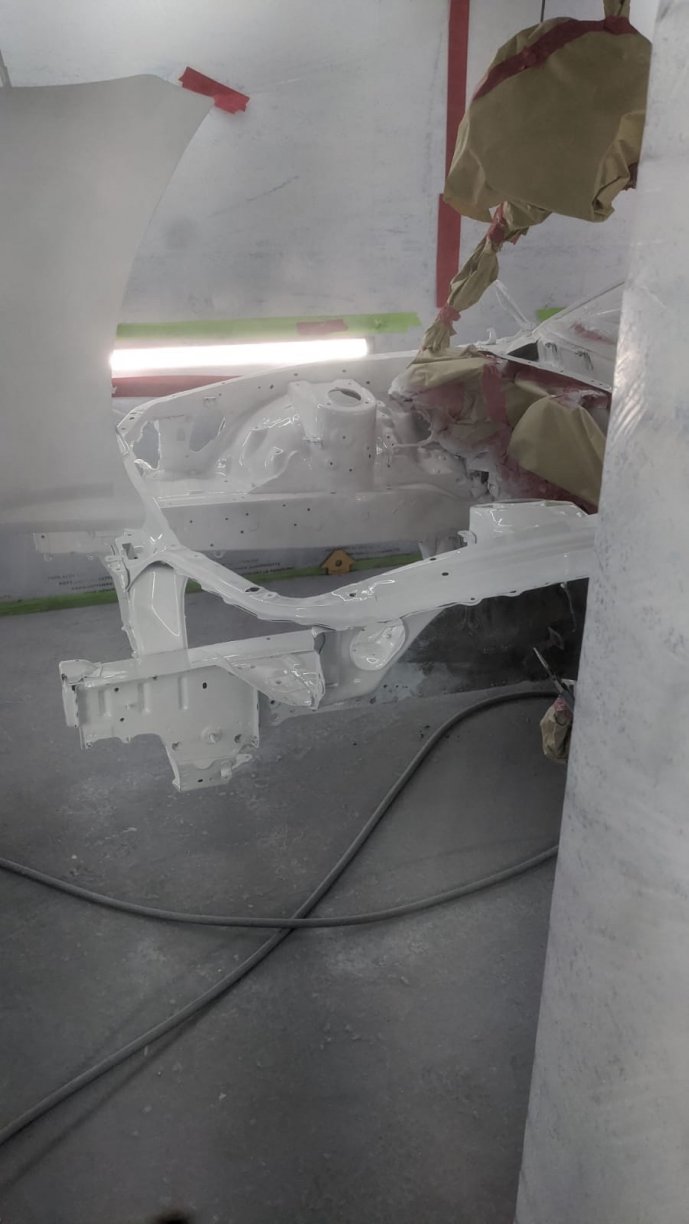
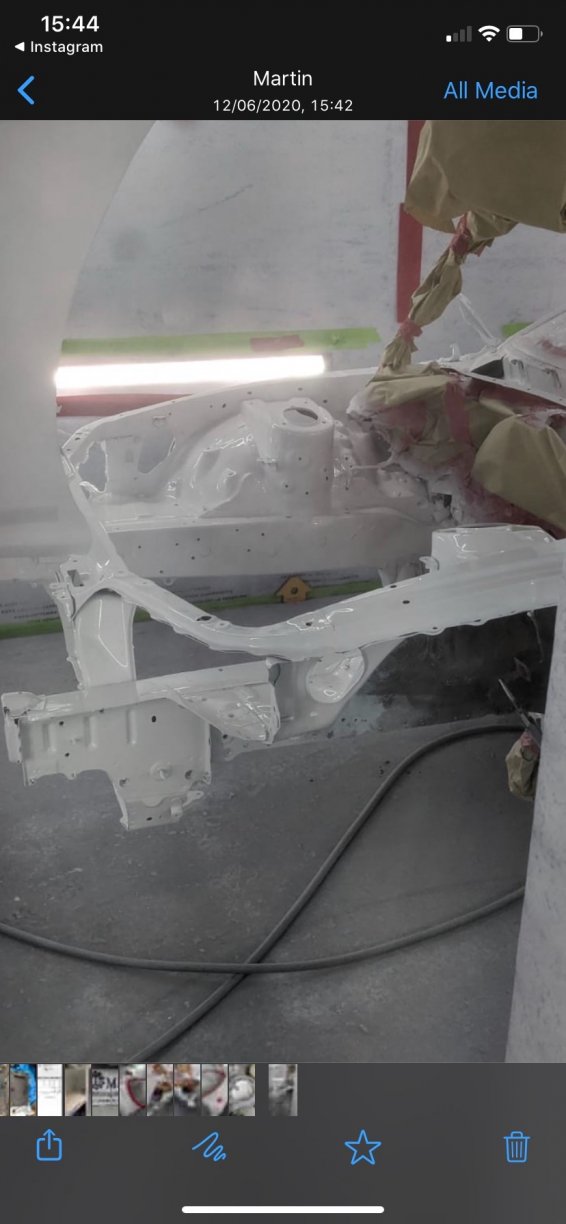
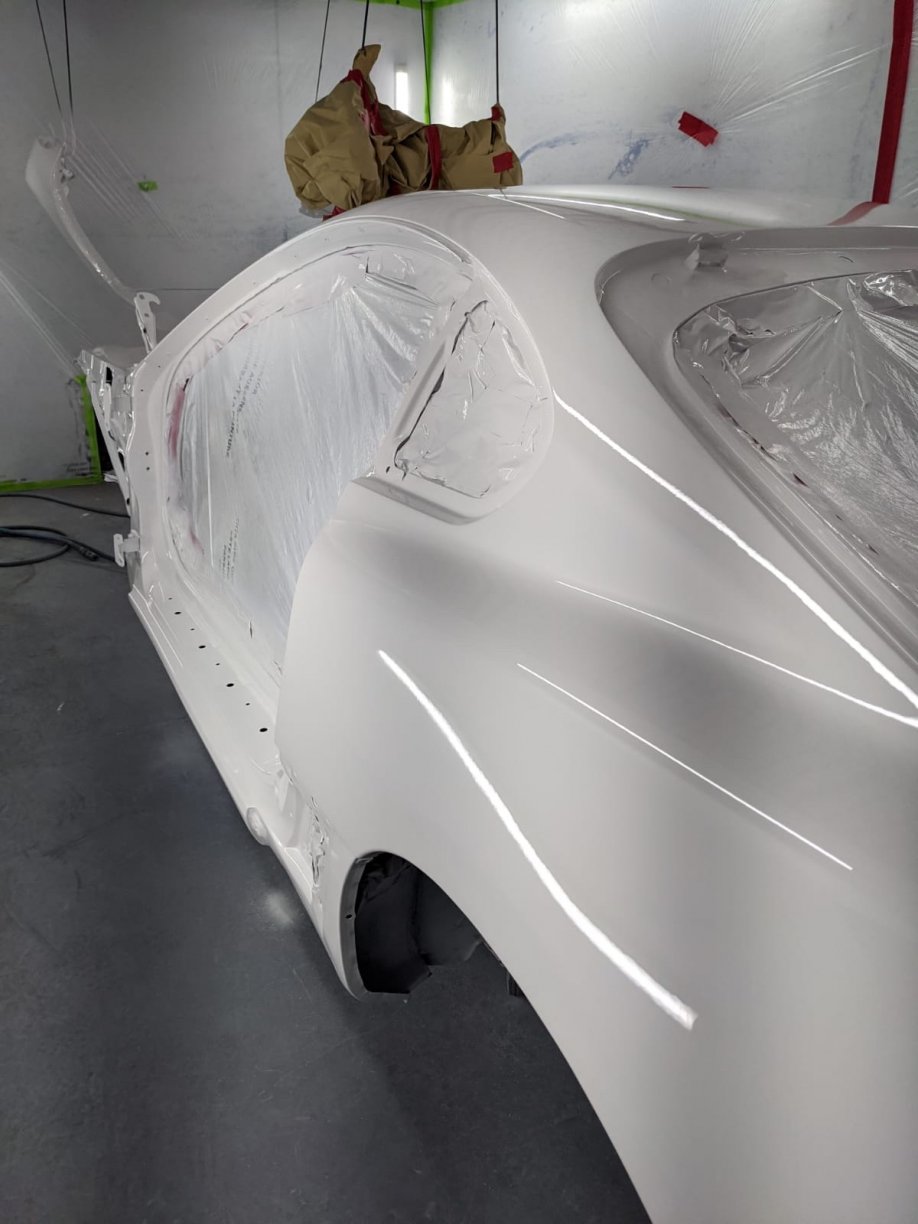
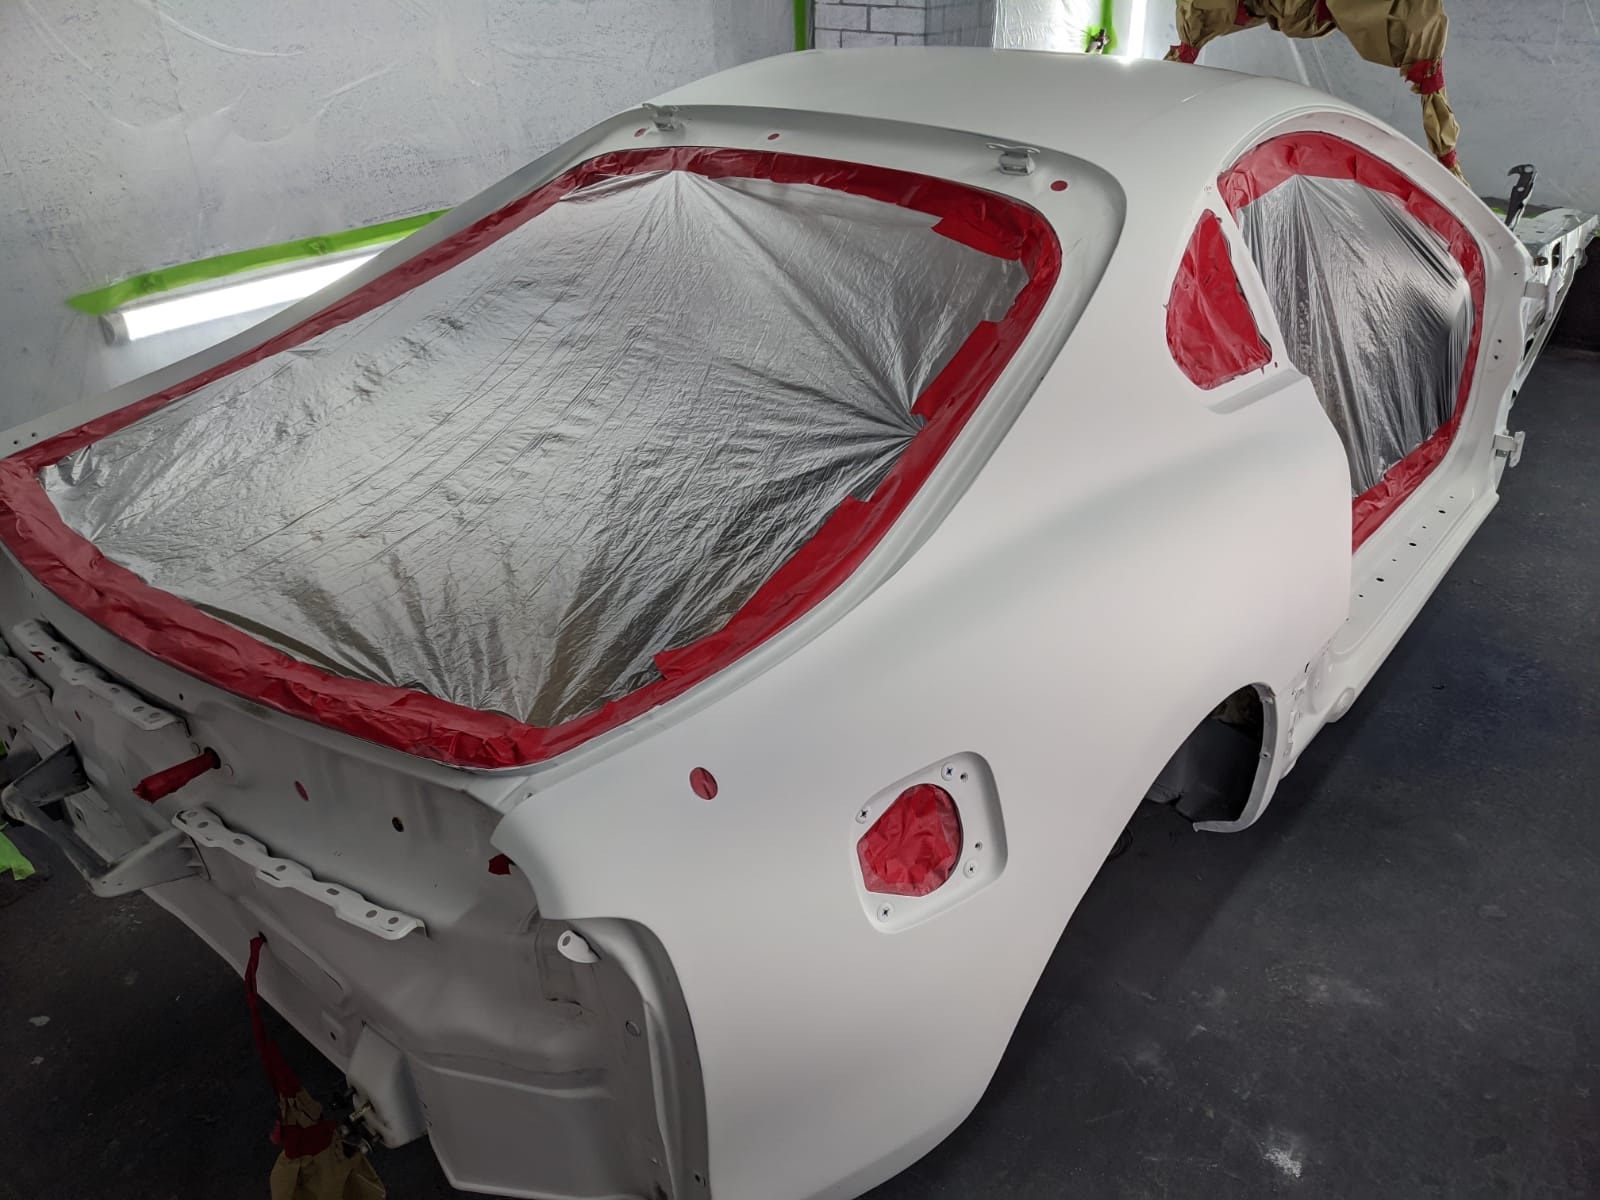
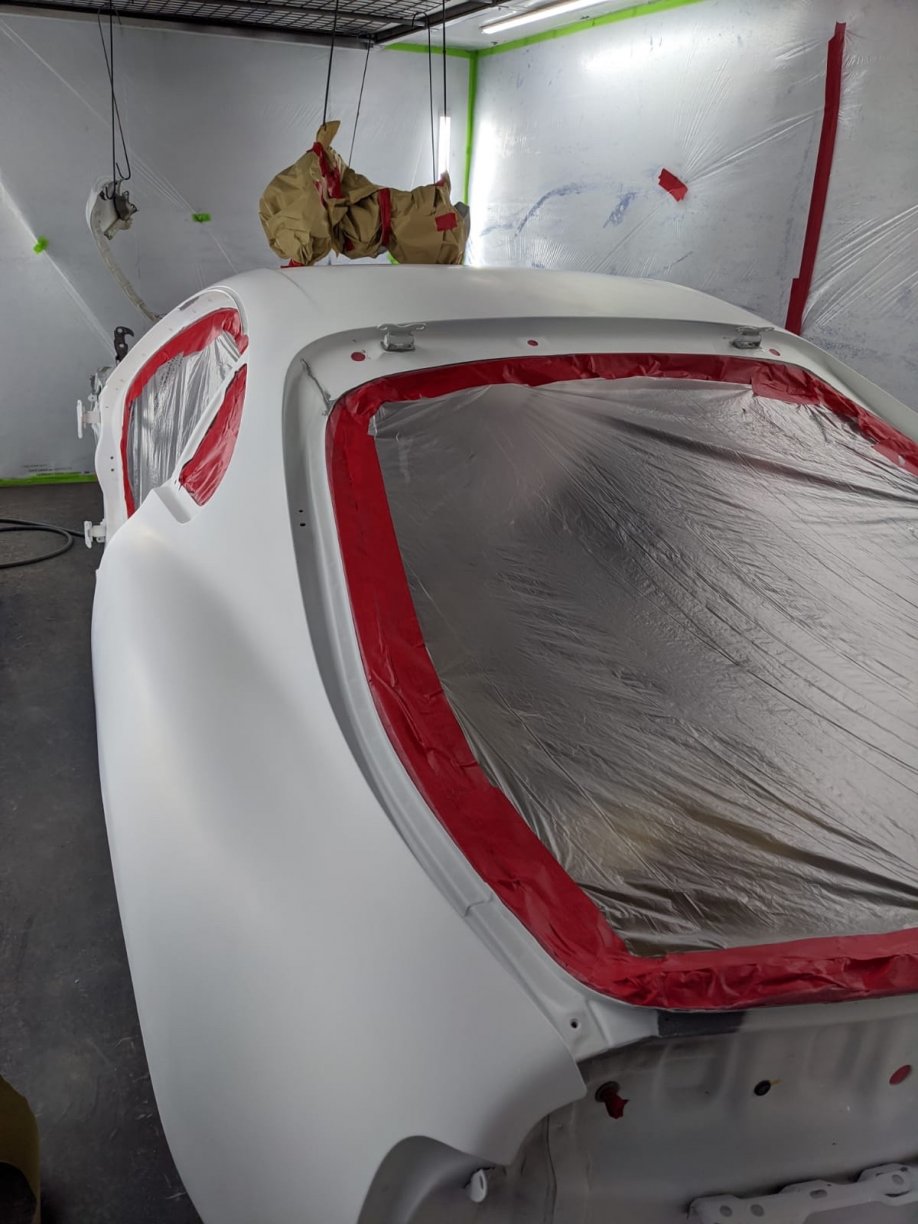
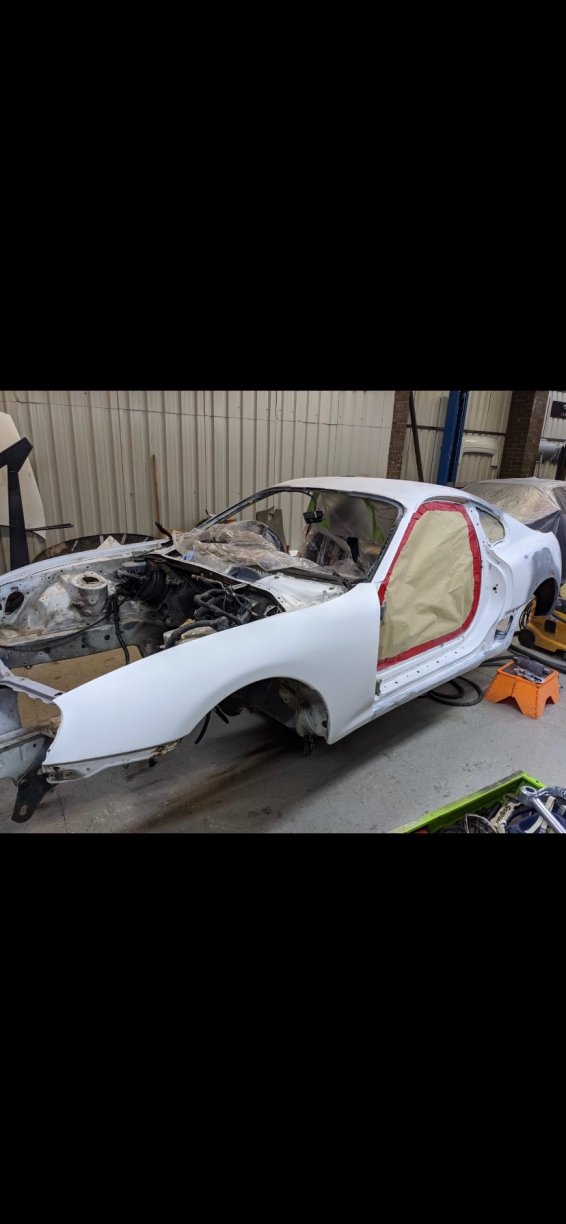
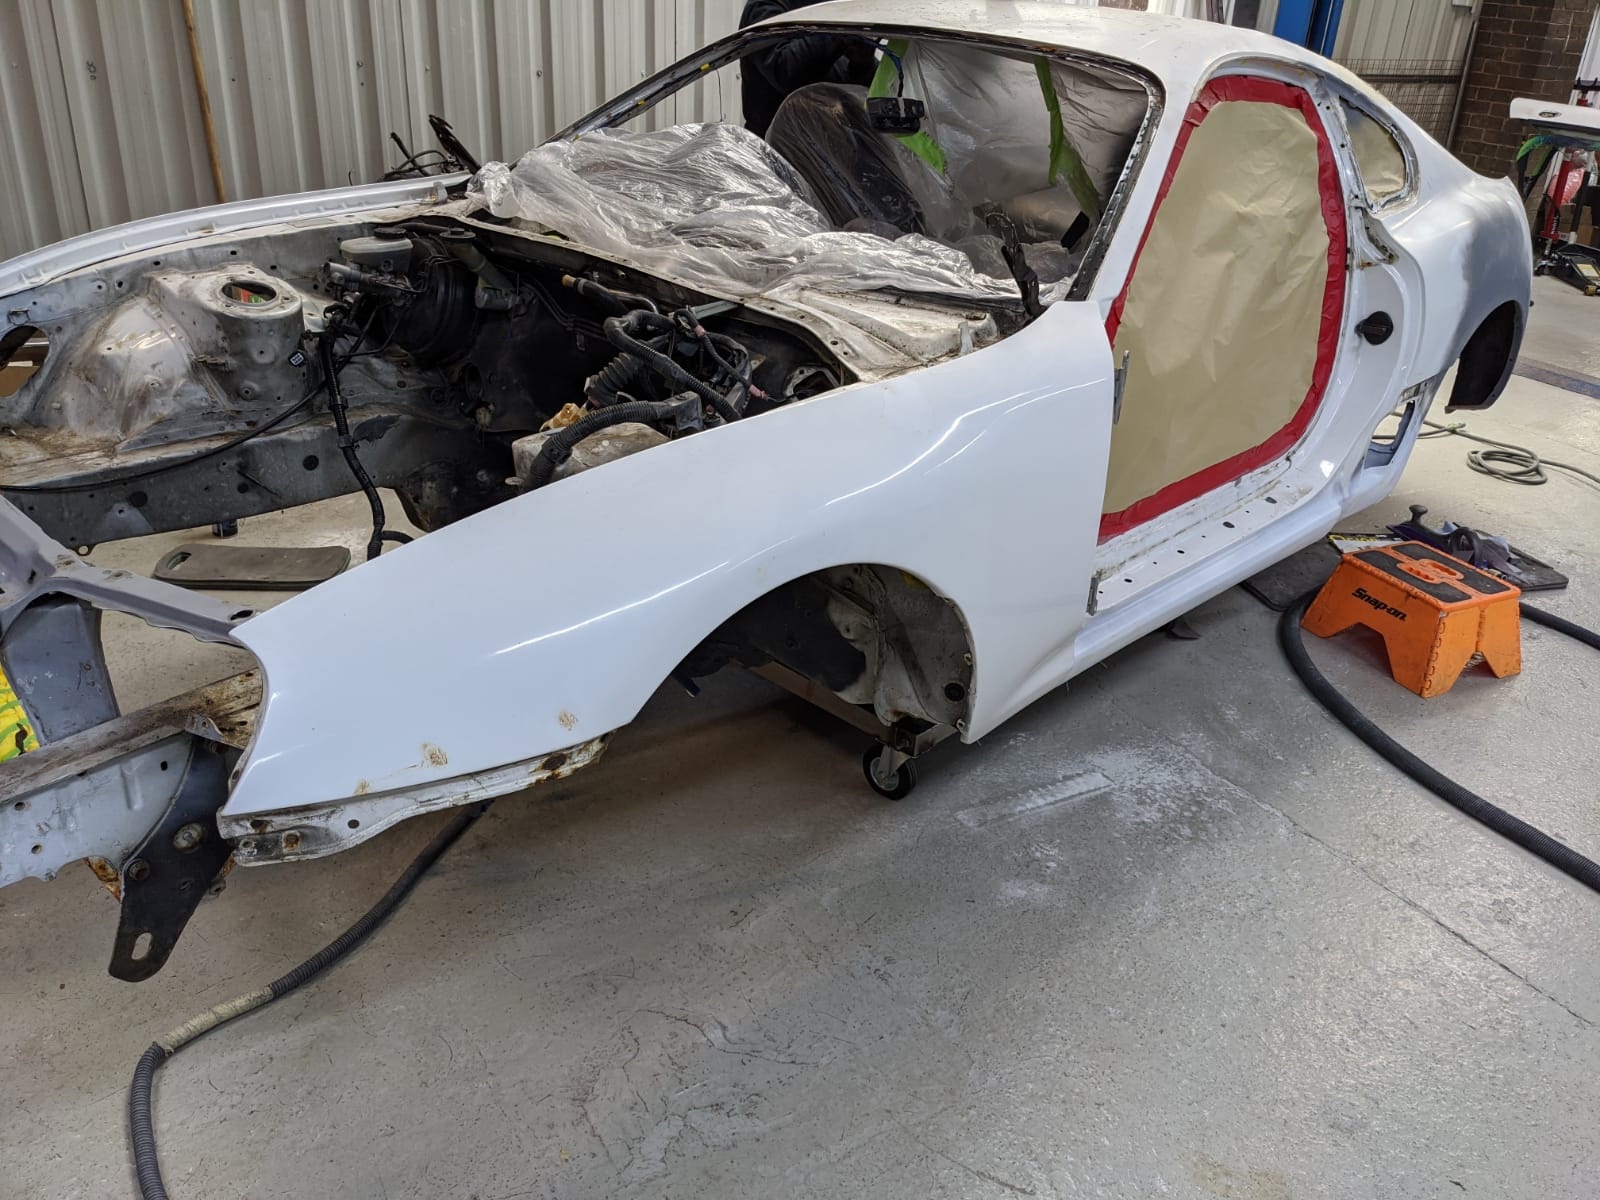
With the primer on and dry, it was time for the paint and this picture sums up the difference to great effect: 20+ year old paint work vs fresh paint Id share some more but I don’t want to spoil the lurkers .
-
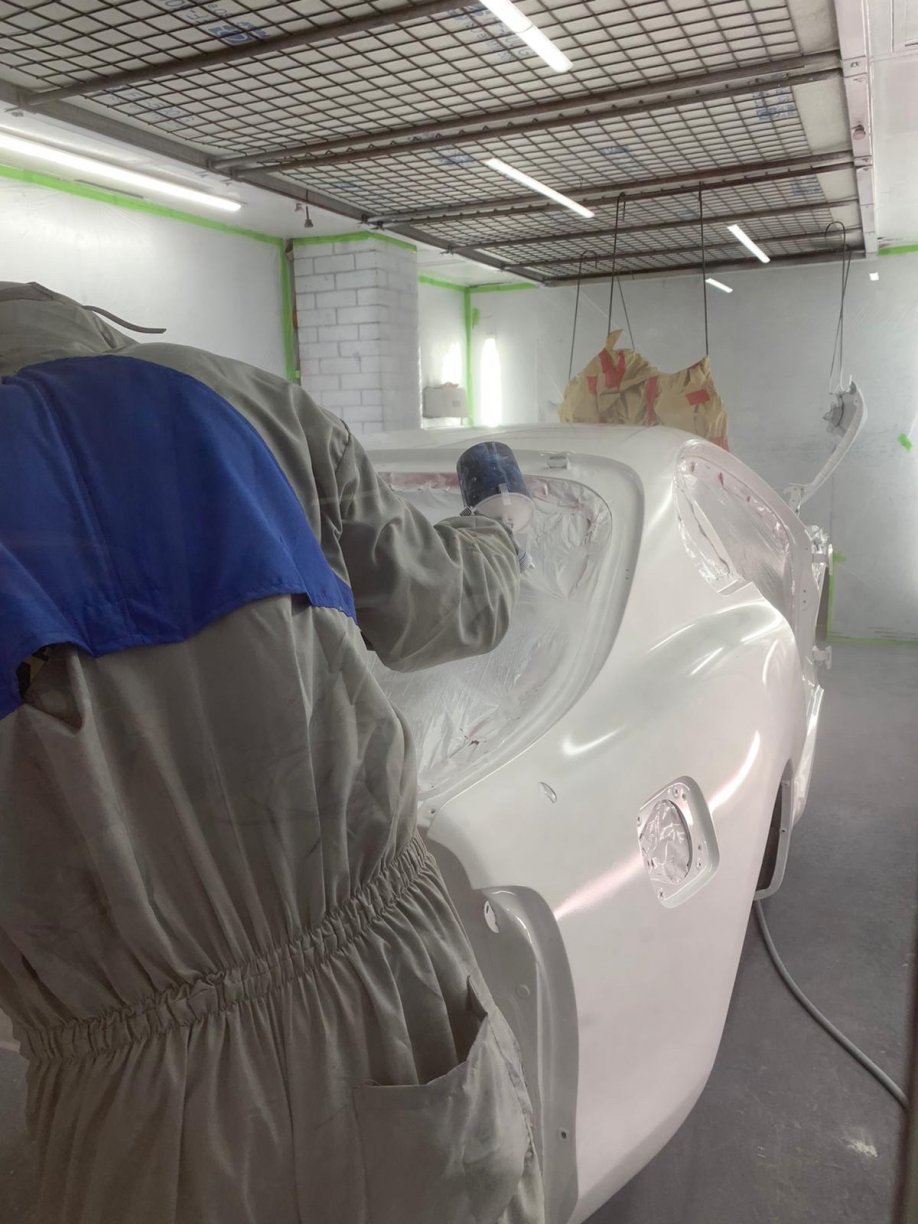
More pictures, time for the promise to be laid down, and as you can imagine I was a spectator during this part of the project.


-
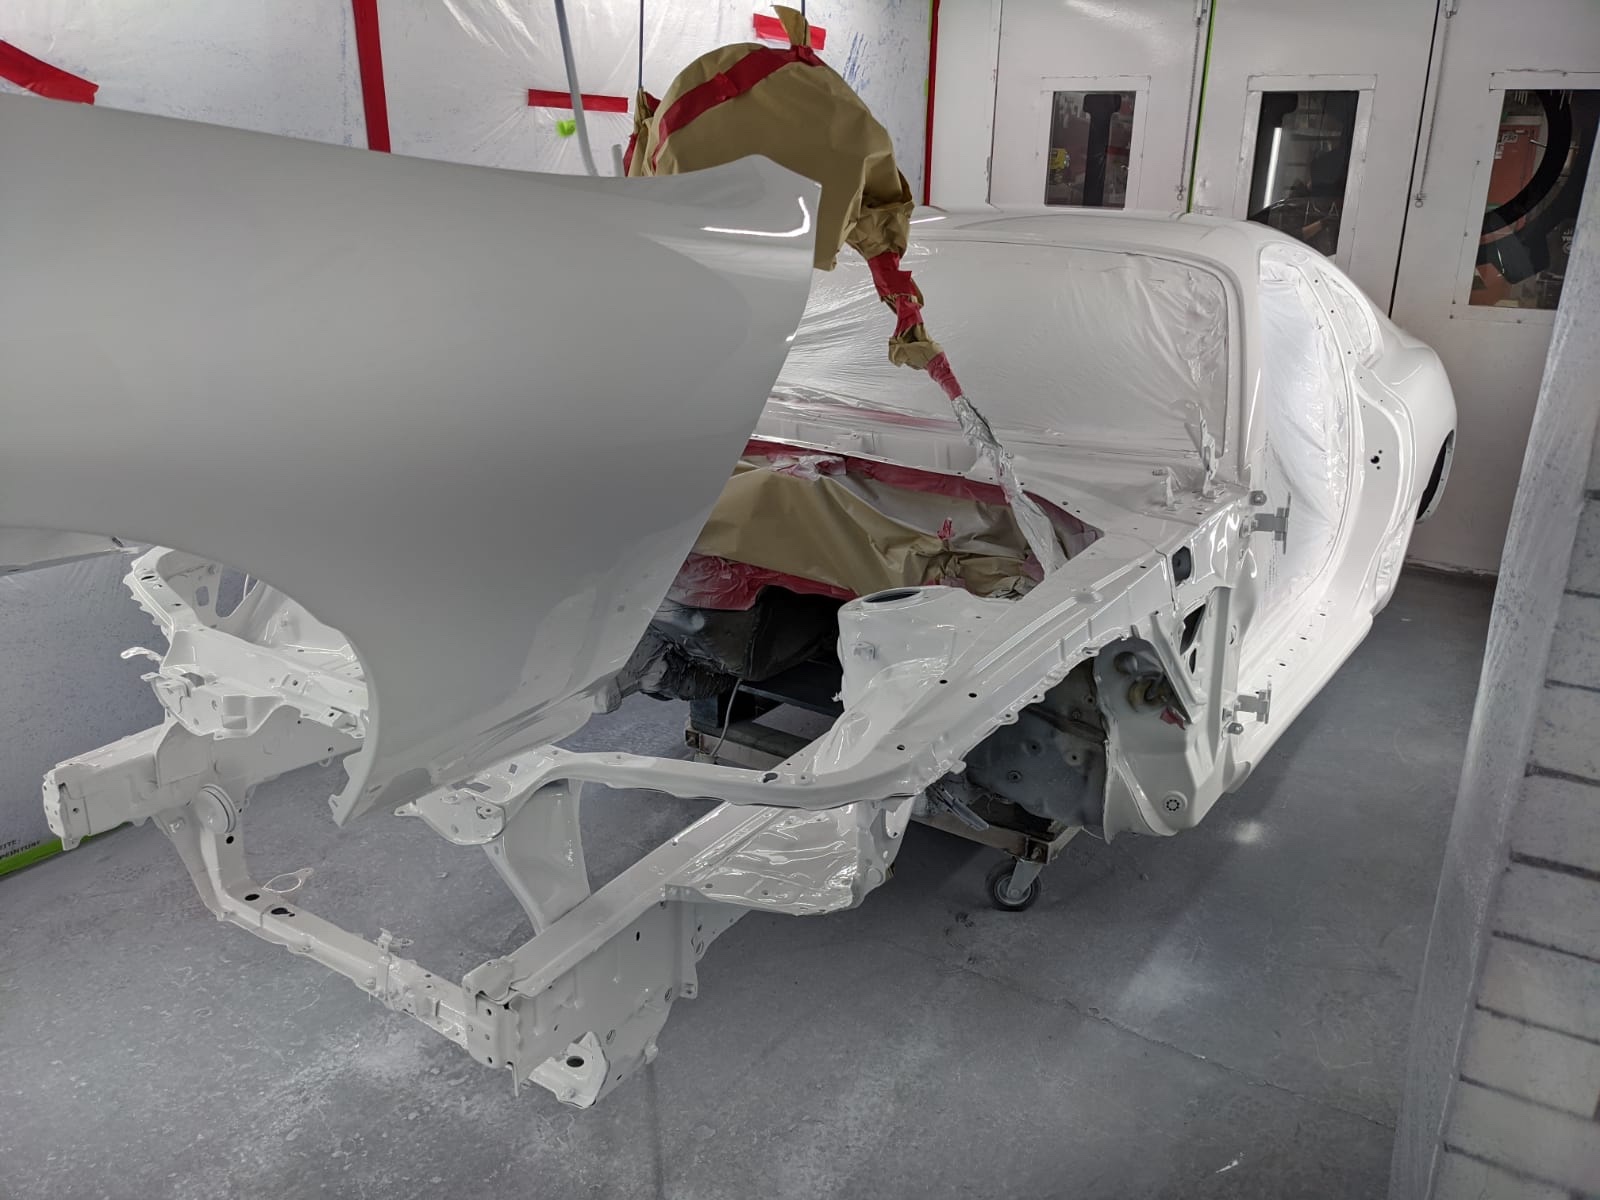
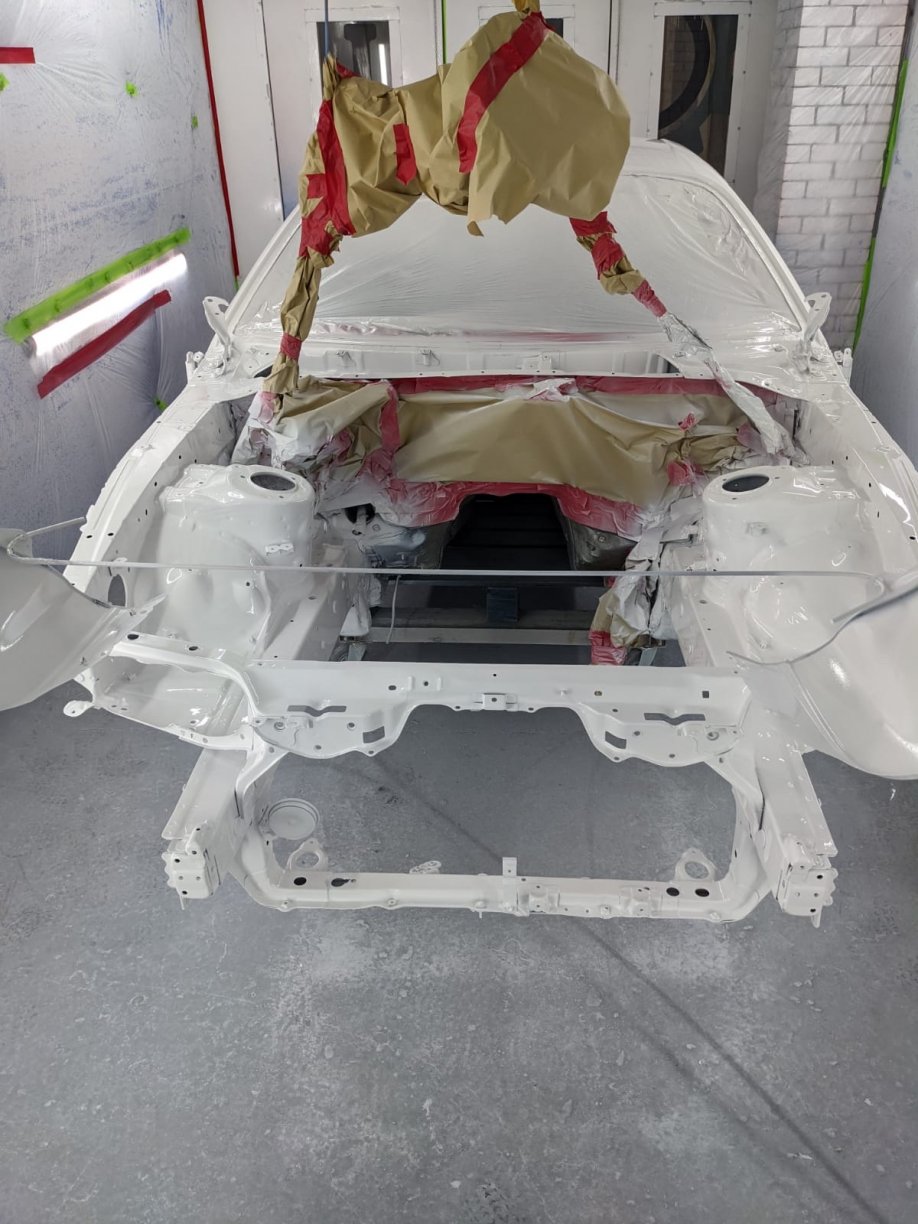
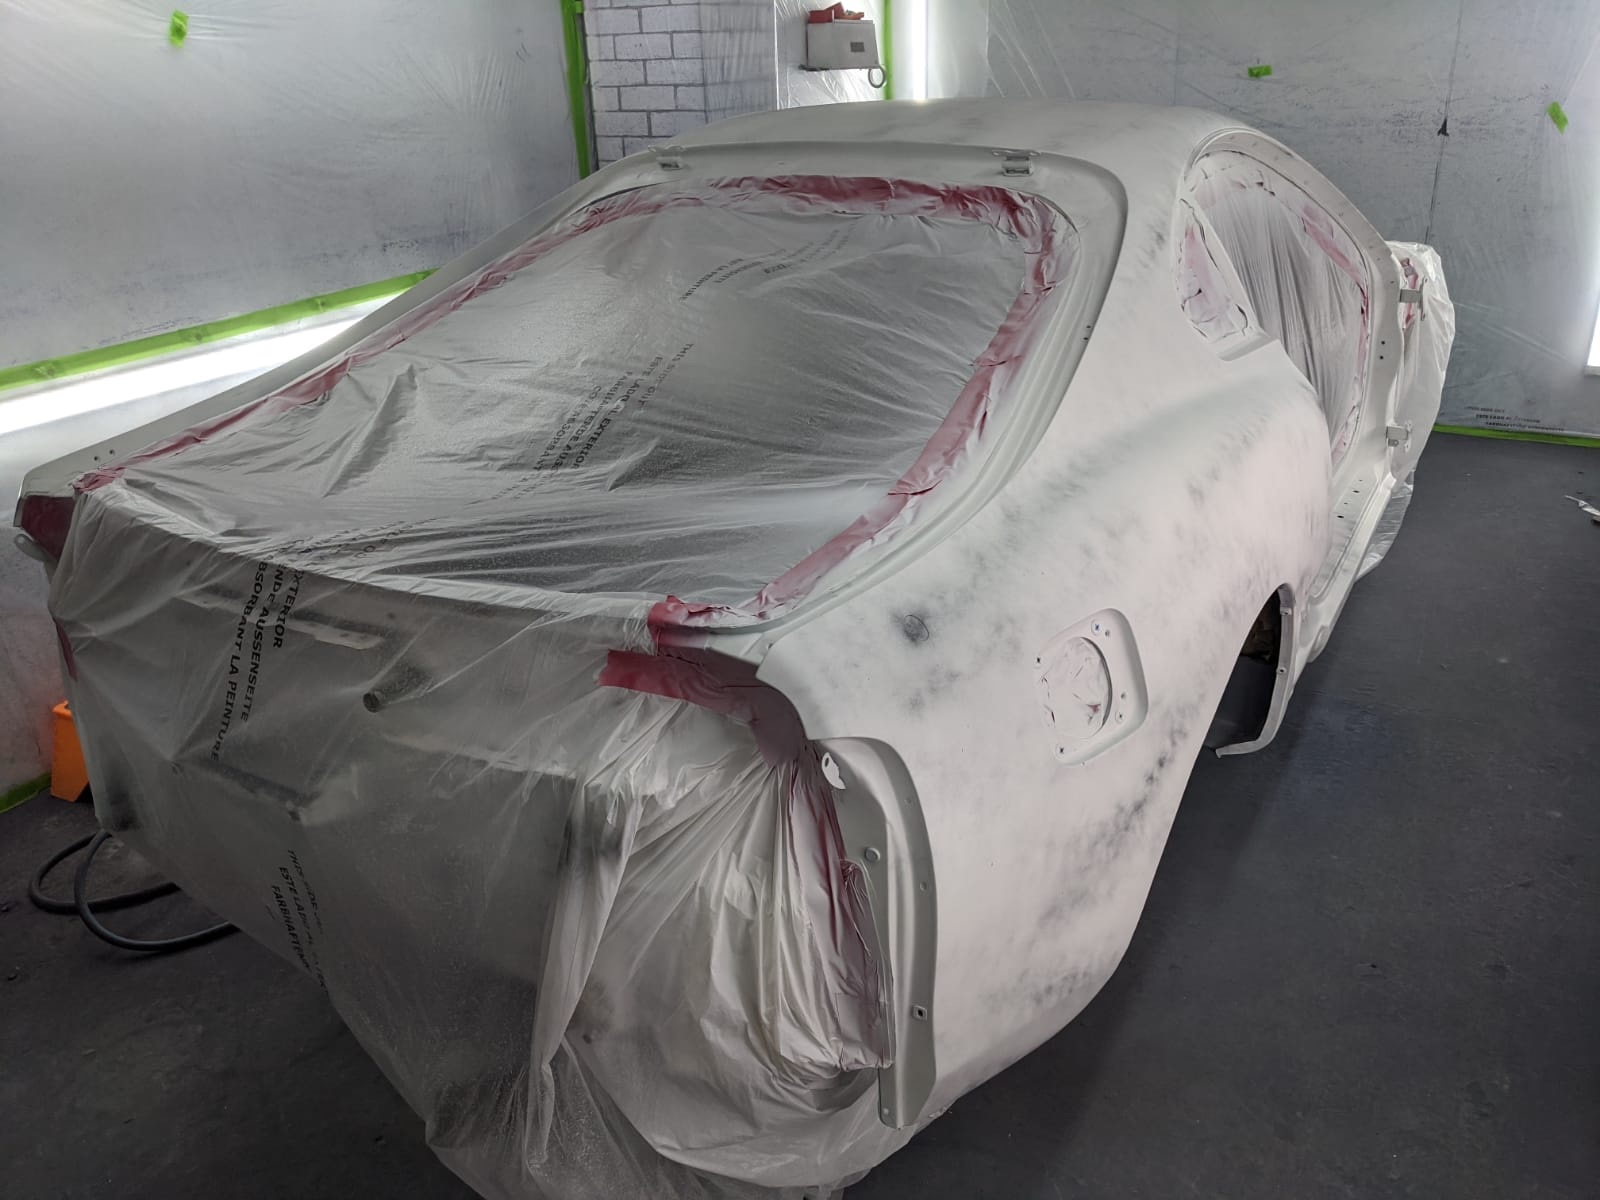
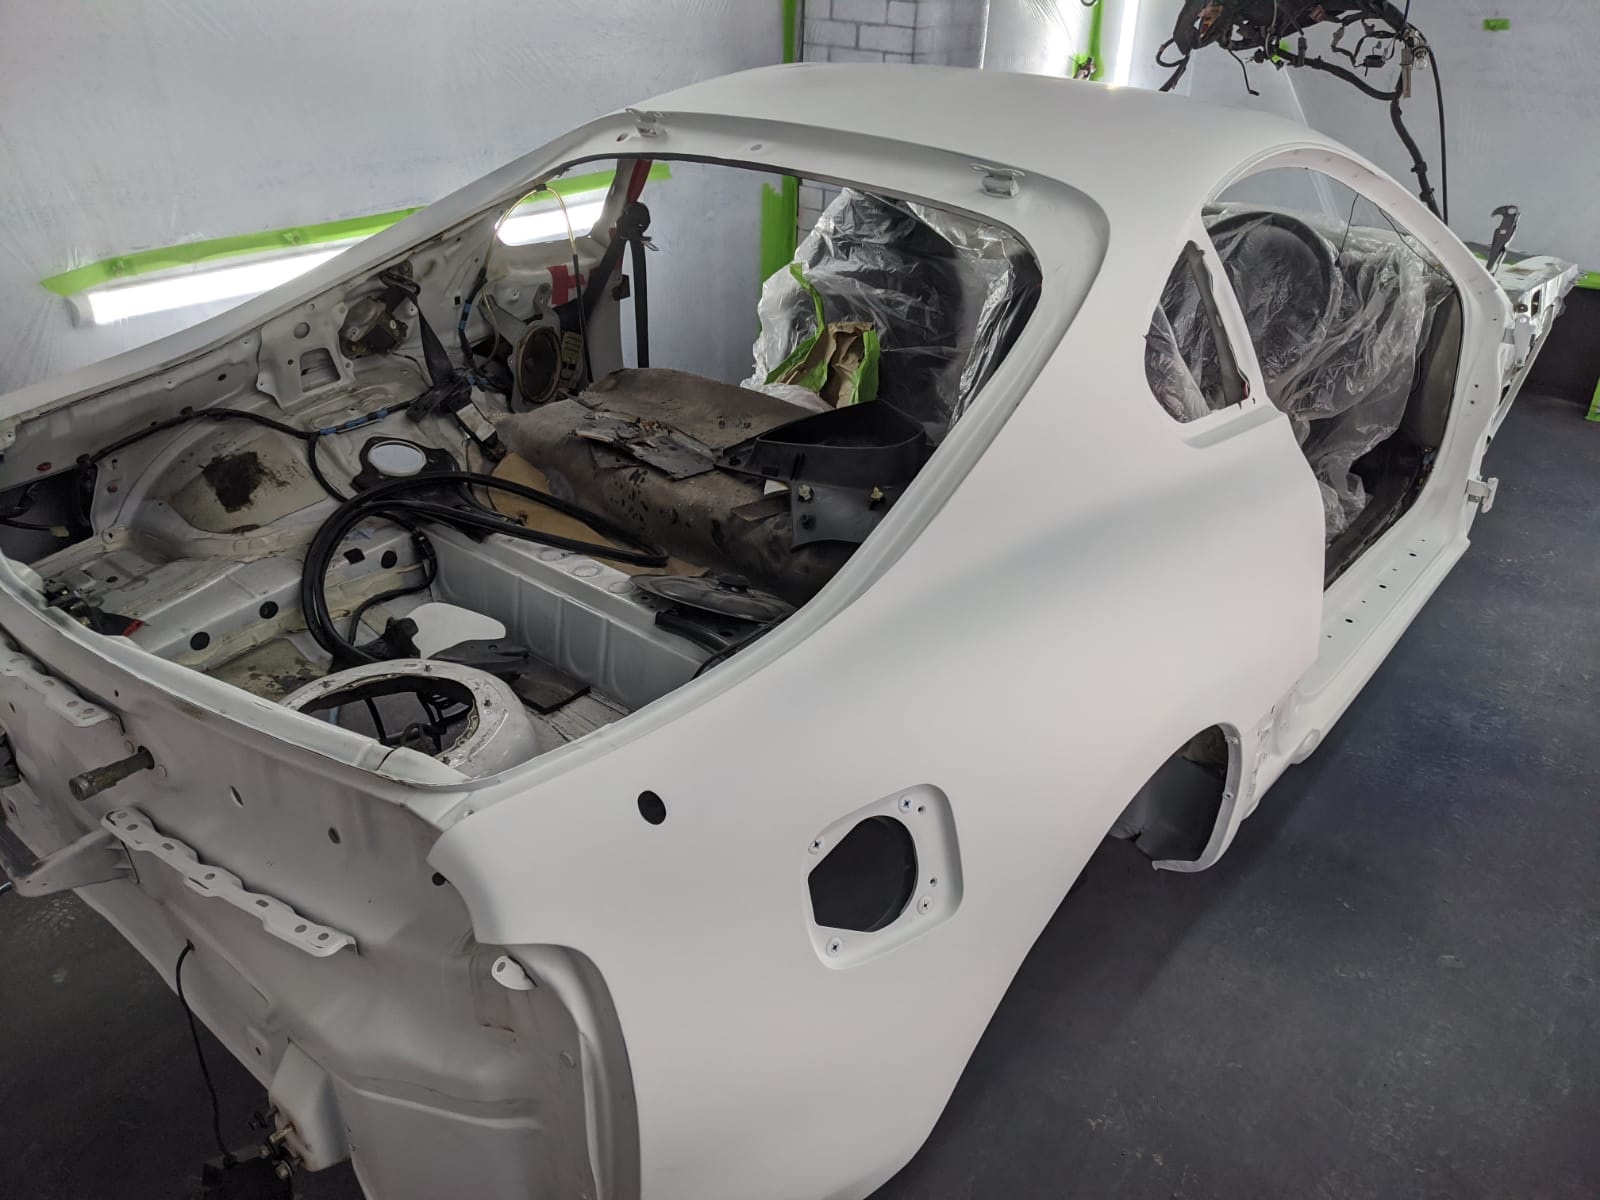
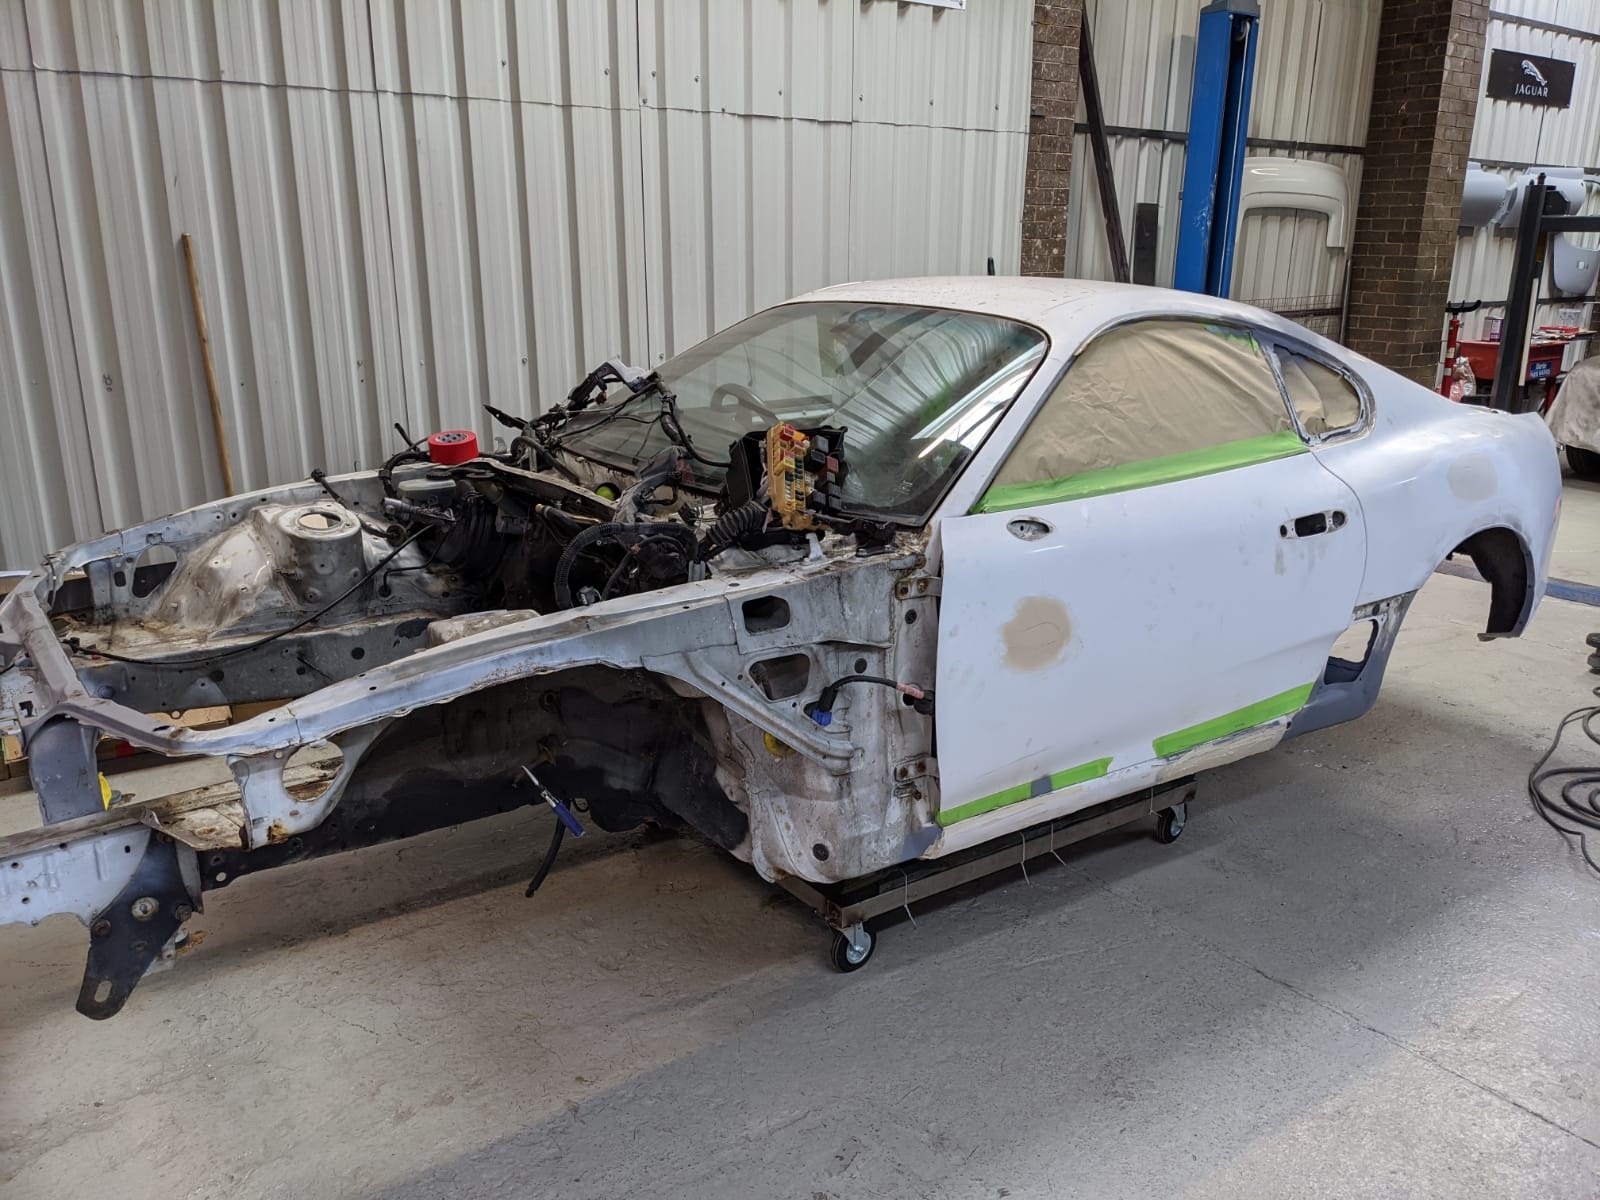
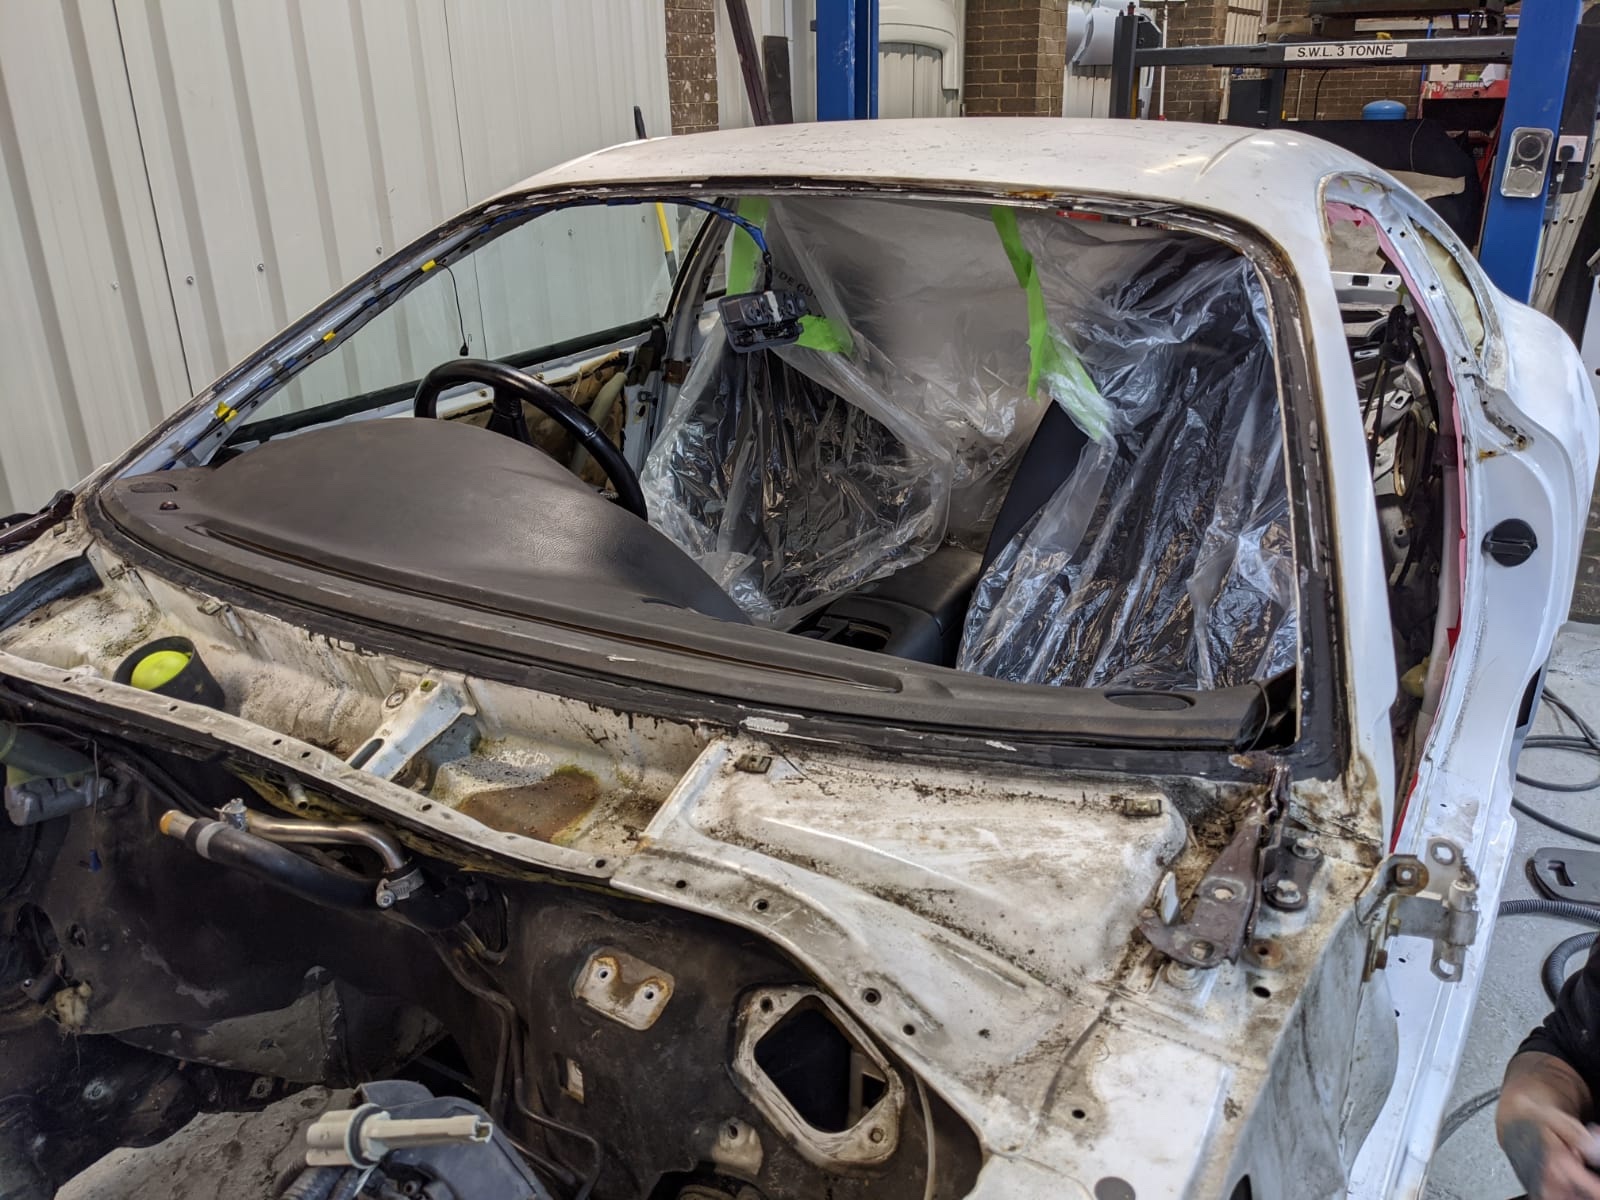
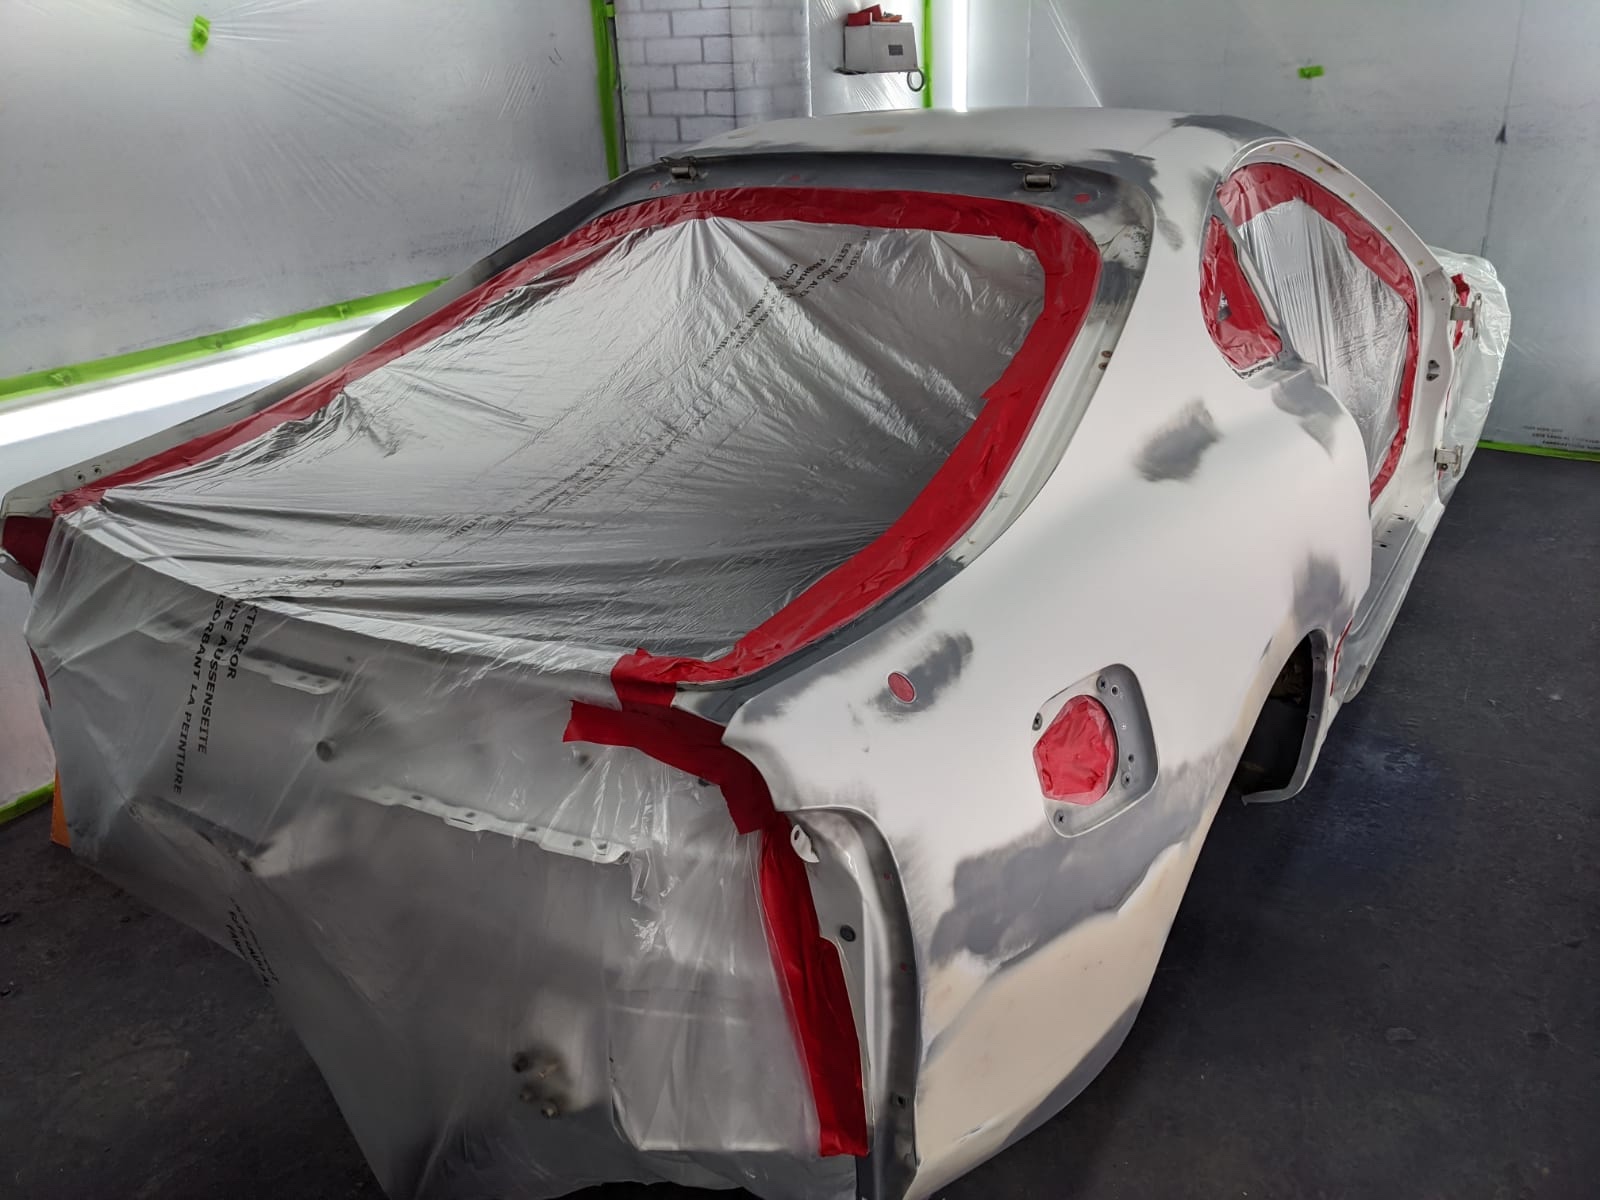
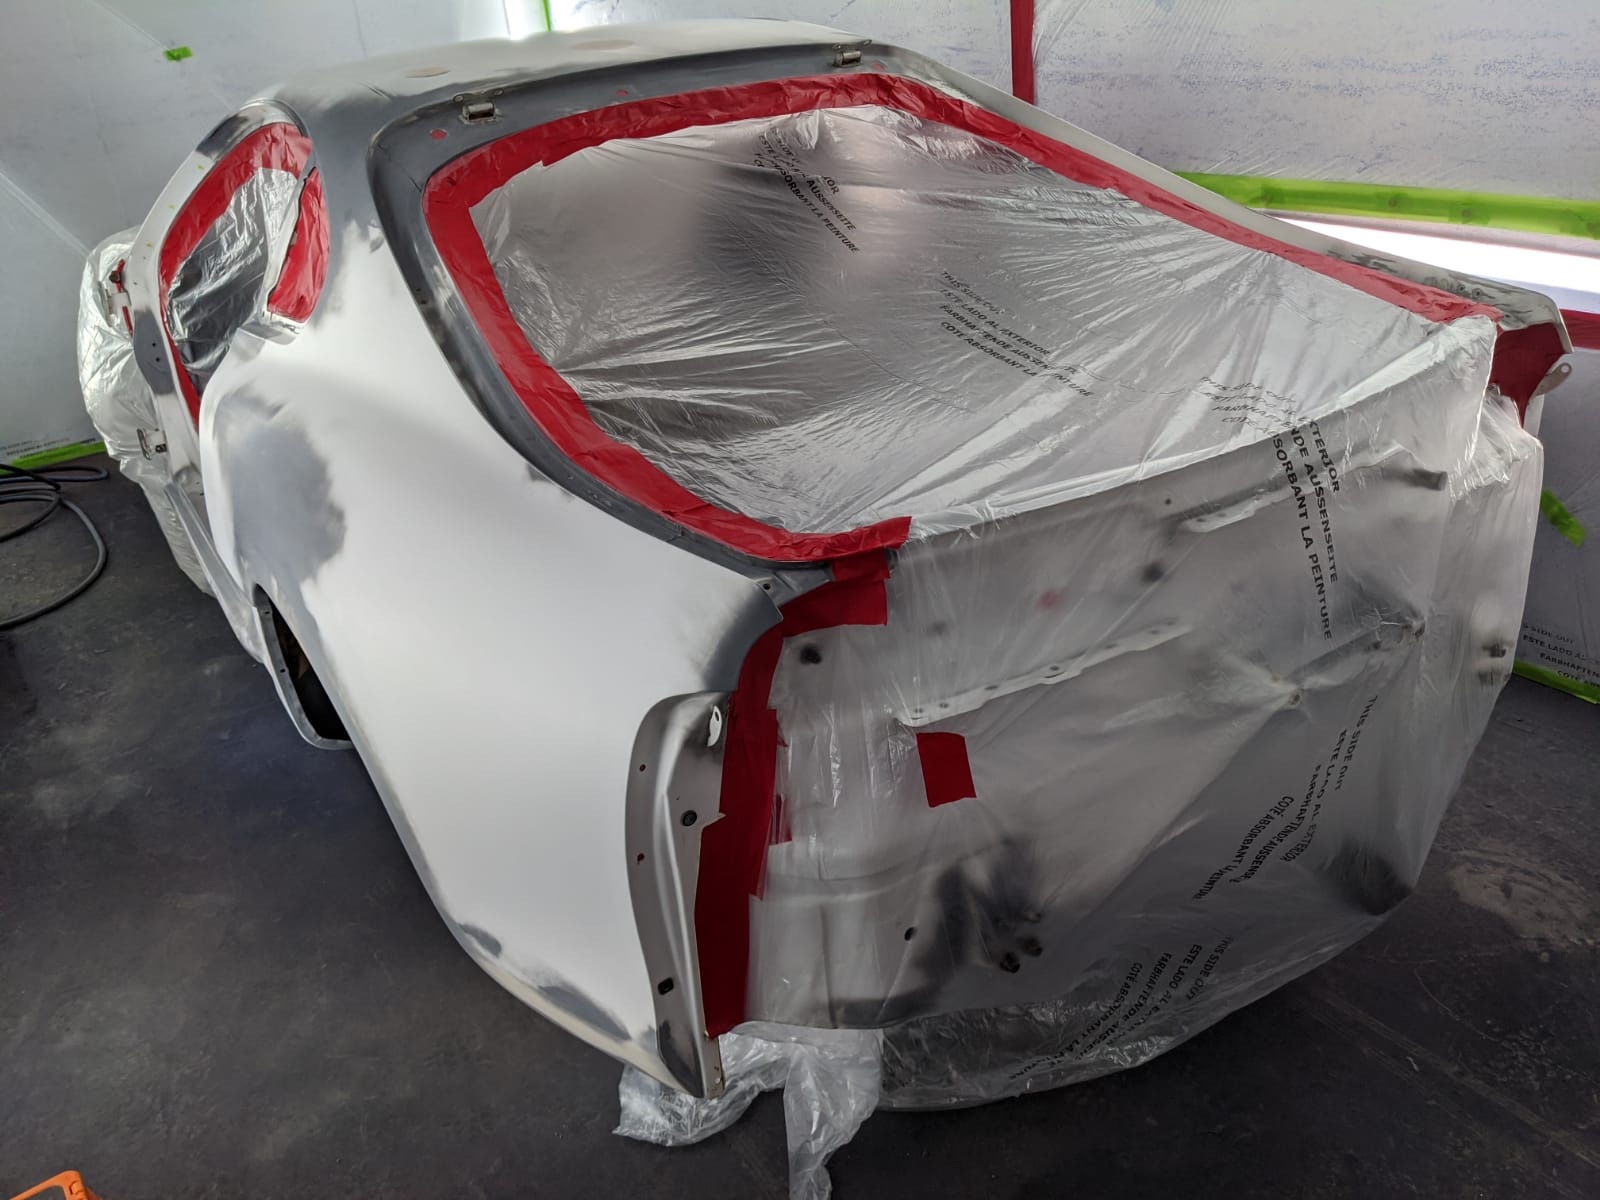
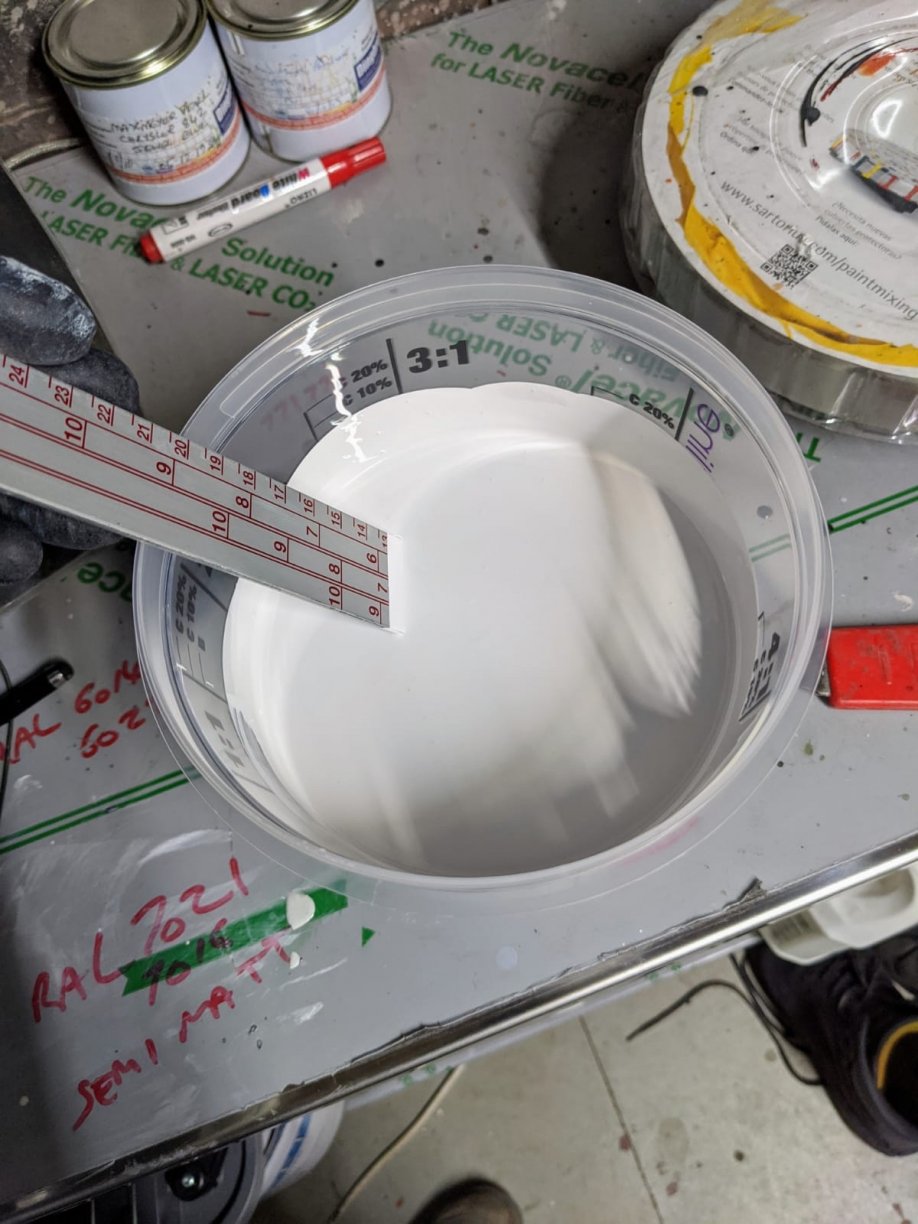
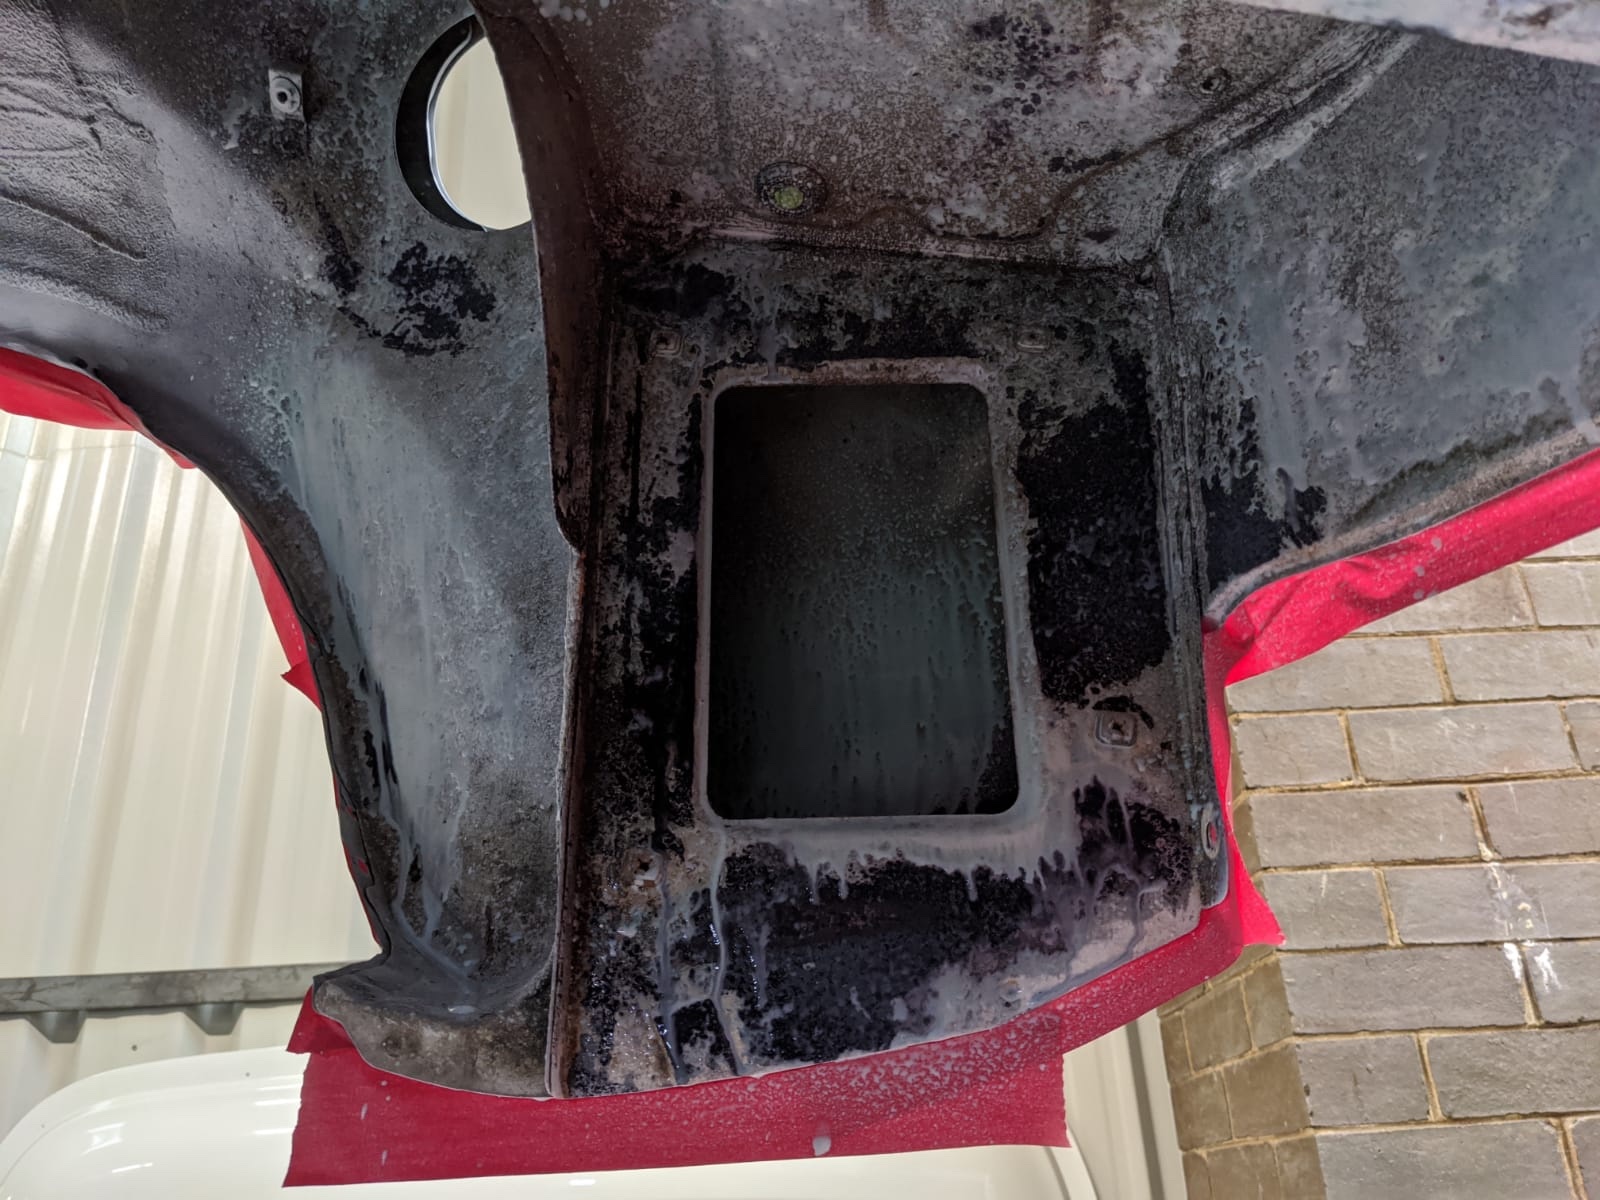
So after the underside was done for the time being the car went off to be prepped for paint. I thought this day would never come . First up we can see the car before the front screen was removed, I was able to strip the car back down and then the masking began. This is where I left it to the crew as I really didn’t wanna damage the glass etc. Windscreen came off and the door was removed and masked up. I’m actually very happy that I went with a glass and engine out respray, although this did bump up the cost I feel it was worth it. just another side shot before it got sanded back. All set after being rubbed back, all the sections that were welded had a skim and were all sanded back to match the lines perfectly. You can see the new rear hinge section in the shot below, and the water channels received a good etching before the primer was applied. All mixed up, ML have a PPG Scheme (mixing set-up/station in-house) and Martin dialled in the mixture for 040 Super White II.
-
Thanks mate, sometimes you become braver when faced with a challenge . Plenty of updates to come, paints up next for uploading, I just need to get a move on and actually do it.
-
Thanks matey, this car was a real challenge but hopefully stands me in good stead for future project which will hopefully be less of a challenge. the good thing with the raptor is that it’s not sticky and sets solid, which is what I was hoping for. The prep apparently is the main main component in its successful adhesion, which makes sense, and that’s why the car was dried in the oven each time.
-
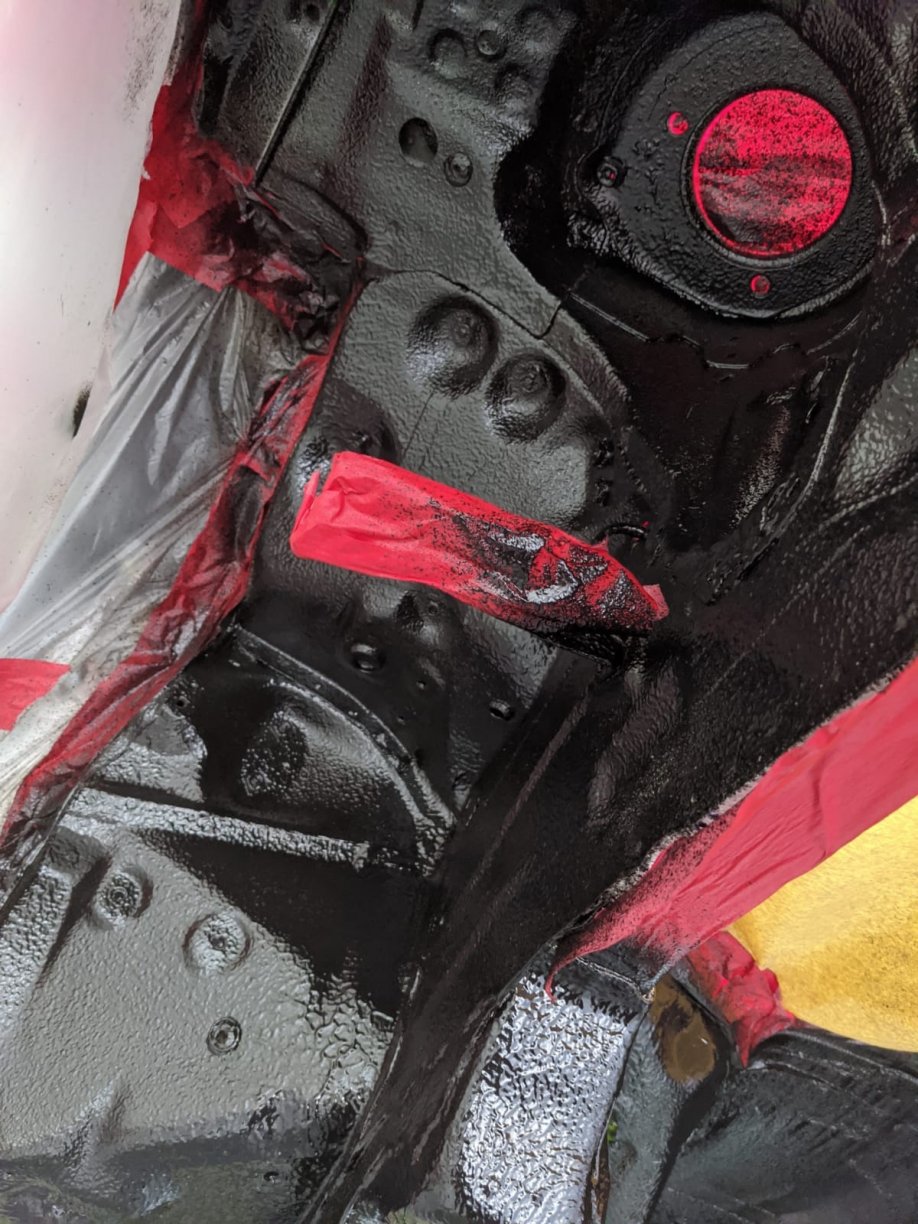
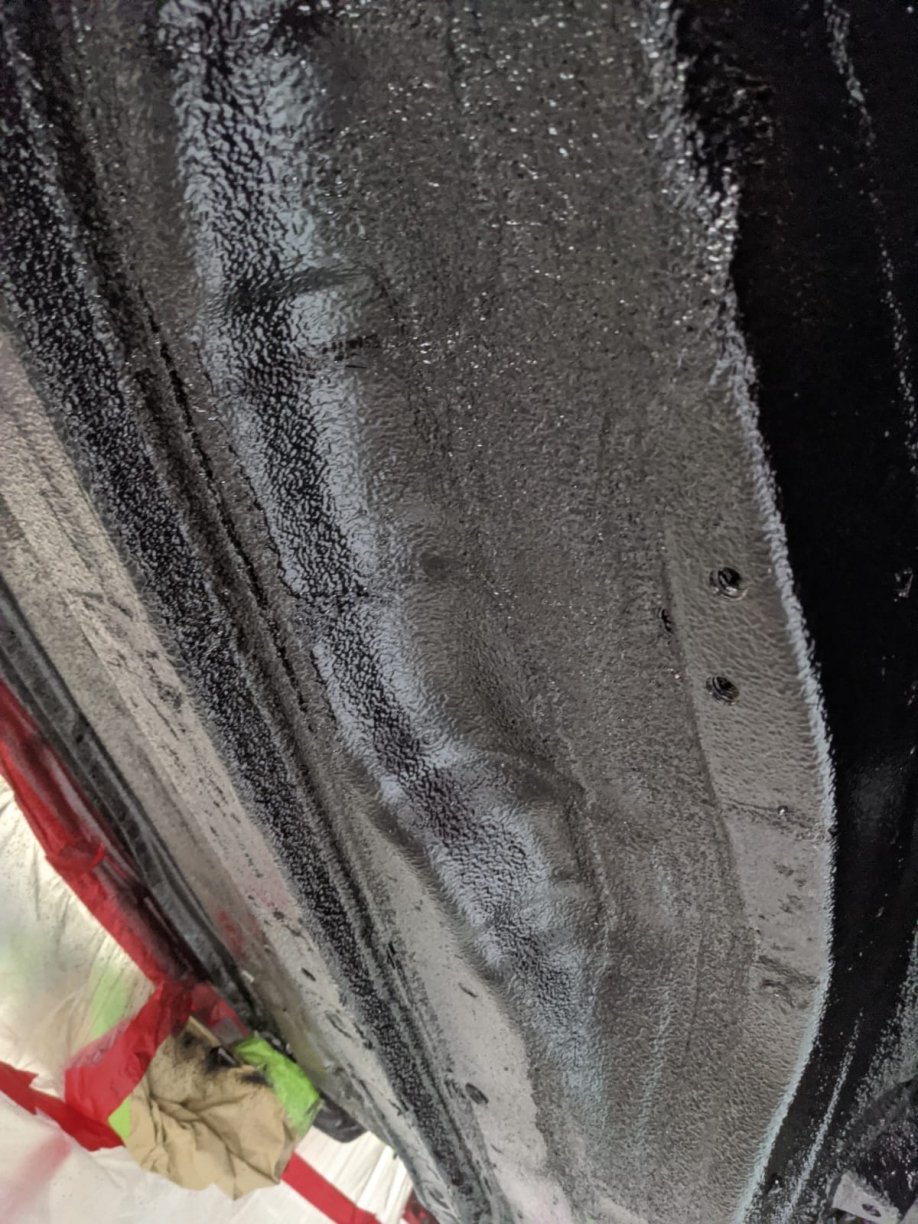
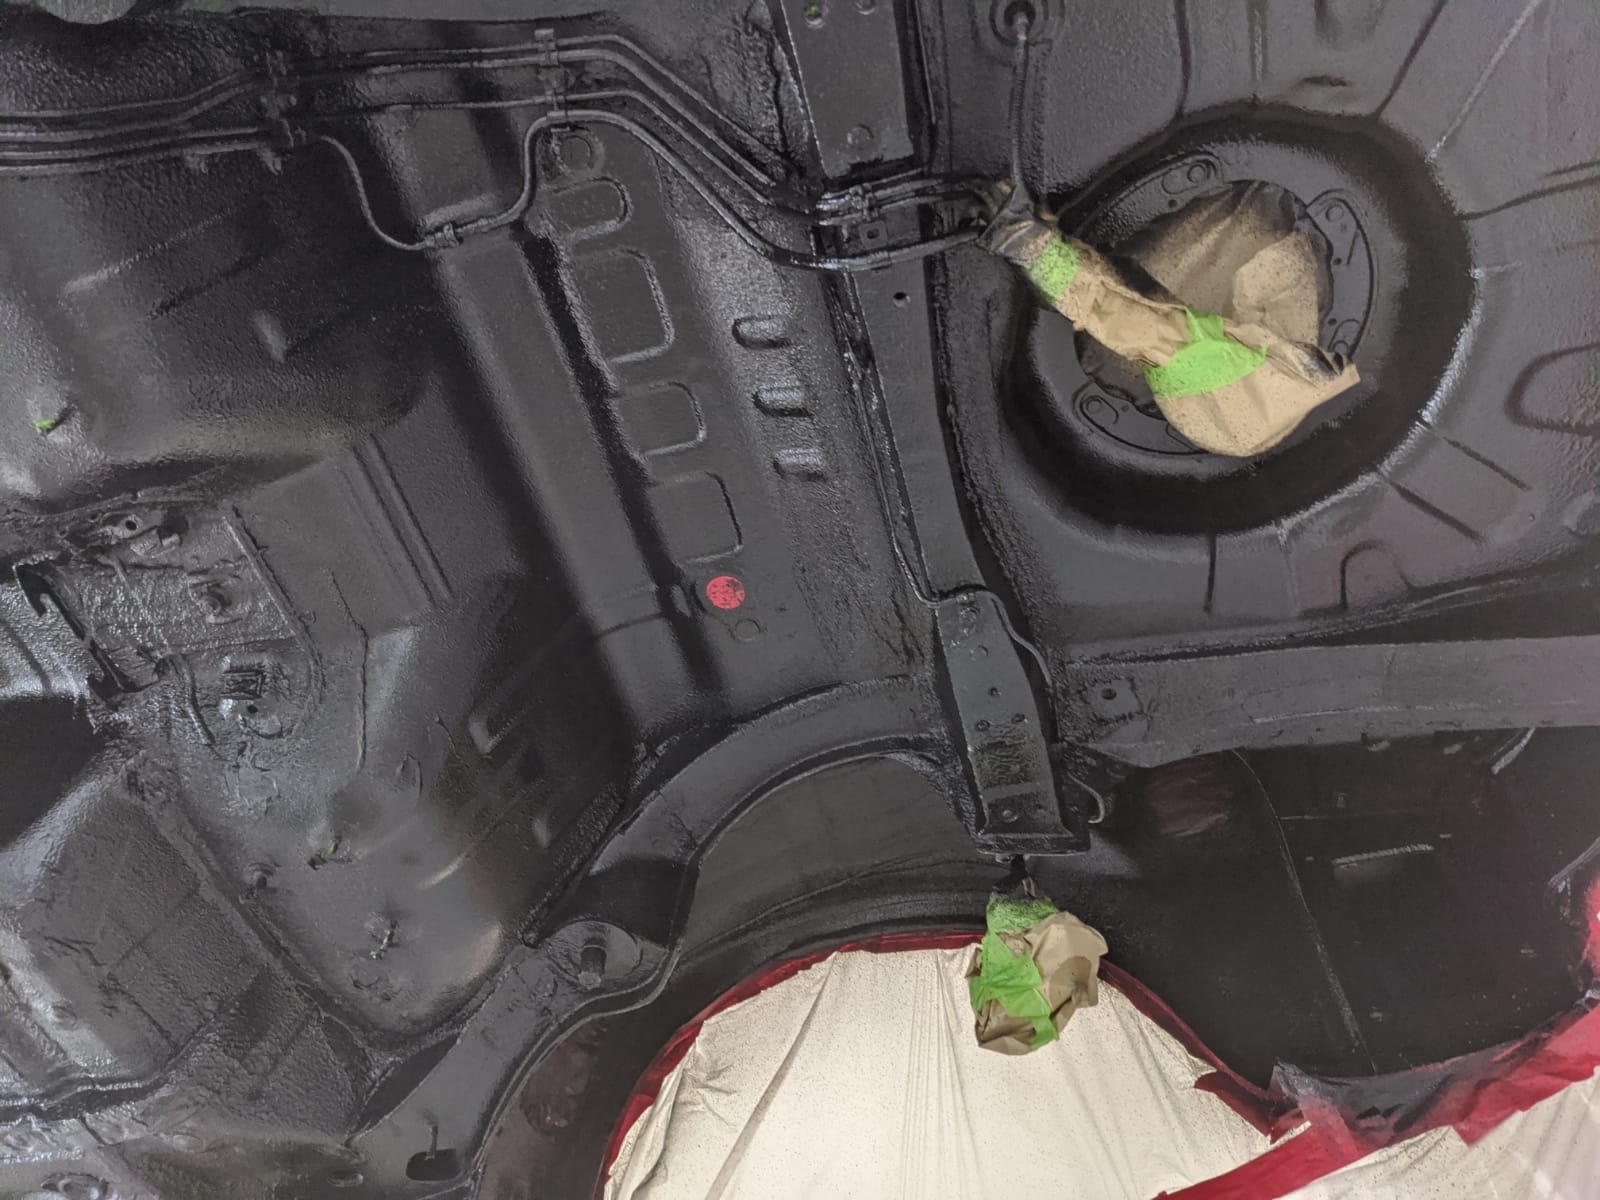
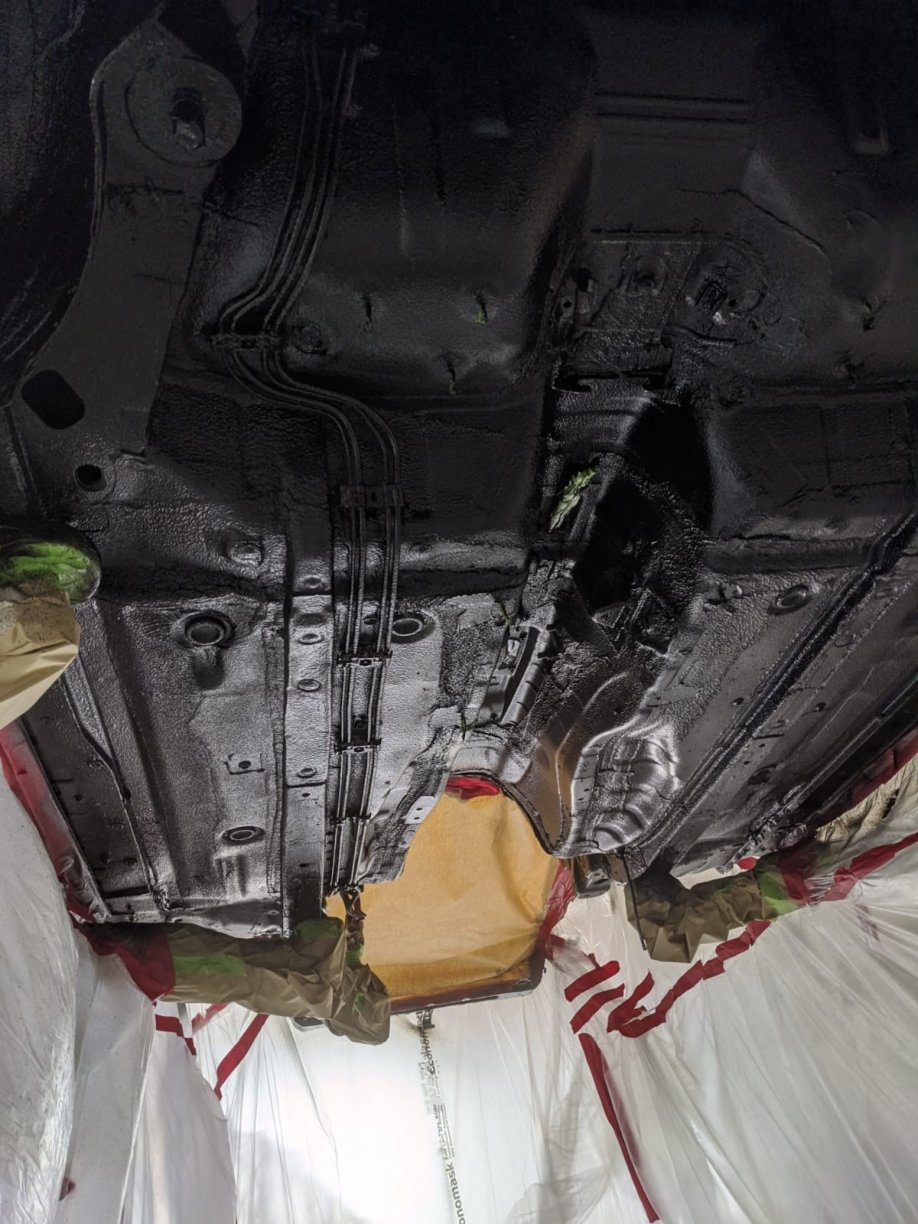
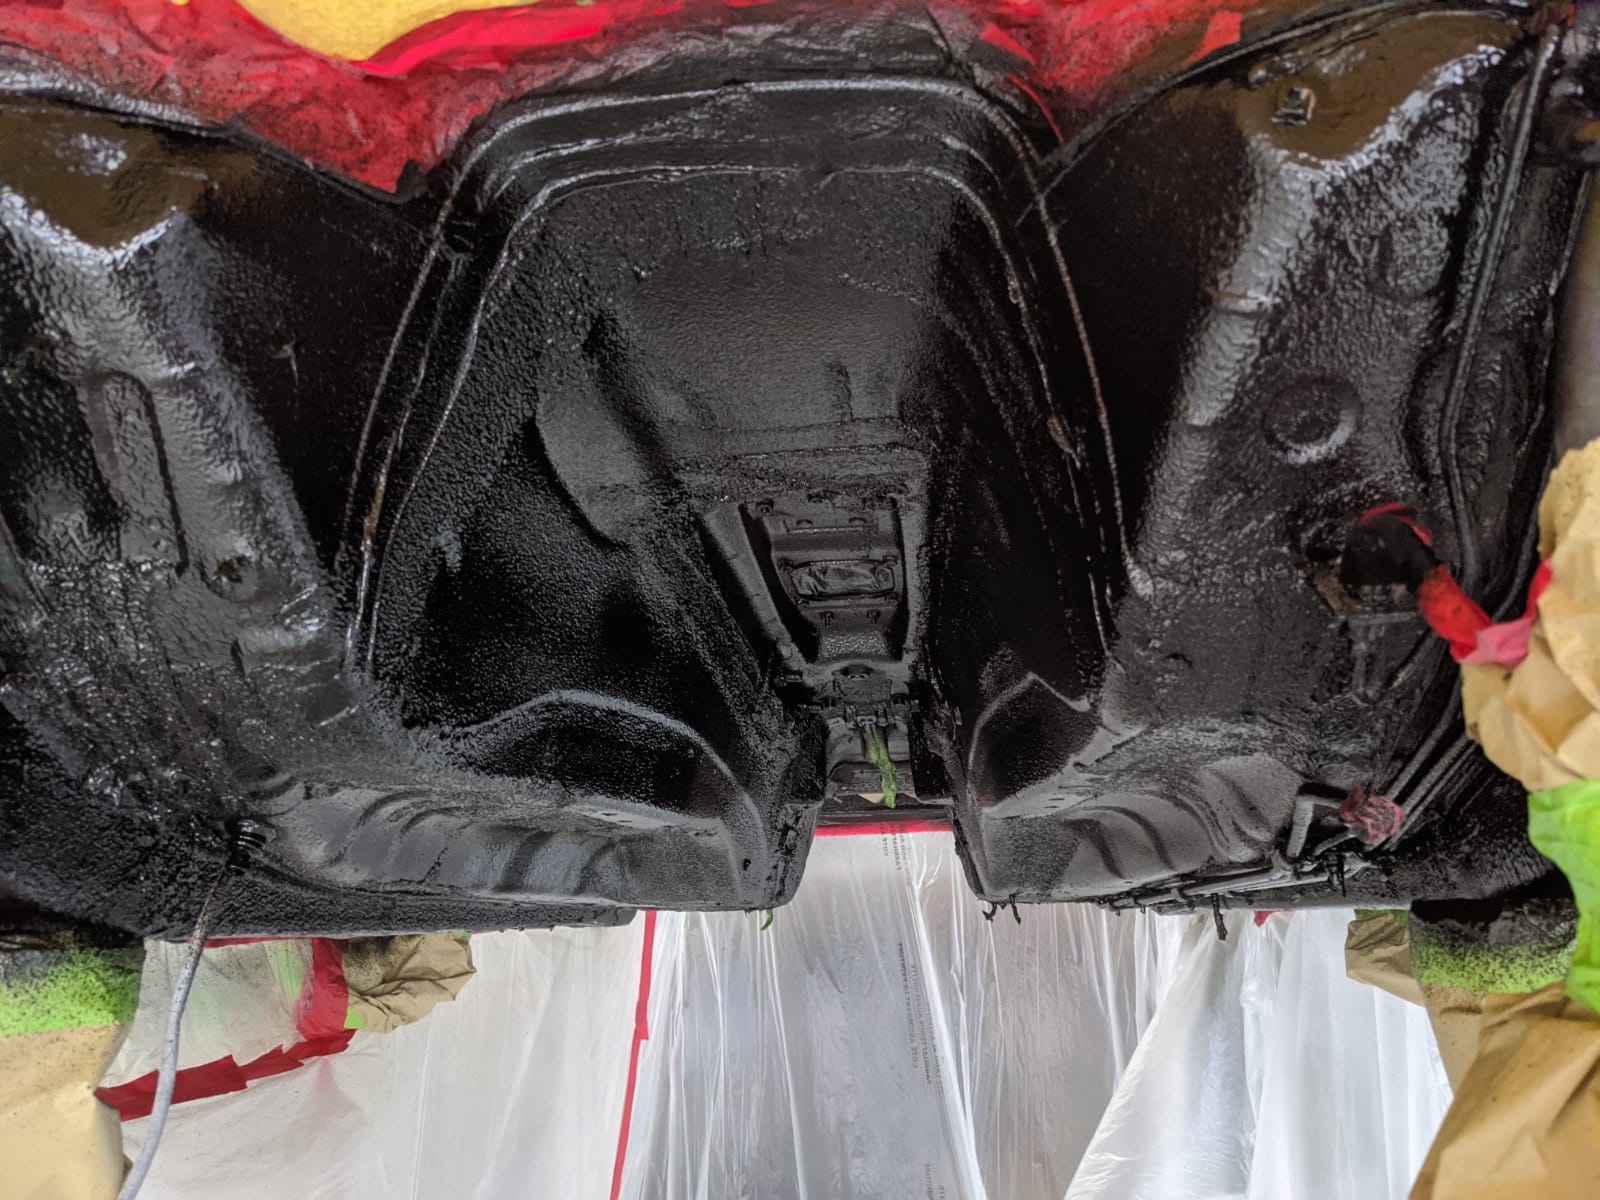
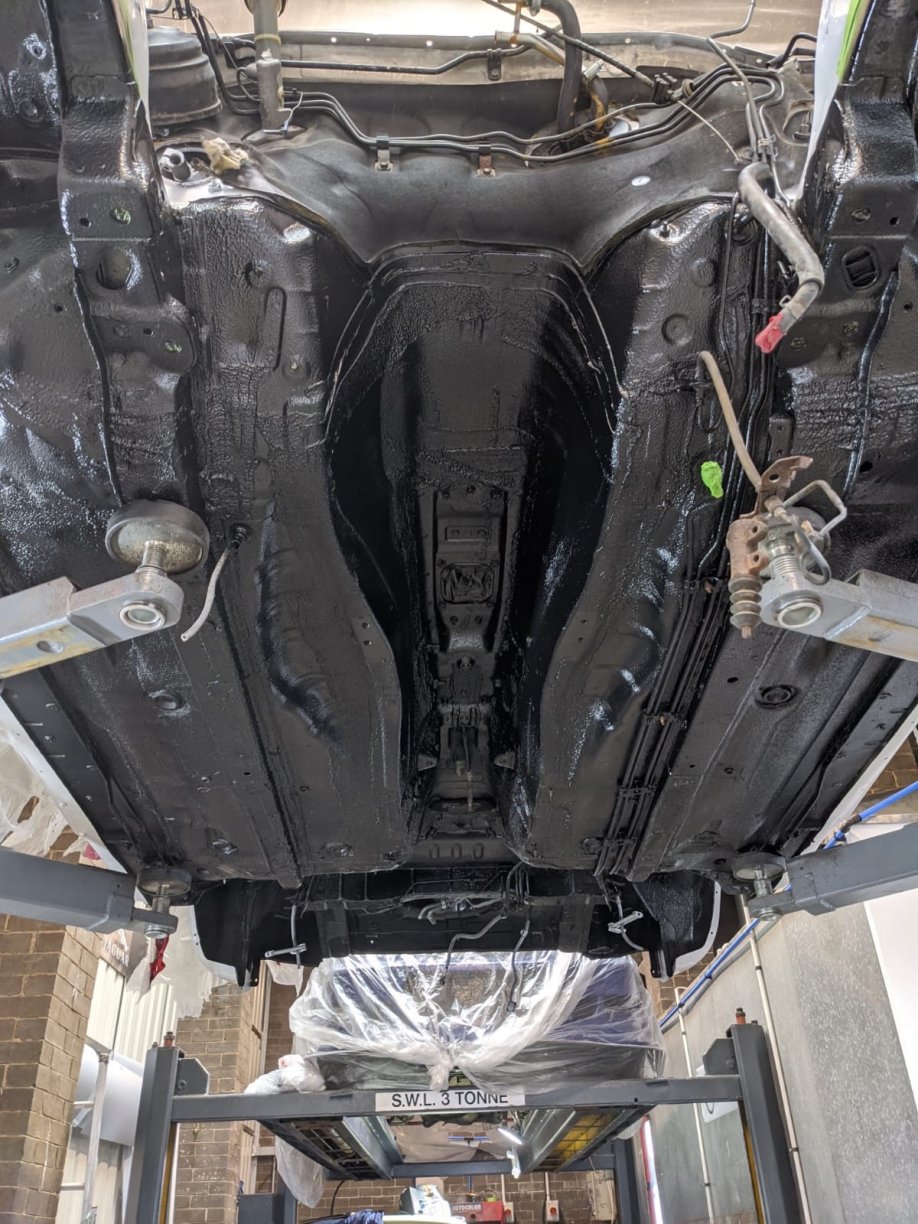
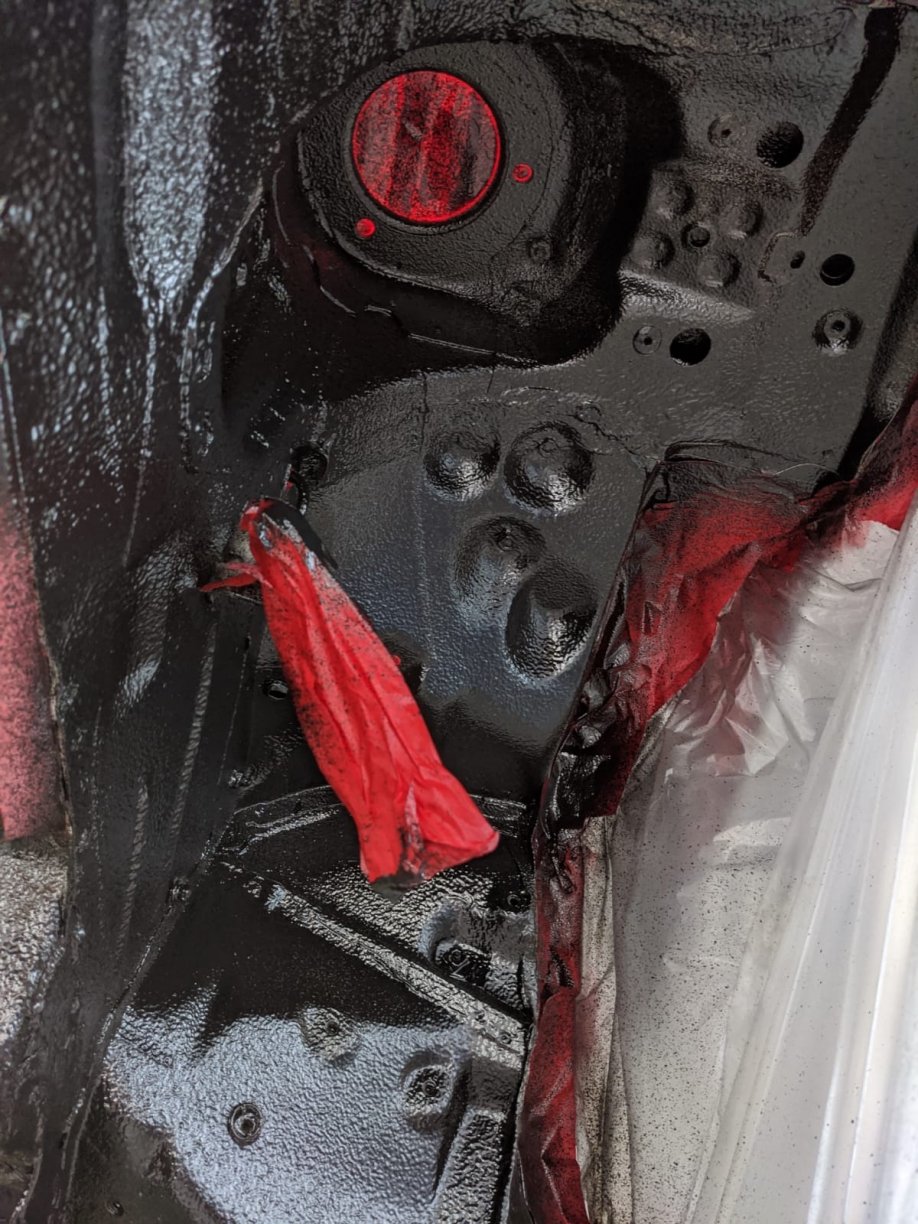
Happy New Year Everyone! Back again with some updates . Last time it was time for the under seal after the grinding, and rust treatment on the underside. The application and masking was all done by ML, and raptor was used to seal the car after a long bake in the oven to make sure it was bone dry. I had a tough decision to make, as I was considering going for white raptor, but in the end I went with black, as I prefer the contrast. We also had to proceed with the raptor with using the old fuel lines in place, this was due to the three orders from Toyota being bent in transit and me not accepting them. This delayed the underside by almost 2 weeks so we charged on as ML needed the ramp back, and we will be revisiting this when the new lines and bolts arrive. Very annoying but definitely something you want to buy from the main dealer direct as you can reject them. This critical section is where I don’t have many pictures of unfortunately as the team at ML were forced into reduced hours and only one person on sight at a time. How she started Mid process shots, treated and then taken back with the grinders again so that we could get down into the layers. The underside was also masked off to preserve the tapped holes, although I had the unenviable task of re-tapping a fair few holes as a few of the rusty bolts had snapped off. the dark sections are where there’s been a reaction, and as mentioned these were taken back again before another coat was applied then dried. Glad I wasn’t doing this part. ML and Crew, tackled the rest of the removal of the old under seal, and have gladly promised not to do another without having it sent for blasting or dipping . I’m also very glad we agreed a set fee for the work in advance as I knew things would escalate quickly, and let’s just say ML are using this as an example of why charging by the hour makes good business sense. And finally the end product:
-
Man that’s filthy, how do you sleep at night
-
I am pondering letting go of a set I have that are newly refurbed complete with all 4 centre caps. I was going to replace the tyres (not advised to use the ones on currently) and pop these on my Sup, but after doing a quick inventory check, it looks like I have that well covered. My minds not made up fully but happy to discuss.
-
It’s one of those you don’t worry about after a while .
-
No problems at all, I’ll ask around and see if anyone has a set. I might have some spare panels but I can remember what I’ve done with them or otherwise I would have offered them up. Sometimes these pop up on EBay also, but I think the prices on singular parts are sometimes beyond inflated.
-
Did you try Keron @extremeperformance at all Spike?
-
Lots still to come buddy, I just need to get some time to upload them all, glad you’re enjoying it . Yeah to be fair this one was as bad as I’ve seen, but that kinda made me wanna push to get it sorted. Thanks buddy, yeah these metal workers/fabricator types are a special breed. I’d love to have that skill level. I have to say, it’s been probed more than an alien abductee, so fairly confident it’s all fixed now. We used Raptor for the under seal, so as you may know it goes fairly sold once it’s activated and dried. Cavity’s were also waxed to hopefully keep new corrosion at bay a little longer. mill get the underside shots next.
-
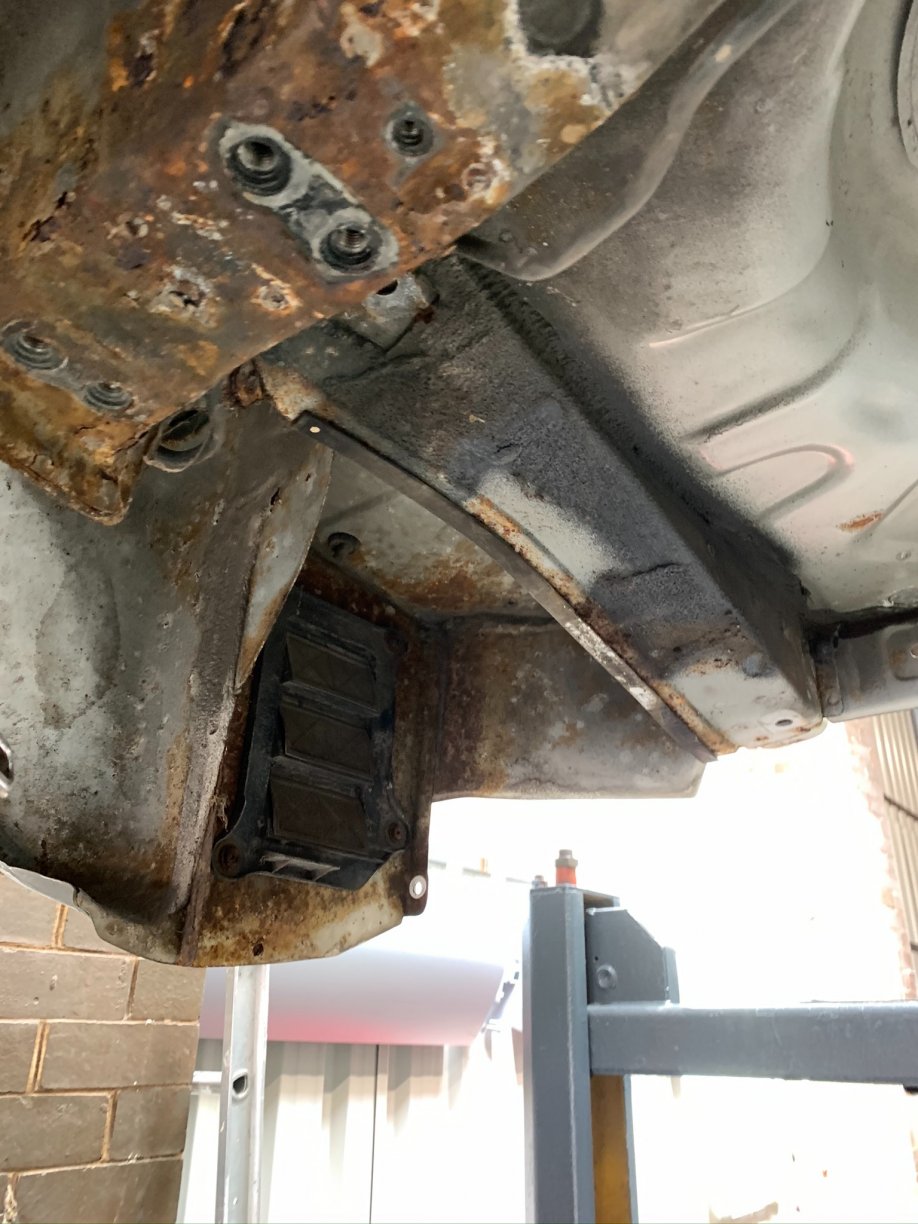
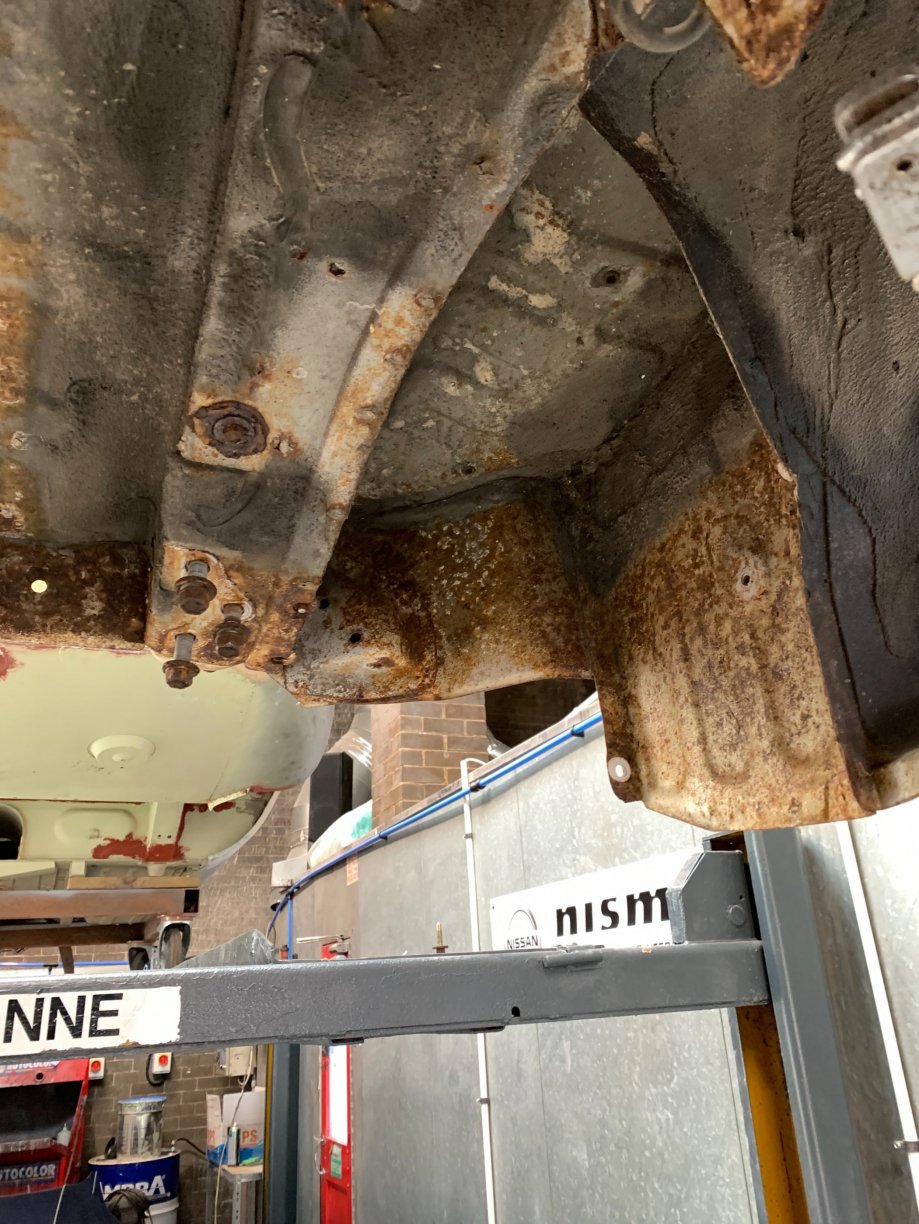
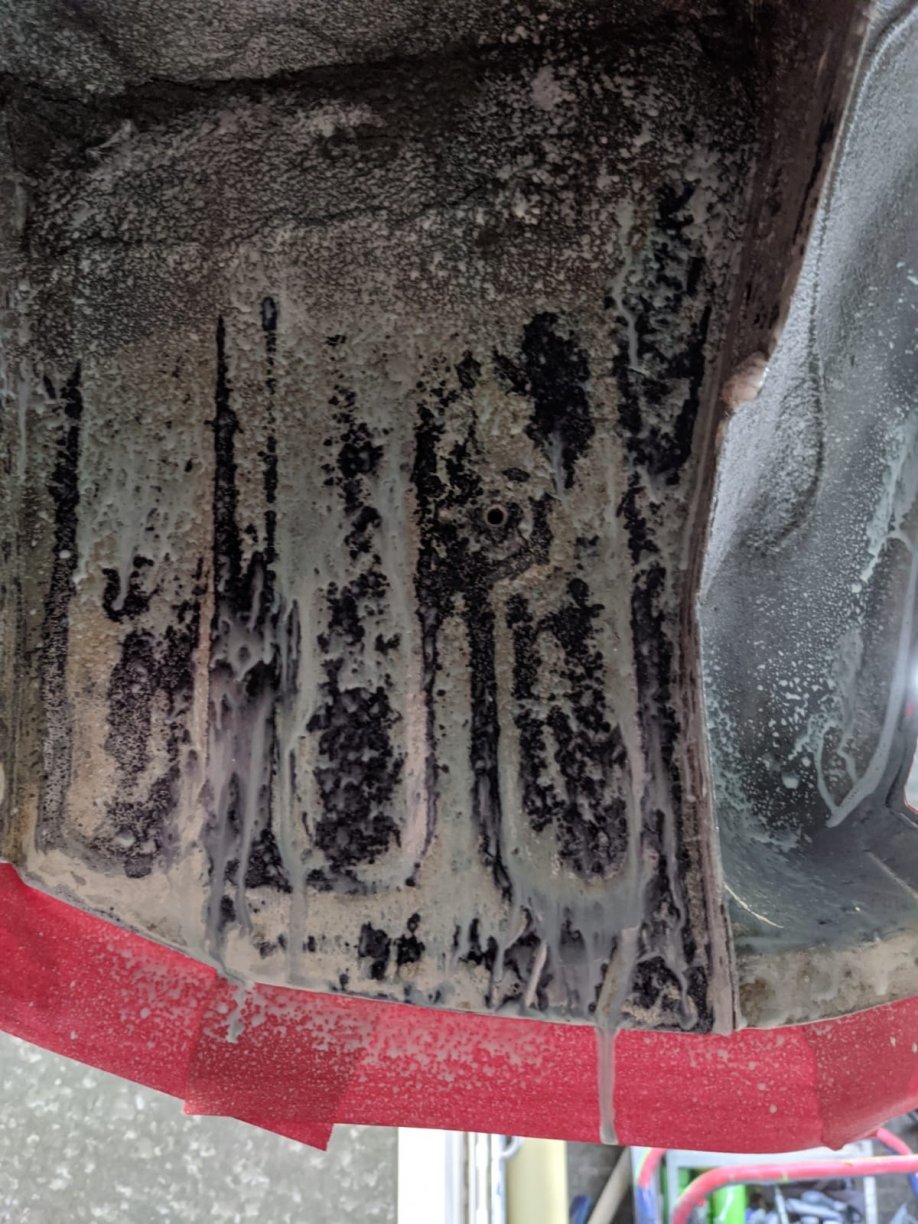
I did pre warn a half dozen times in the thread . Thankfully with this last section repaired, all the metal work was complete. As weird as this sounds, I was really into all of the metal work and watching it unfold, so a bit of me was kinda disappointed it was all over . As previously mentioned the underside was hit with the best we had for three days, and was ready, here’s a little pic of us buzzing back the surface rust.
-
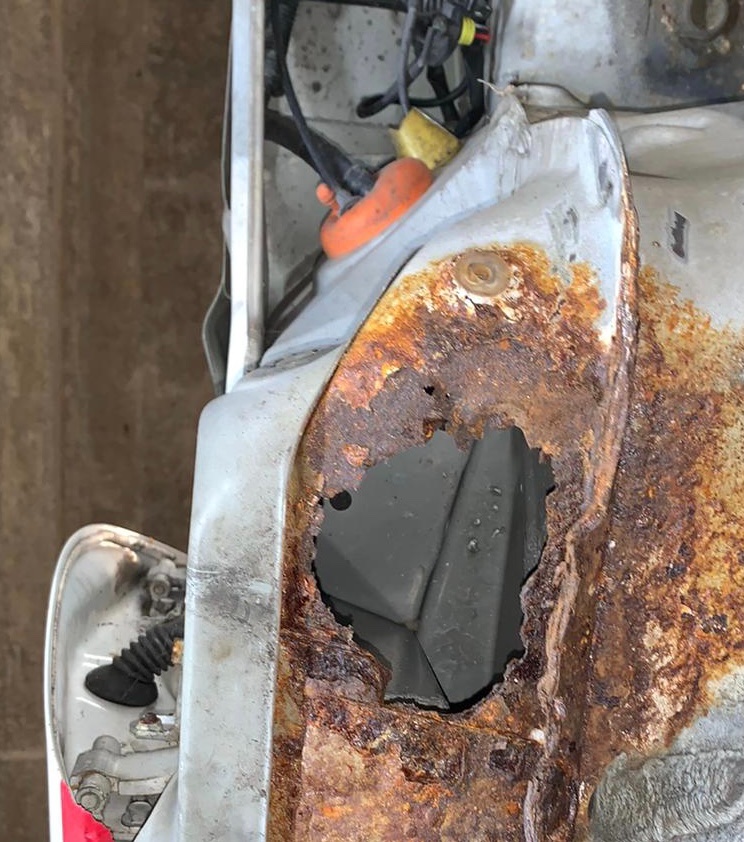
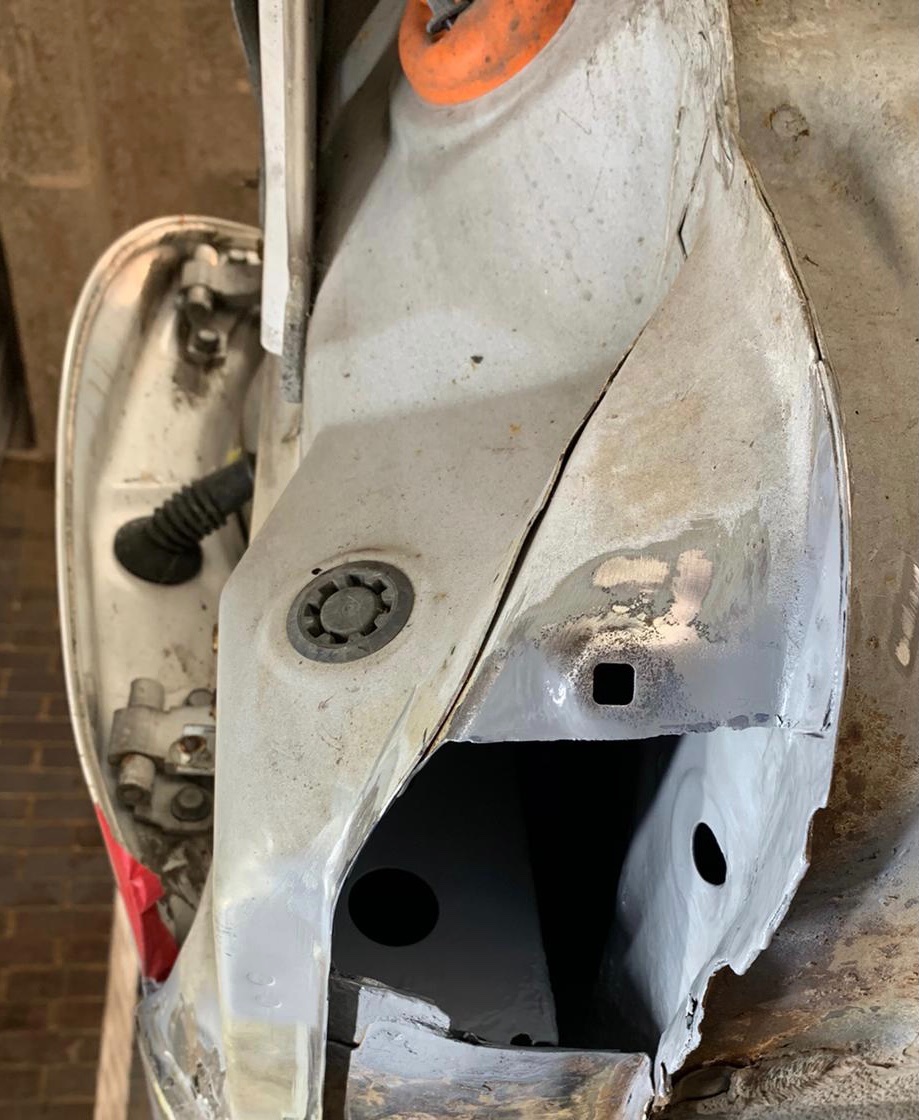
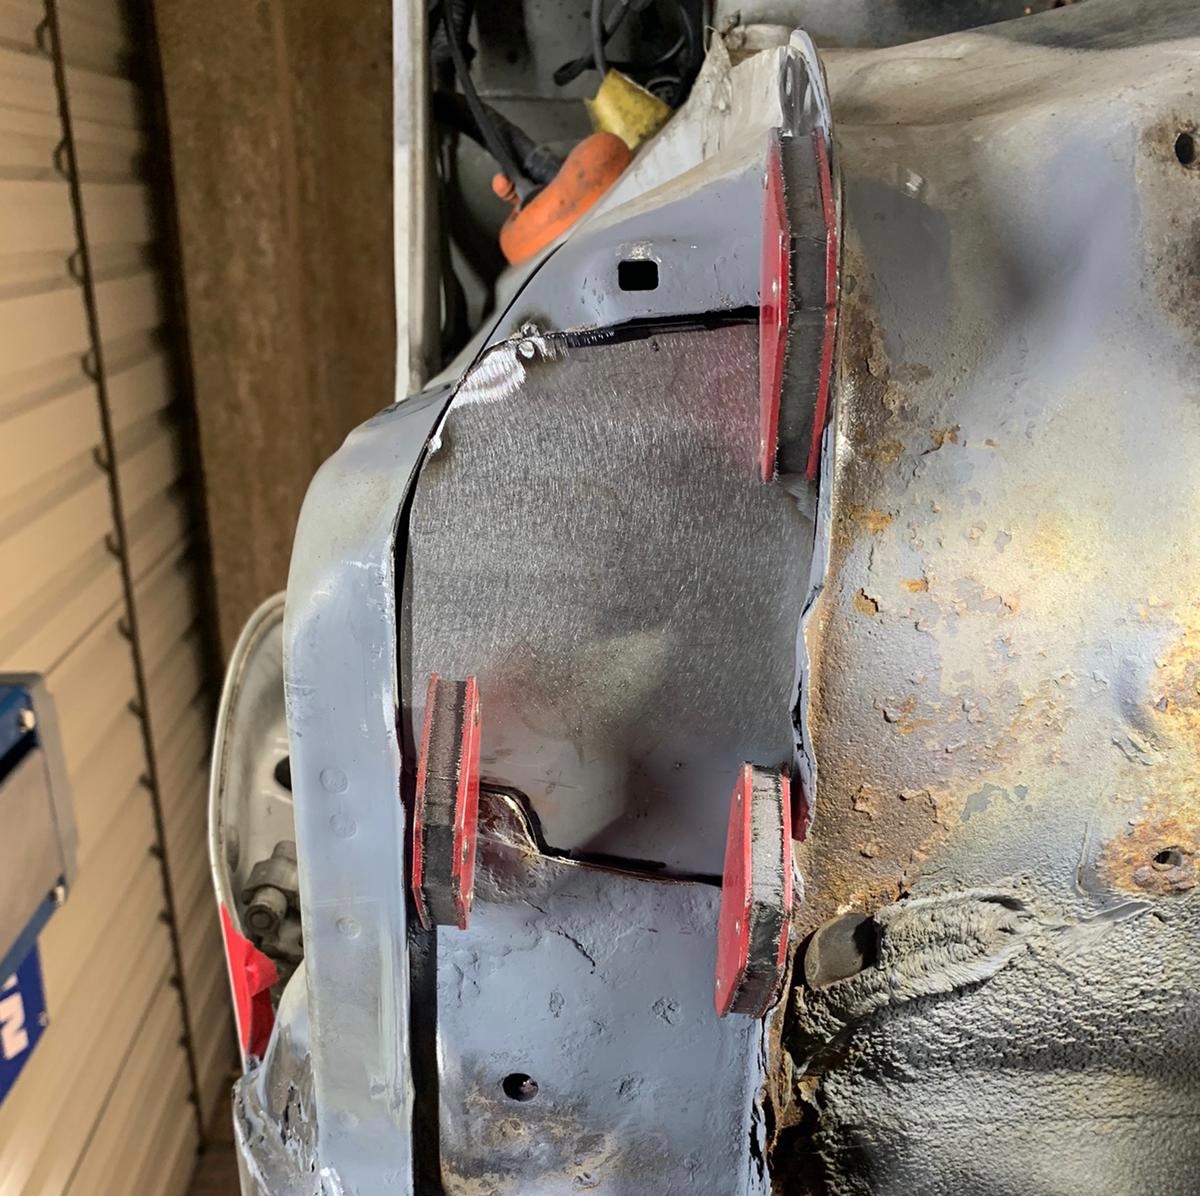
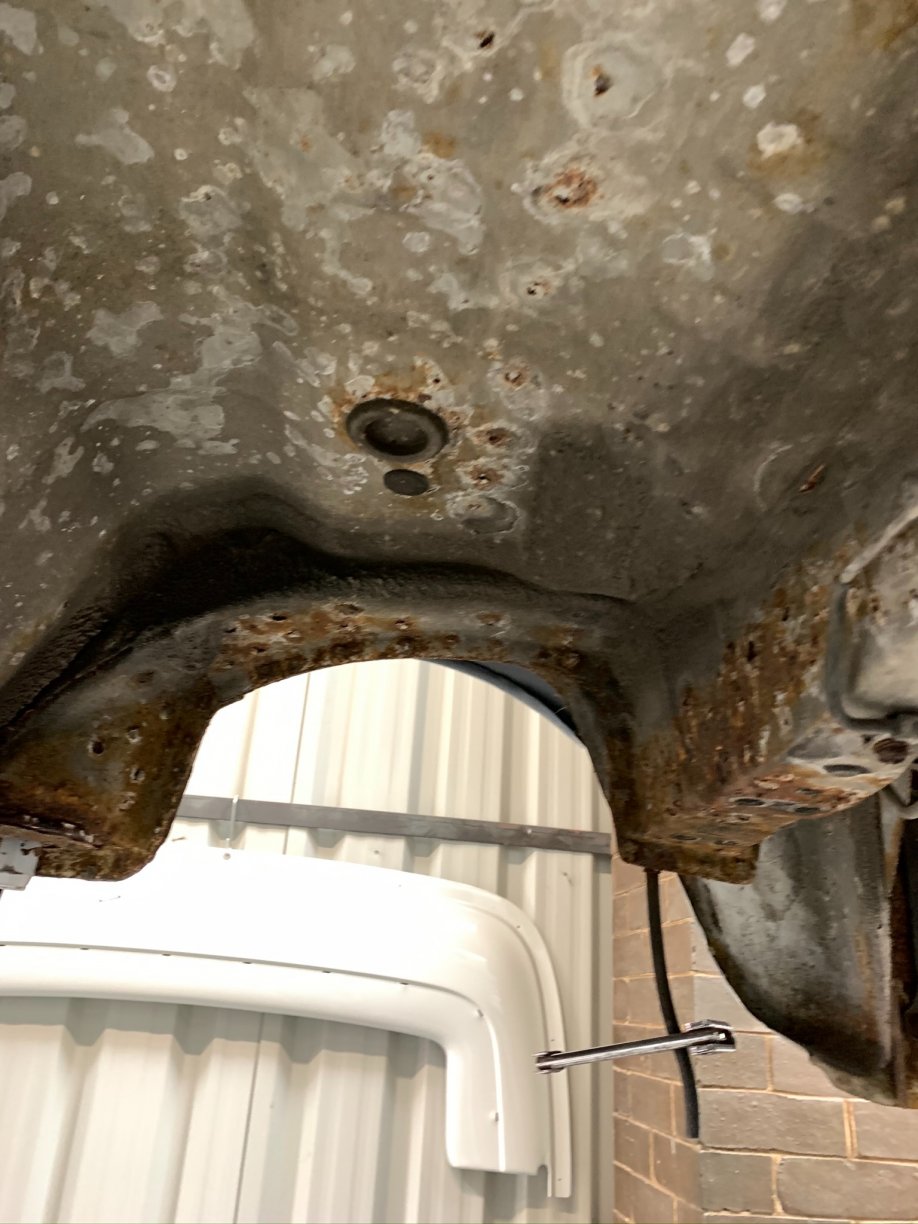
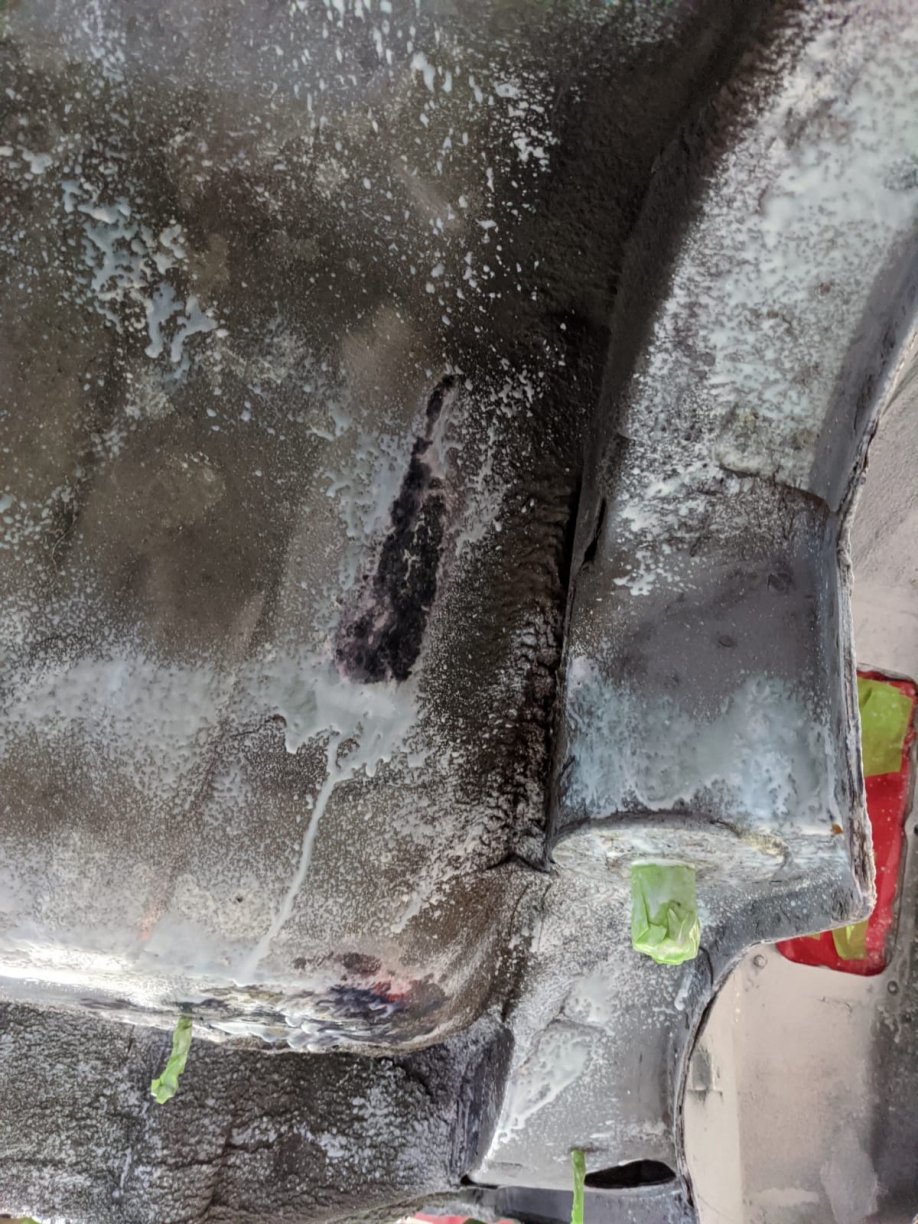
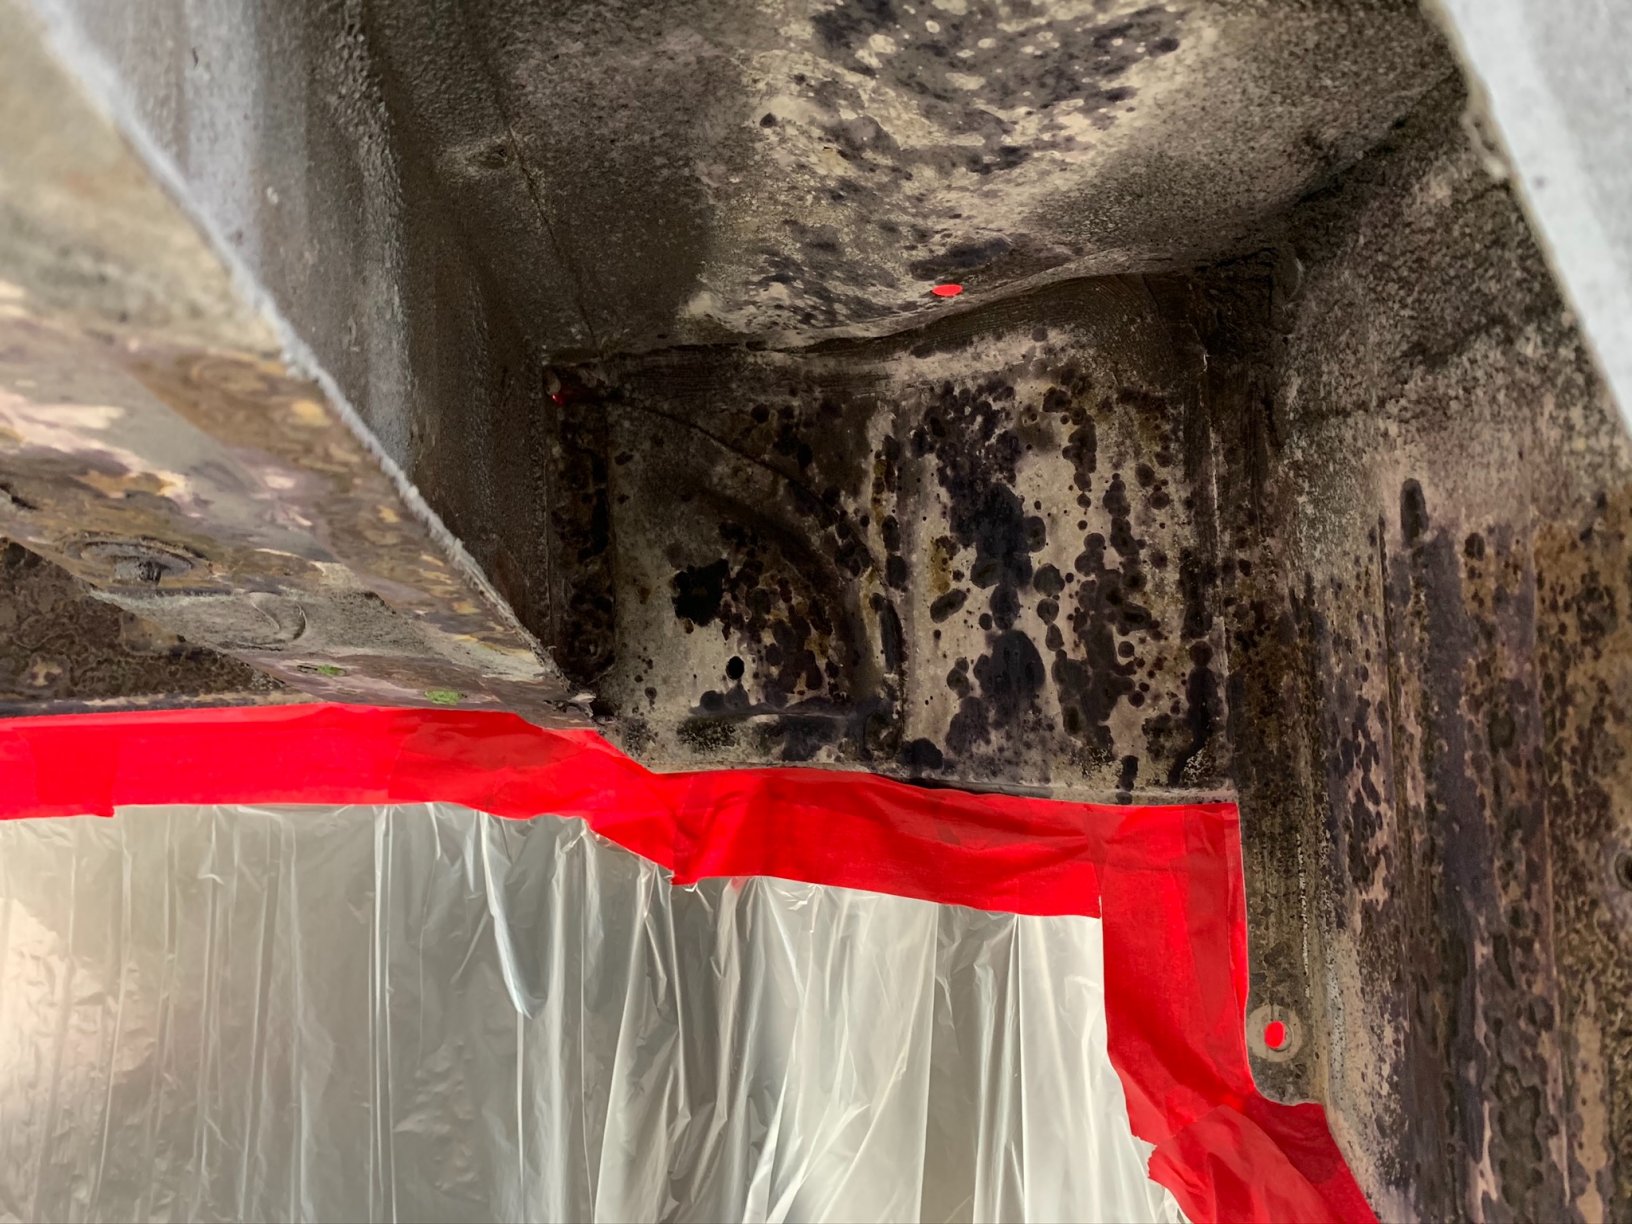
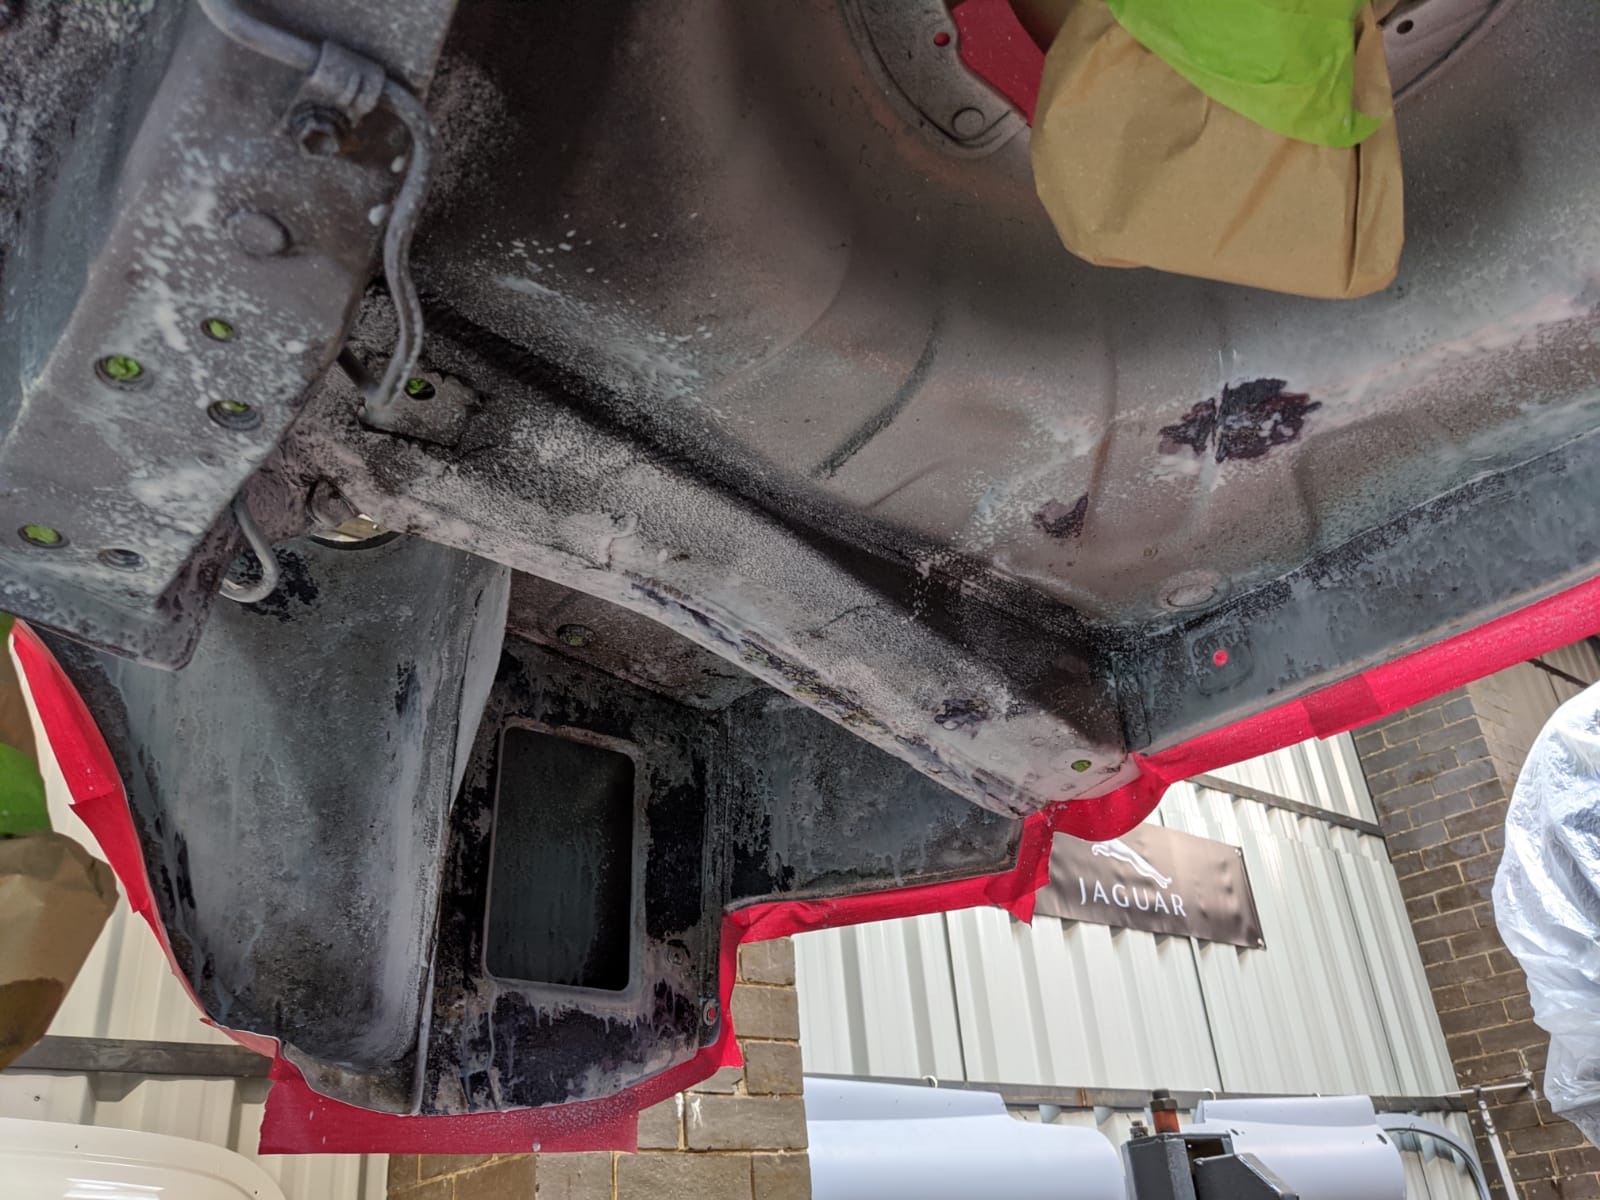
Right everyone this last bit of panel work required, and on the surface it just looked as though the panel had surface rust on it, and a small 5p sized bubbled section. Curiosity got the better of me whilst I had the scope, so I decided to take a look from inside the arch structure. I’m very glad that I did, as after some agitation with the screwdriver and file.....well I’ll let the picture do the taking! looking up from underneath the car, through the hole you can see the top of the wings/bonnet hinges. The above picture was not what it looked at first glance and that’s because at some point in the cars life, it’s been patched in this section and had layers of filler over it. This made the appearance seem aesthetically fine. Im glad we found it and had Martin and co strip it back and cut out the rotten section, this time replacing it with fresh metal. The surrounding area on the other side of the sill returns buffed back, to good metal and was treated. This is what the panel looked like once cut out. Then after the rust proofing processes were complete, Martin created the replacement Sill to Arch section and welded it in place. The pic below was whilst it was being tacked, as I don’t have the finished welded section at present. As I mentioned the surface rust on the other side of the sill return was later buffed back to the bare metal and treated, this was all done at the time of the preparation for the under-sealing.