
Carbon_Bullet
-
Posts
1282 -
Joined
-
Days Won
1
Content Type
Profiles
Forums
Store
Blogs
Events
Downloads
Supra Articles
Gallery
Everything posted by Carbon_Bullet
-
I think it looks sound as it is - - - Updated - - - Or get them dipped in a random pattern! Anythings possible
-

STAR T67R ~ 1.8 bar ~ 755bhp ~ 596ftlbs at the hubs
Carbon_Bullet replied to Carbon_Bullet's topic in mkiv Supra Projects
Nope , my dash, had every piece of plastic flocked or skinned in carbon First thing in the morning the engine is off to SRD, loaded it all tonight.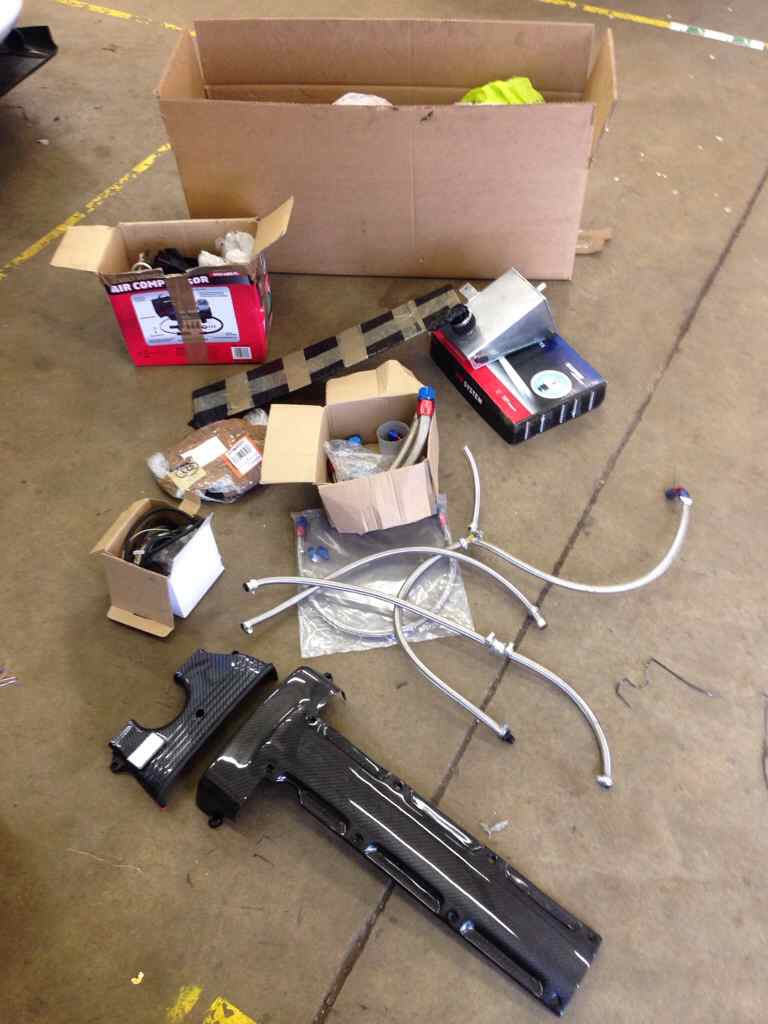
-
STAR T67R ~ 1.8 bar ~ 755bhp ~ 596ftlbs at the hubs
Carbon_Bullet replied to Carbon_Bullet's topic in mkiv Supra Projects
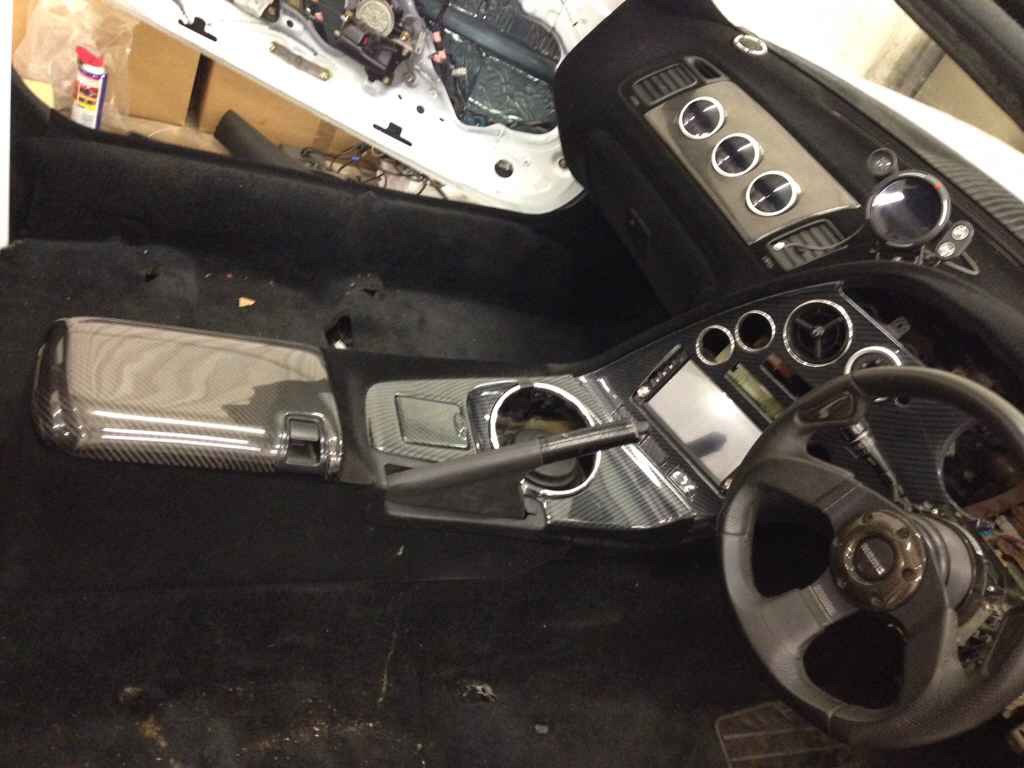
Cheers mate, hasn't got as much if a presence as yours Interior a little more together http://img.tapatalk.com/d/13/12/08/uny6usej.jpg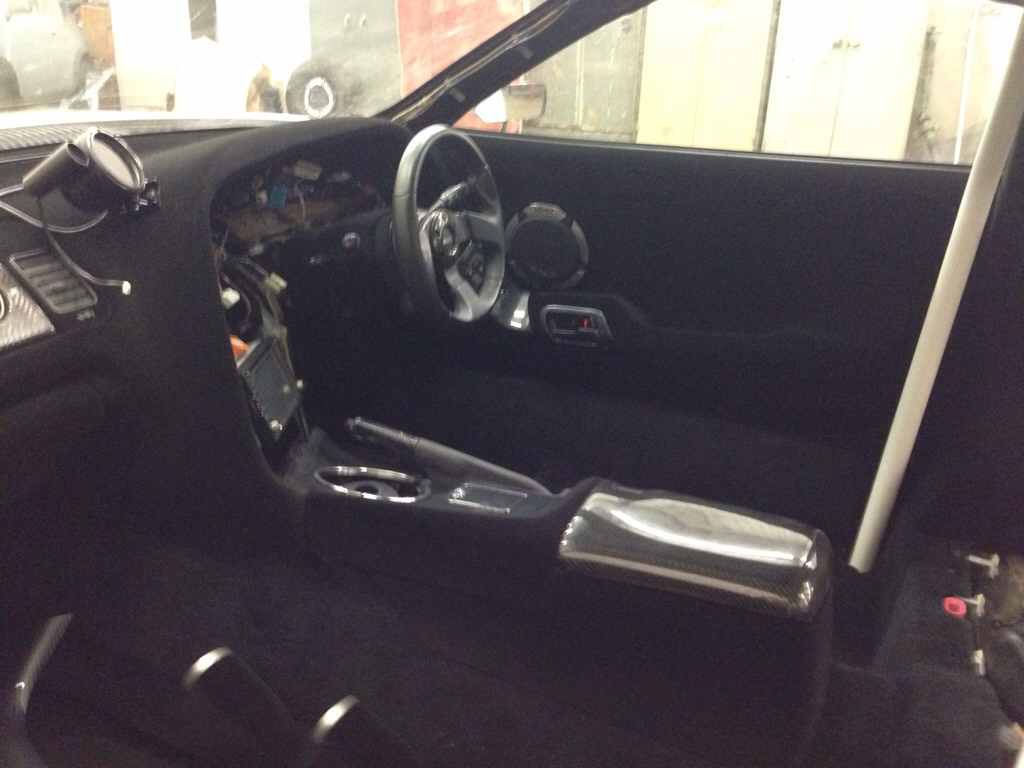
-
STAR T67R ~ 1.8 bar ~ 755bhp ~ 596ftlbs at the hubs
Carbon_Bullet replied to Carbon_Bullet's topic in mkiv Supra Projects
Random pictures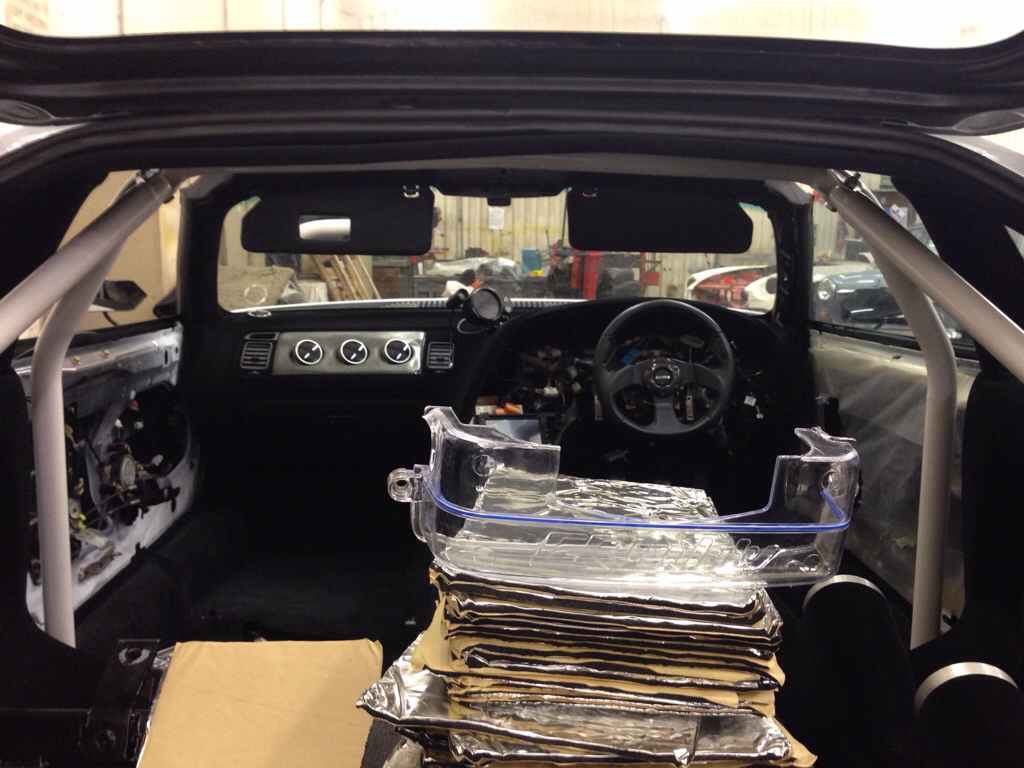

-
STAR T67R ~ 1.8 bar ~ 755bhp ~ 596ftlbs at the hubs
Carbon_Bullet replied to Carbon_Bullet's topic in mkiv Supra Projects
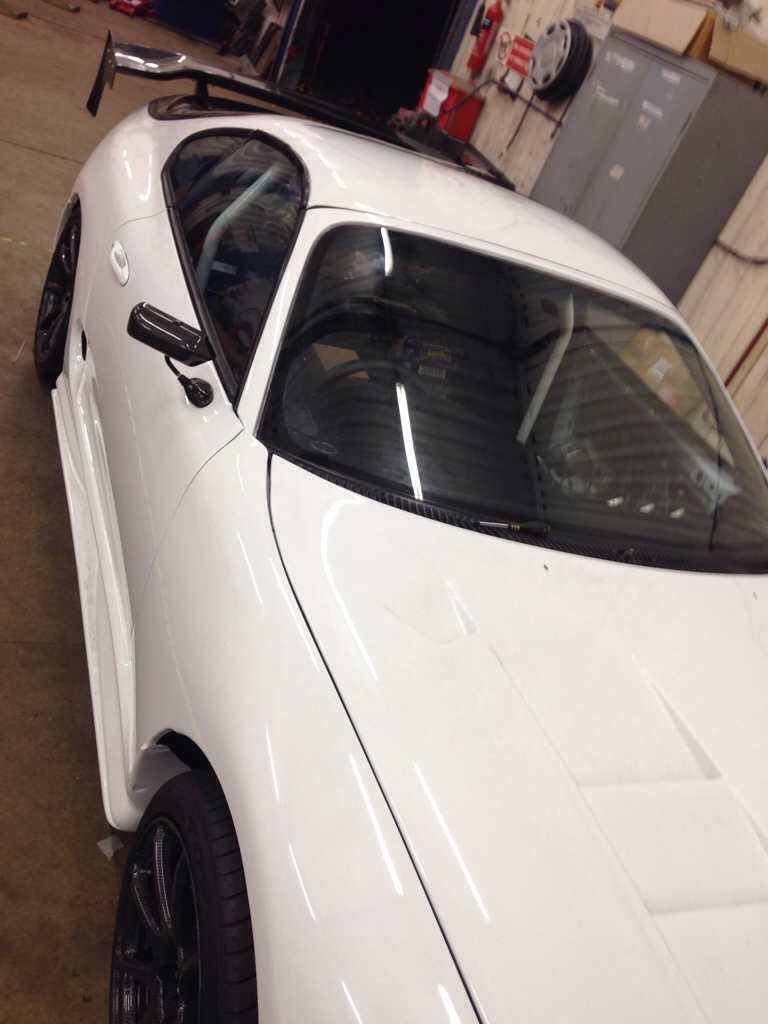
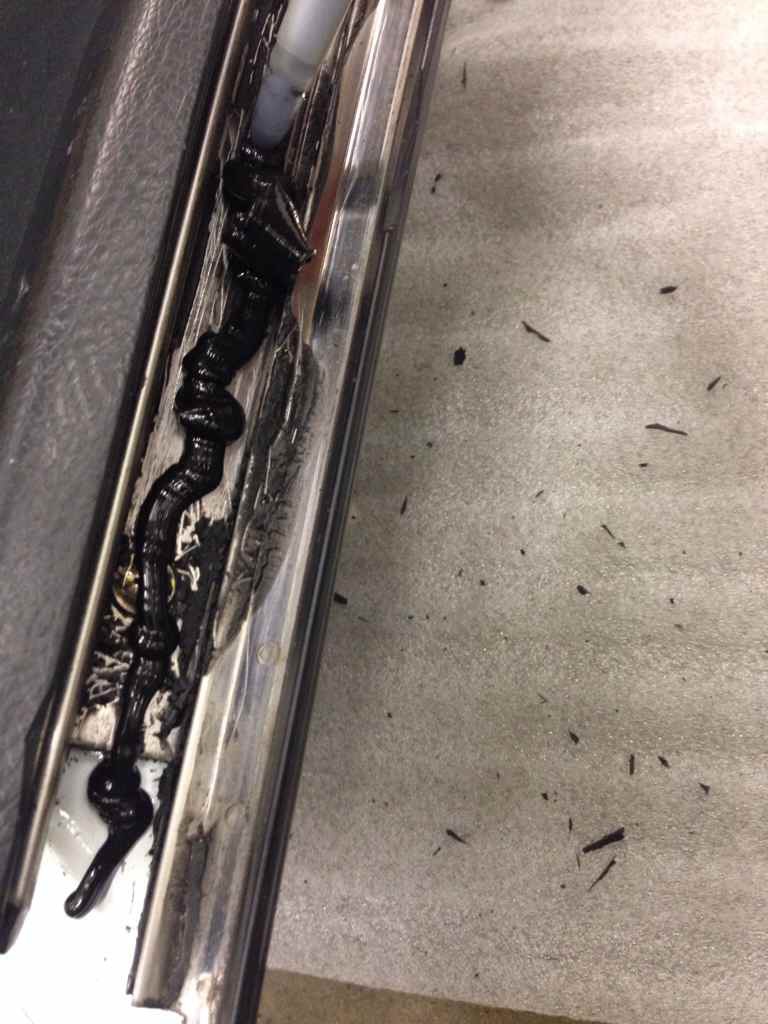
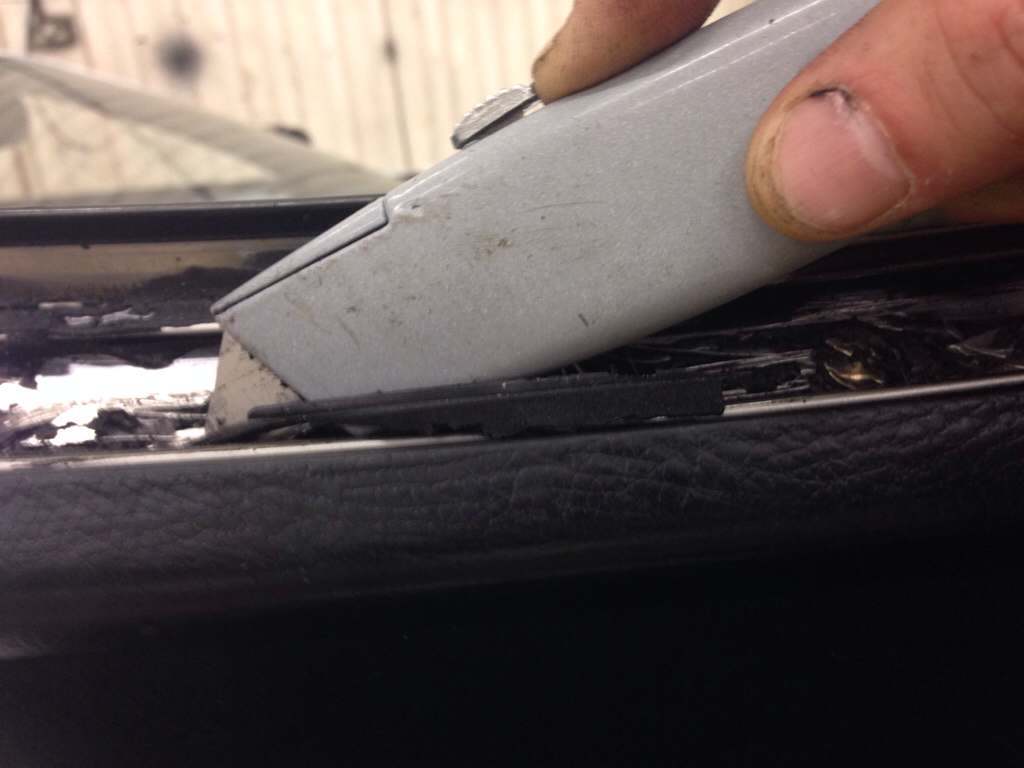
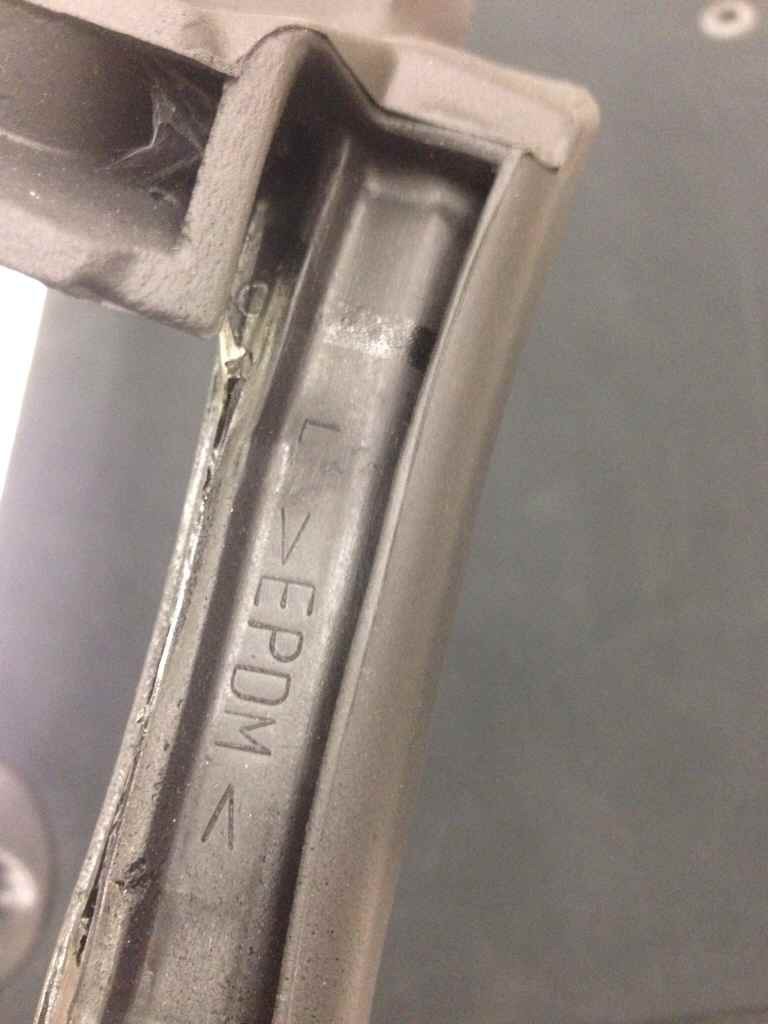
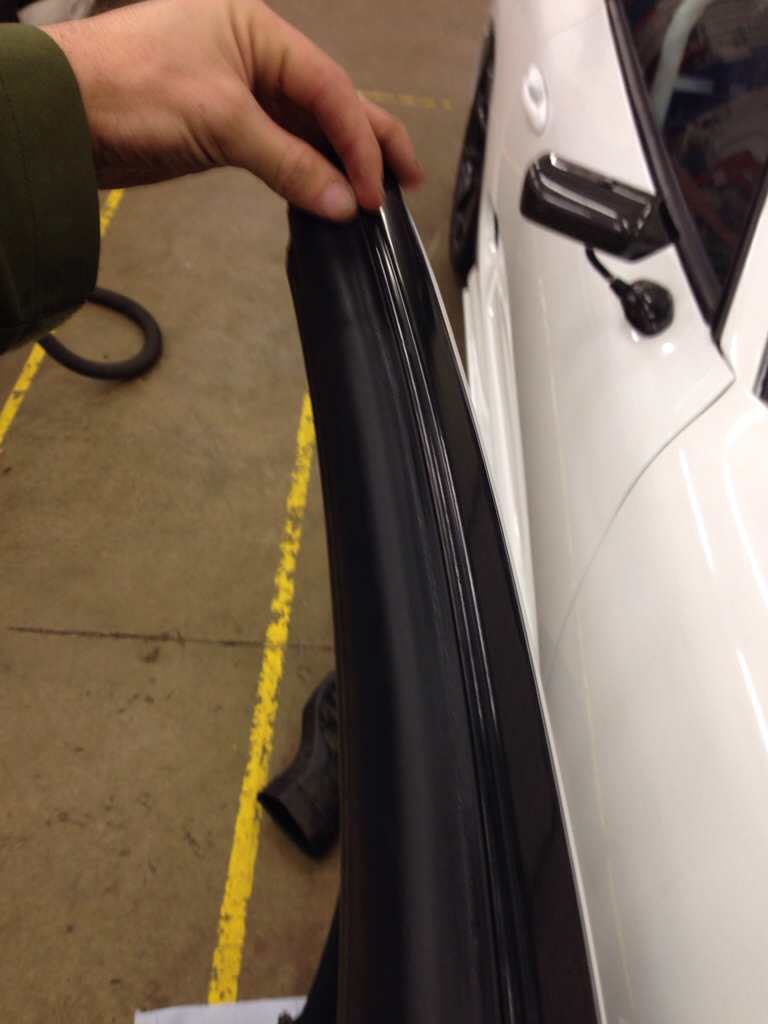
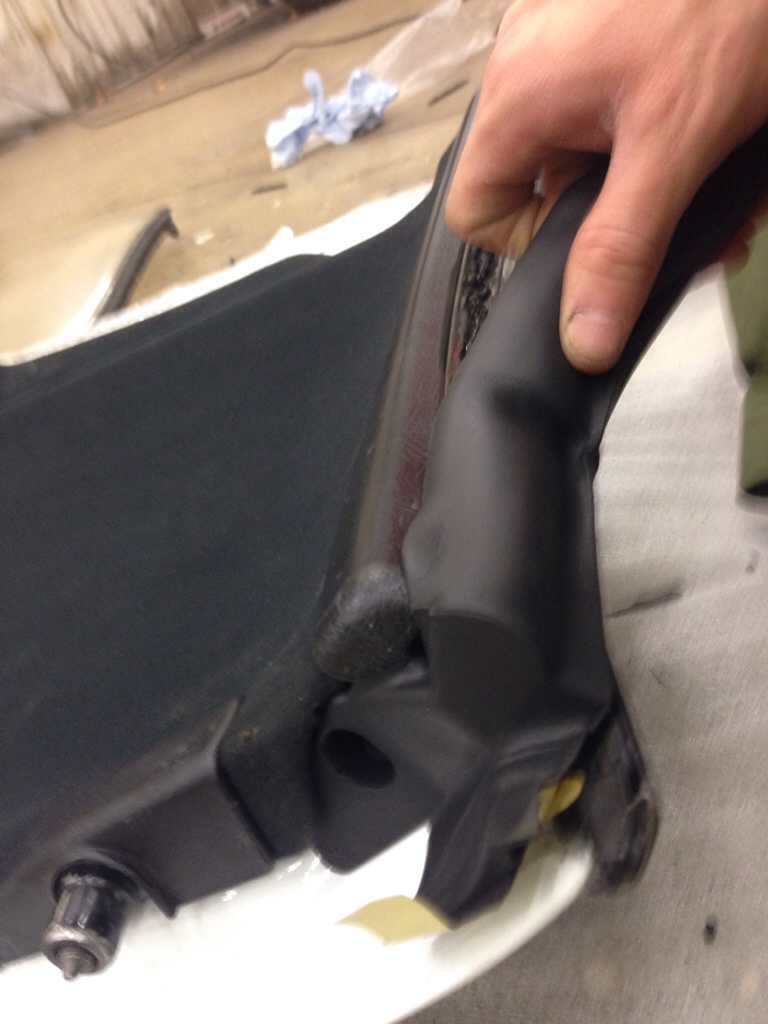
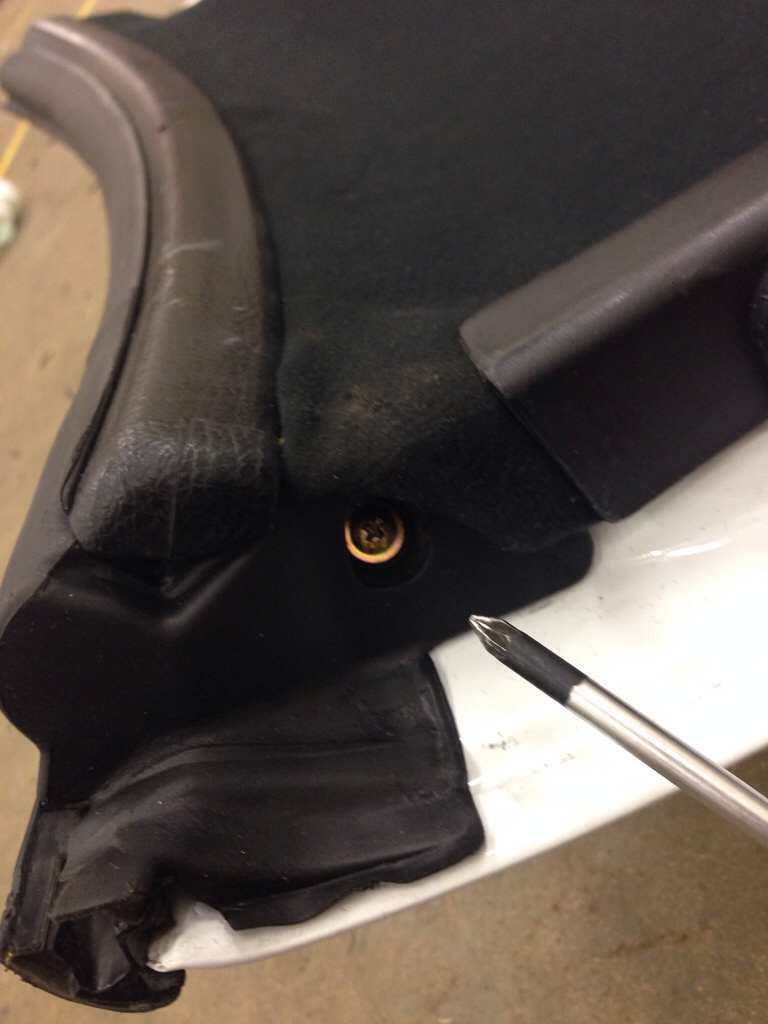
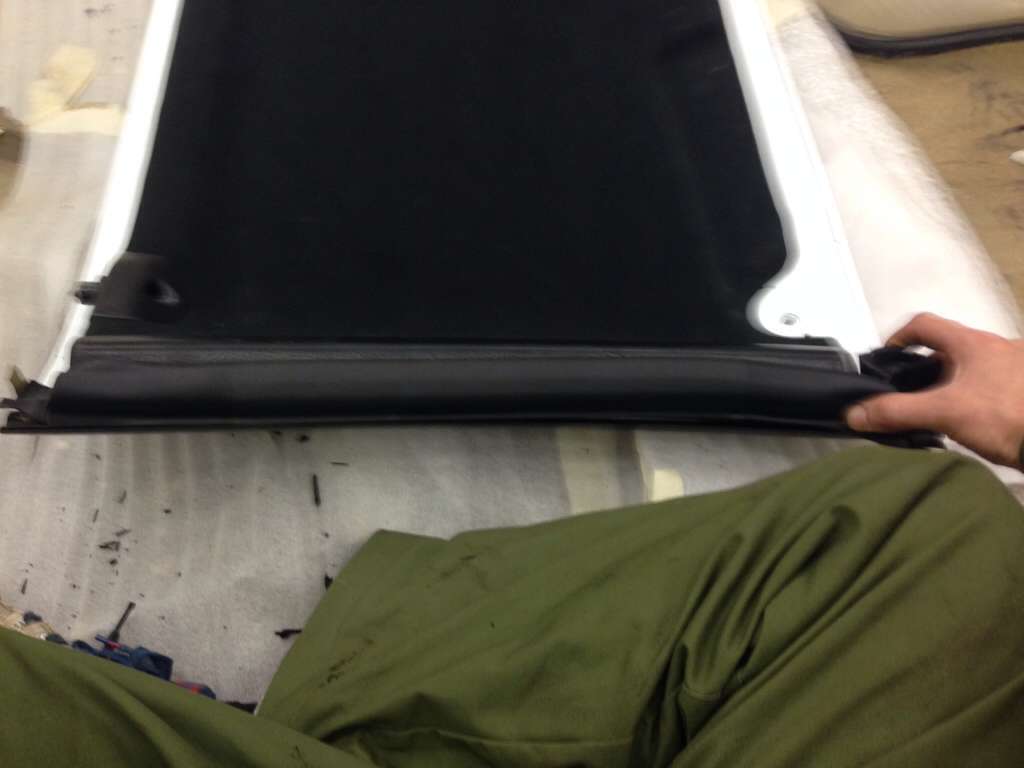
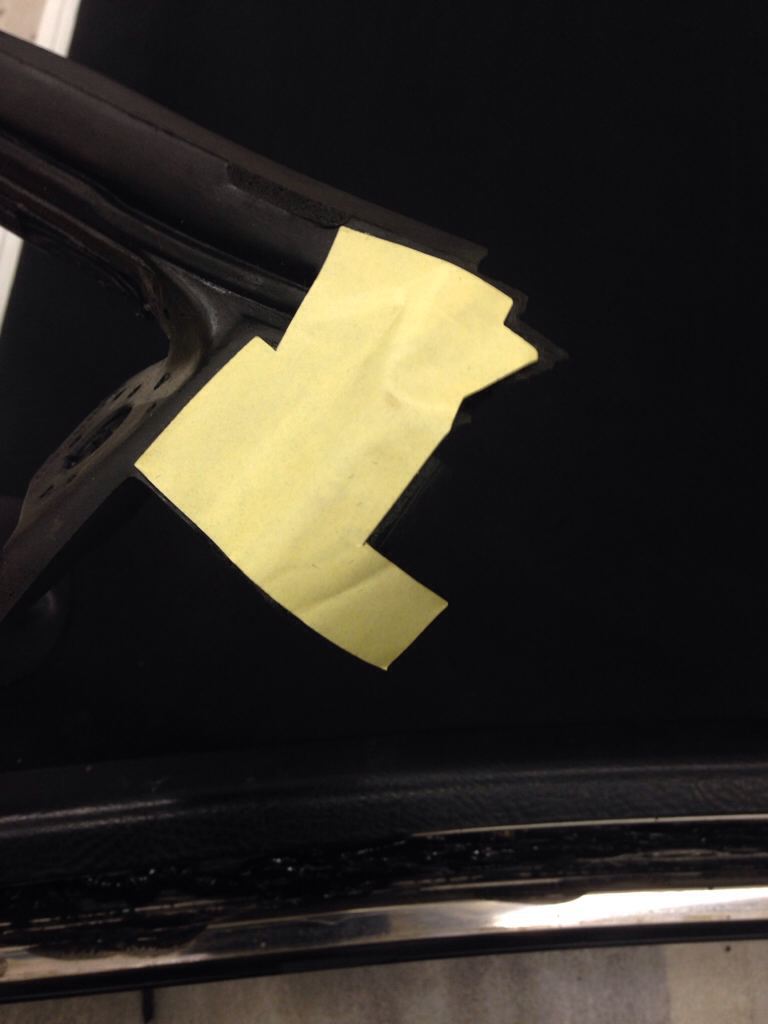
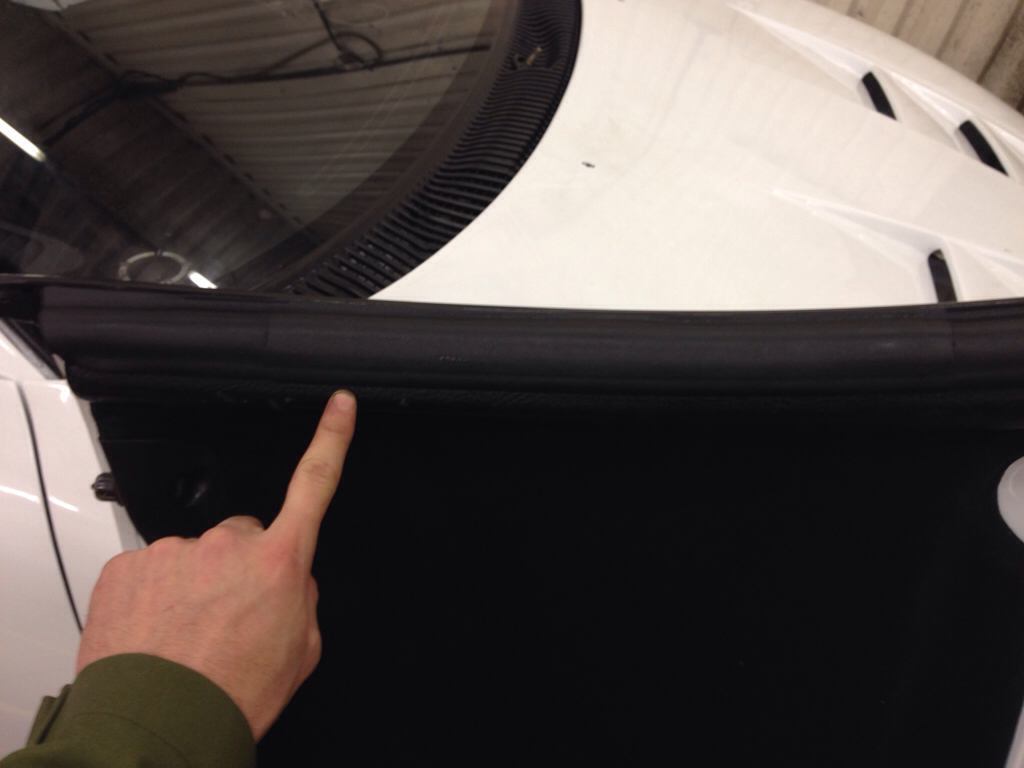
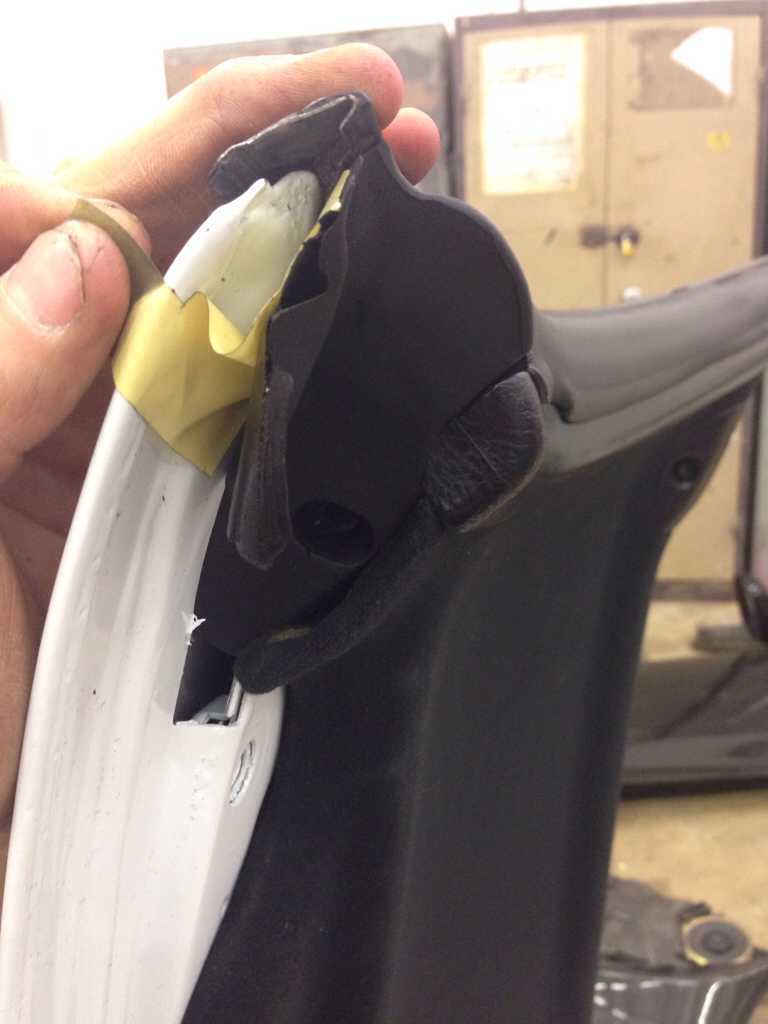
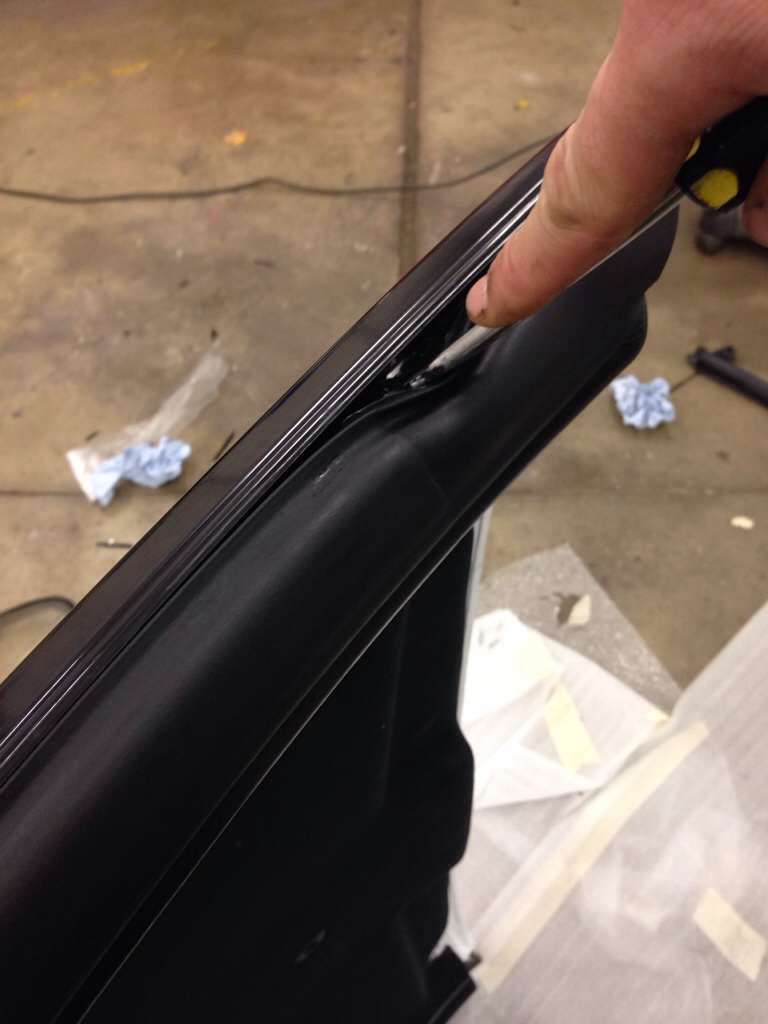
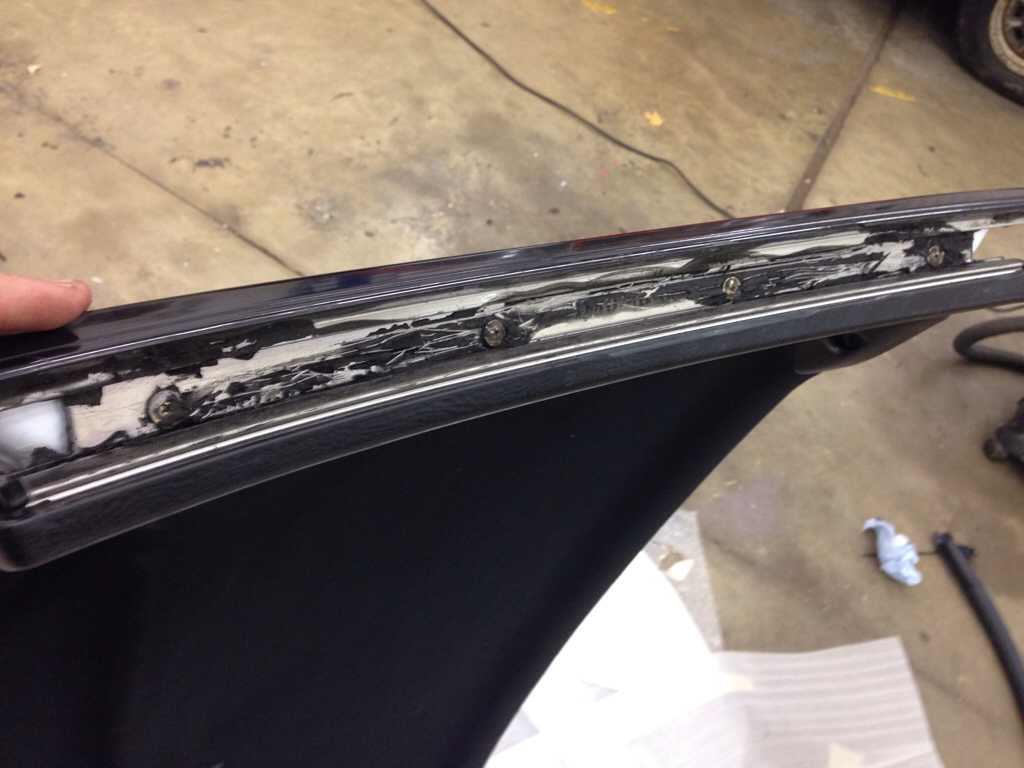
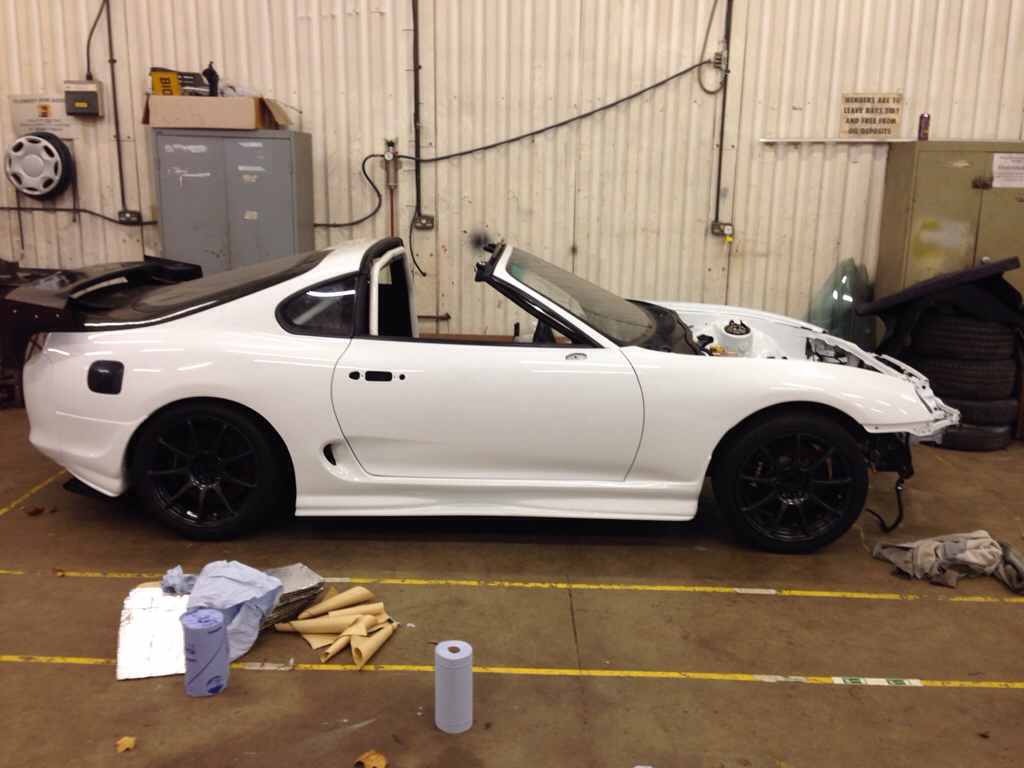
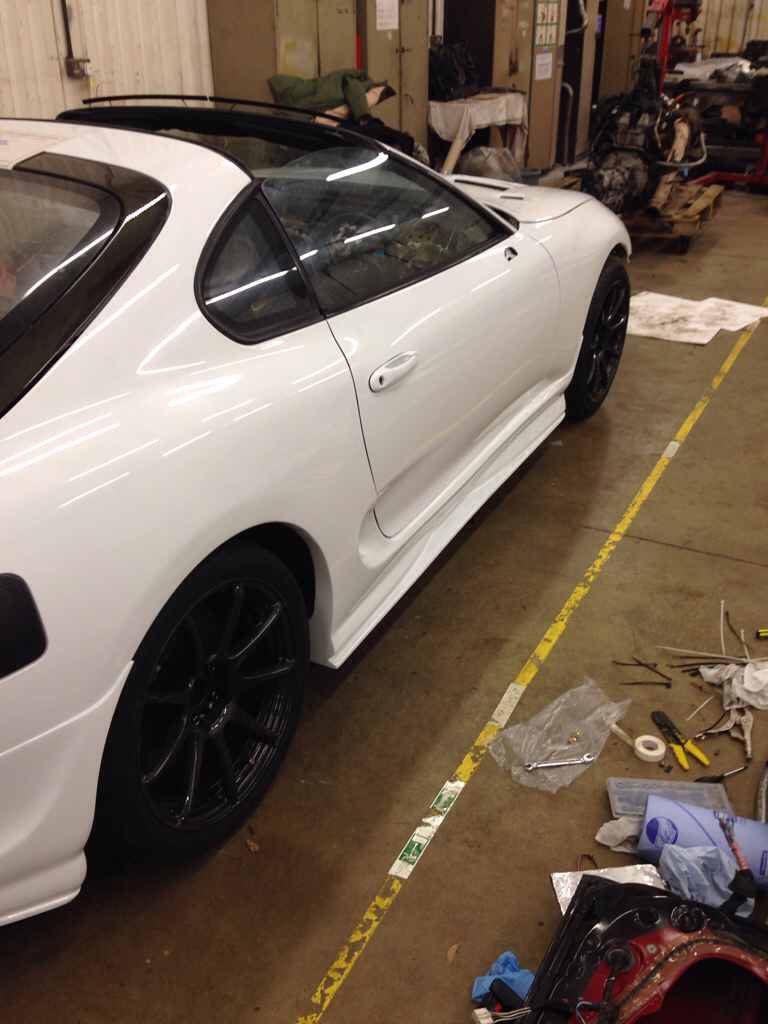
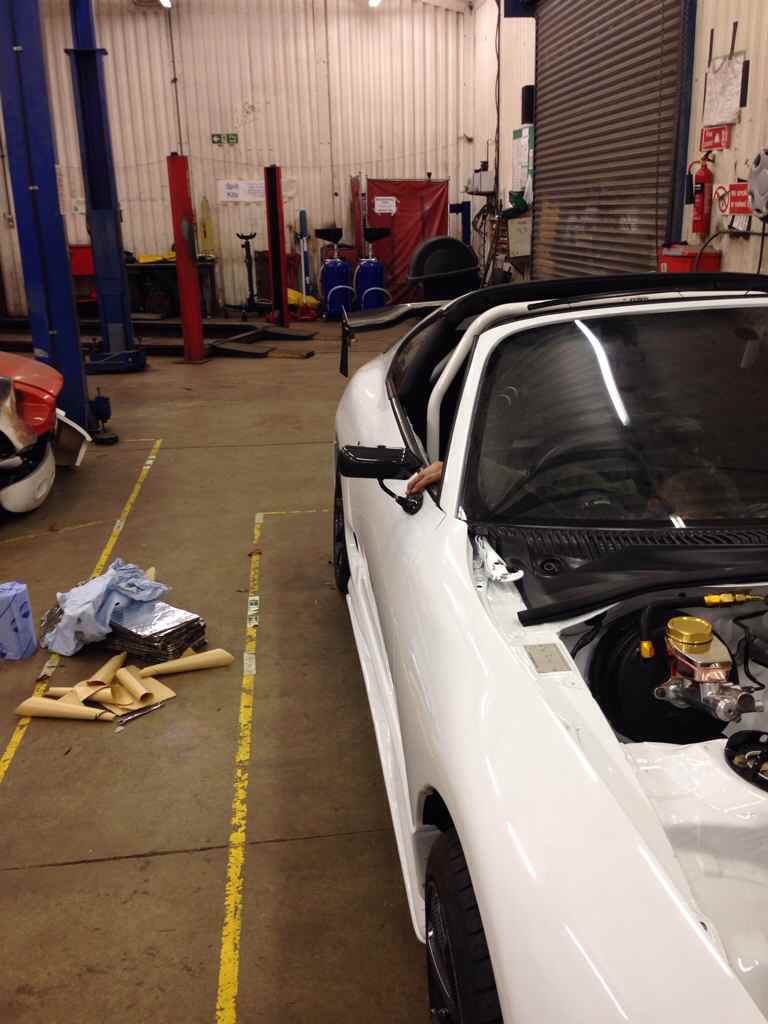
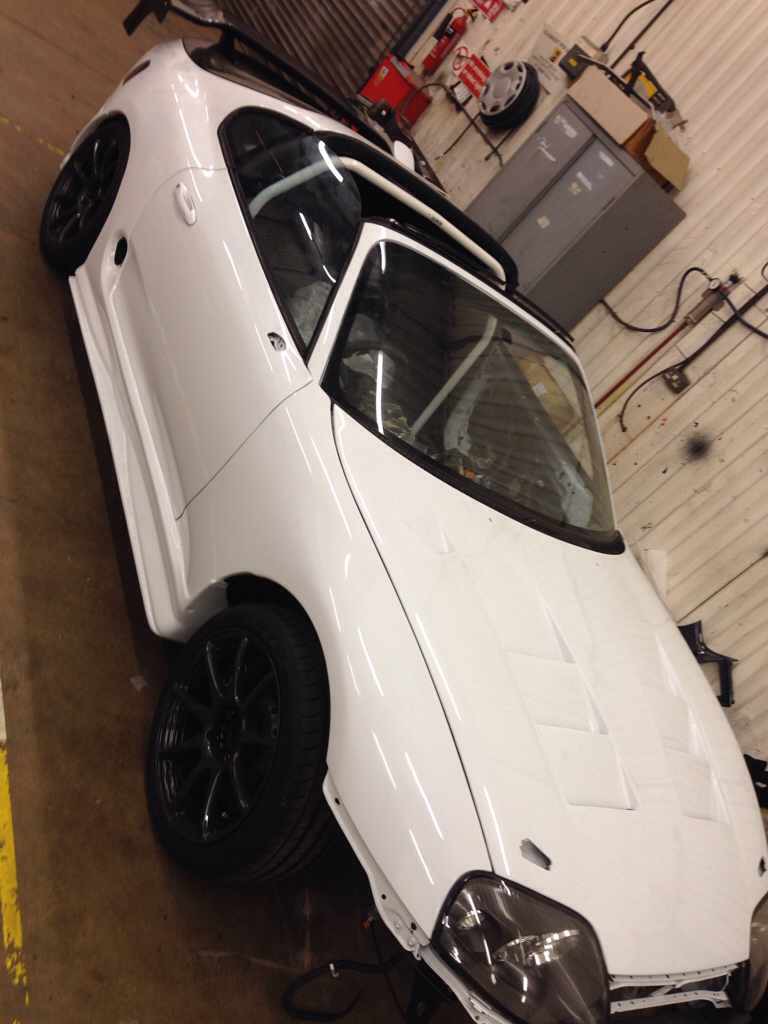
This was a question asked by myself an now has turned into a "how to guide" hope it helps, much easier when you know what your doing in the first place HOW TO DISASSEMBLE AN AEROTOP ROOF REMOVAL 1. Unscrew the screws in all 4 corners of the roof, then both rubber seals each side should pull away, some may have loads of glue some may not, some screws may also be cover with glue. 2. Scrape away all old rubber seal & glue from the metal work otherwise you aren't going to get the new seal in, make sure to get in both grooves of the metal work! There's a further 4 screws also which you'll need to unscrew if removing the side parts altogether. 3. Once the rubbers have been removed, the roof fabric panel will unplug pretty easy, PUTTING BACK TOGETHER 1. Once you've done what you need to do with, example:- sprayed, place it roof side down on a nice soft area, I personally used bubble wrap on the floor. 2. First thing is placing the fabric roof panel back on so it clips in 3. Screw the side plastic back on with the 4 screws inside the metal work 2. I used black sealant glue aswel to make sure it stays in place so layer abit all the way across the metal work 3. You'll notice with the brand new rubber strips they will have sticky parts either end, leave the sticky cover on until the end 4. The aerotop rubbers are labelled LEFT & RIGHT , .... Driver side being RIGHT. Make sure you get the on the right way 5. Place one end in firmly 6. Let it sit, an you may need to give it a little stretch to pull the other end over to fit comfortably 7. Placing the rubber strip on ensure you fit the rubber lip on the inside of the roof panel first as it's much easier this way when fitting the second rubber lip. 8. Second lip I used a flat head screwdriver to make sure it caught the second lip, 9. You'll know it's fitted properly when the outside seal runs flush with the plastic roof lining 10. This is what it will look like if the rubber seal hasn't been fitted correctly, bottom half of picture it's seated correct top half it hasn't, very noticeable 11. When your happy remove the sticky pads and firmly secure it to the roof 12. The make sure you out the 4 screws back in, one in each corner, can be a little tricky lining them up but you'll get there in the end 13. Pat yourself on your back an have a beer for a job well done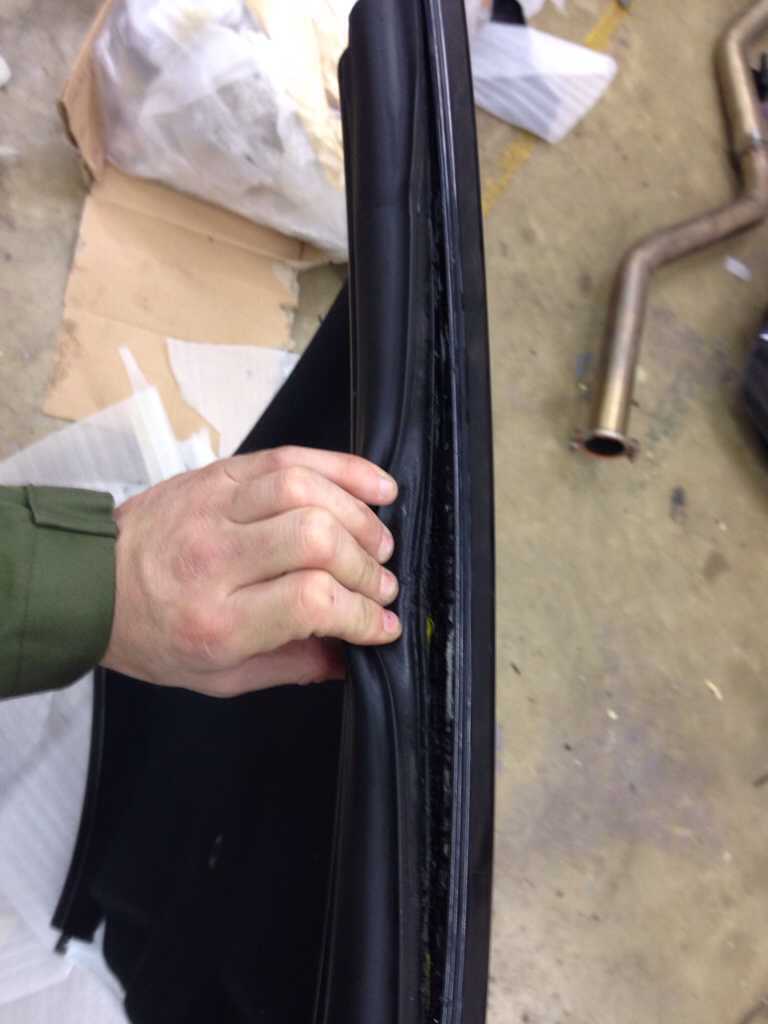

-
STAR T67R ~ 1.8 bar ~ 755bhp ~ 596ftlbs at the hubs
Carbon_Bullet replied to Carbon_Bullet's topic in mkiv Supra Projects
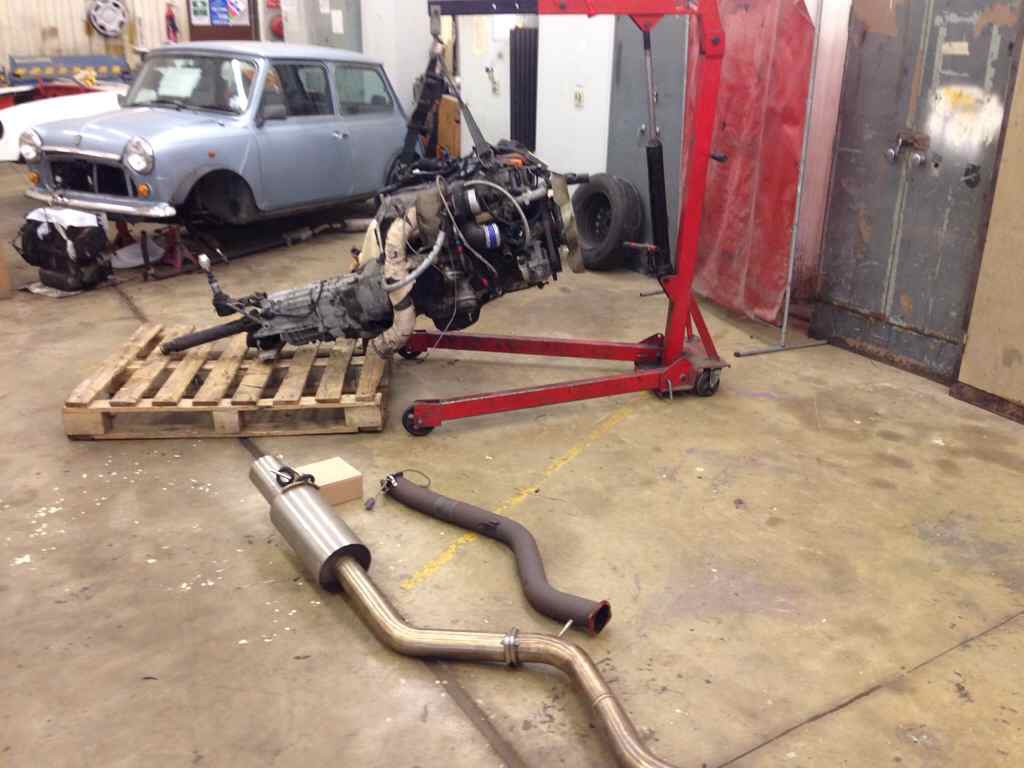
Getting there mate, 9th December 2013, SRD will have the engine to build, 1st February 2014, SRD will have the car in to fit engine, map it, good check over then back to me -
Sits quite firm, don't think there's going to be any leaks, will be the new seals acting macho
-
Updated
-
He posted this on FB before I believe
-
This was a question asked by myself an now has turned into a "how to guide" hope it helps, much easier when you know what your doing in the first place HOW TO DISASSEMBLE AN AEROTOP ROOF REMOVAL 1. Unscrew the screws in all 4 corners of the roof, then both rubber seals each side should pull away, some may have loads of glue some may not, some screws may also be cover with glue. 2. Scrape away all old rubber seal & glue from the metal work otherwise you aren't going to get the new seal in, make sure to get in both grooves of the metal work! There's a further 4 screws also which you'll need to unscrew if removing the side parts altogether. 3. Once the rubbers have been removed, the roof fabric panel will unplug pretty easy, PUTTING BACK TOGETHER 1. Once you've done what you need to do with, example:- sprayed, place it roof side down on a nice soft area, I personally used bubble wrap on the floor. 2. First thing is placing the fabric roof panel back on so it clips in 3. Screw the side plastic back on with the 4 screws inside the metal work 2. I used black sealant glue aswel to make sure it stays in place so layer abit all the way across the metal work 3. You'll notice with the brand new rubber strips they will have sticky parts either end, leave the sticky cover on until the end 4. The aerotop rubbers are labelled LEFT & RIGHT , .... Driver side being RIGHT. Make sure you get the on the right way 5. Place one end in firmly 6. Let it sit, an you may need to give it a little stretch to pull the other end over to fit comfortably 7. Placing the rubber strip on ensure you fit the rubber lip on the inside of the roof panel first as it's much easier this way when fitting the second rubber lip. 8. Second lip I used a flat head screwdriver to make sure it caught the second lip, 9. You'll know it's fitted properly when the outside seal runs flush with the plastic roof lining 10. This is what it will look like if the rubber seal hasn't been fitted correctly, bottom half of picture it's seated correct top half it hasn't, very noticeable 11. When your happy remove the sticky pads and firmly secure it to the roof 12. The make sure you out the 4 screws back in, one in each corner, can be a little tricky lining them up but you'll get there in the end 13. Pat yourself on your back an have a beer for a job well done
-
Nice one Thanks for quick response Mod can delete this thread now if they like I have my answer
-
Waiting patiently :O
-
Retard question, aerotop roof ???? Putting the roof part if my car back together an I carnt remember if the 2 prongs (sticky out bits) go where they are or go under the roof bit !!! Anyone quickly check there own aerotop for me please Have I put the side seals back on the roof properly??? EDITED.... Was a stupid question by myself and now it's a how to guide
-
+1
-
Yep, had a lot done in carbon myself, dash / wheels / engine plastics / interior plastics, if you go for carbon get the gold effect it looks better
-
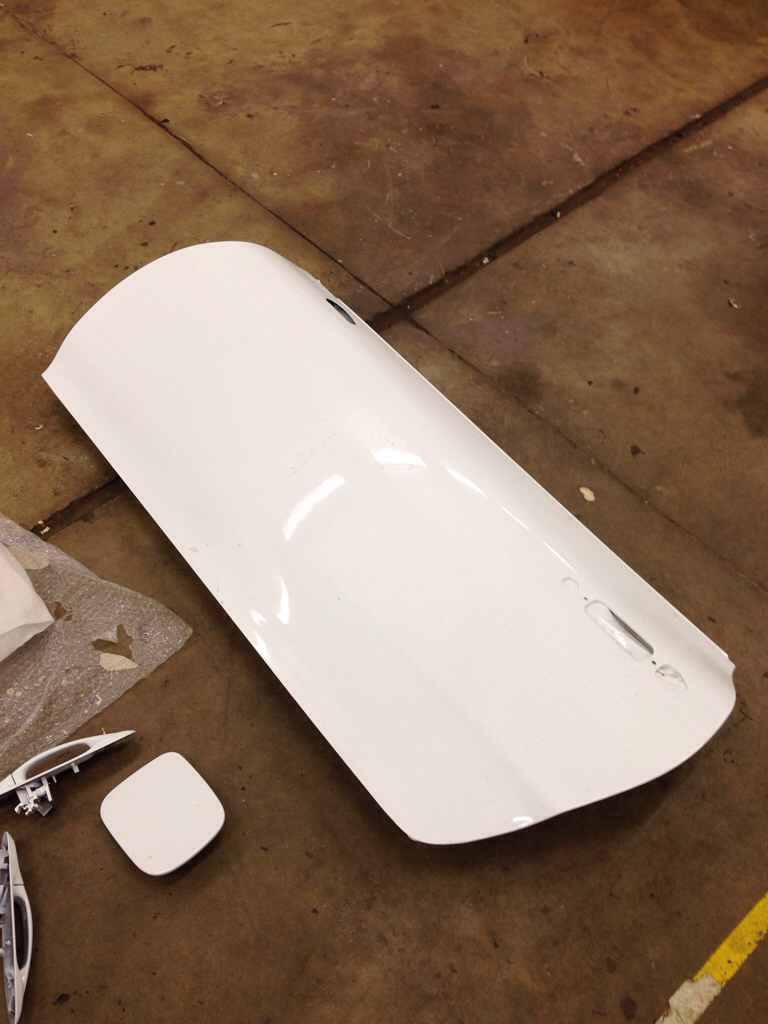
Lucky day, I have the passenger side part for sale
-
STAR T67R ~ 1.8 bar ~ 755bhp ~ 596ftlbs at the hubs
Carbon_Bullet replied to Carbon_Bullet's topic in mkiv Supra Projects
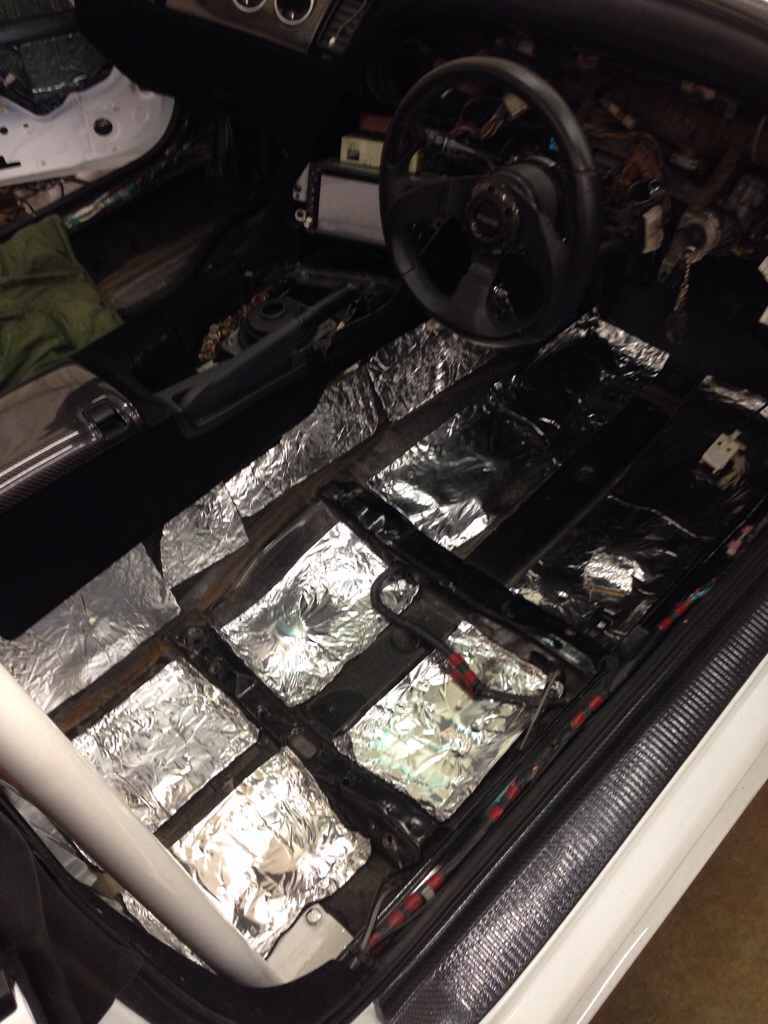
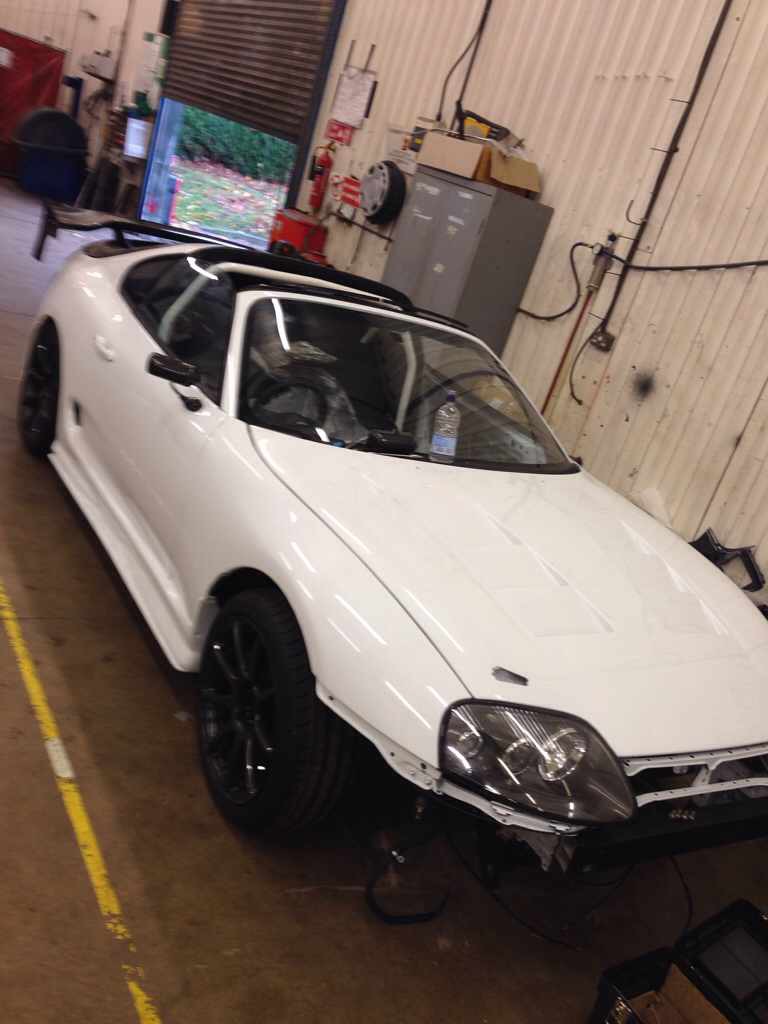
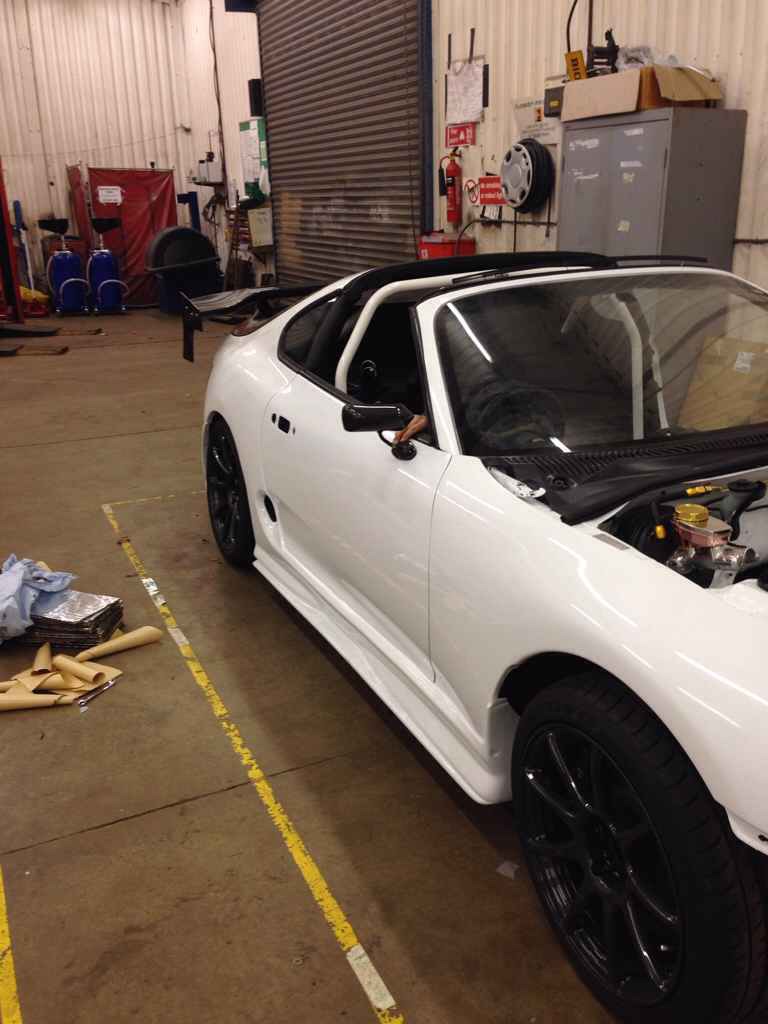
Dashboard back in, sound proofed!, carpet back in, starting to take shape!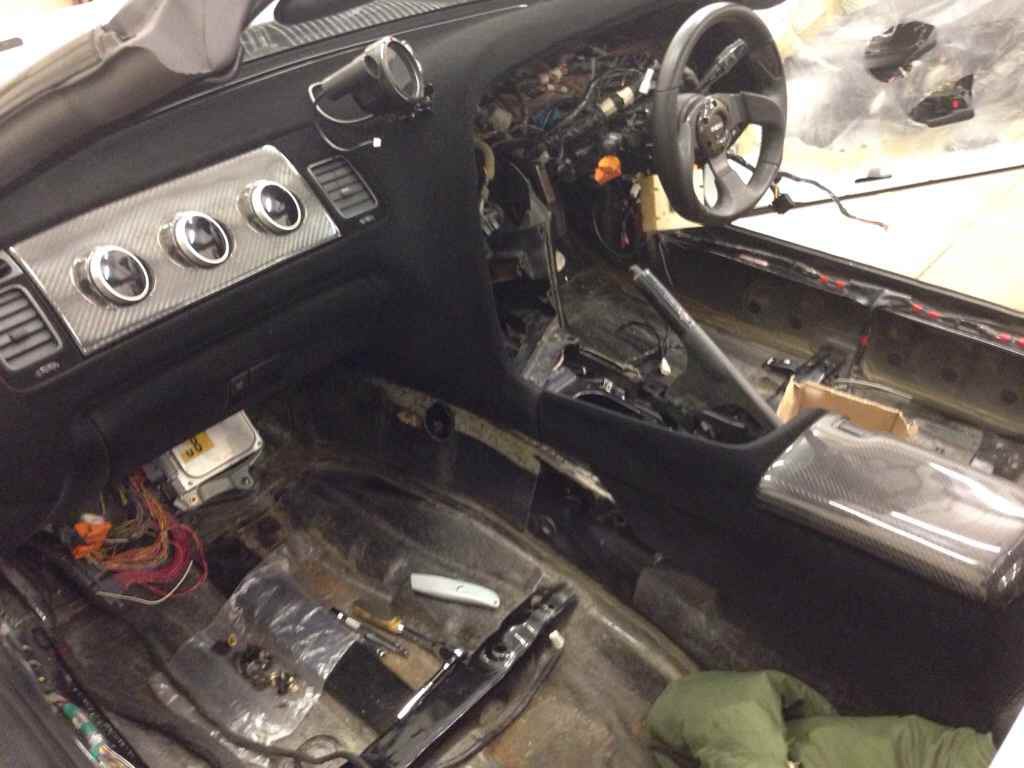
-
STAR T67R ~ 1.8 bar ~ 755bhp ~ 596ftlbs at the hubs
Carbon_Bullet replied to Carbon_Bullet's topic in mkiv Supra Projects
Cheers buddy Me too, -
White neons at front, red neons at rear = legal But that was a 1996 mod times moved on,
-
STAR T67R ~ 1.8 bar ~ 755bhp ~ 596ftlbs at the hubs
Carbon_Bullet replied to Carbon_Bullet's topic in mkiv Supra Projects
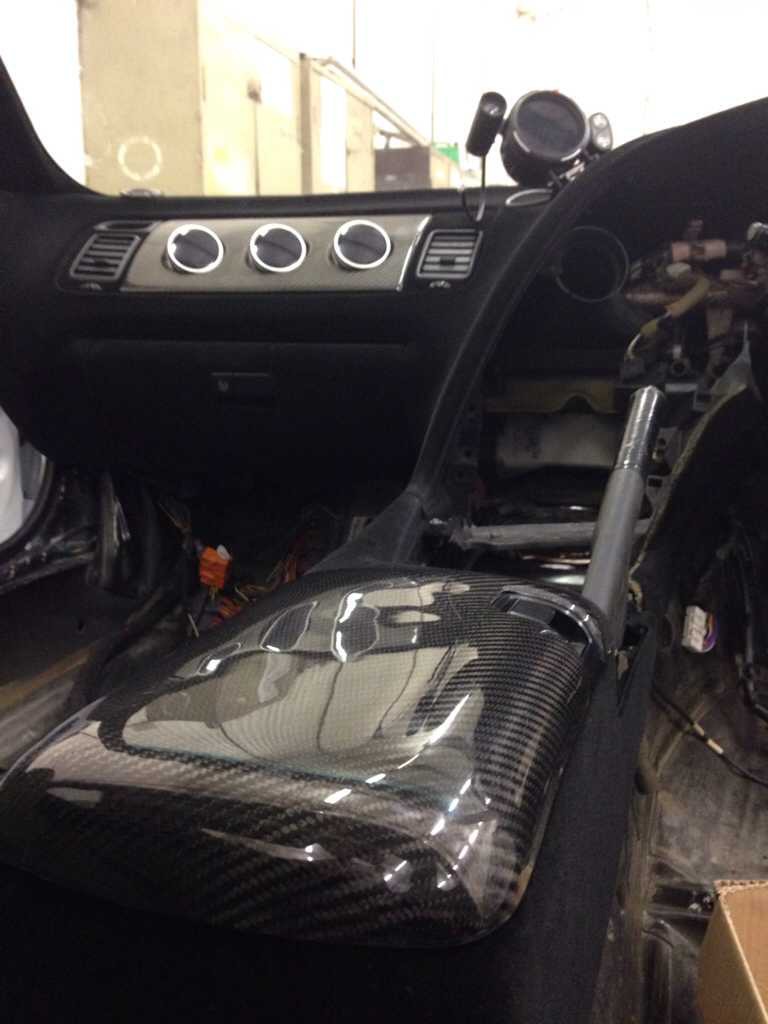
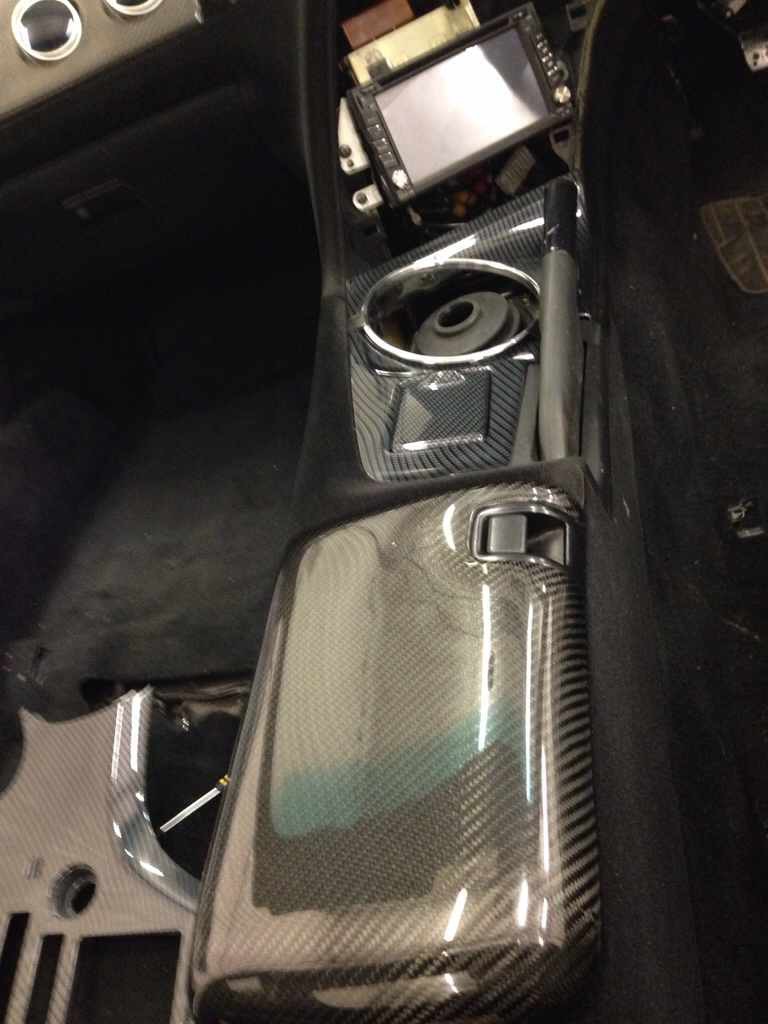
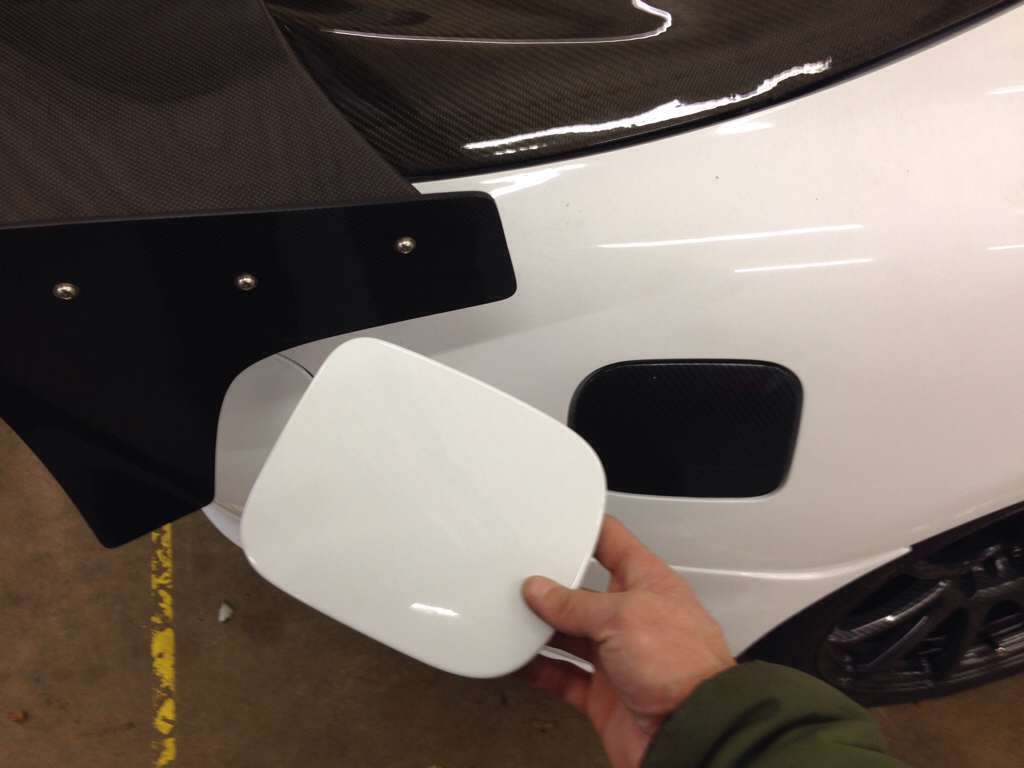
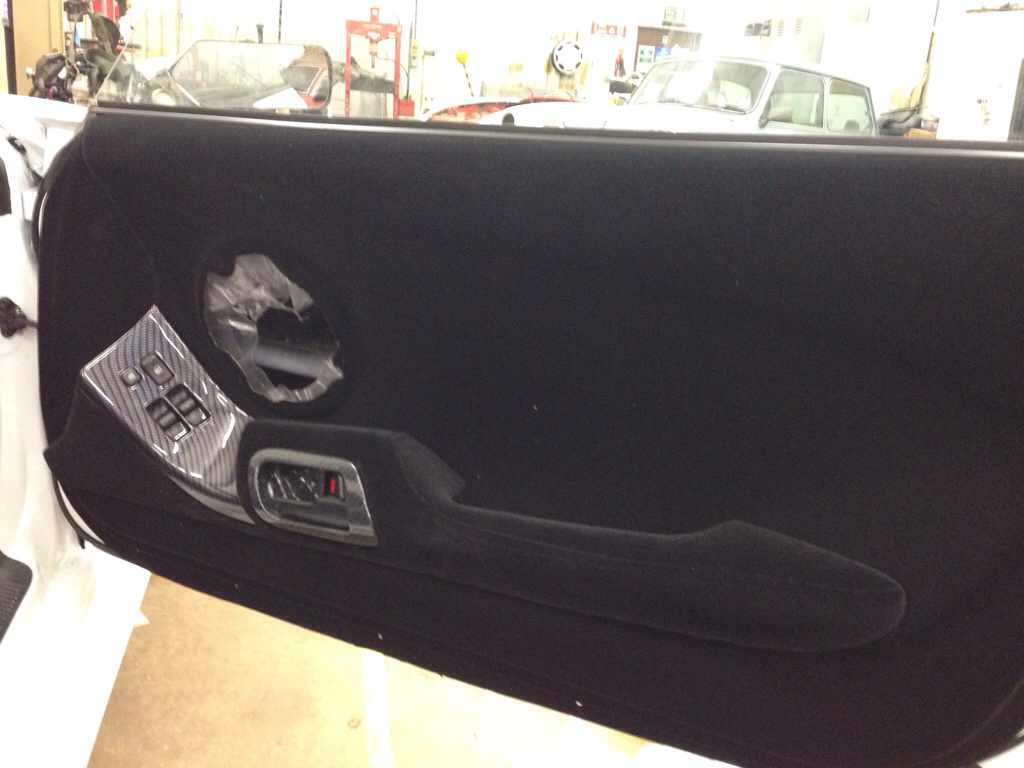
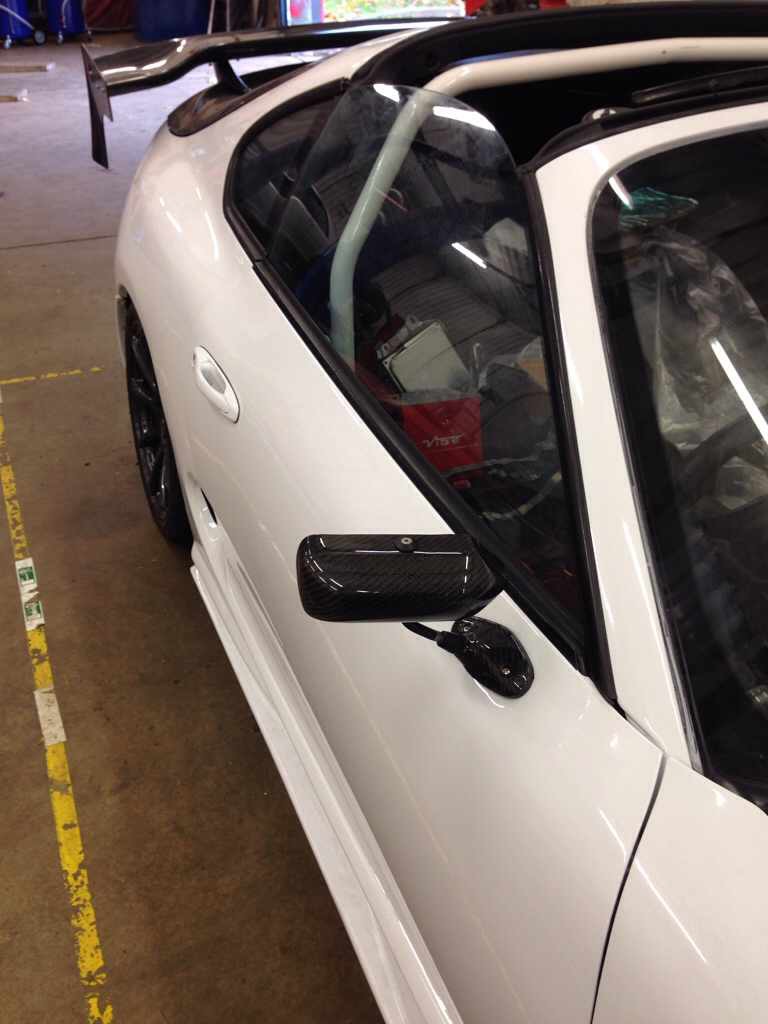
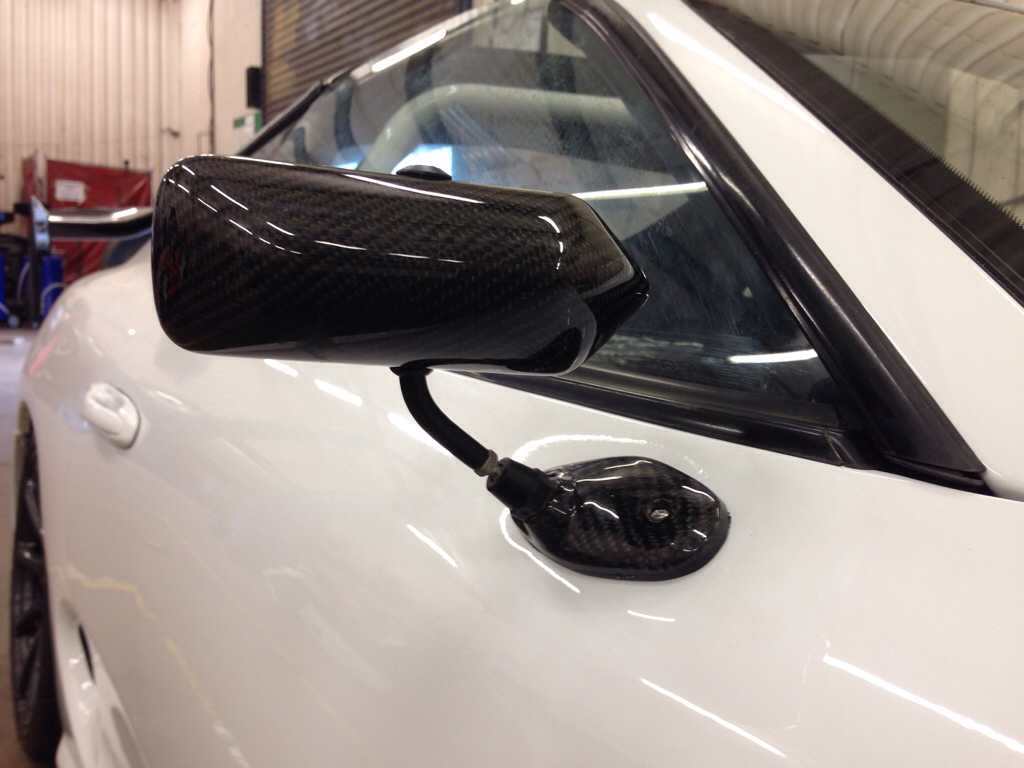
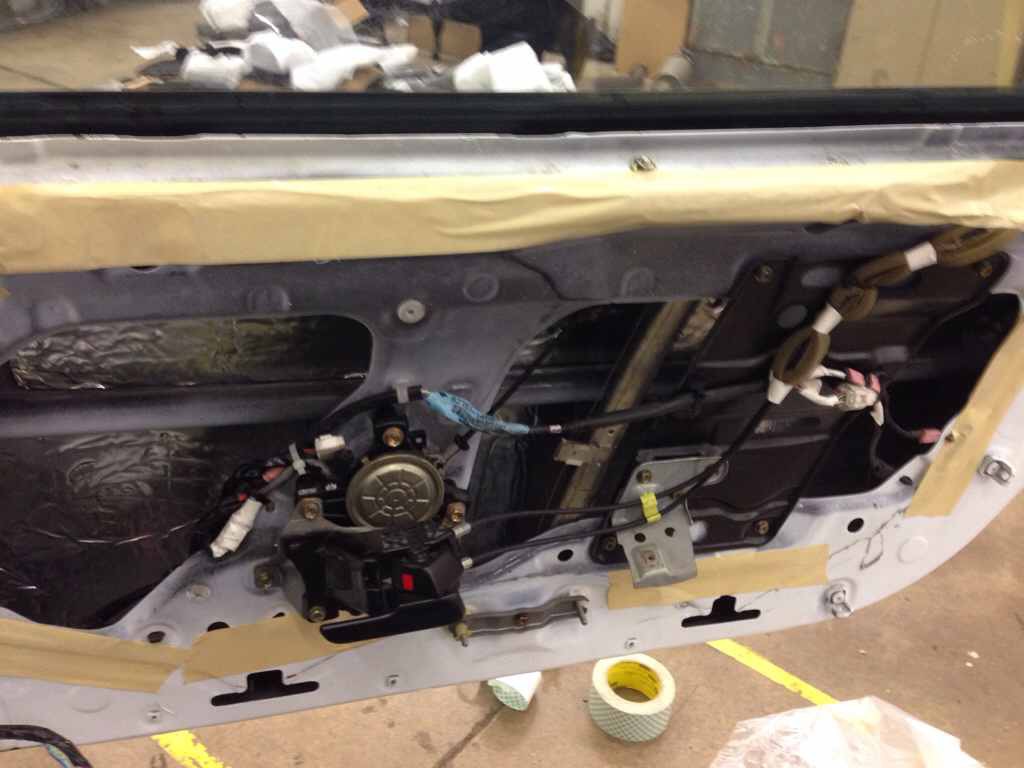
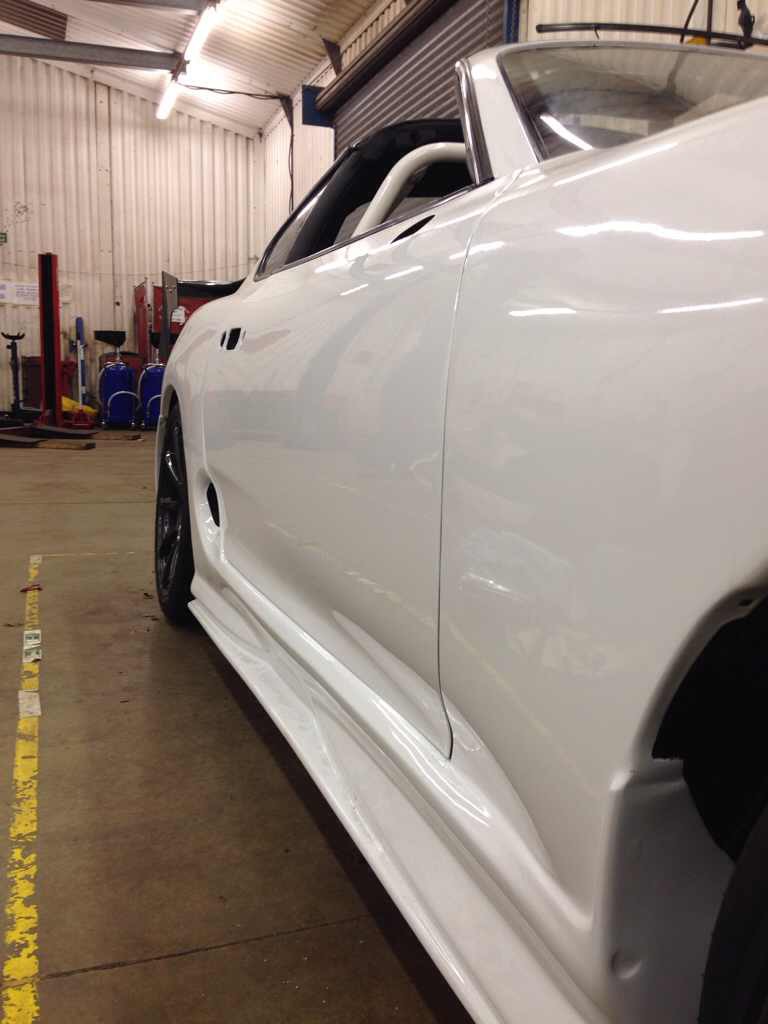
Had the manual gear surround finally welded in today, followed by fitting the craftsquare carbon mirrors, not to everyone's taste but I like them, Fitted sound deadening to doors, door cards good to fitted back on, Also a few have commented on the fuel cover, I do have it in white, but at the minute I still prefer the carbon one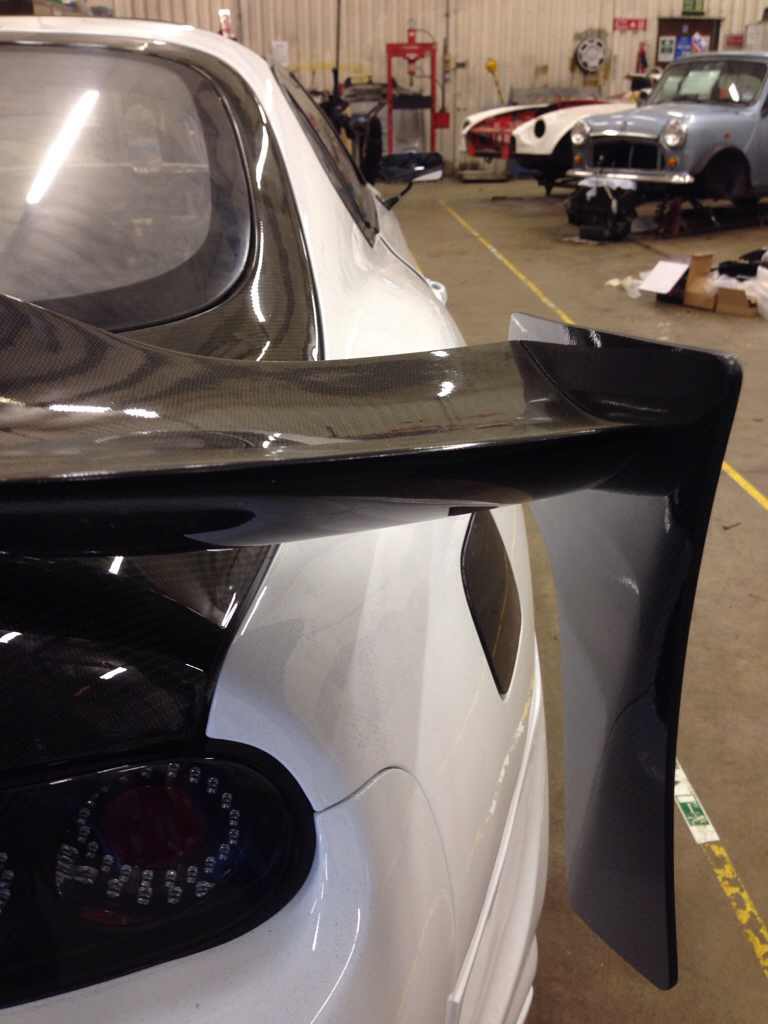

-
STAR T67R ~ 1.8 bar ~ 755bhp ~ 596ftlbs at the hubs
Carbon_Bullet replied to Carbon_Bullet's topic in mkiv Supra Projects
Every little bit if the interior is either carbon or flocked, should look awesome once finished, interior back together mid December Yes it will bud , thanks for positive comments I've always though stock mirrors where the best, but I was lucky to find these mirrors Not long to go Has been mentioned to me before, however I'm going for the whole Carbon & white look, if I sprayed a carbon bootlid it would be a waste, may as well stick with a stock one, personal choice I surpose I'll let the new buyer spray it, You know it add, need to make the decision before lee gets the engine to have a built block put on it, hmmmm decisions decisions !!! Rare mirrors, I believe these are square craft mirrors, whifbitz sell them for over £450, however I found these in a random garage an got them for £40 Cheers buddy So am I, Yeah I am actually, just soooo busy with everything else at the minute haven't got the odd few spare hours yet to go an make it, if you have a spare if gladly buy it -
New & shiny, toucan display, looking good bud, keep seeing the FB pics
-
STAR T67R ~ 1.8 bar ~ 755bhp ~ 596ftlbs at the hubs
Carbon_Bullet replied to Carbon_Bullet's topic in mkiv Supra Projects
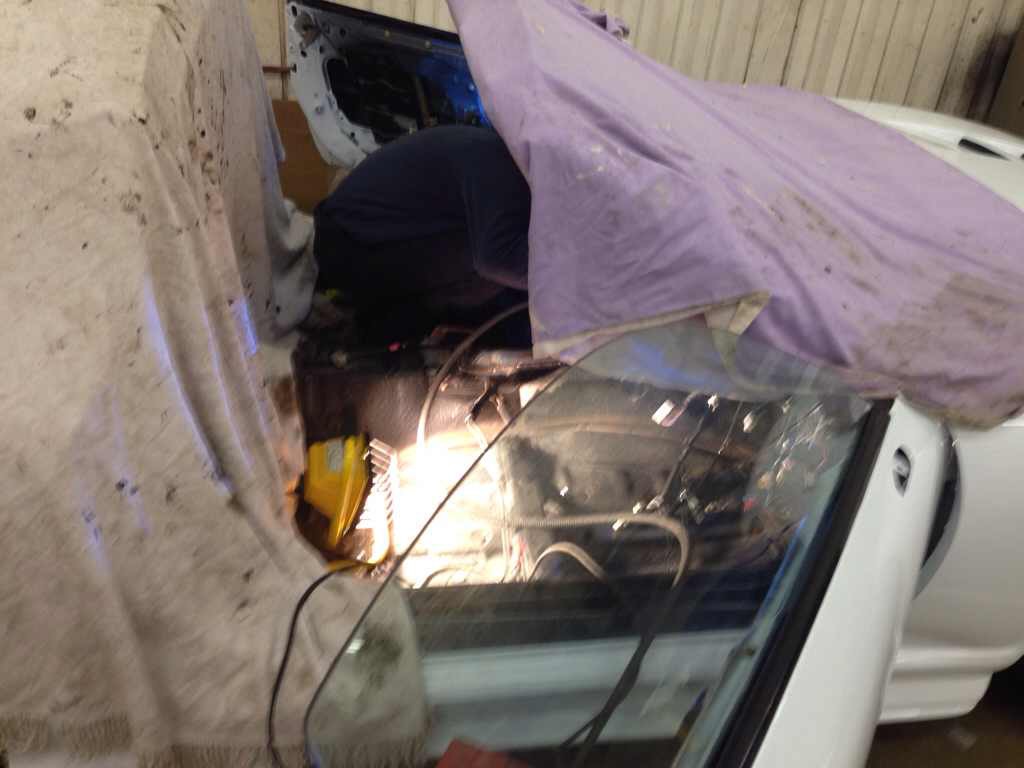
Rebuilt the doors tonight, and got them back on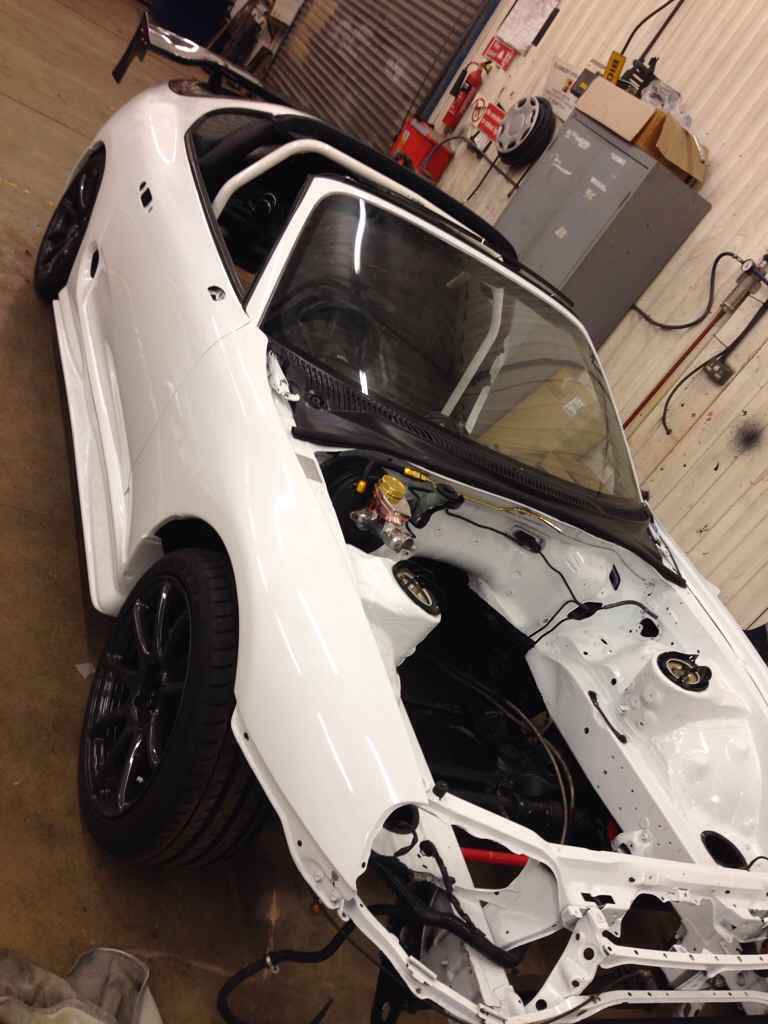
-
STAR T67R ~ 1.8 bar ~ 755bhp ~ 596ftlbs at the hubs
Carbon_Bullet replied to Carbon_Bullet's topic in mkiv Supra Projects
I got a really good quote, I had a lot of parts dipped, wheels to interior parts, I paid £400 for everything. Flocking cost me £500 for every interior panel, not to sure how hard it was but looks ace Cheers Getting there, February it's planned to be on the road -
wanted STAR T67R build - last few items needed -
Carbon_Bullet replied to Carbon_Bullet's topic in Parts Wanted


