mwilkinson
-
Posts
4772 -
Joined
-
Days Won
81

Recent Profile Visitors
3557 profile views


mwilkinson's Achievements
")


-
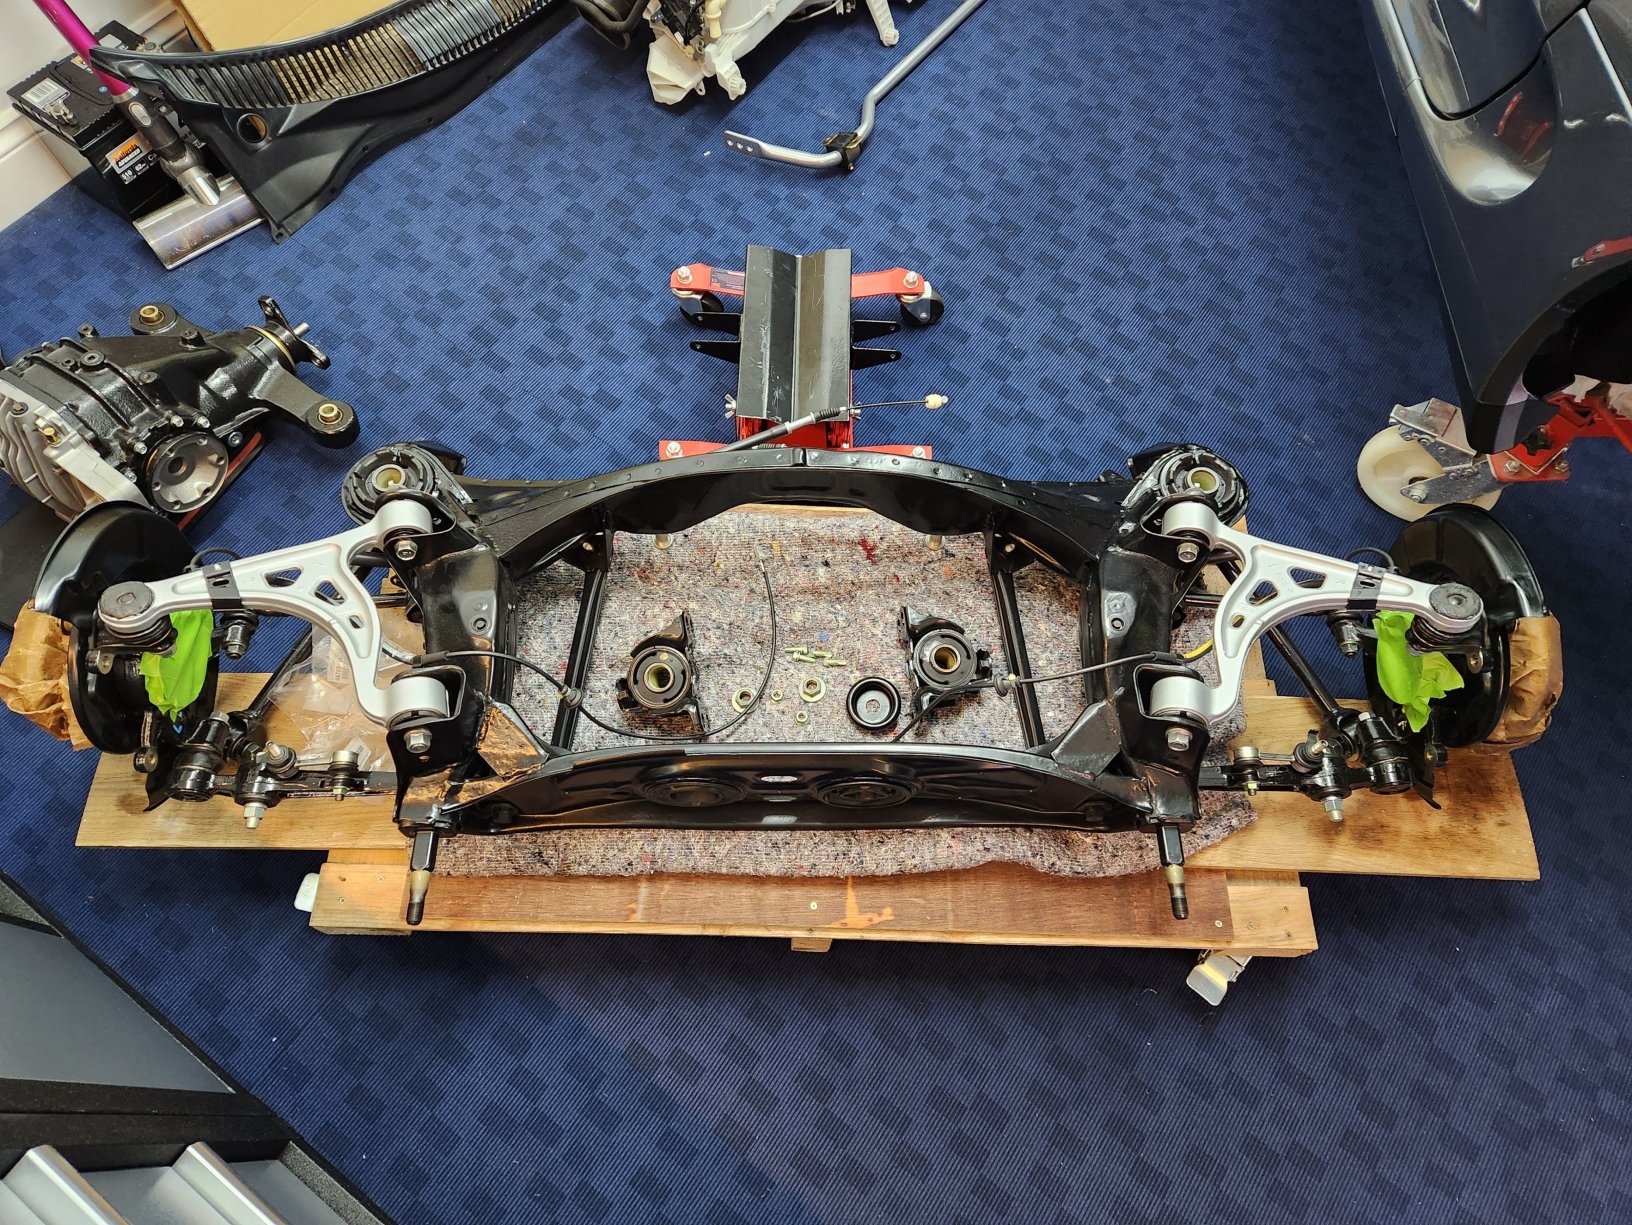
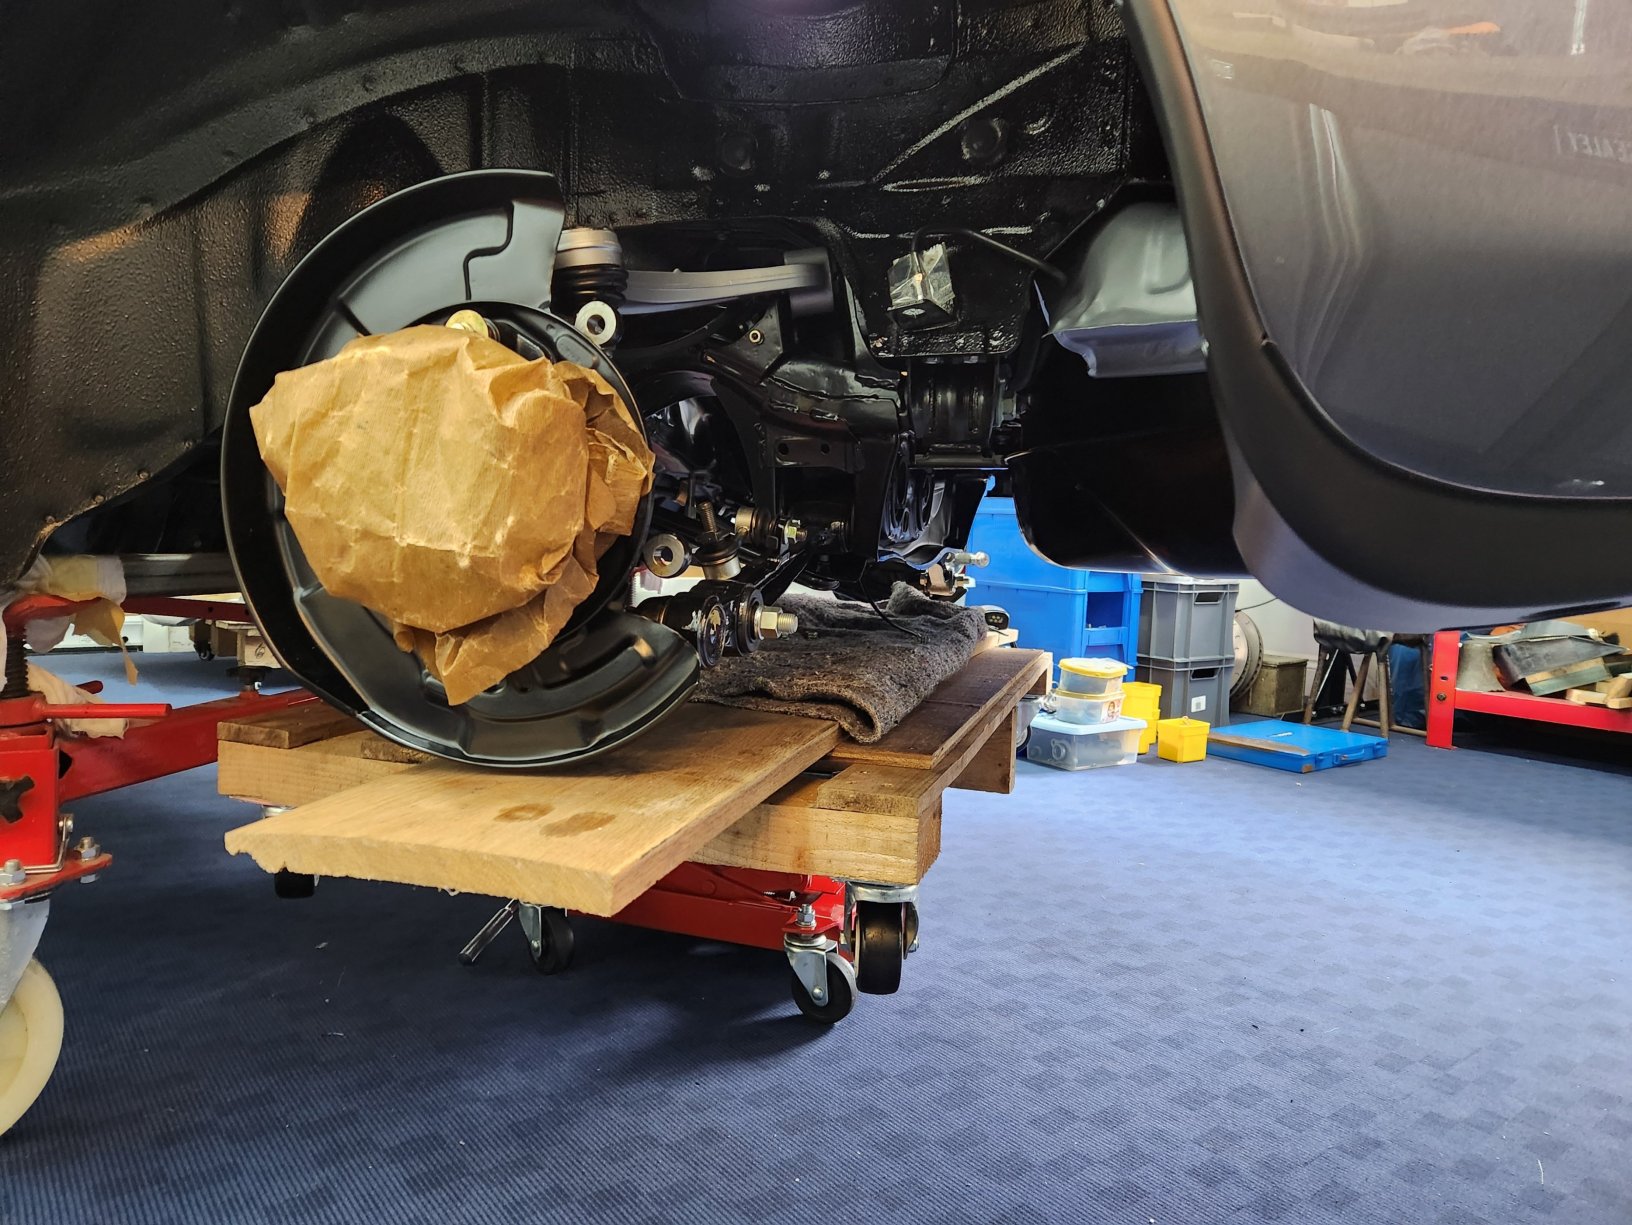
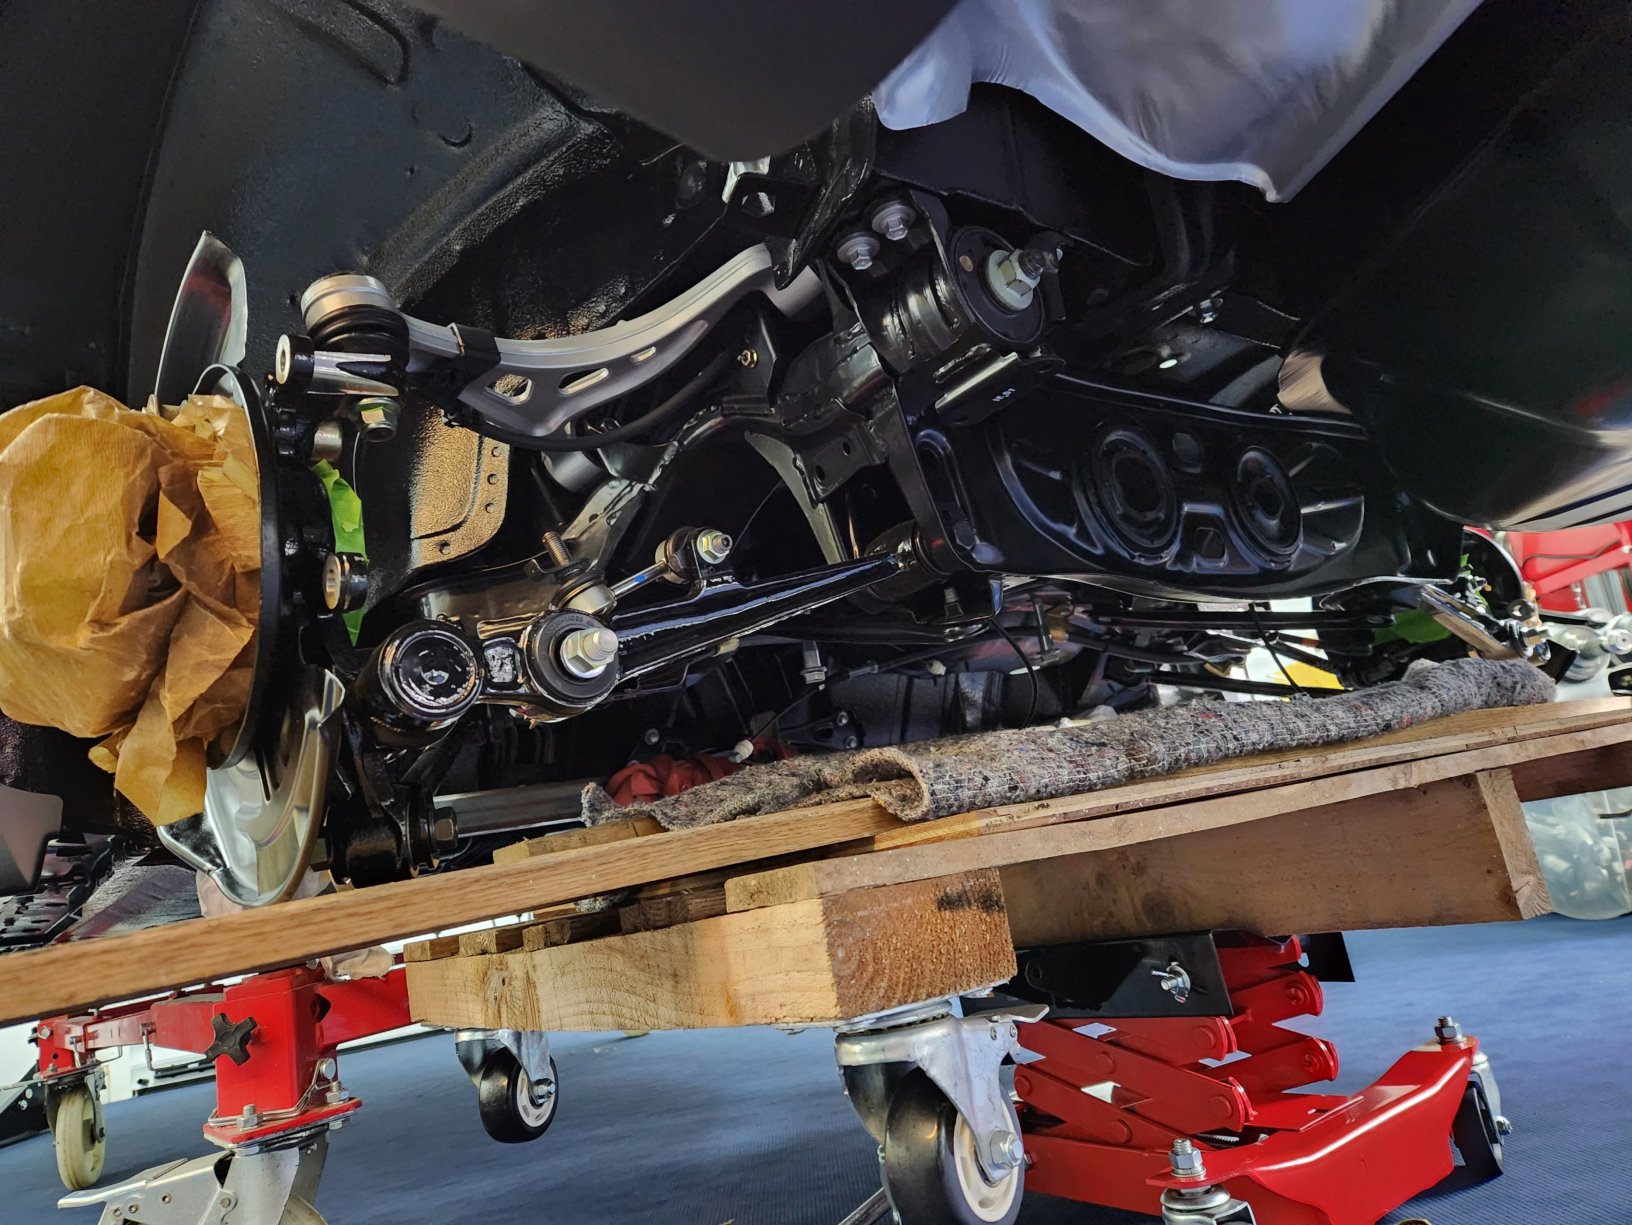
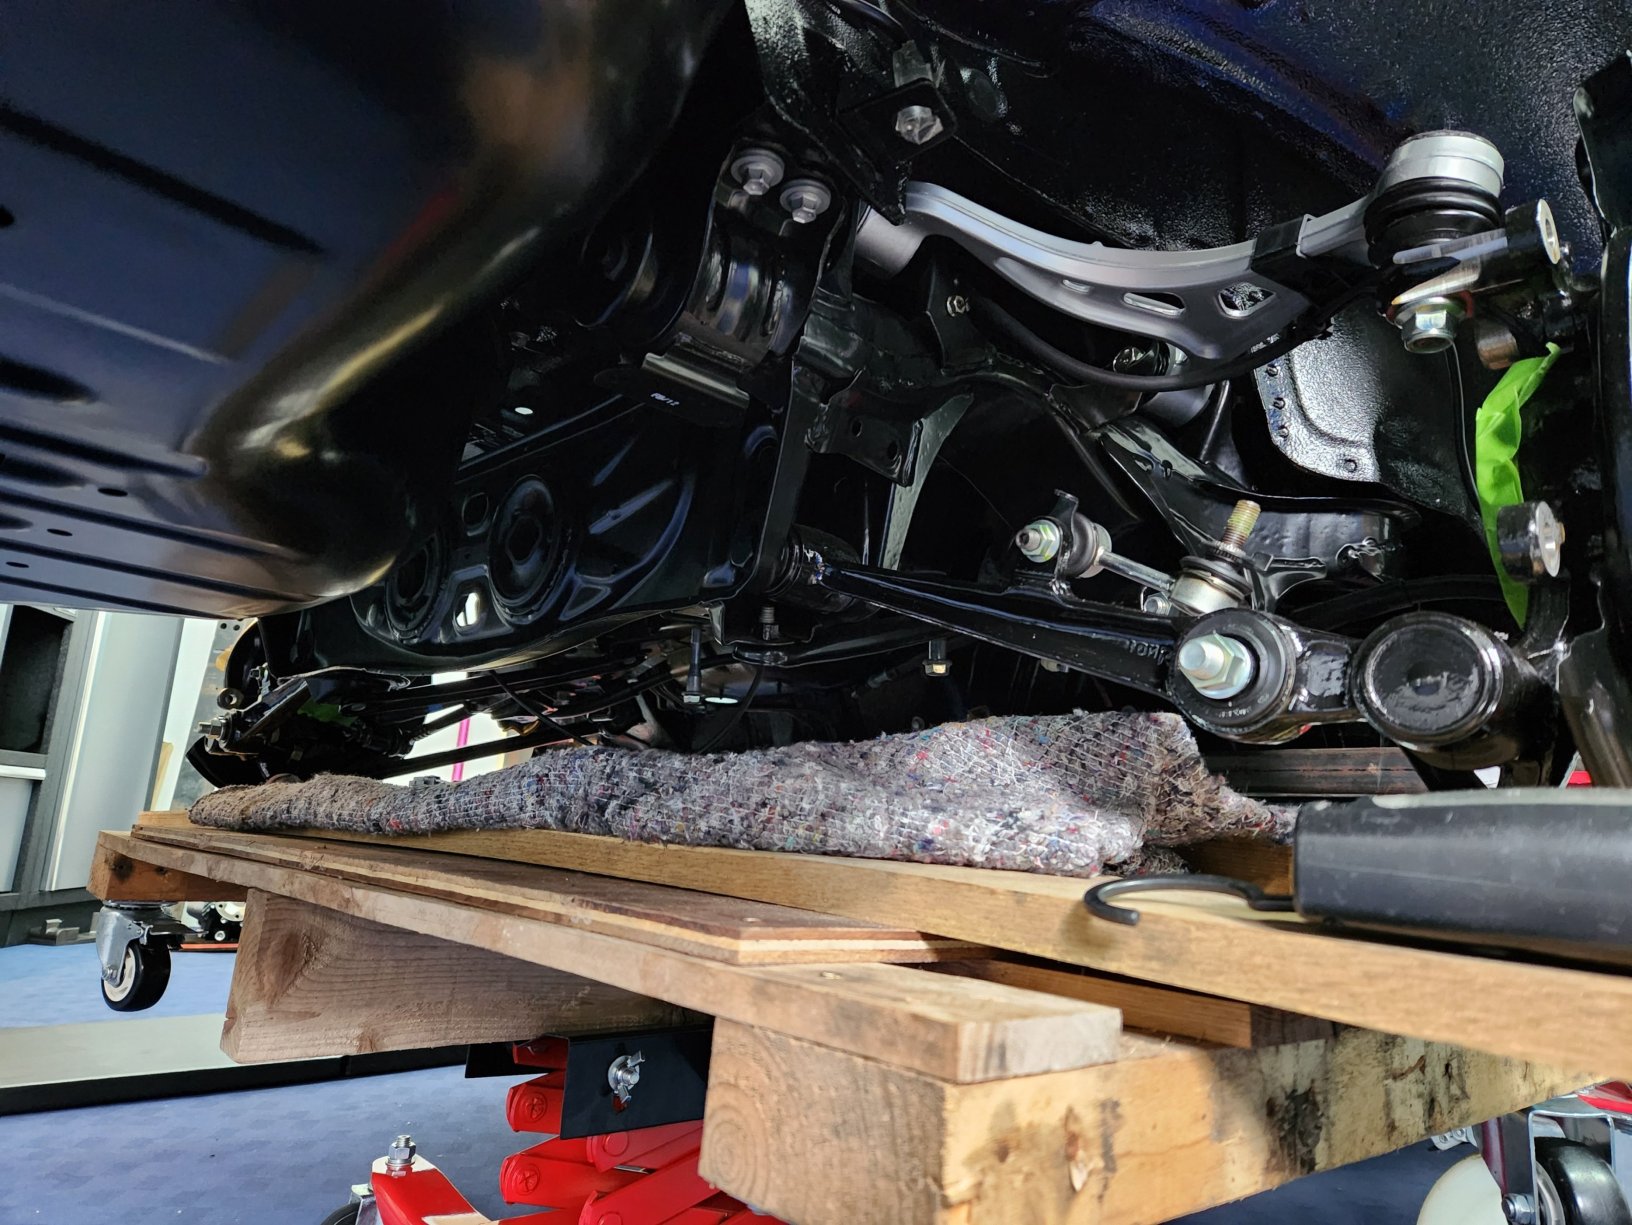
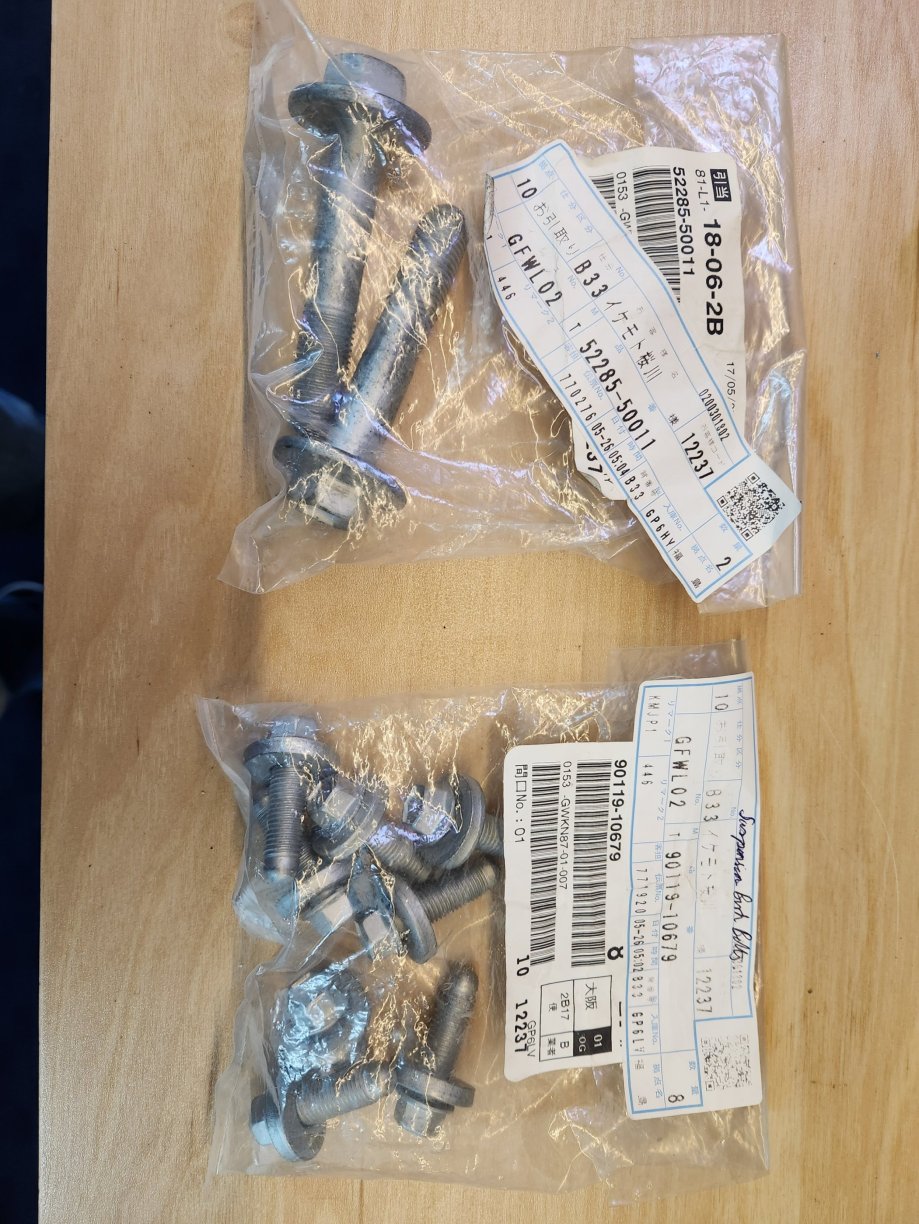
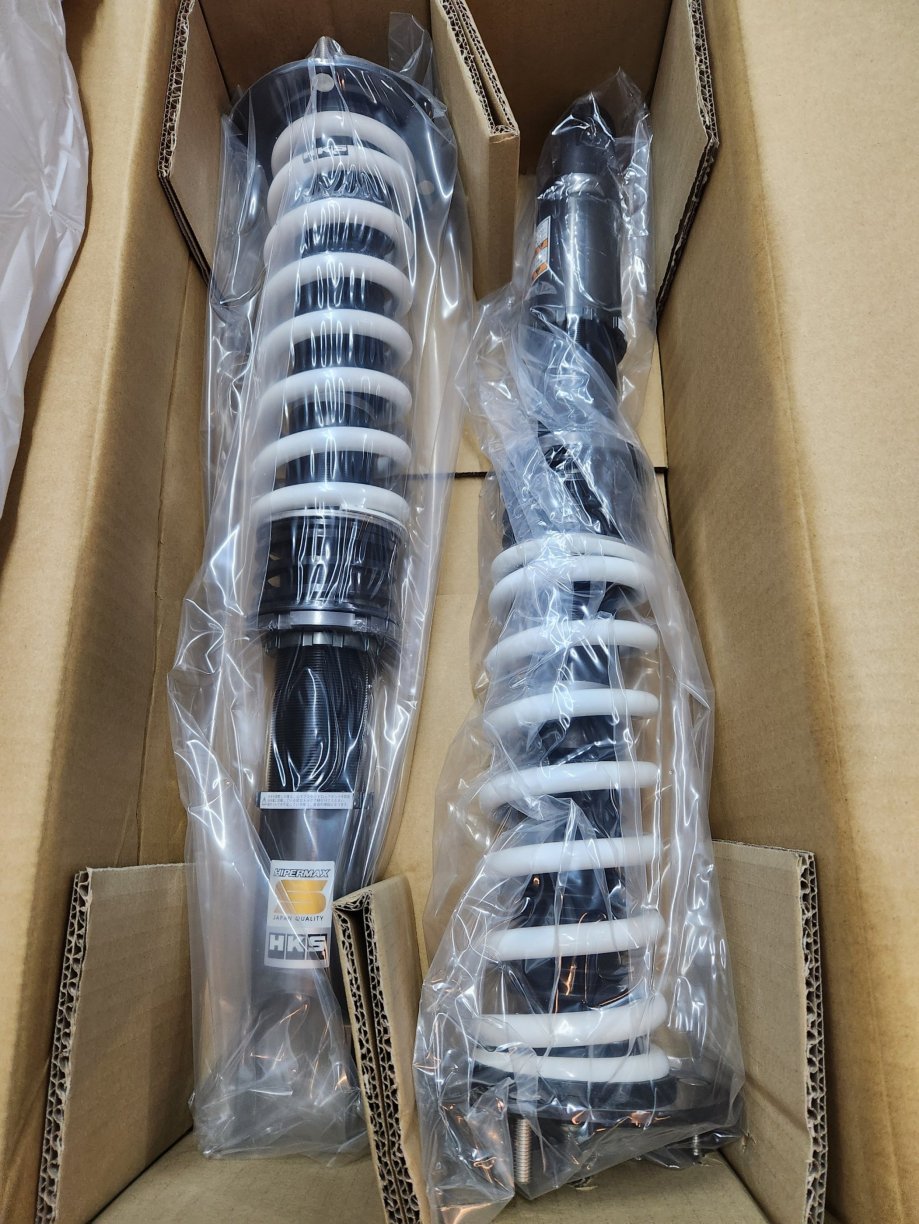
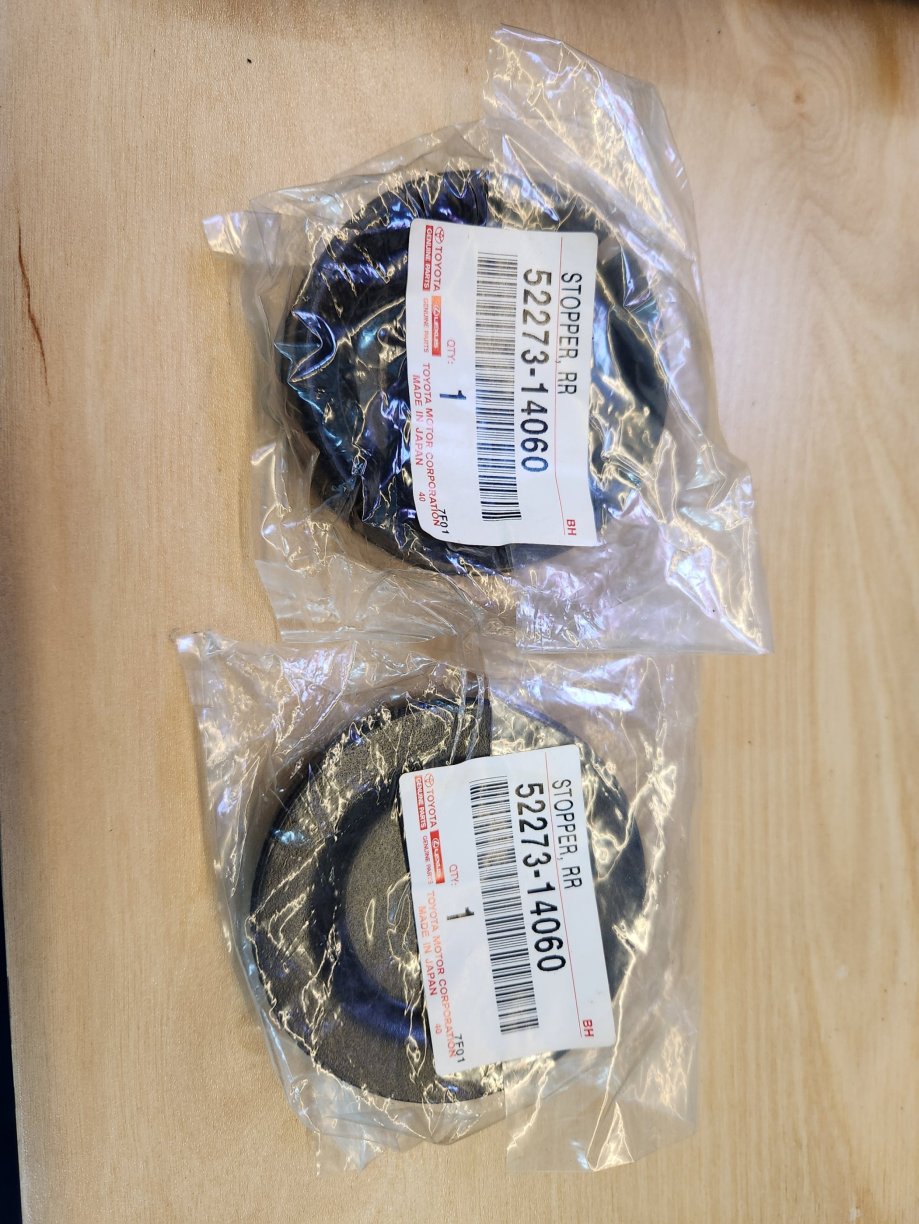
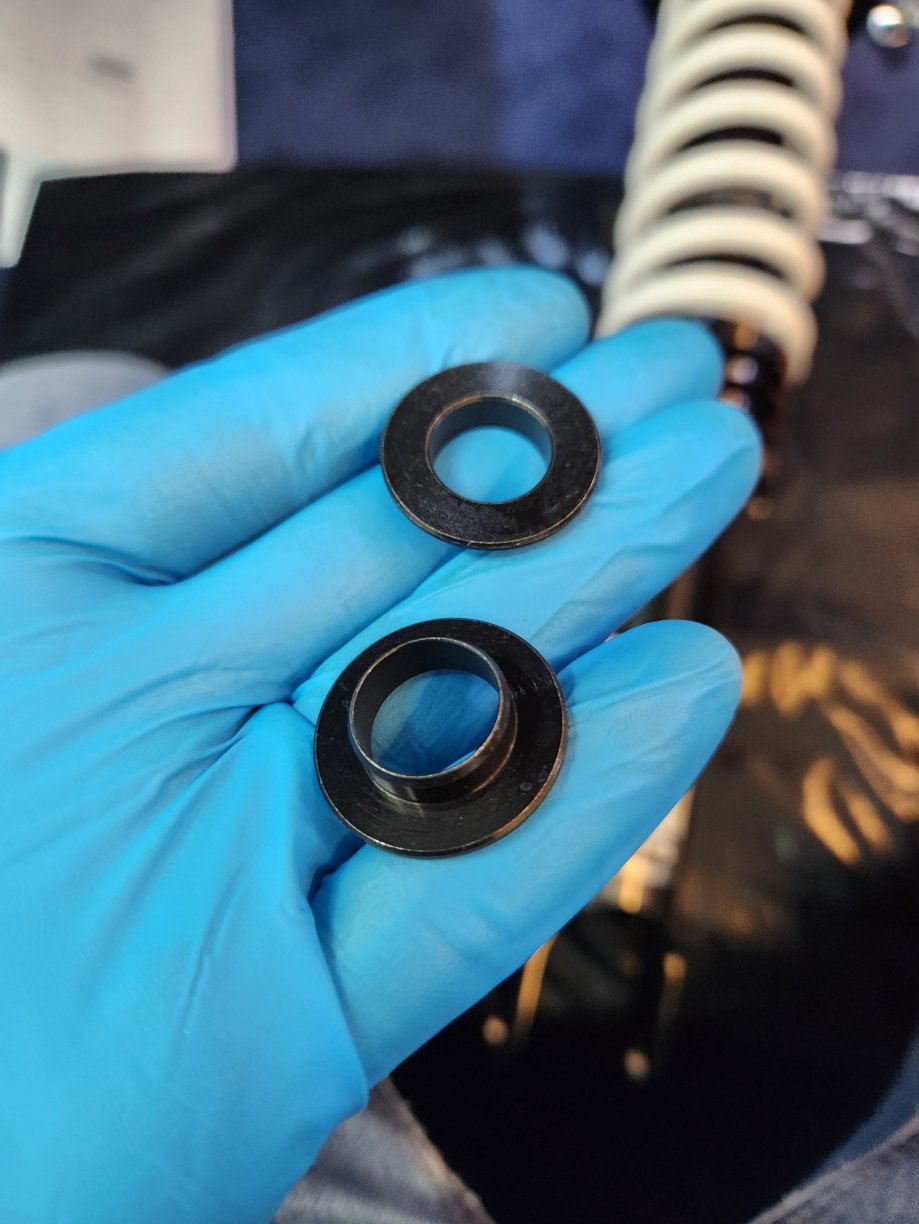
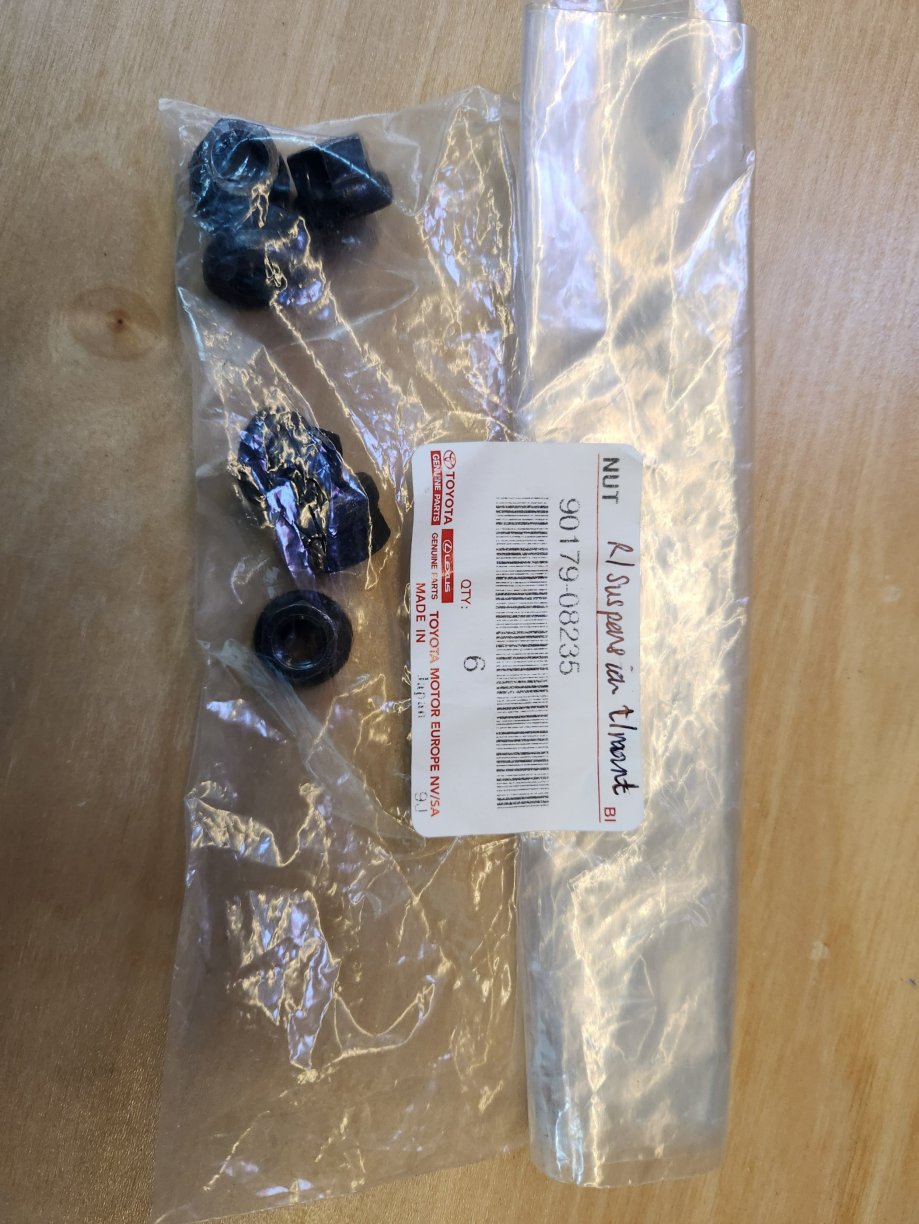
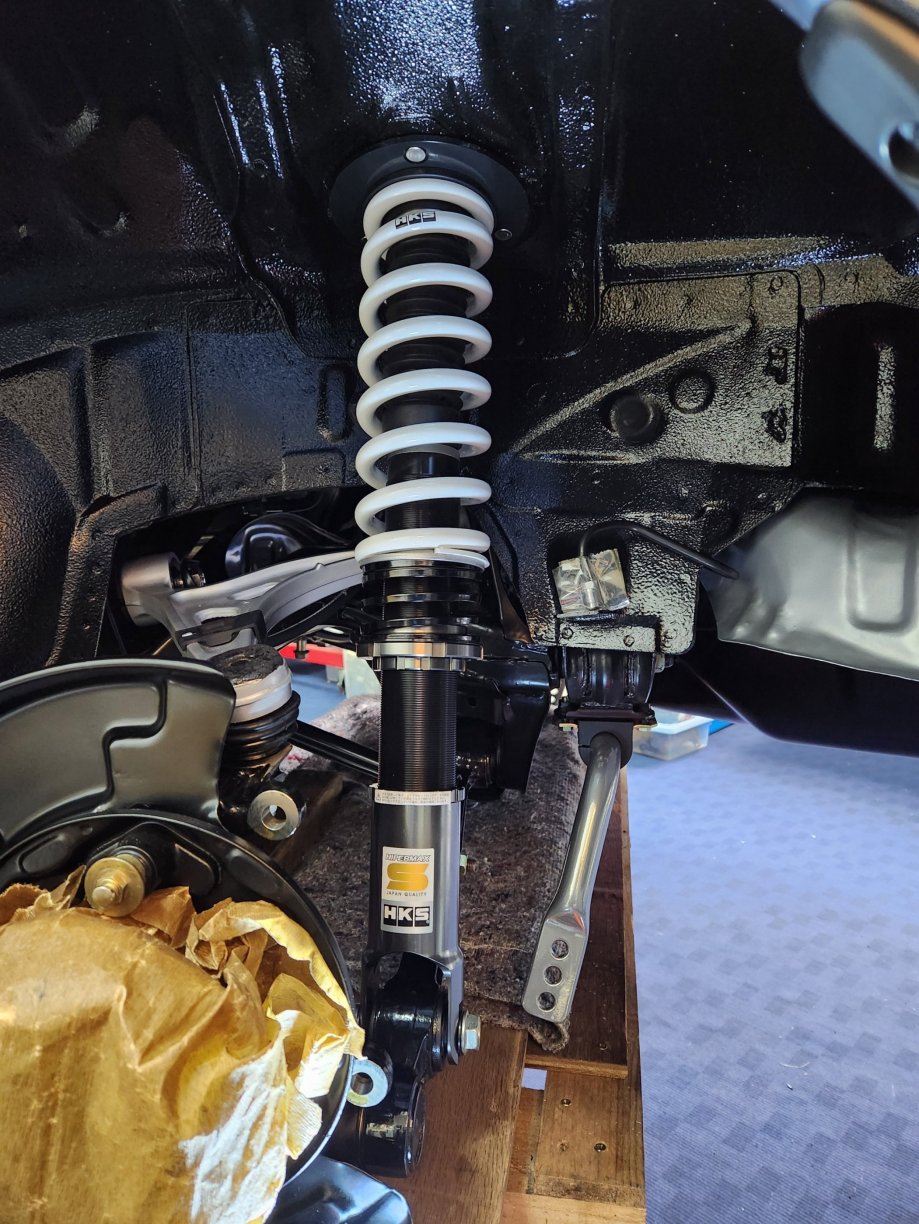
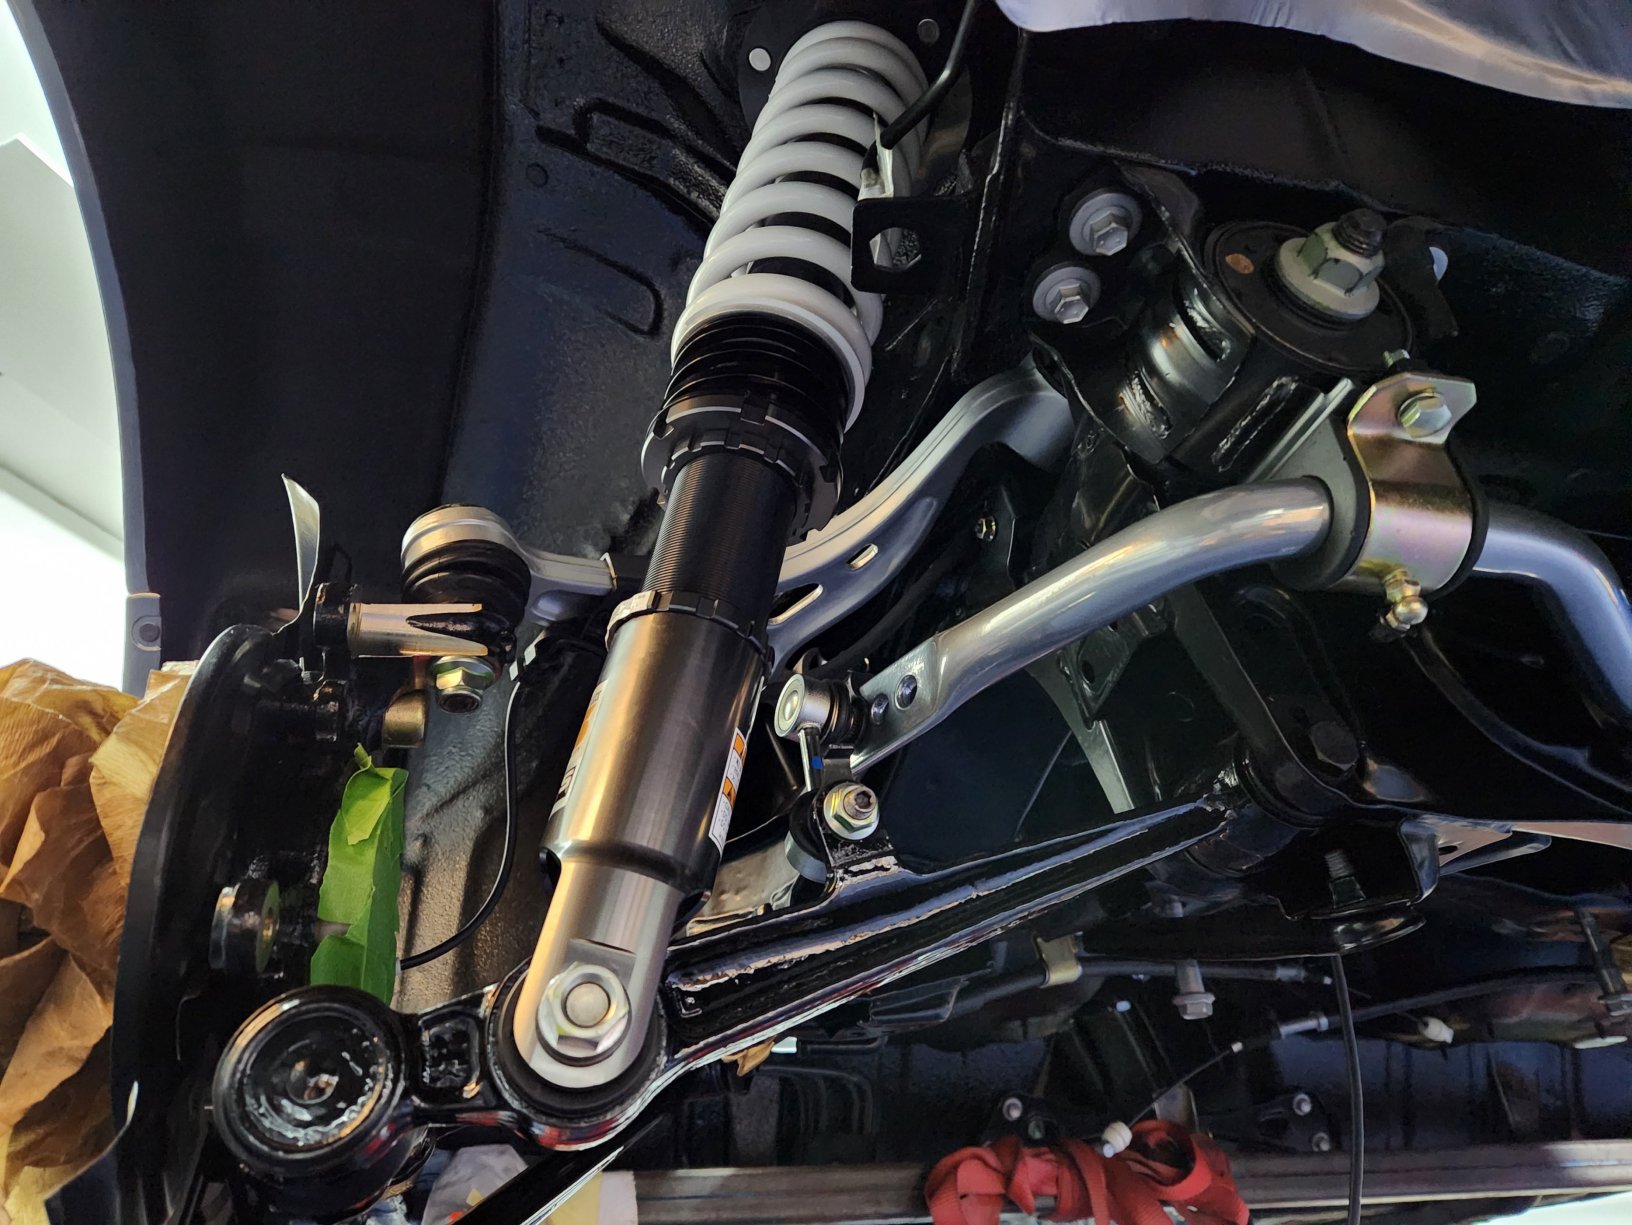
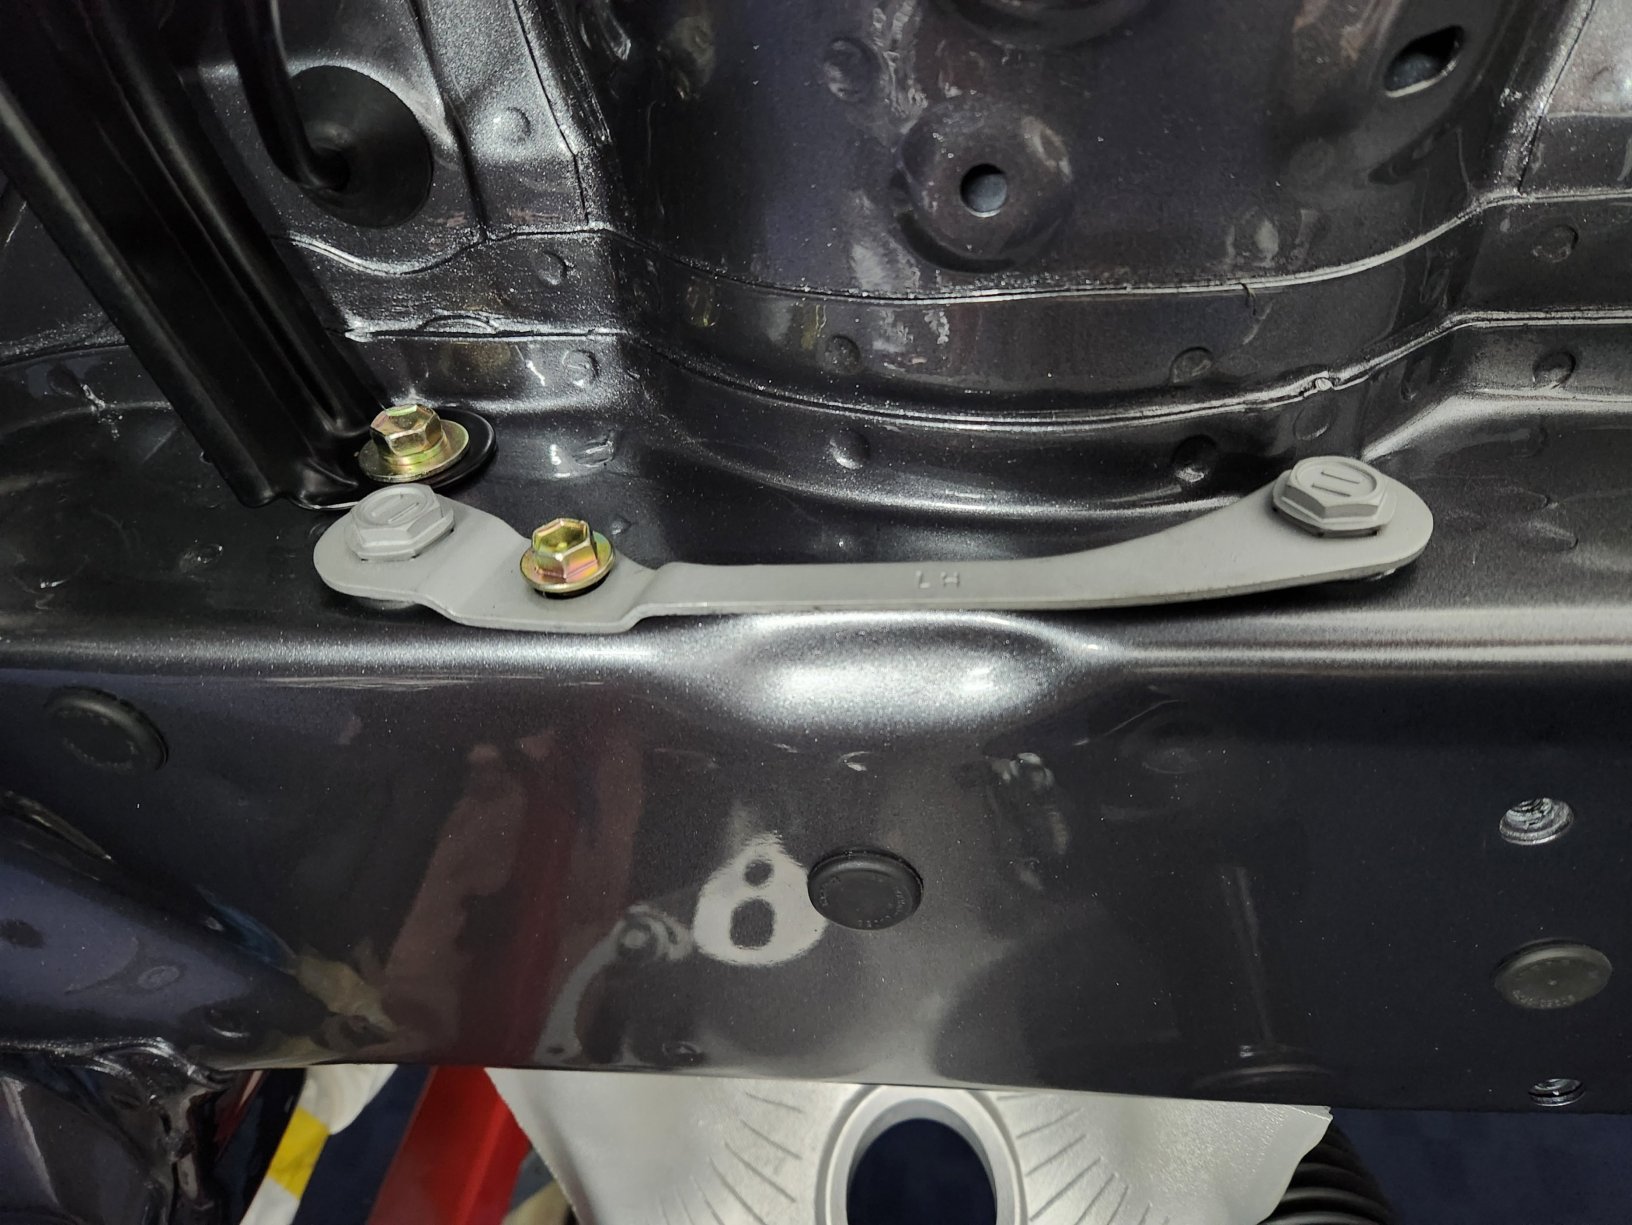
I've also now installed the assembled rear subframe. Info about the subframe rebuild can be found earlier in my build thread. I used new bolts to secure the subframe. The rear 8 x bolts were torqued to 58 Nm. The same torque is applied to the 2 x nuts that secure the rear bushes the the actual subframe. The 2 x front bolts were torqued to 175 Nm. Remeber to install the two lower cups too (easily forgotten). I then installed my new HKS Hipermax S rear struts. I used new bolts, nuts and washers to secure the suspension. There were also a set of spacers that came with the HKS kit to ensure the correct fitment of the rear stud to the lower suspension arm and associated bolt. None of the other suspension bolts have been tightened. I'll do that later when the car is ready to be taken off the body dolly and the wheels installed. I'll jack the hub /knuckle to the correct ride position and then tightened everything up. Final thing was to ensure the ABS sensor leads were pushed up into the cabin from underneath.


-
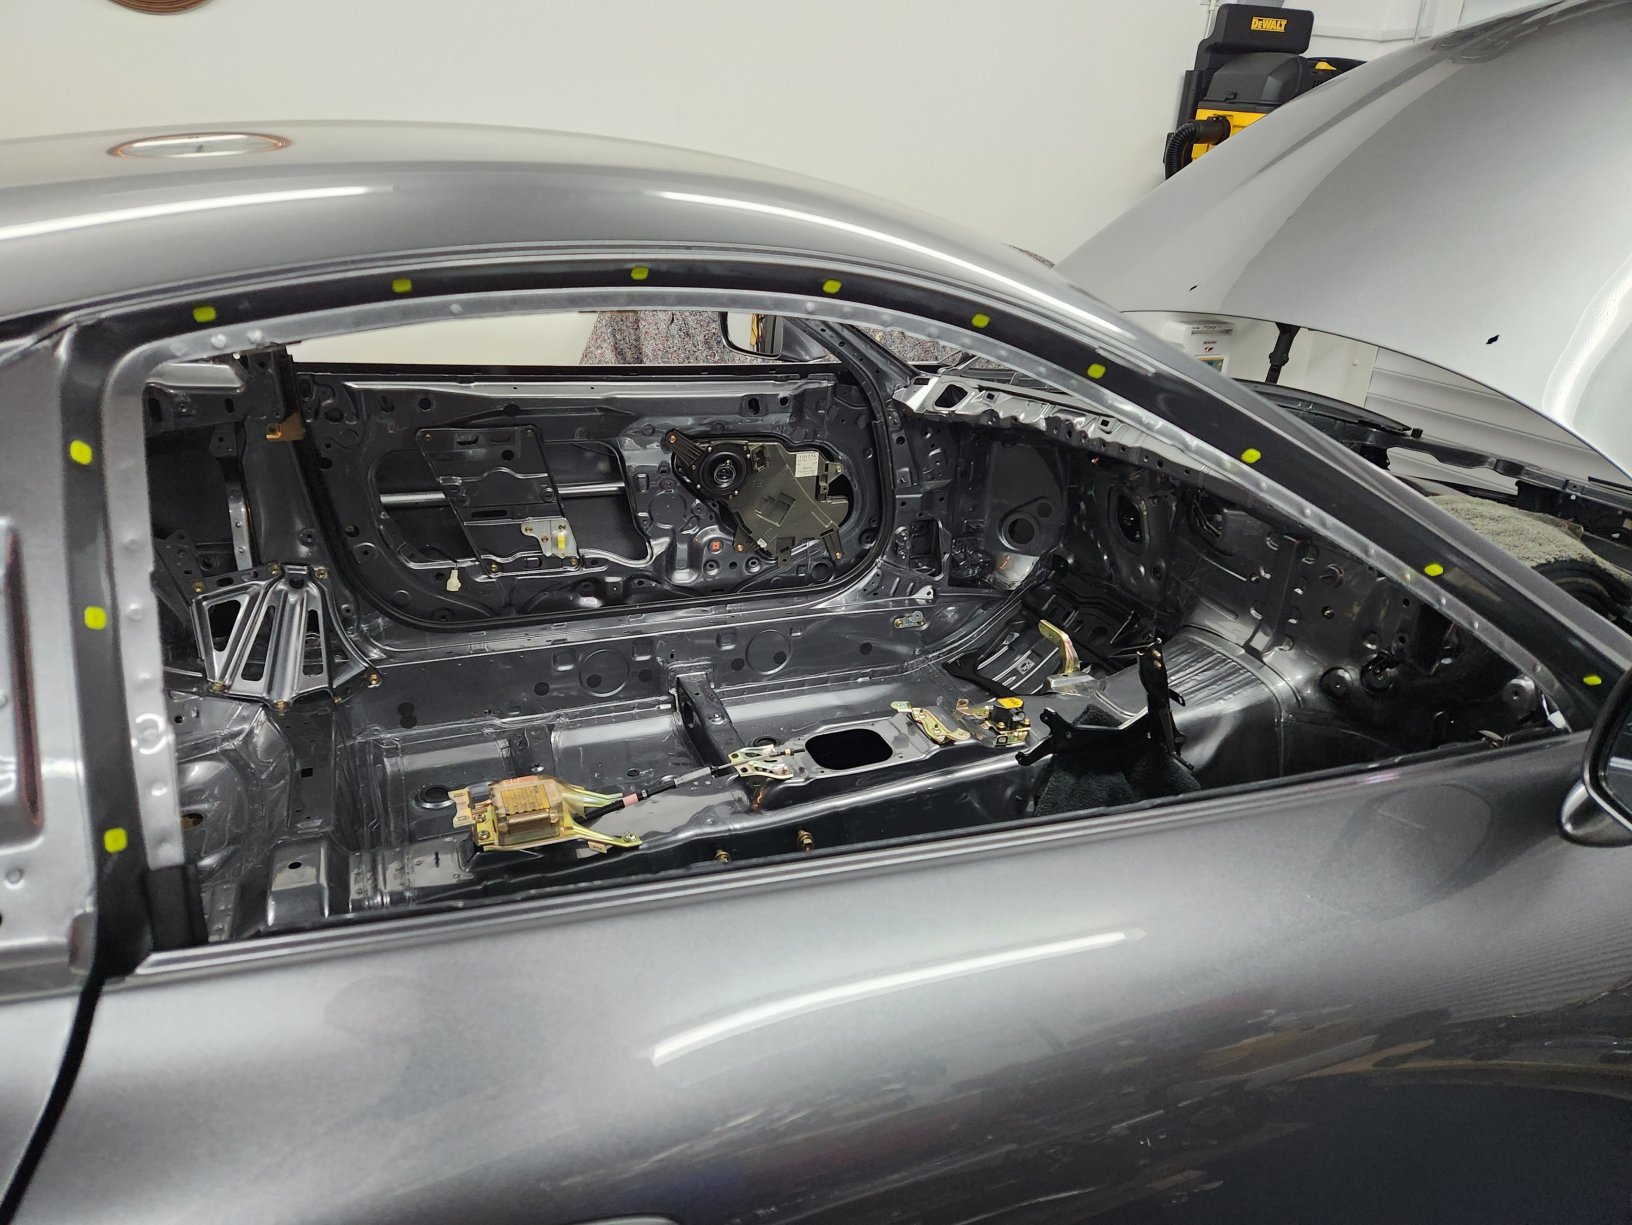
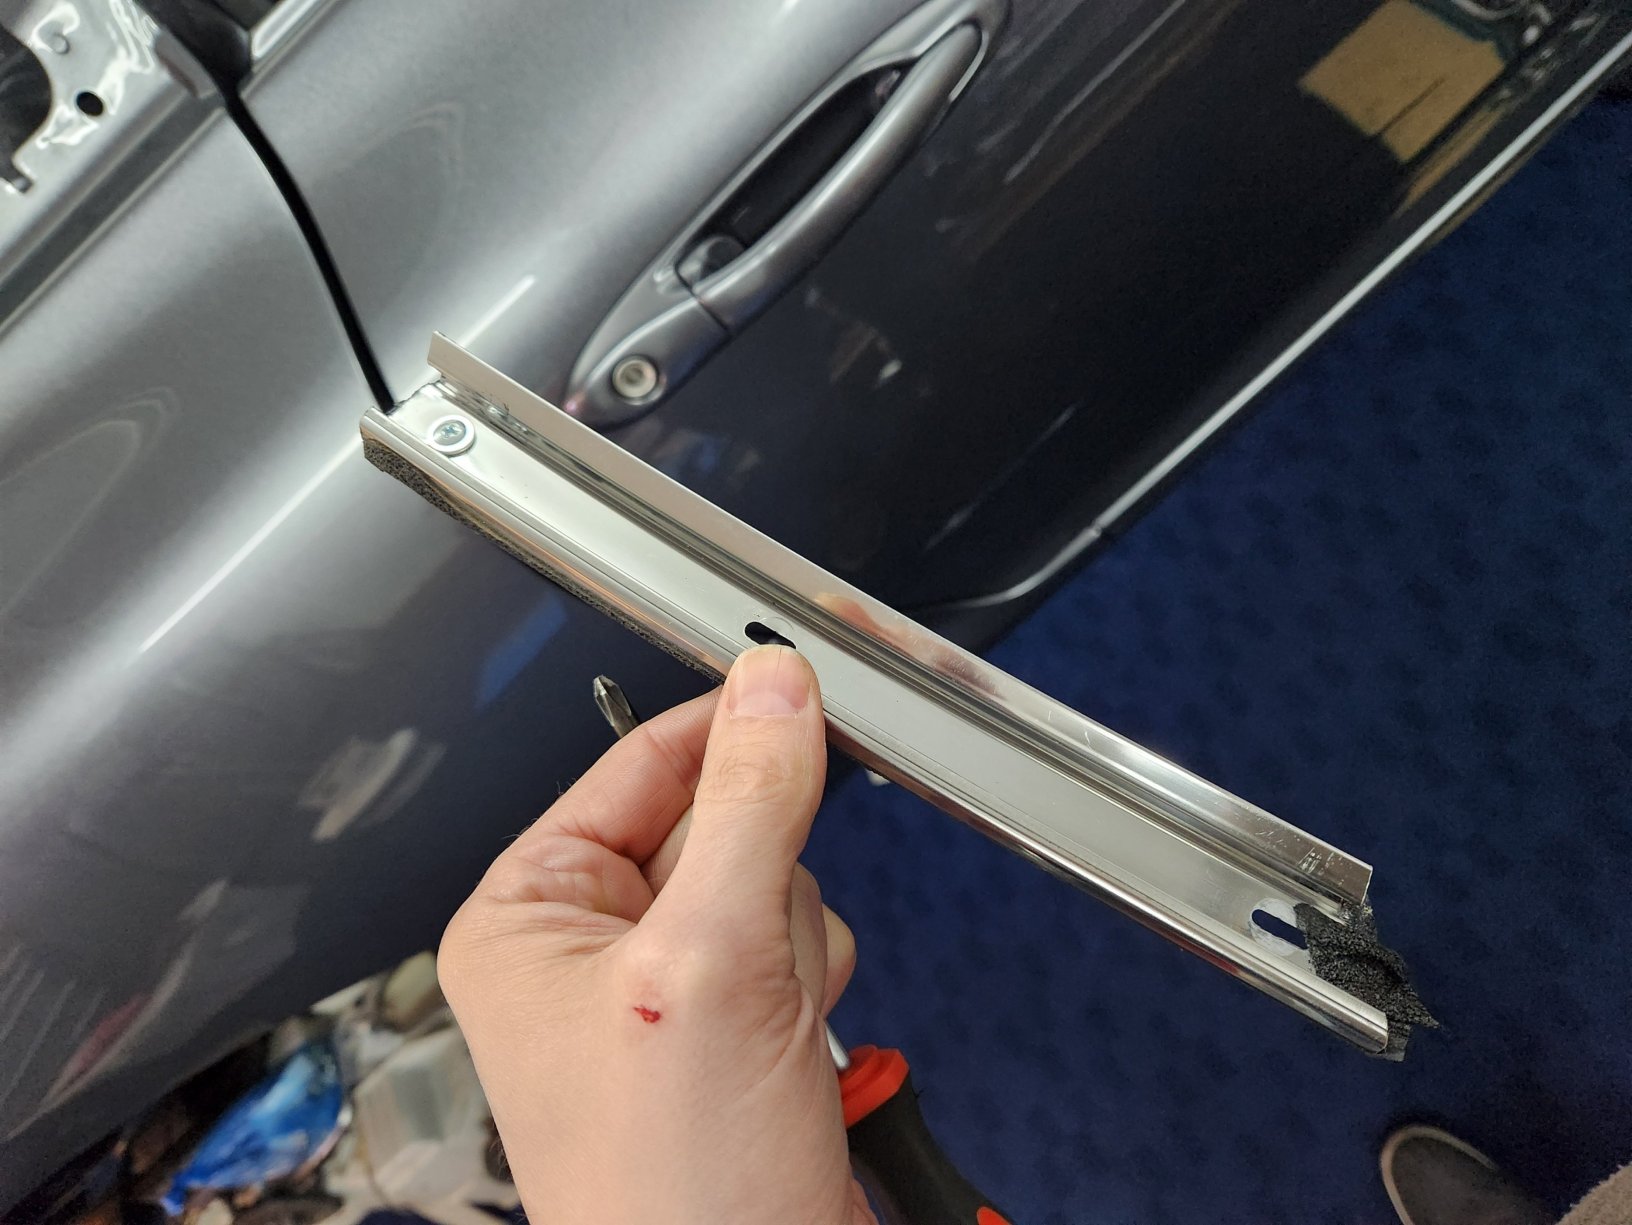
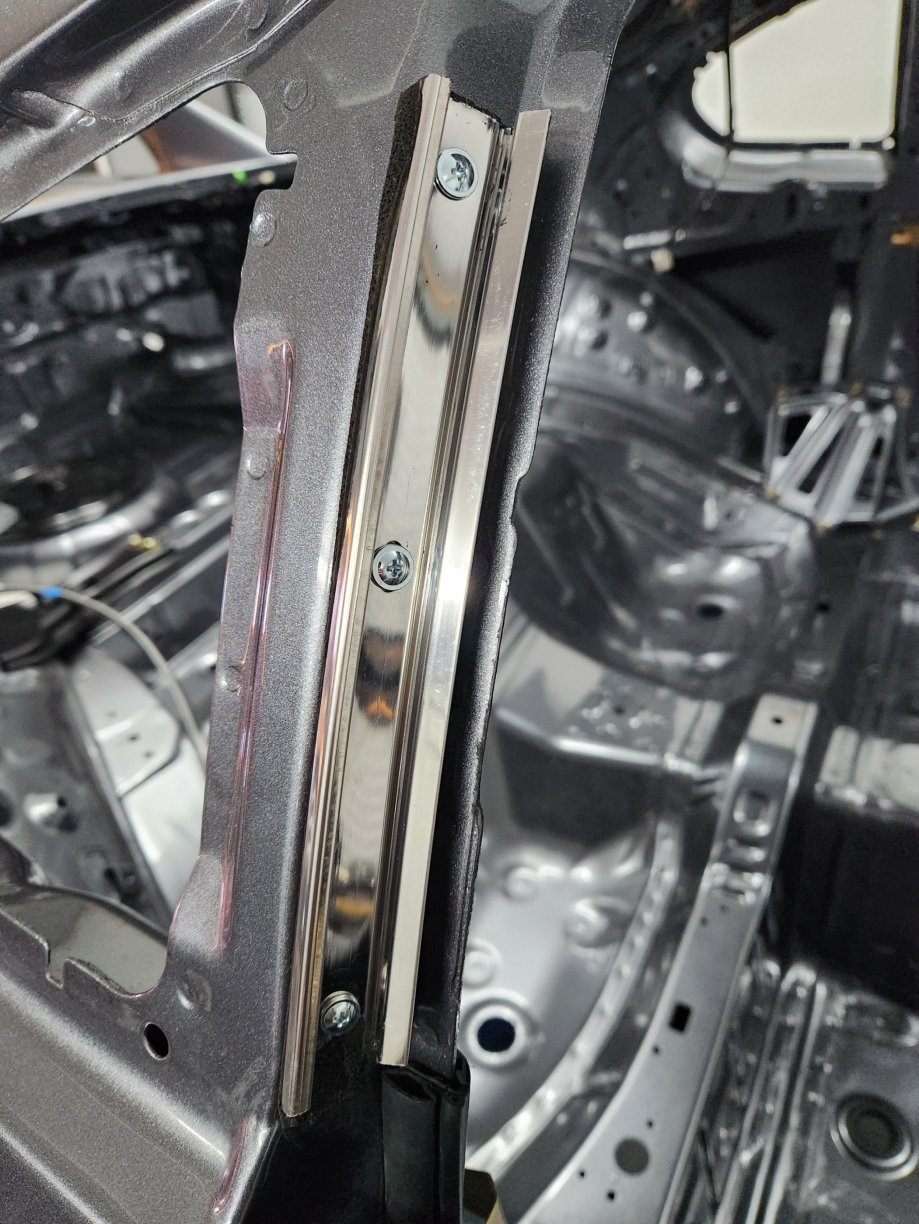
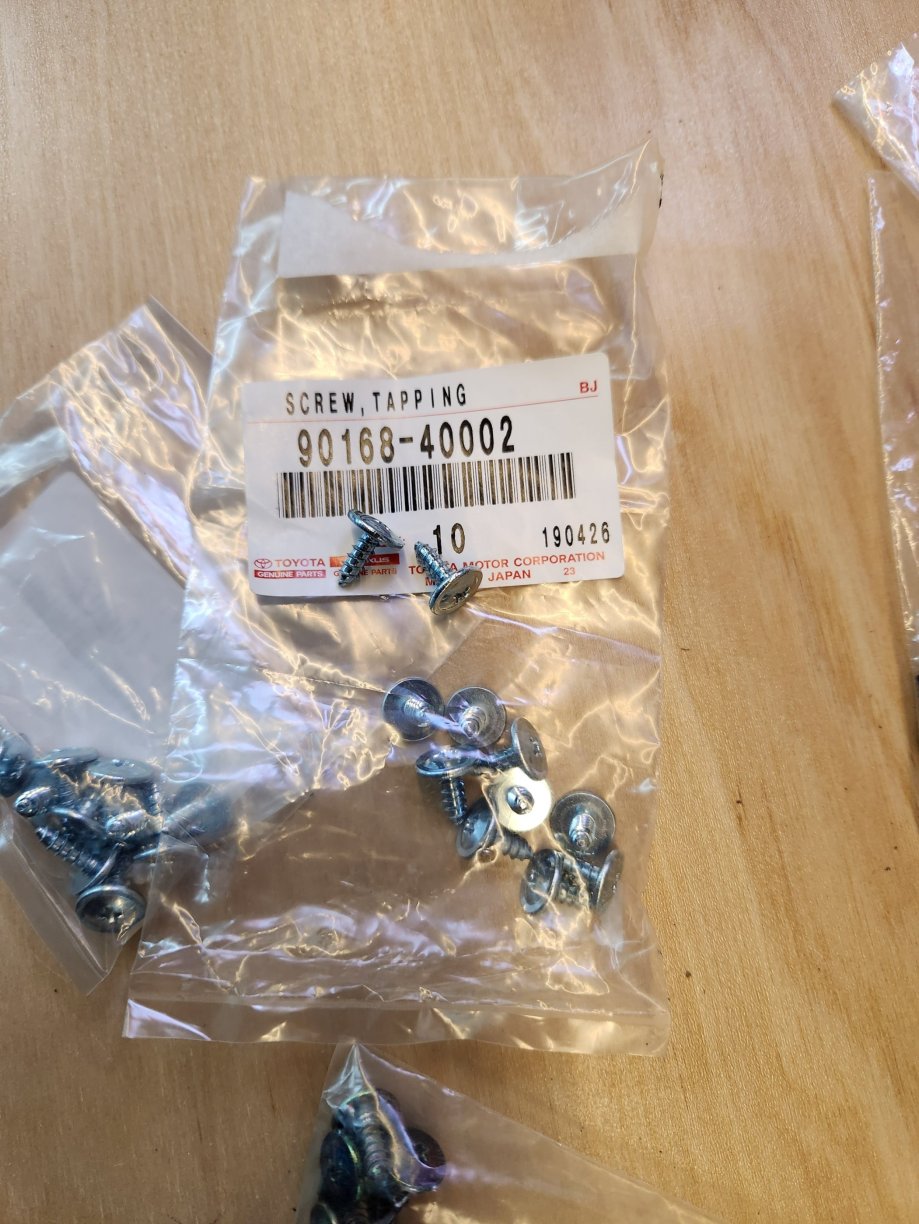
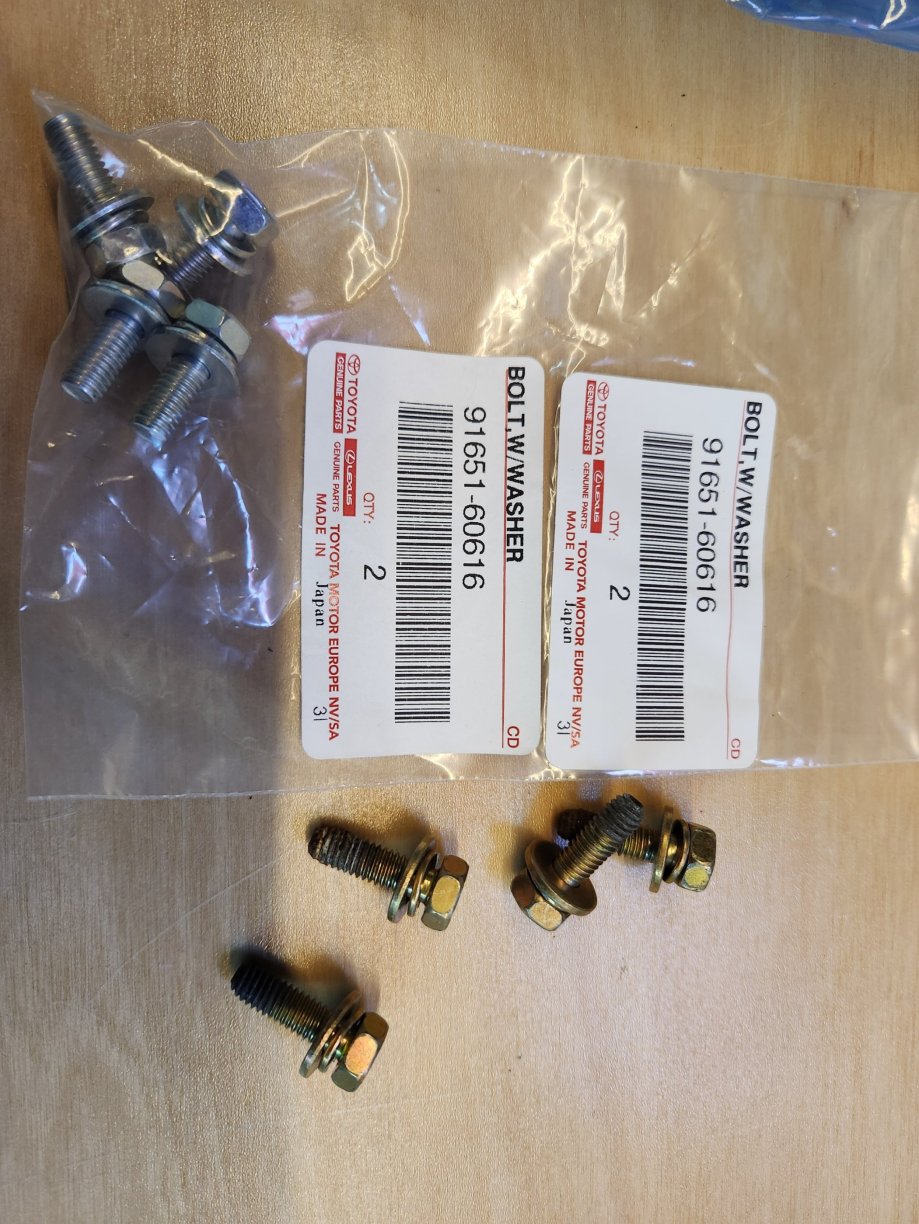
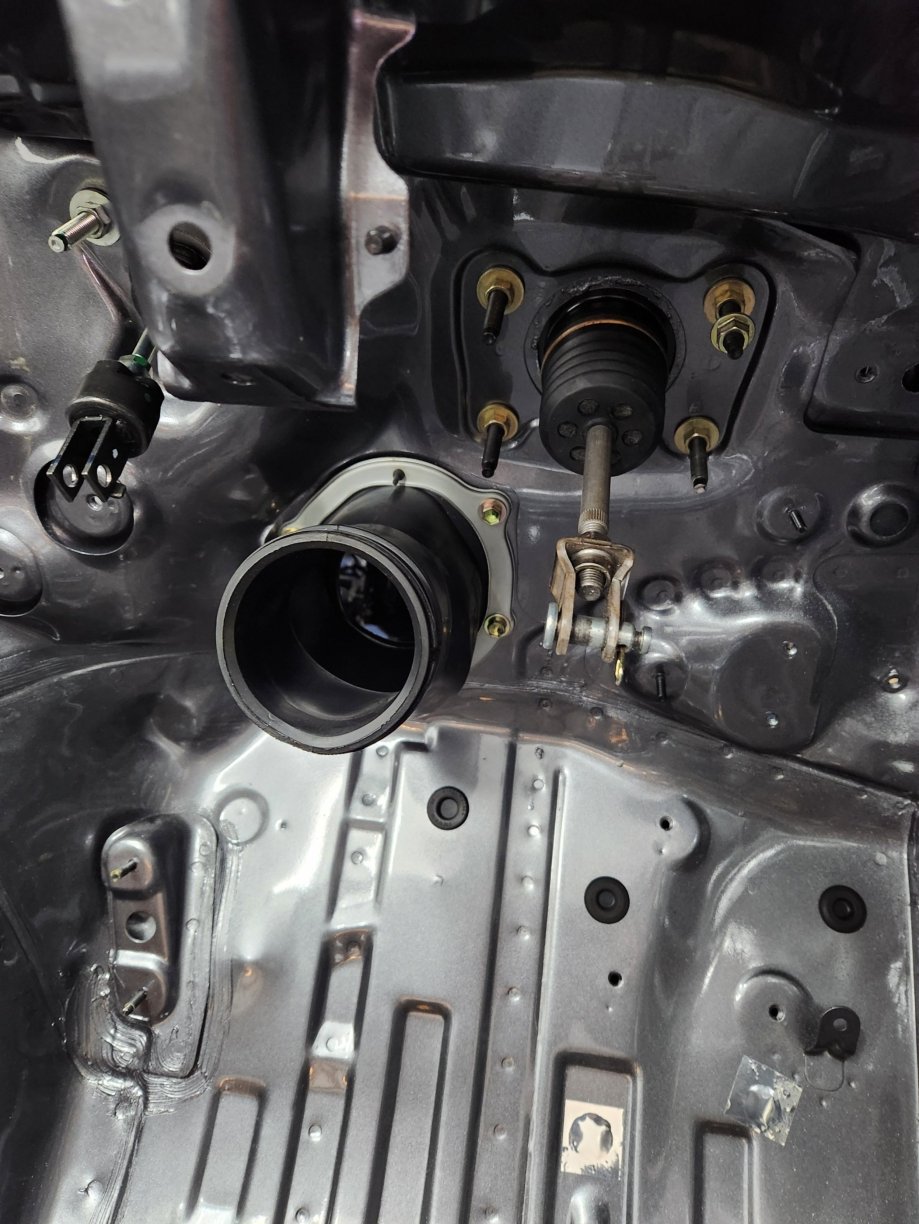
I also did a few other small bits. Window trim. I had previously installed the new yellow grommets, but have put on the front window seal rear guide. These parts are discontinued, so I had to use my originals. Fortunately they are in good order. However, I have purchased new screws. I then installed the steering column boot to the inside of the car. I have reused the boot and bracket, but replaced the bolts.

-
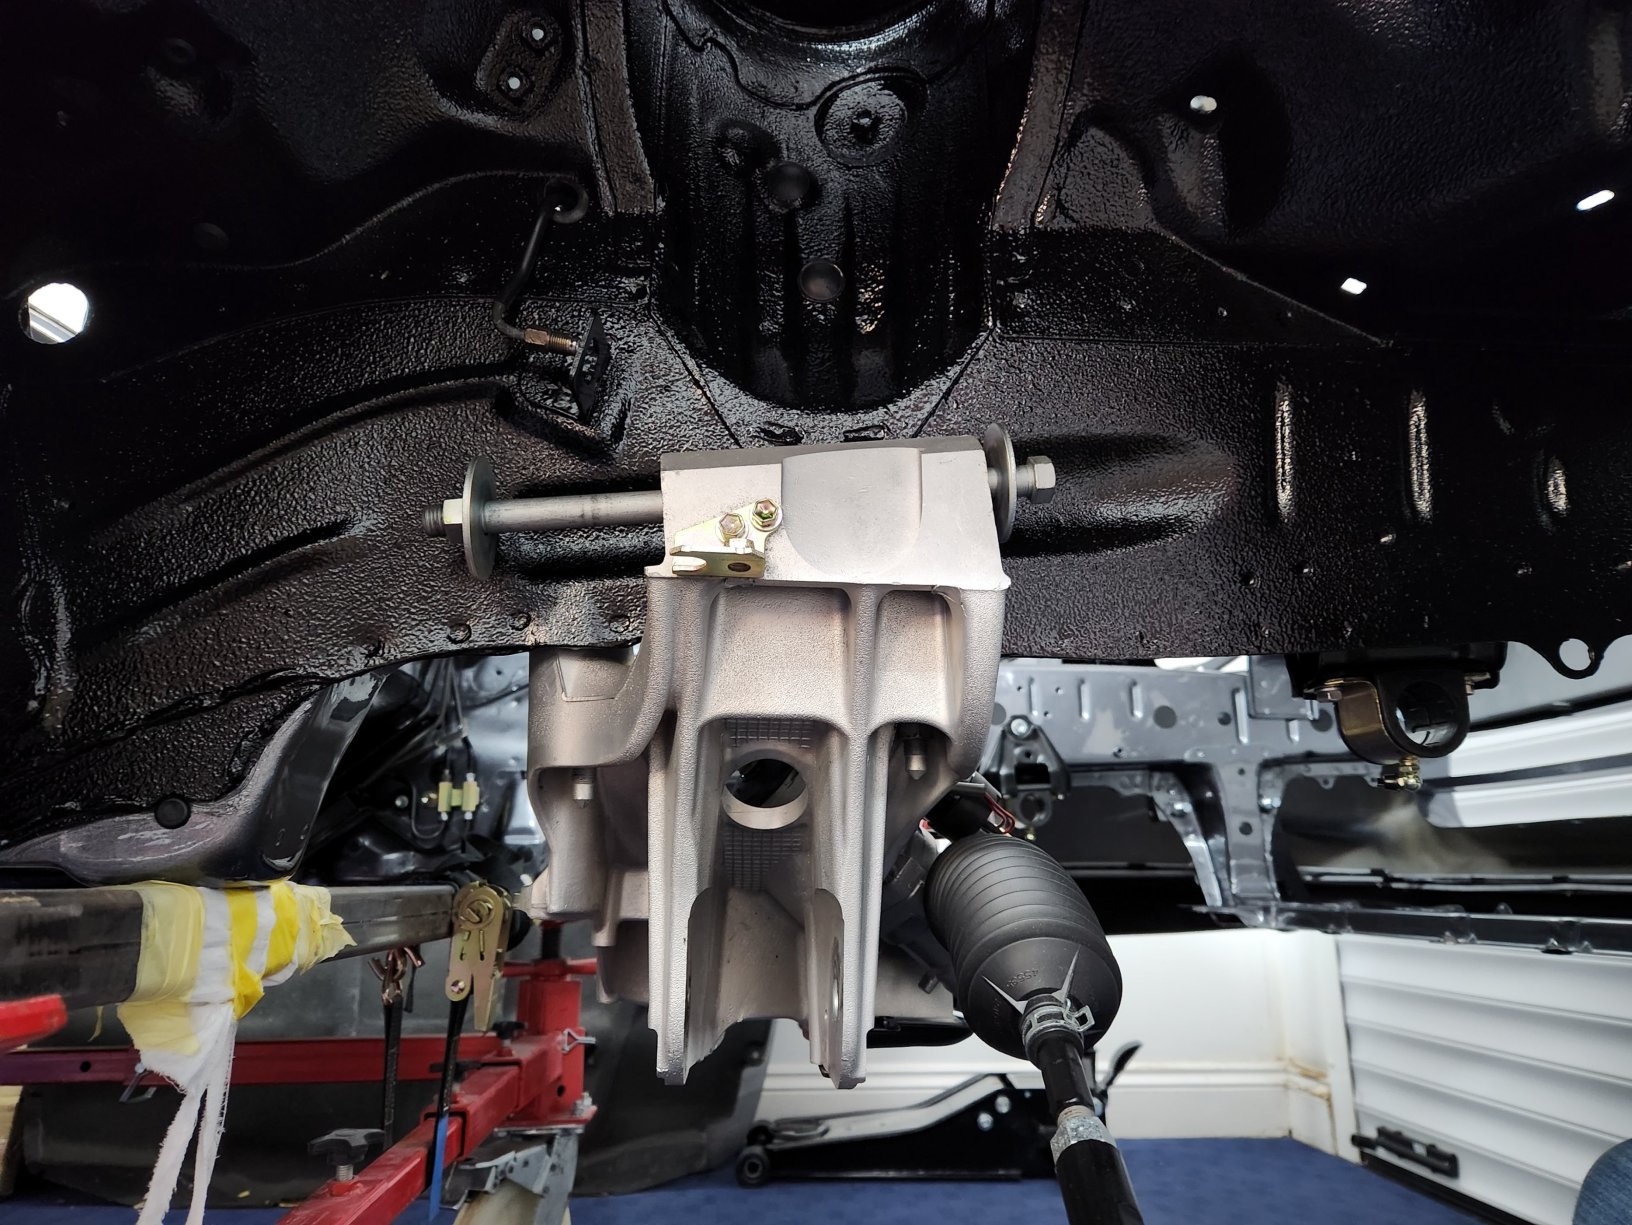
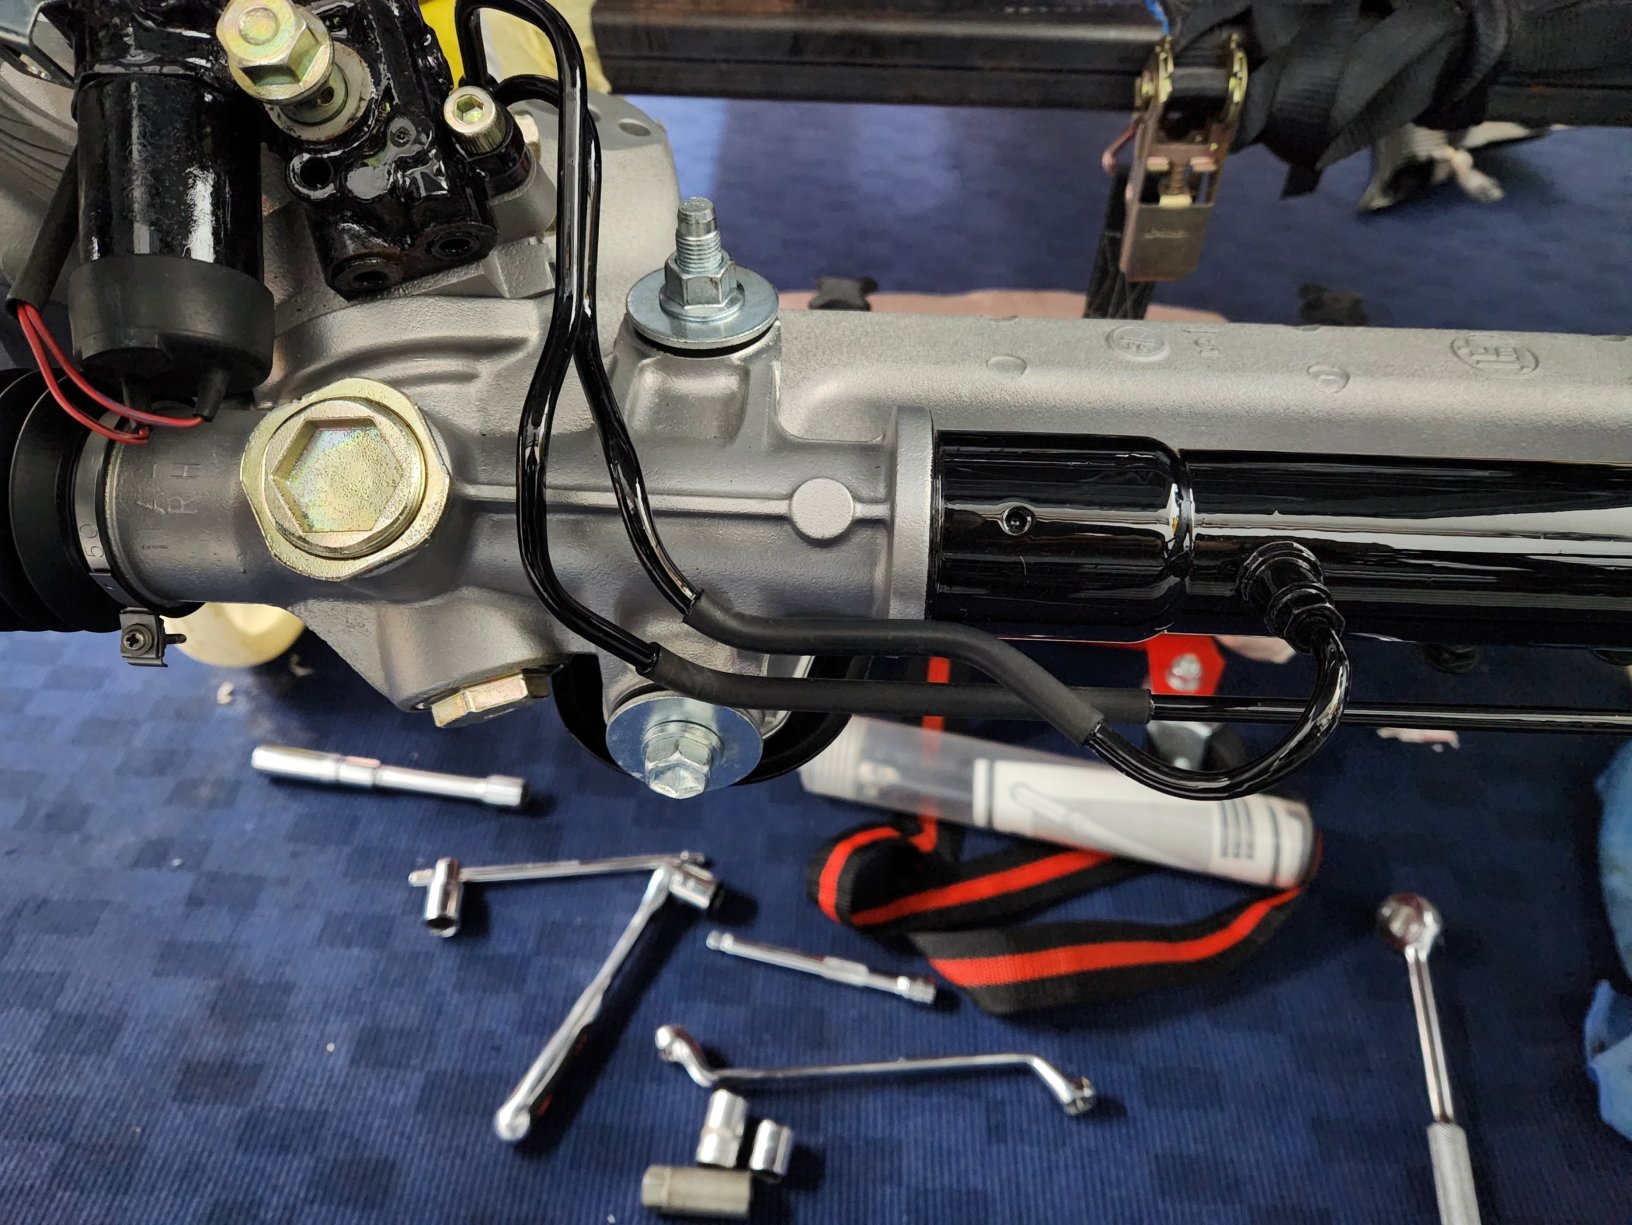
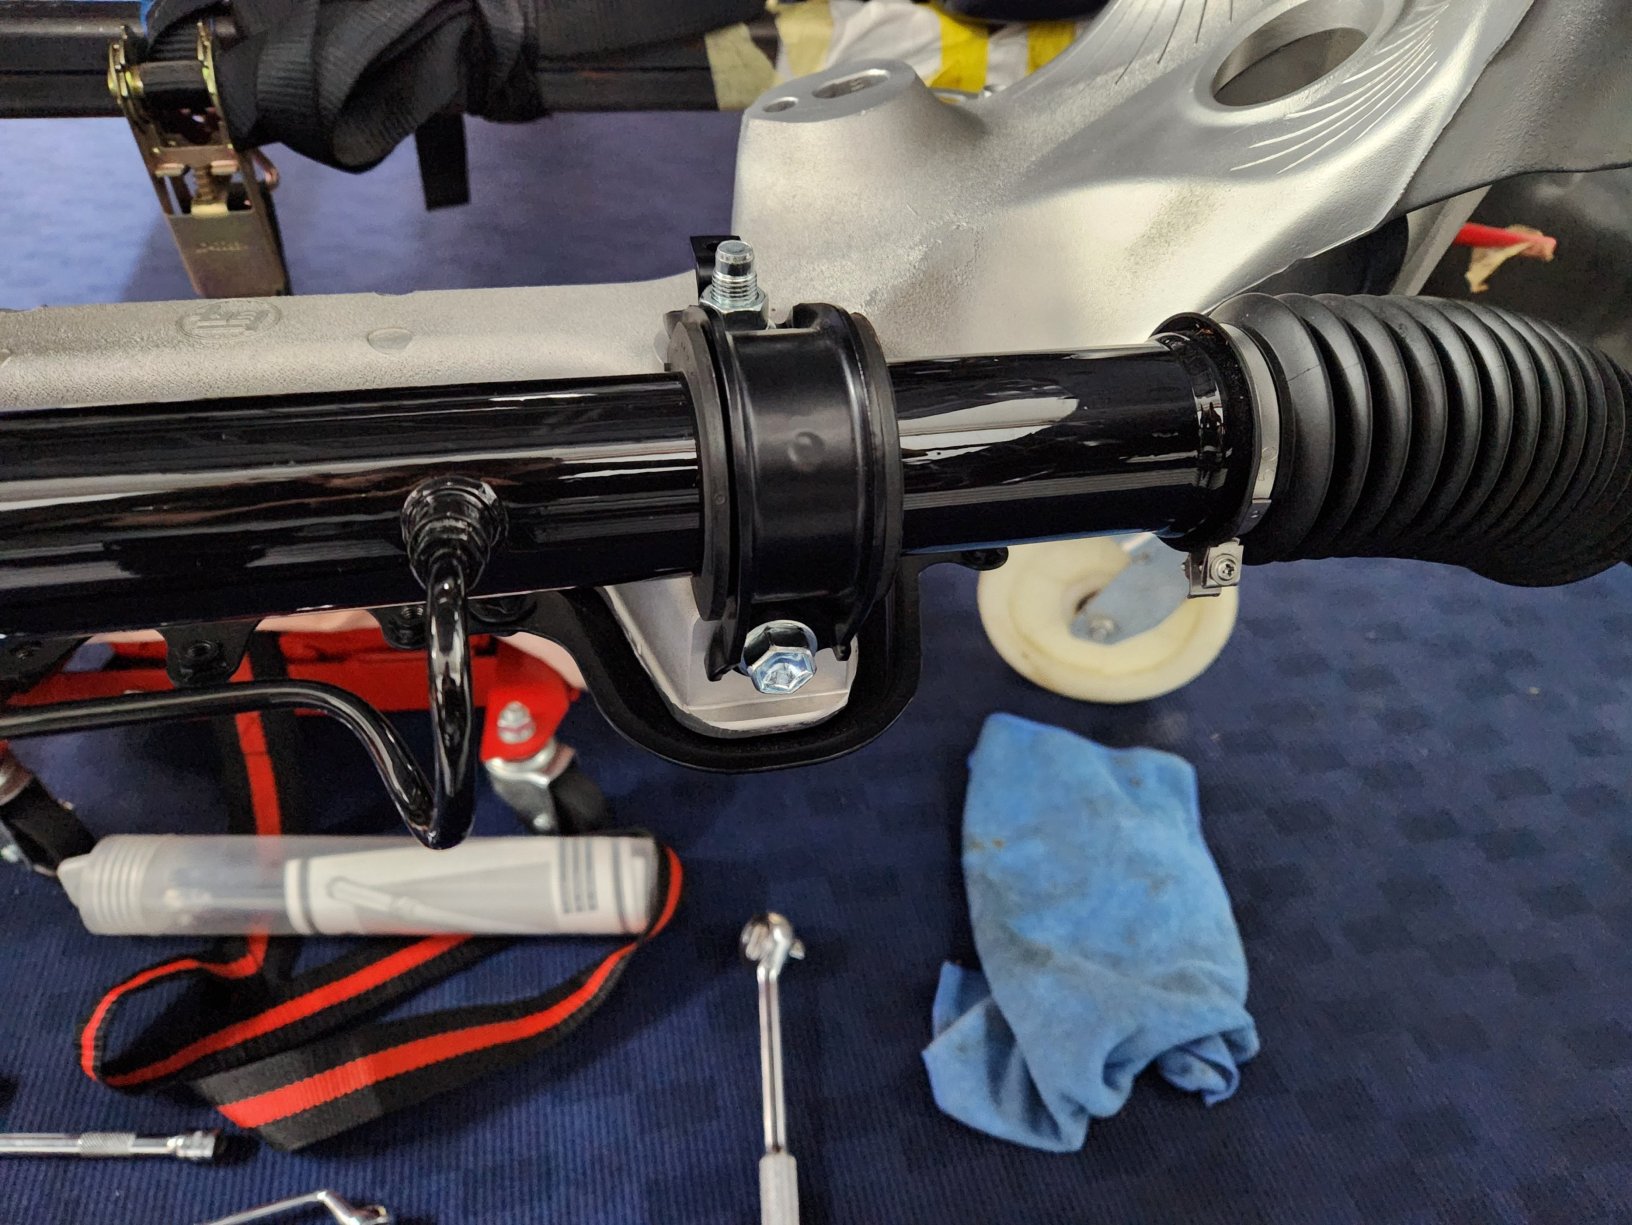
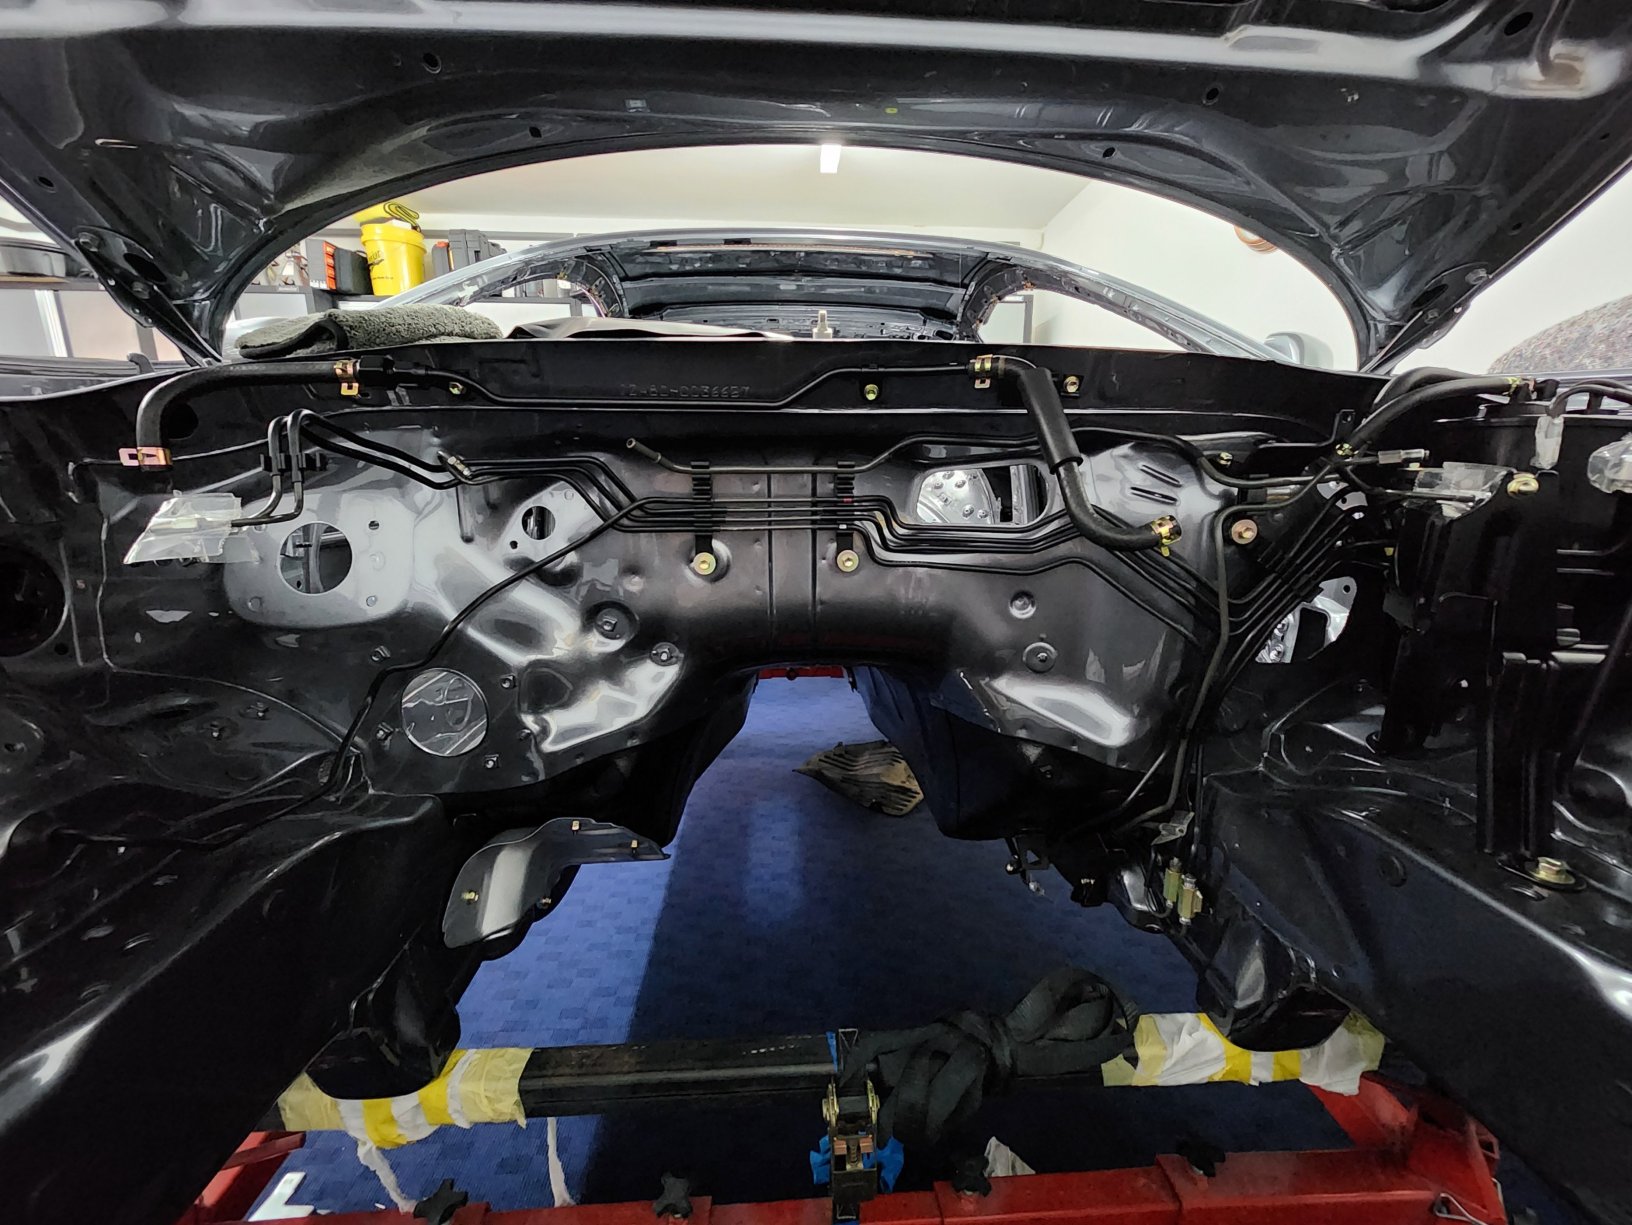
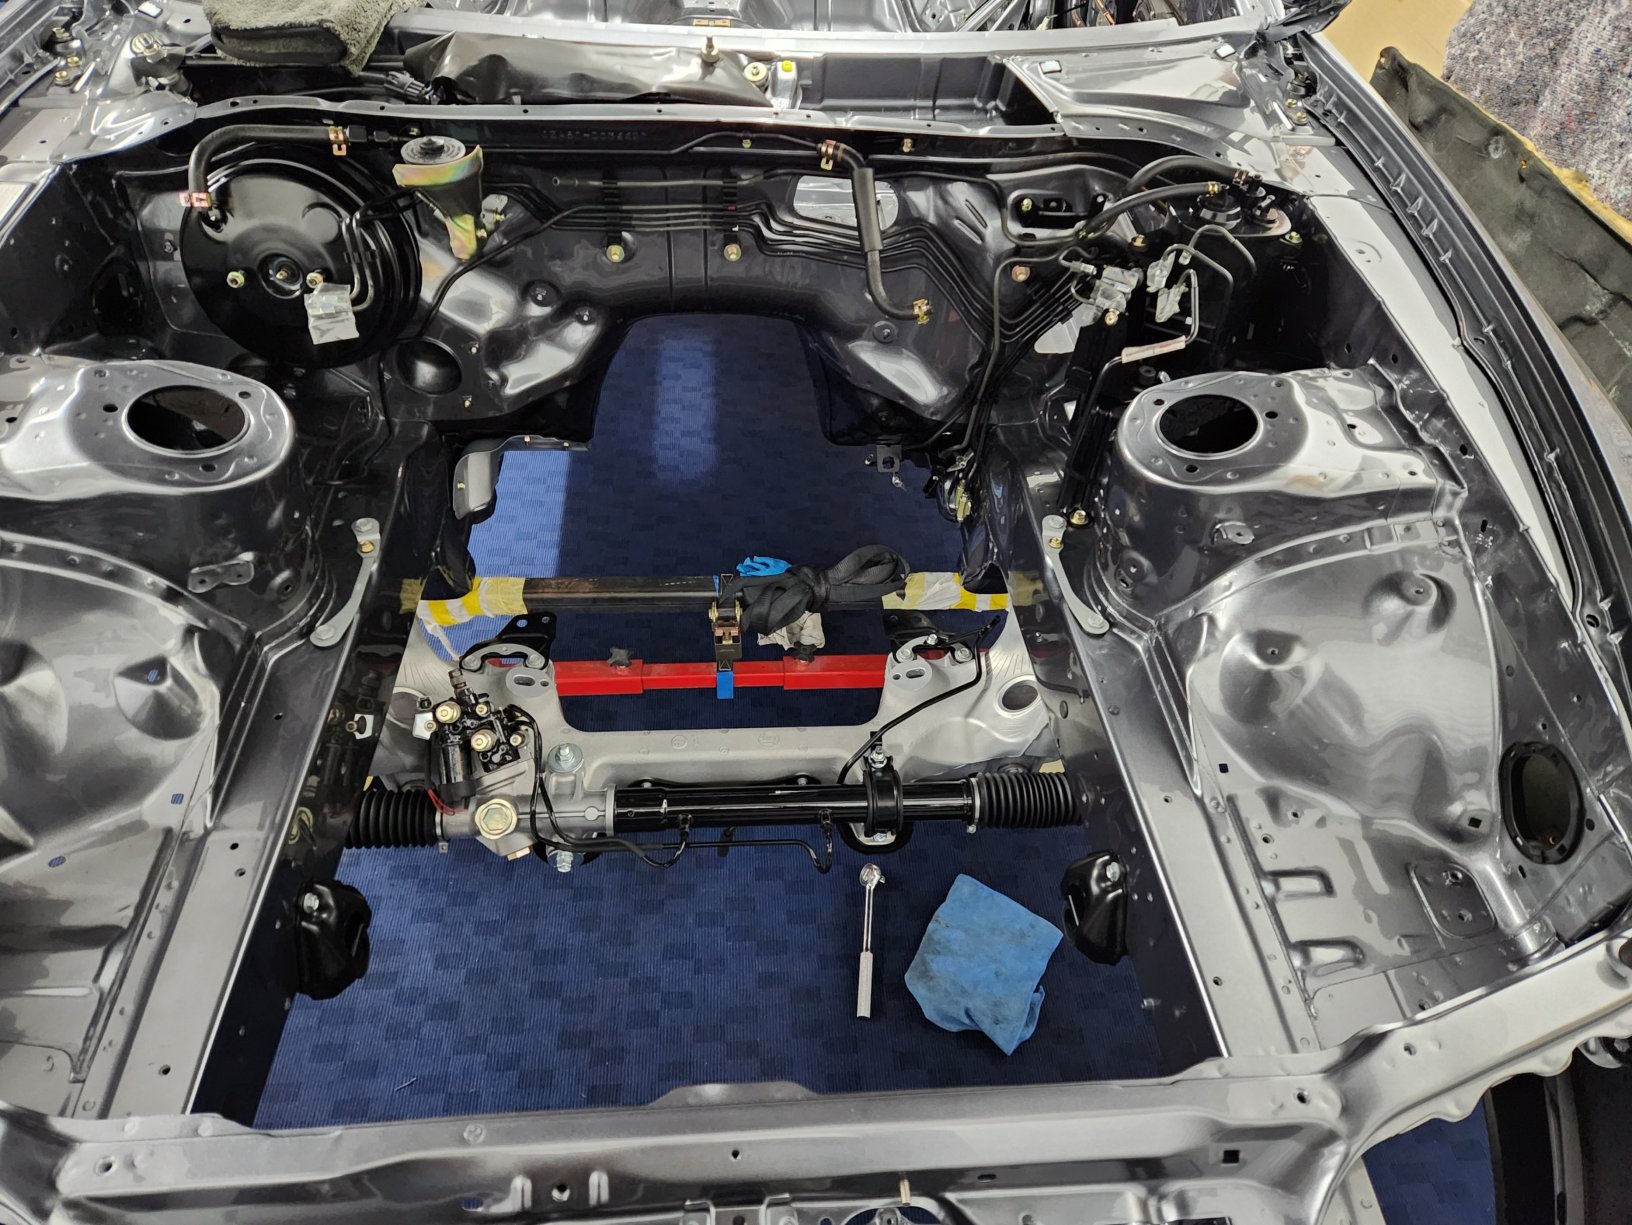
I've now installed the bulkhead pipe work. I've also installed the aluminium part of the front subframe. More details about the work and parts for the subframe can be found earlier in the thread. Main subframe bolts torqued to 125 Nm. Steering rack bolts x 4 torqued to 75Nm.


-
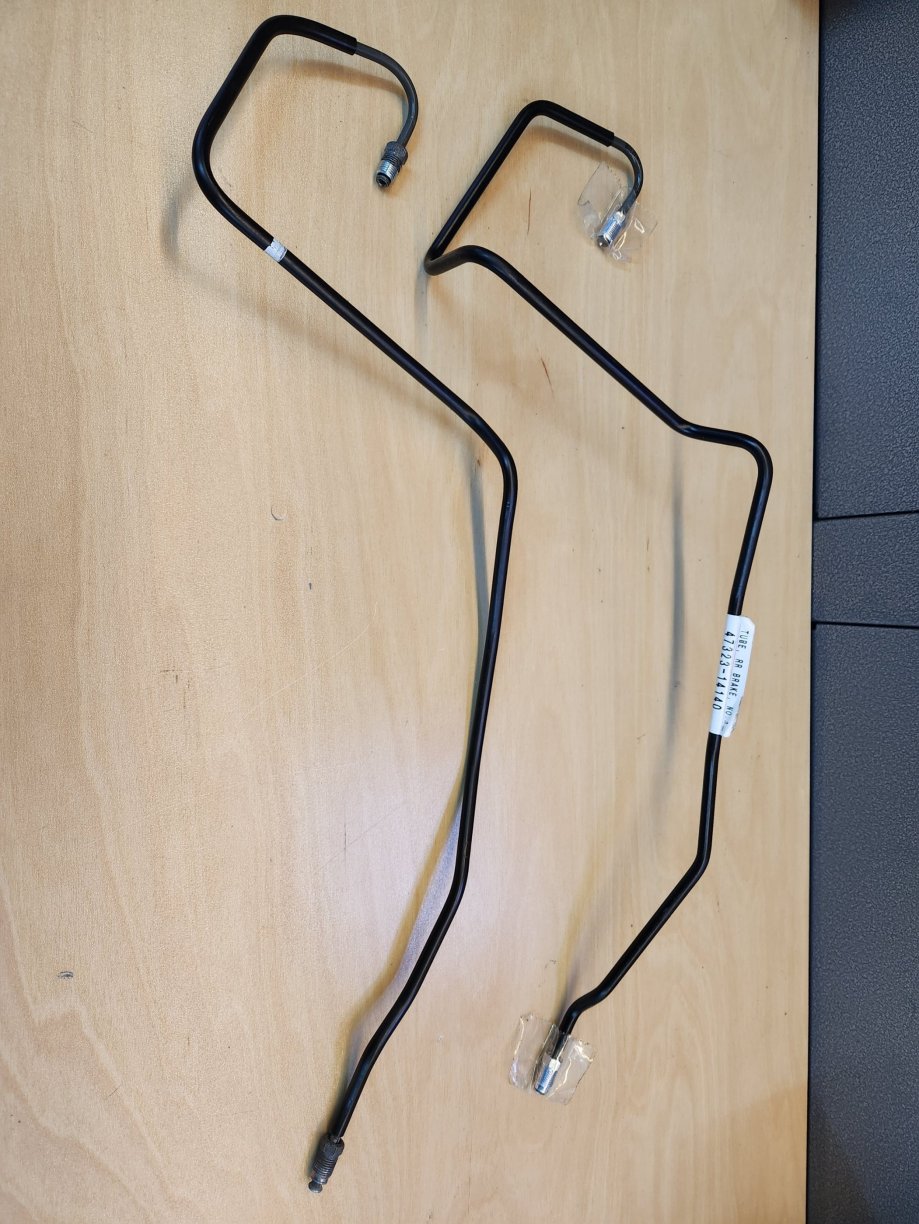
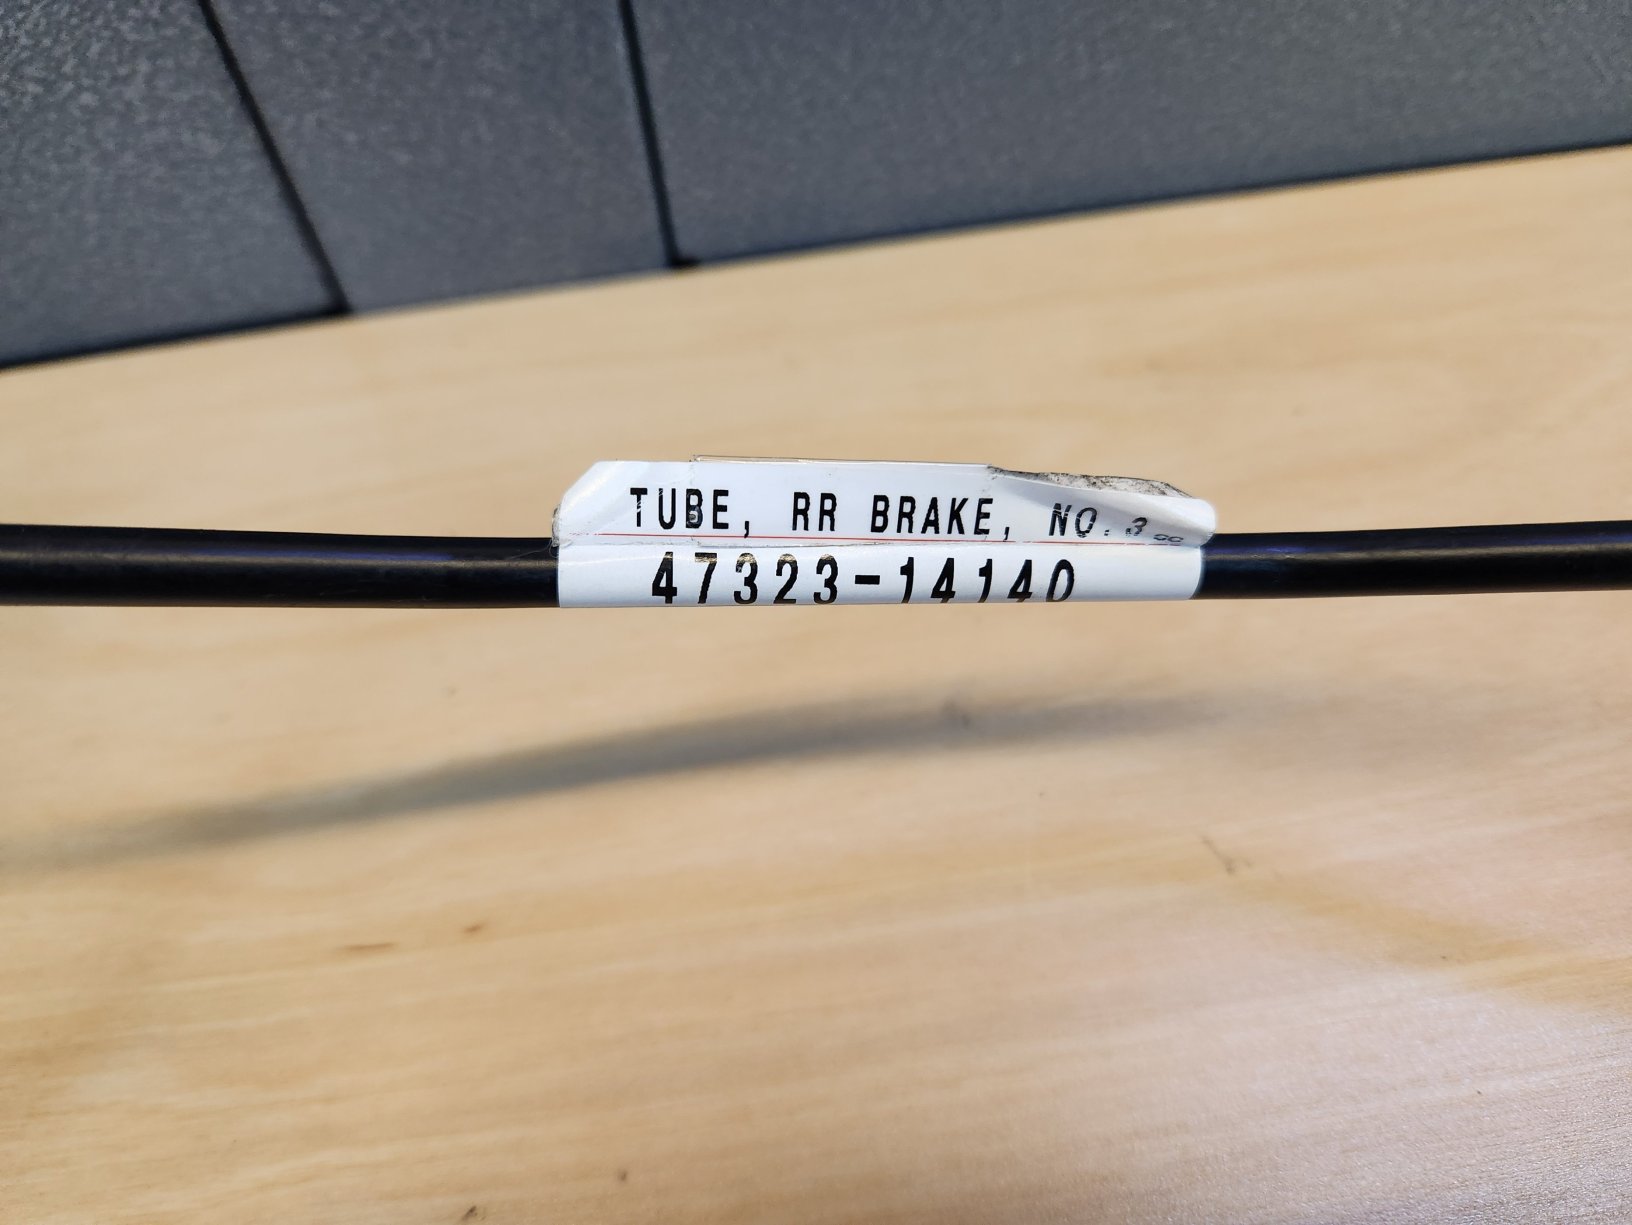
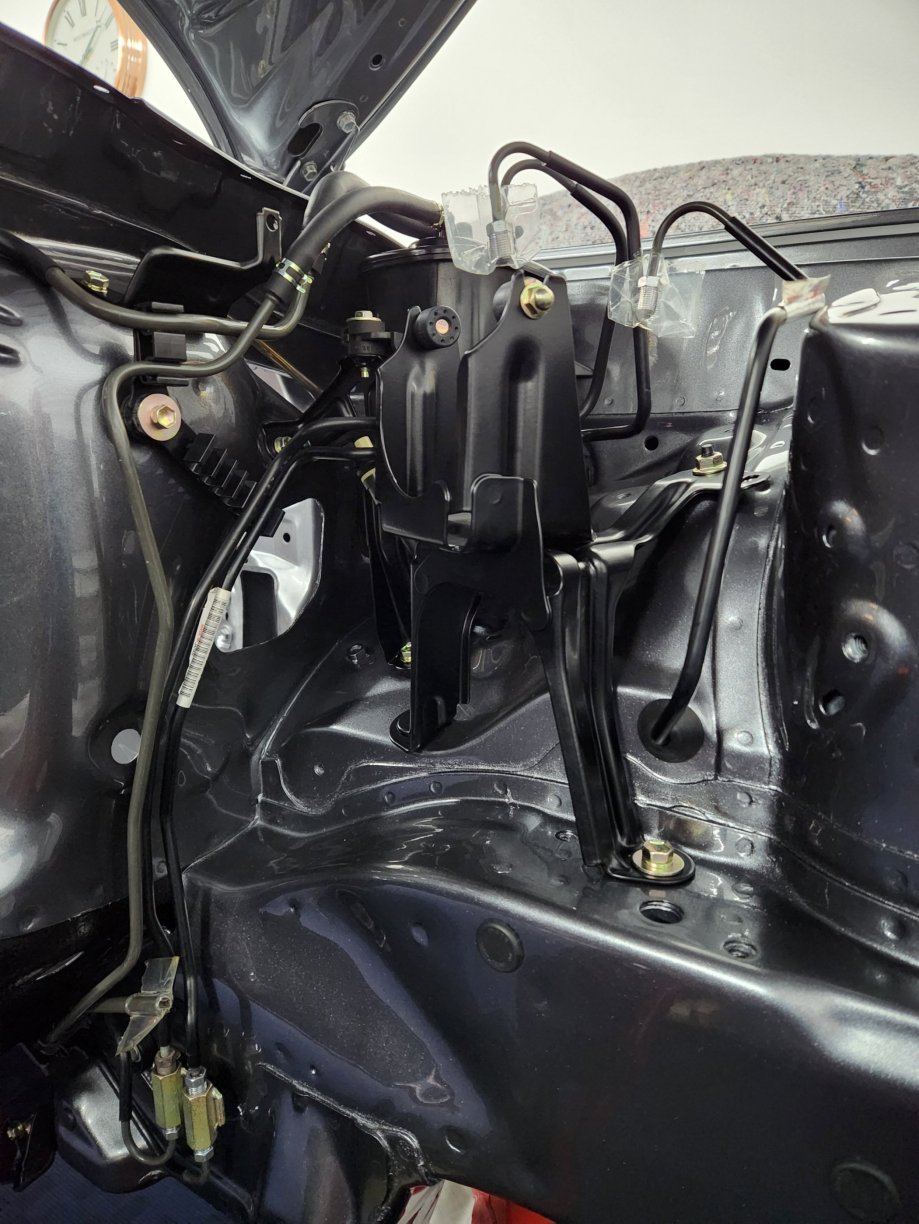
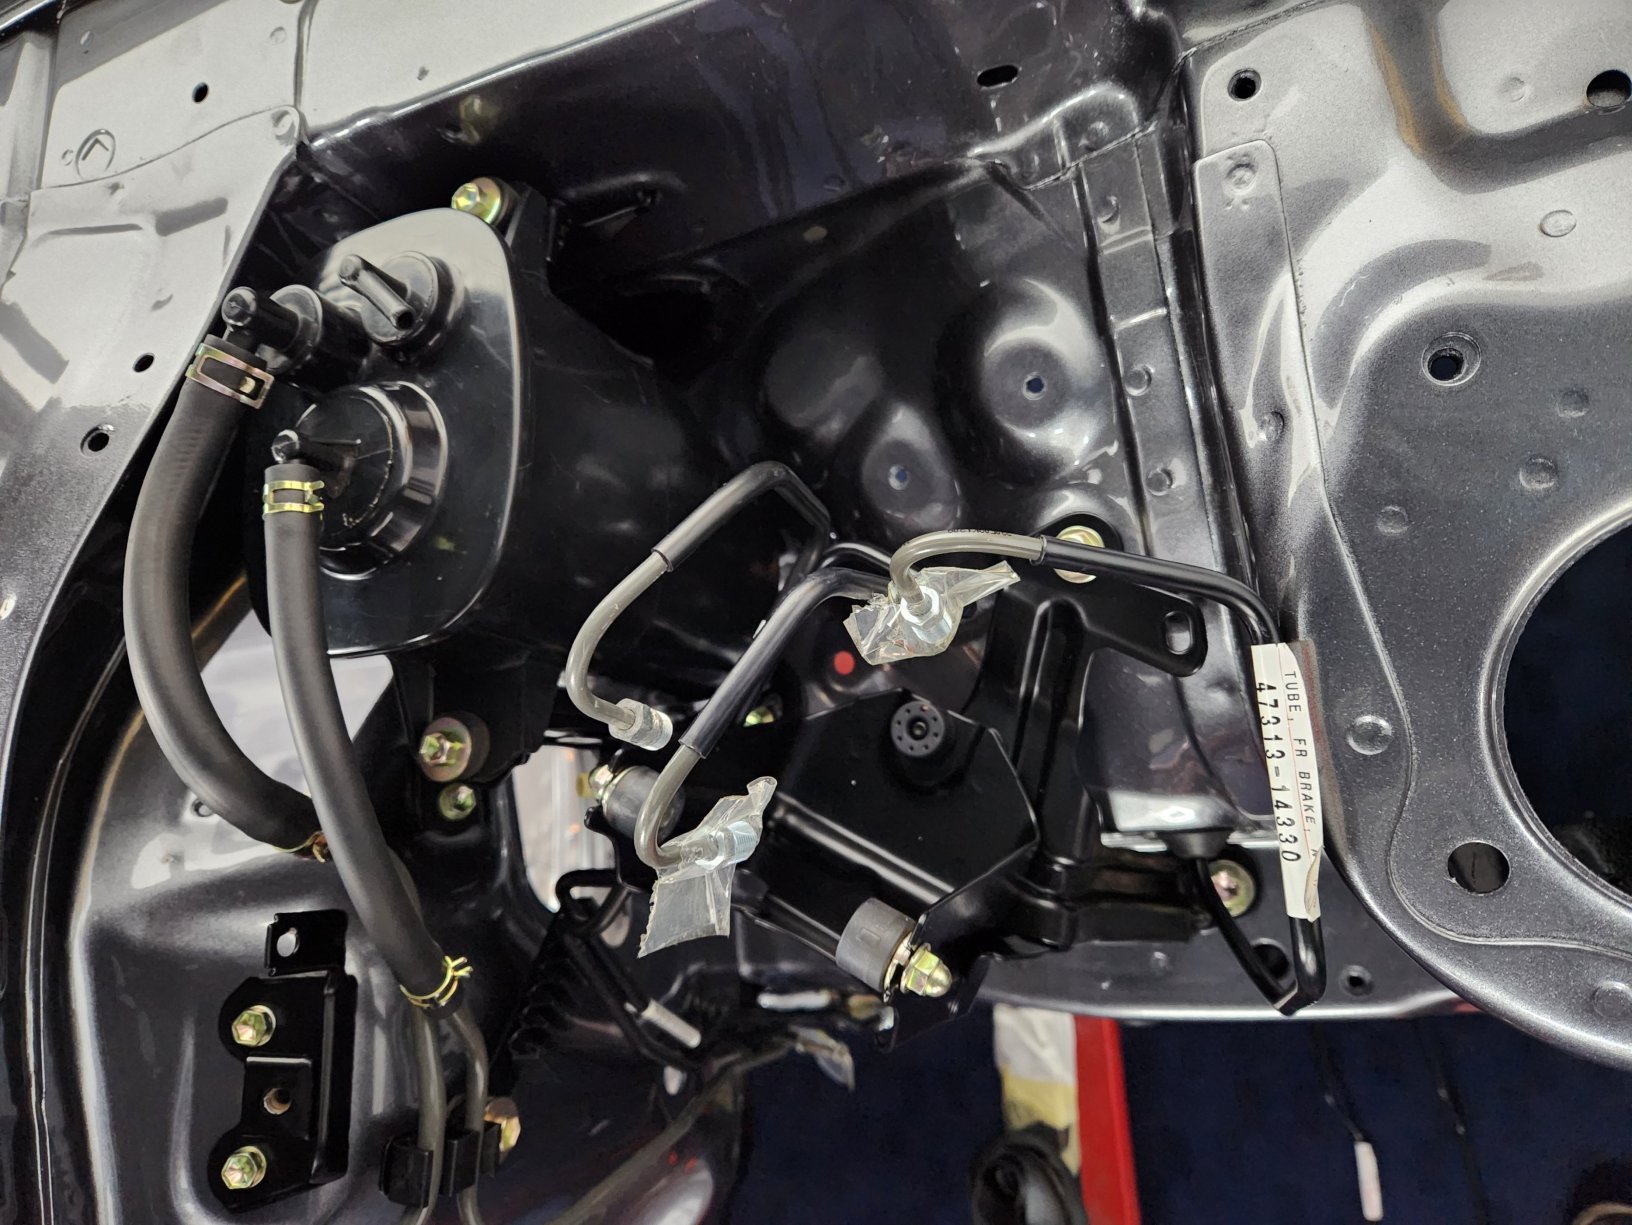
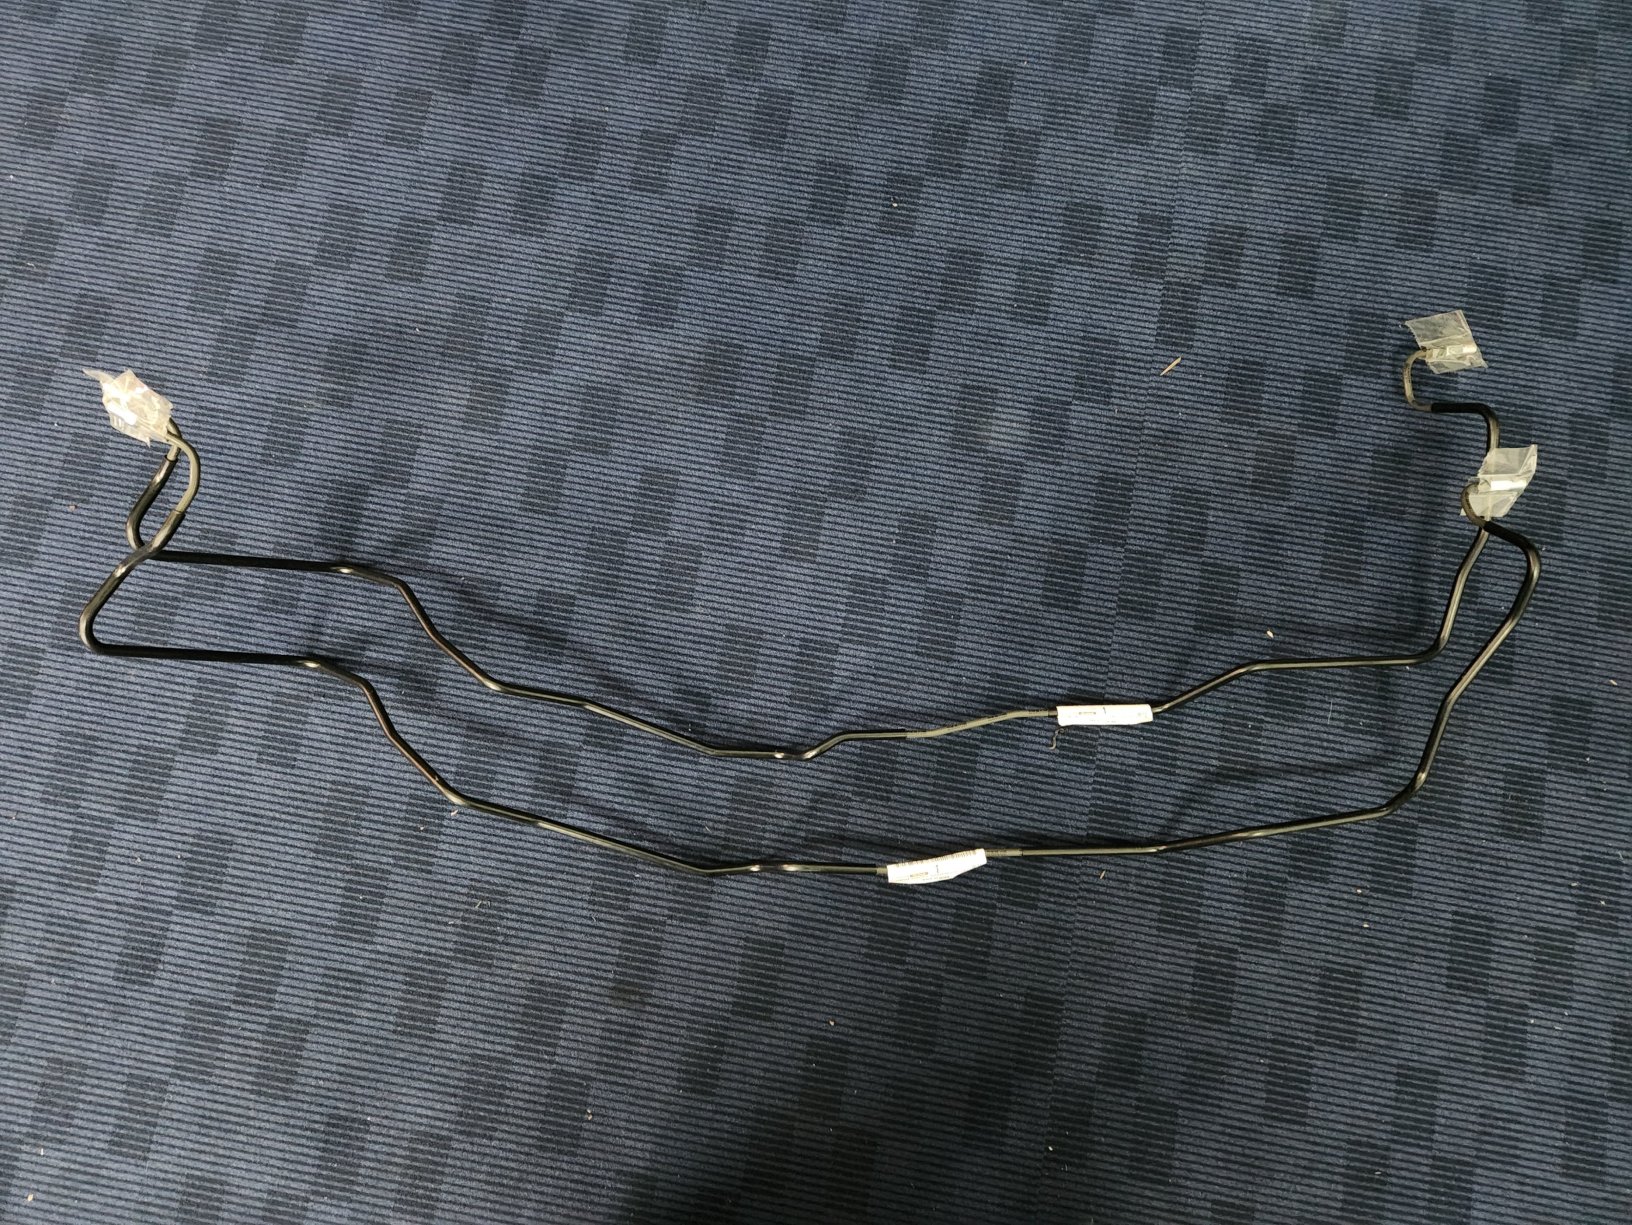
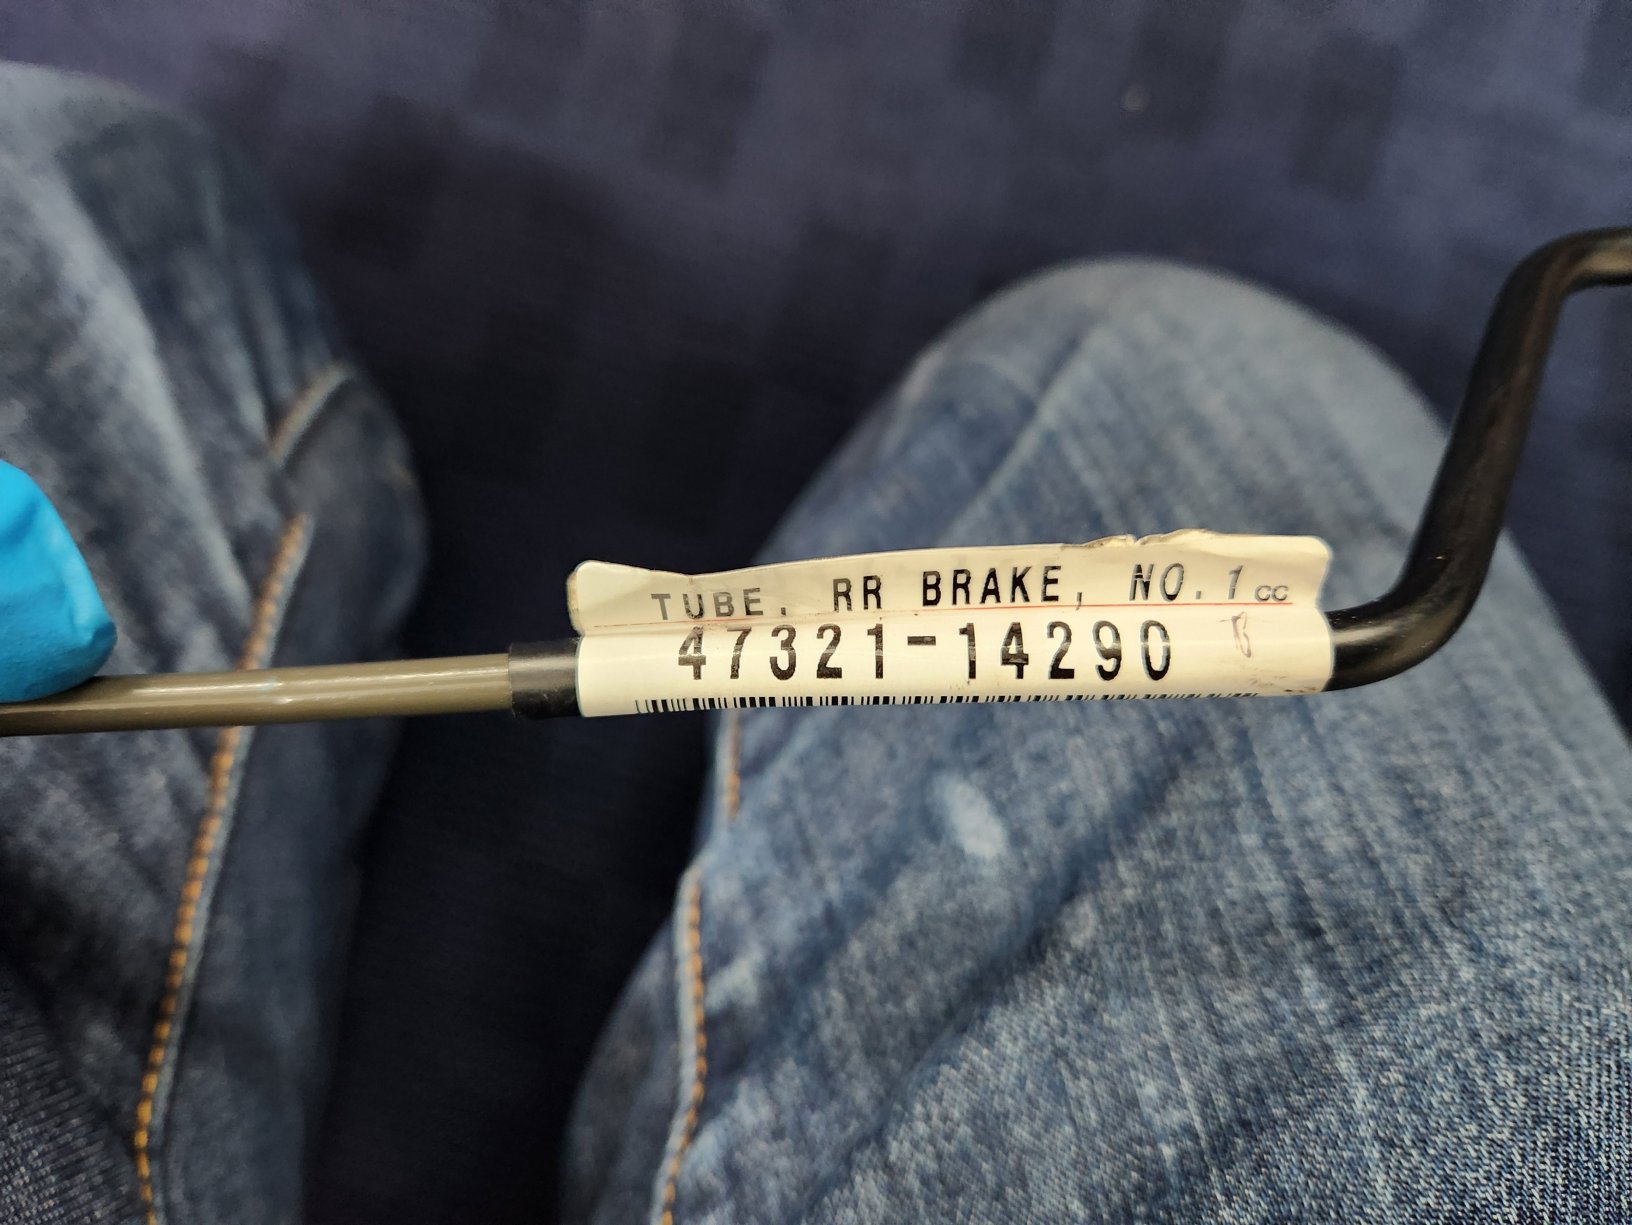
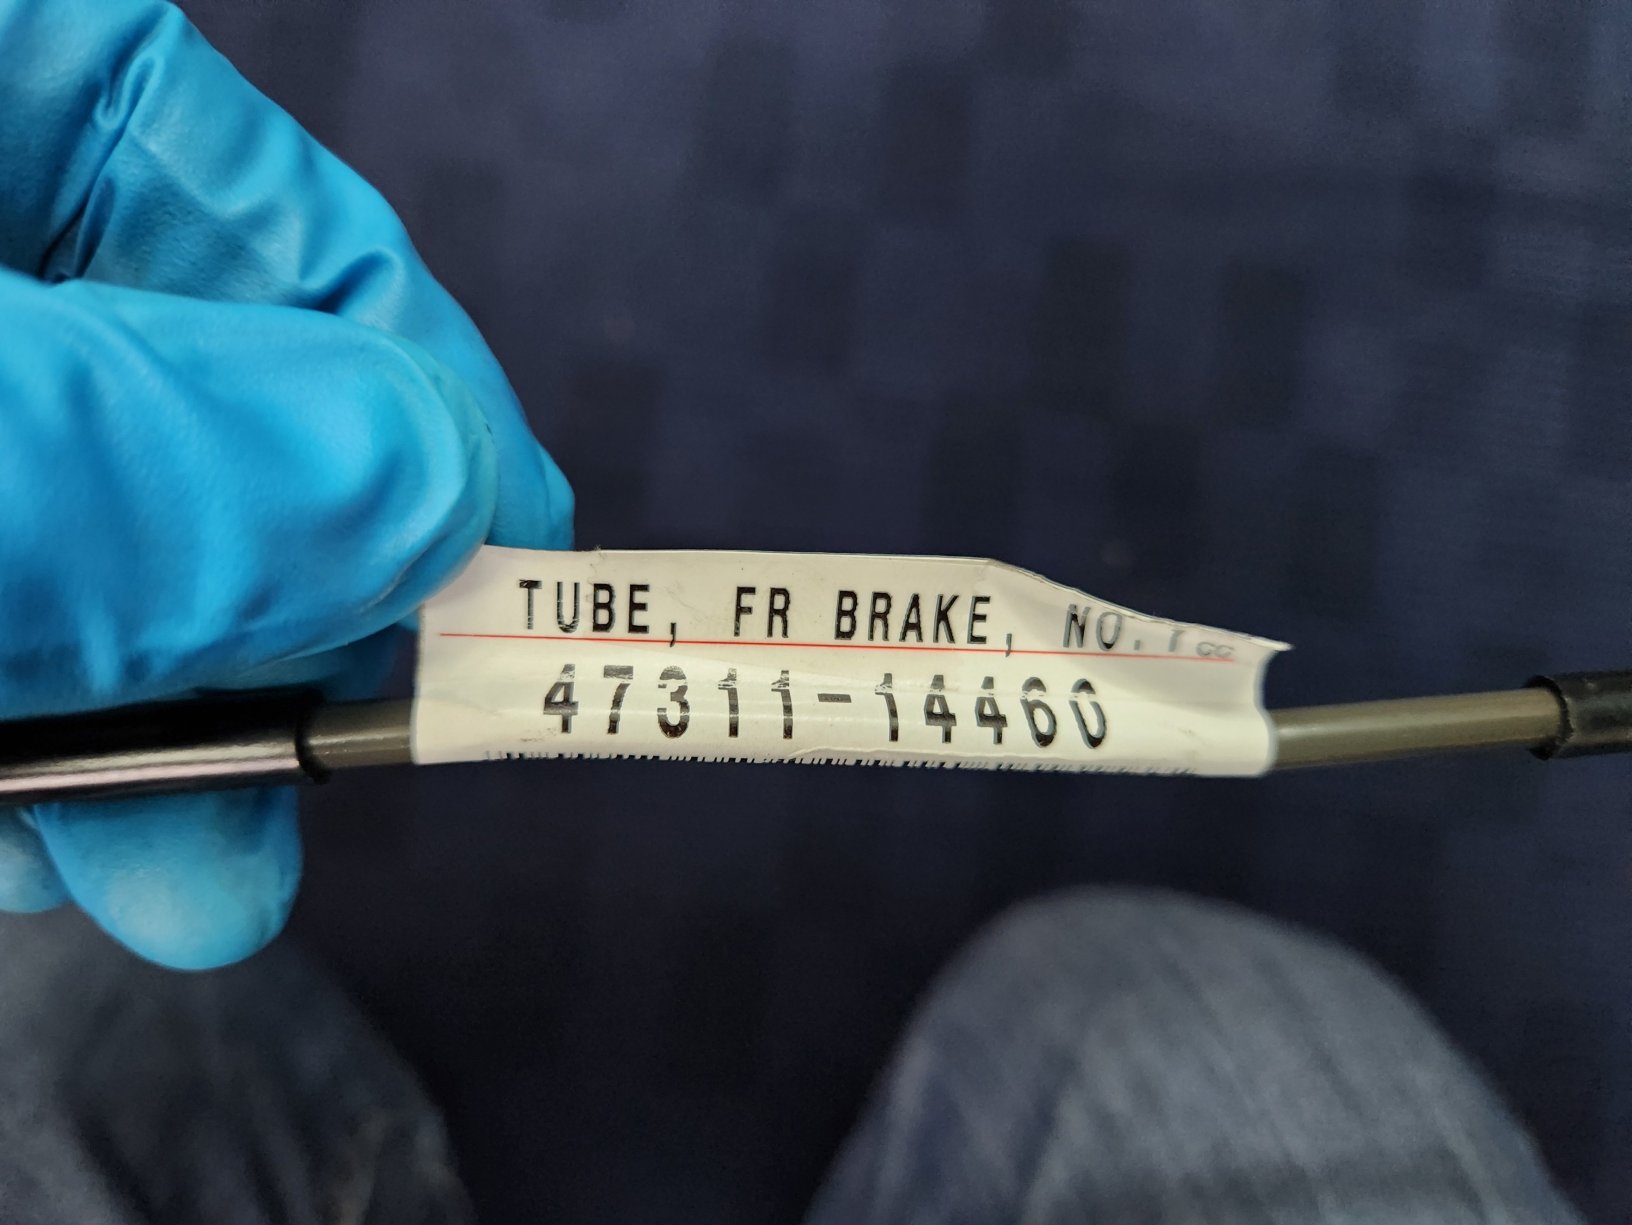
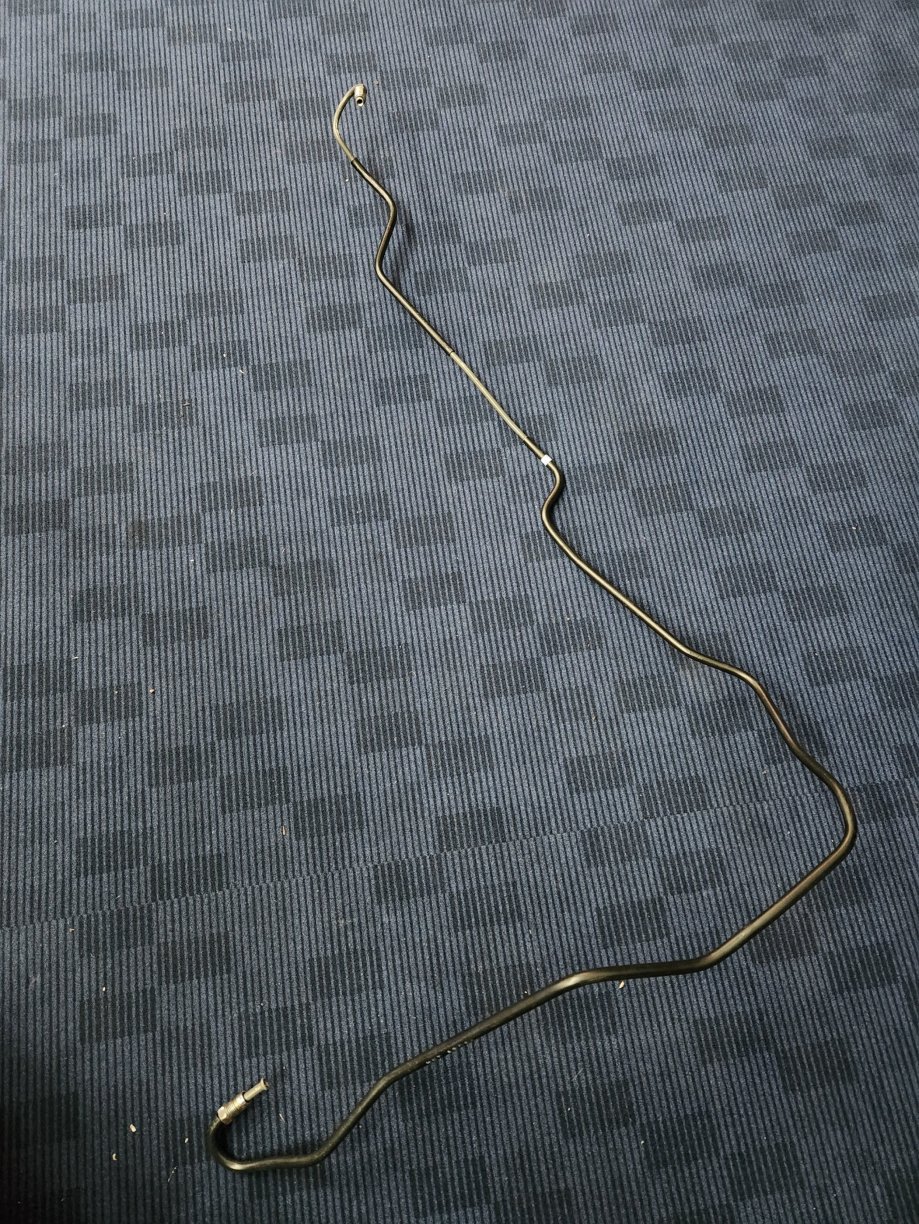
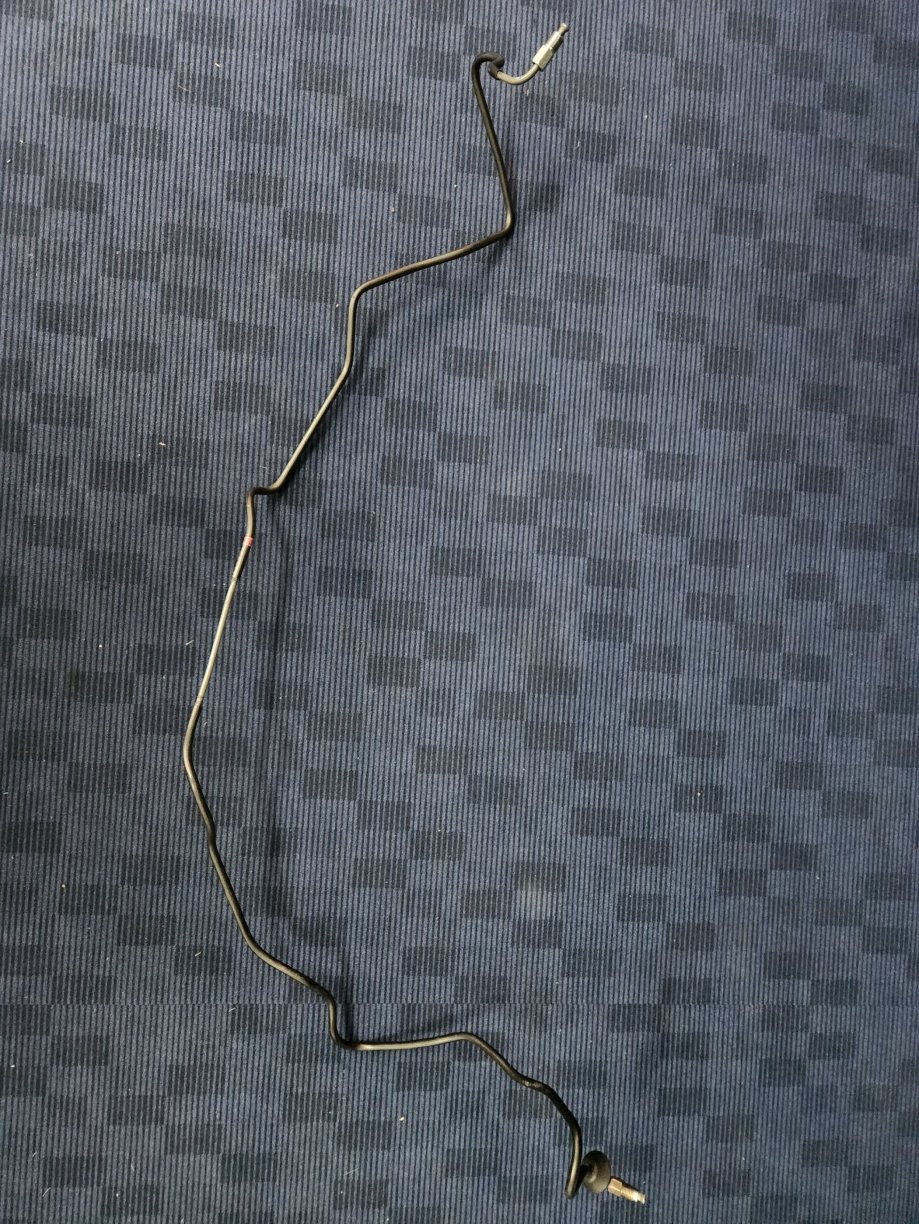
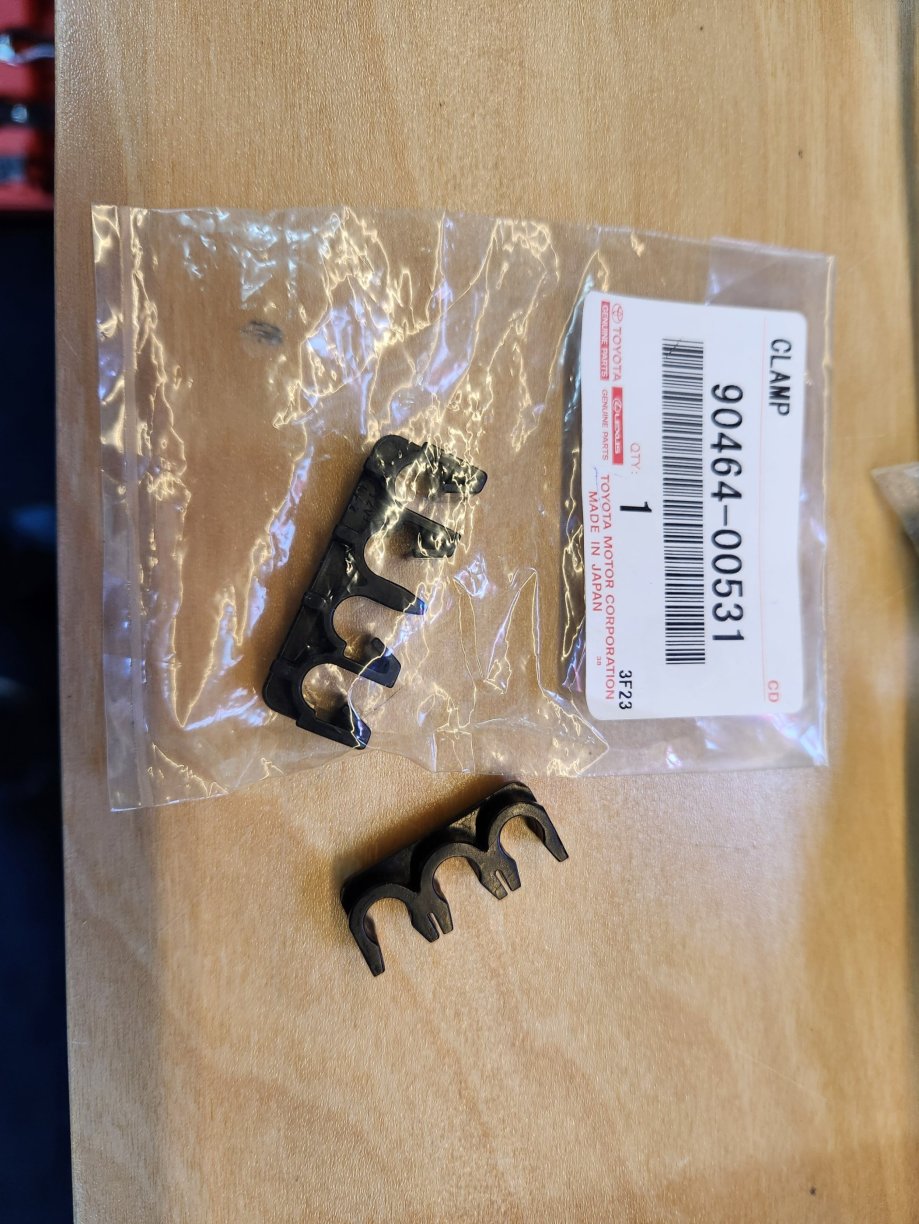
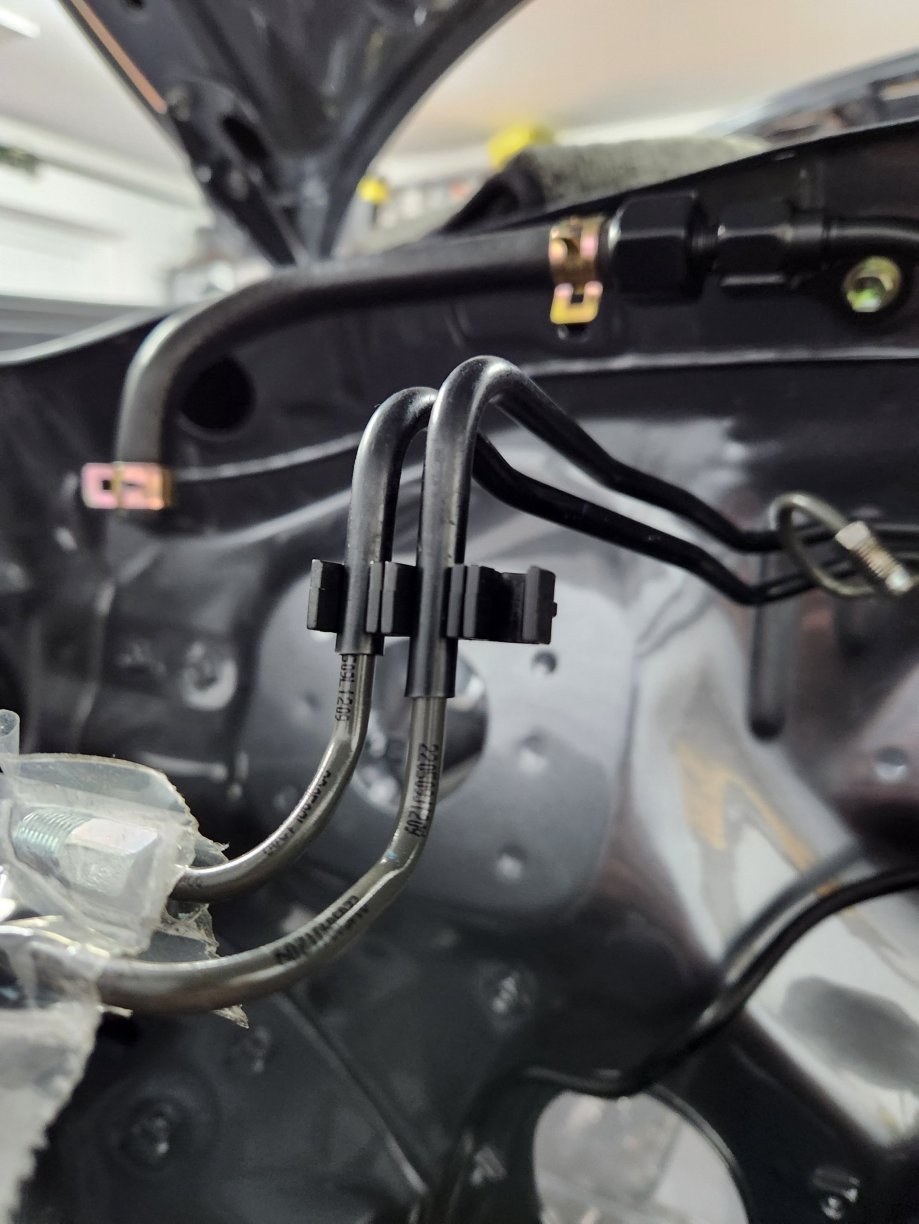
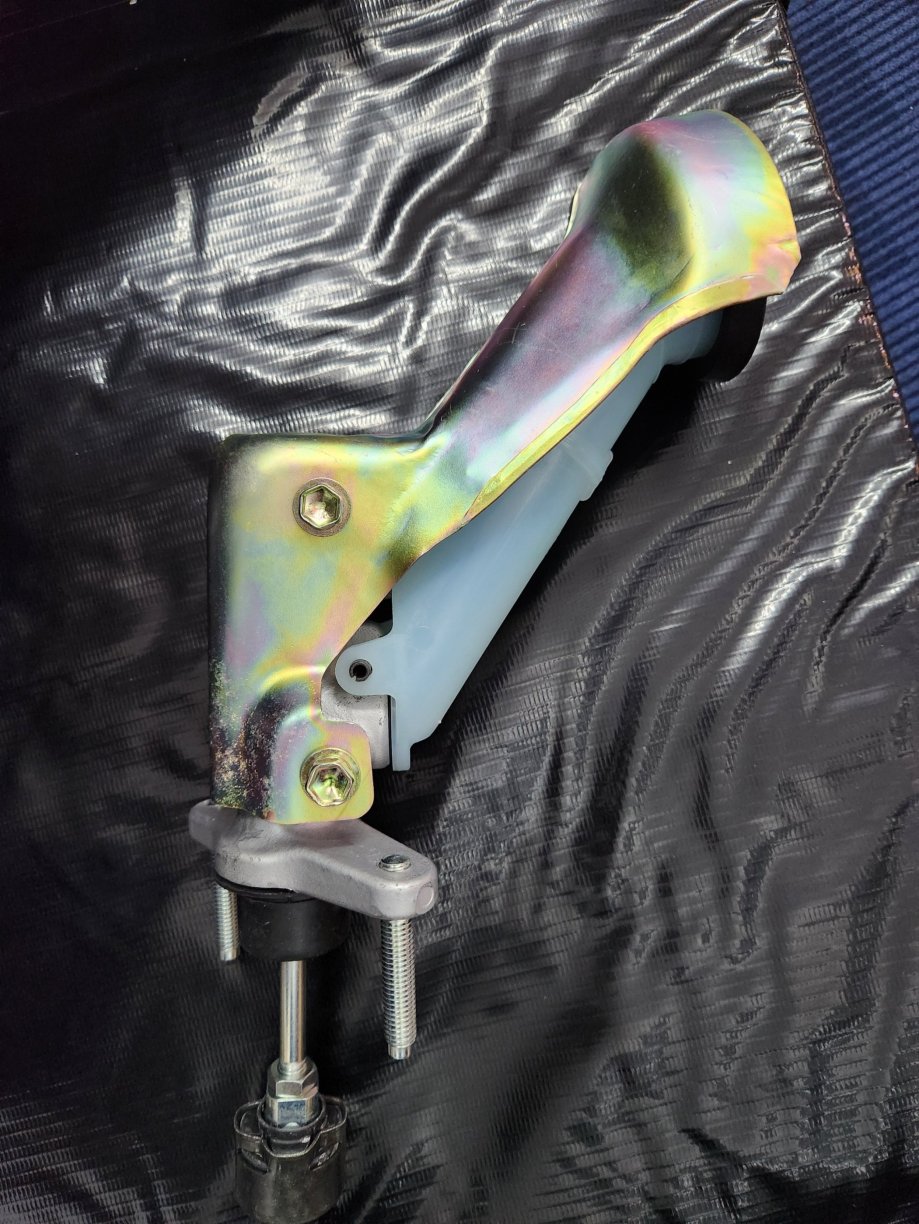
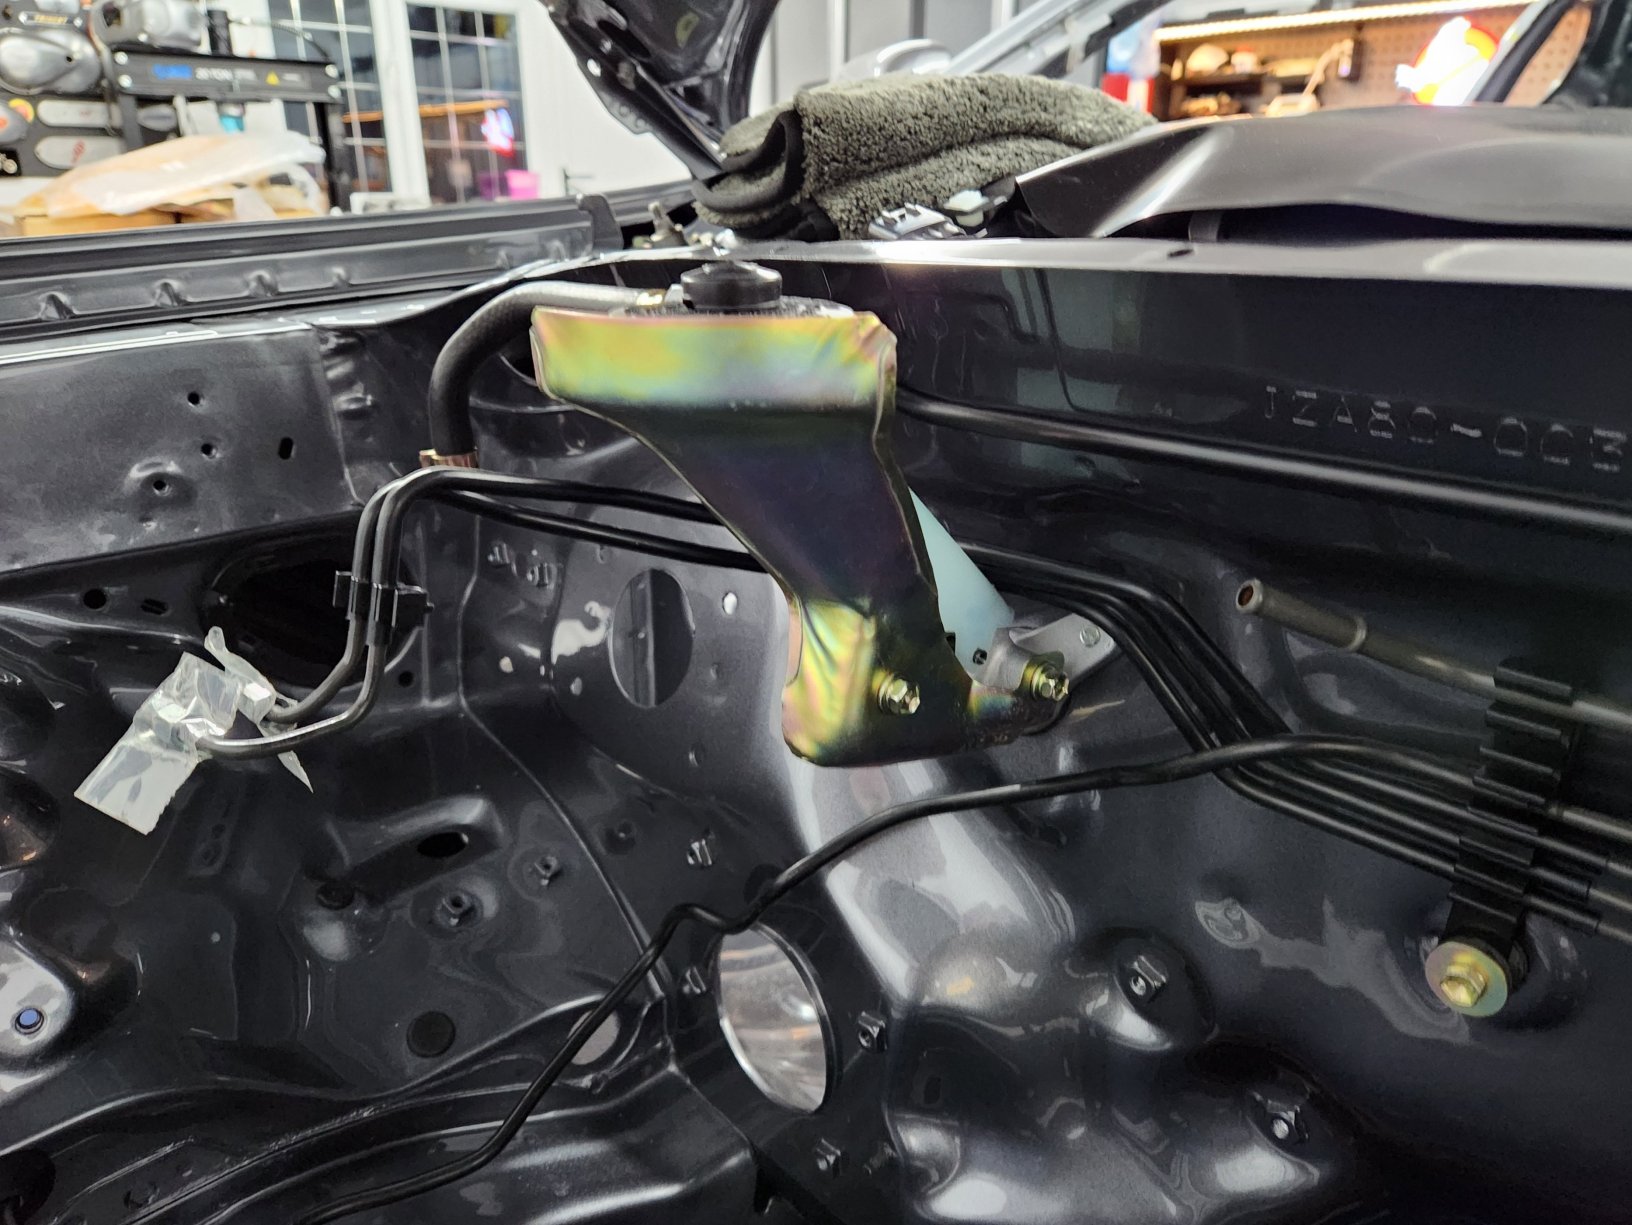
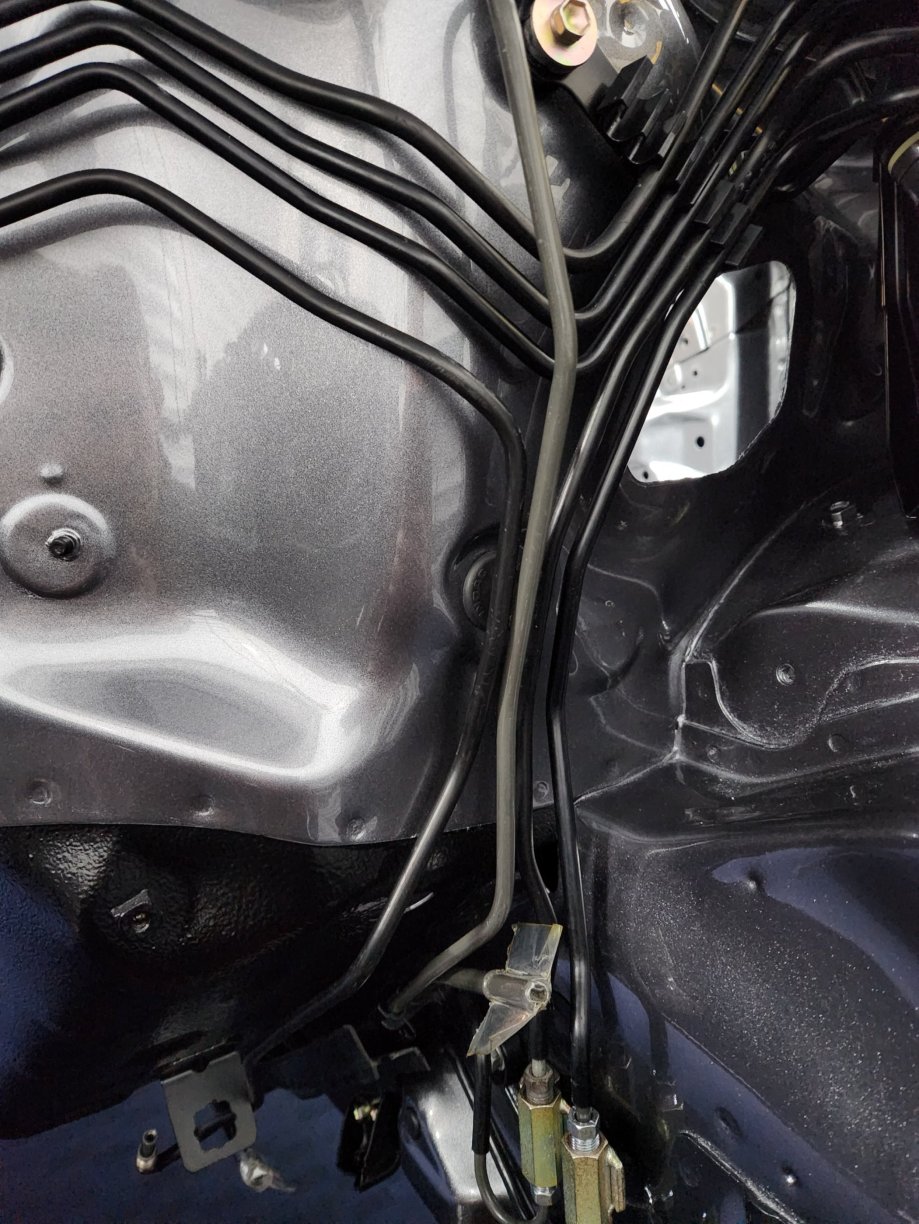
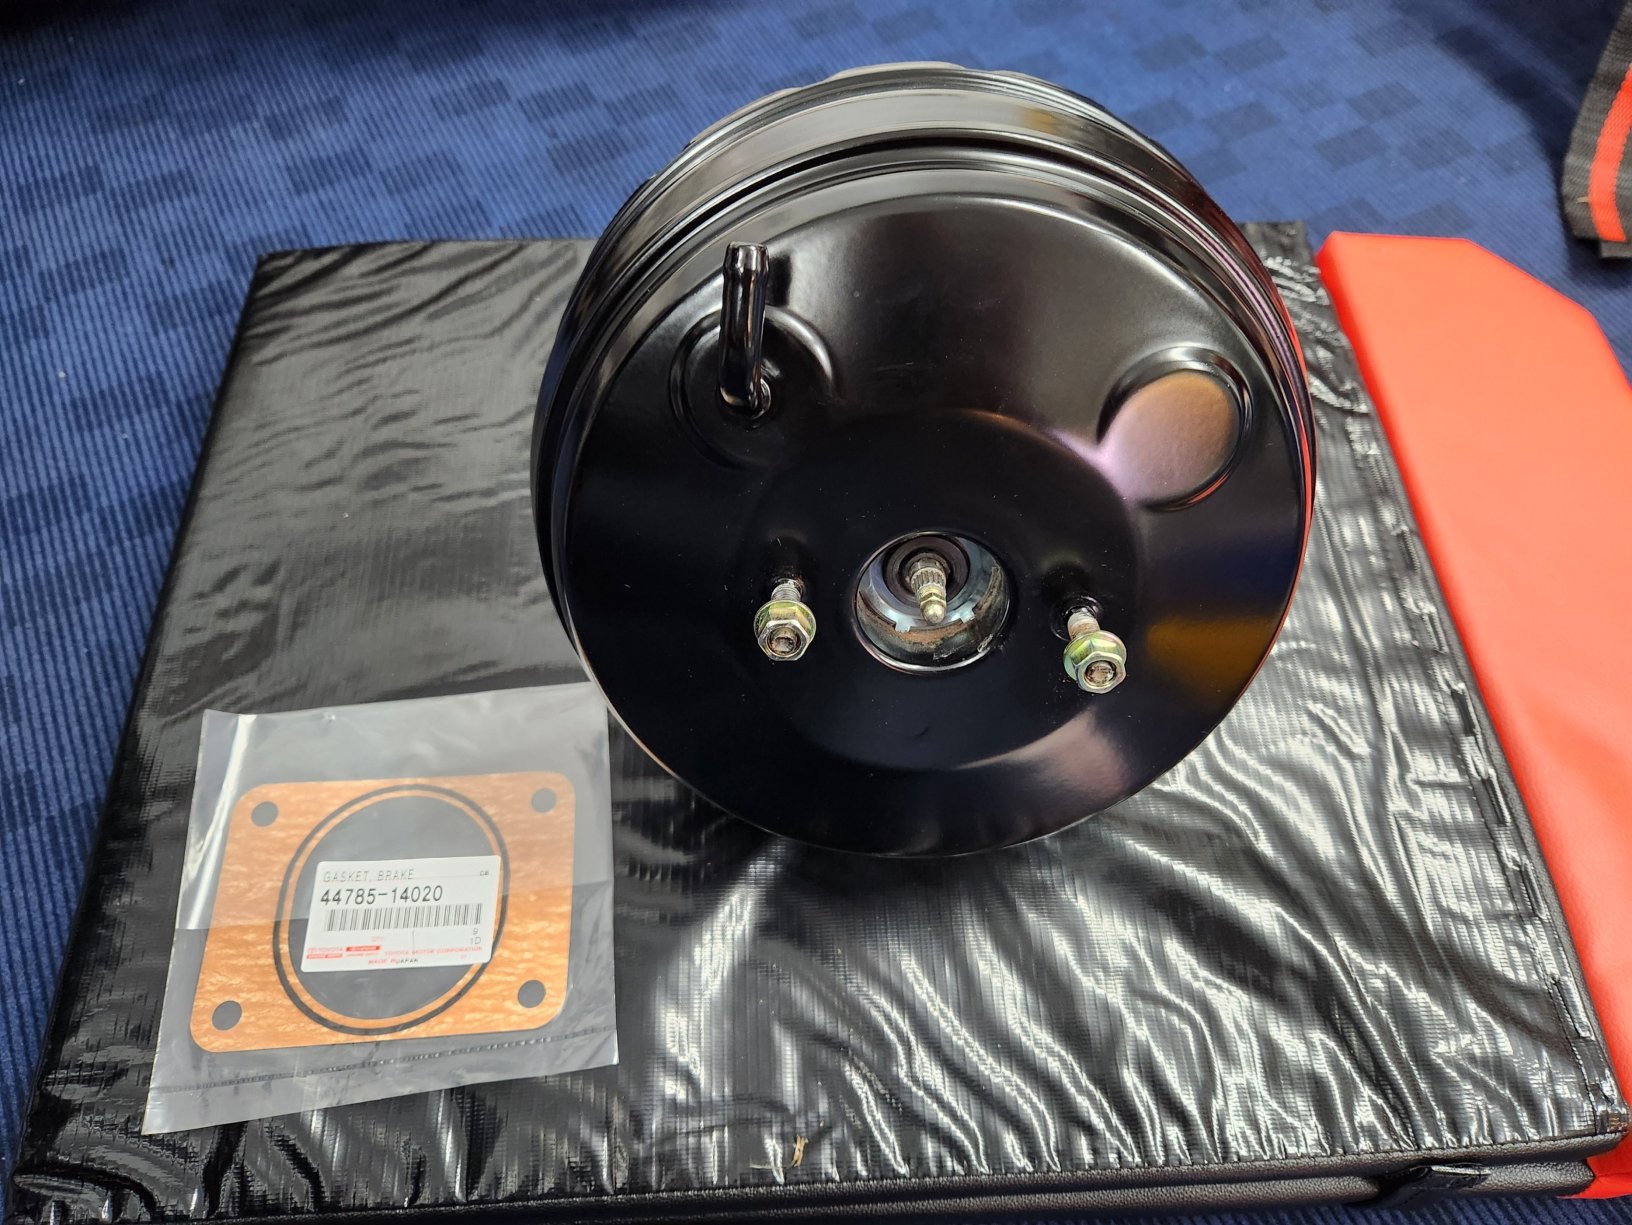
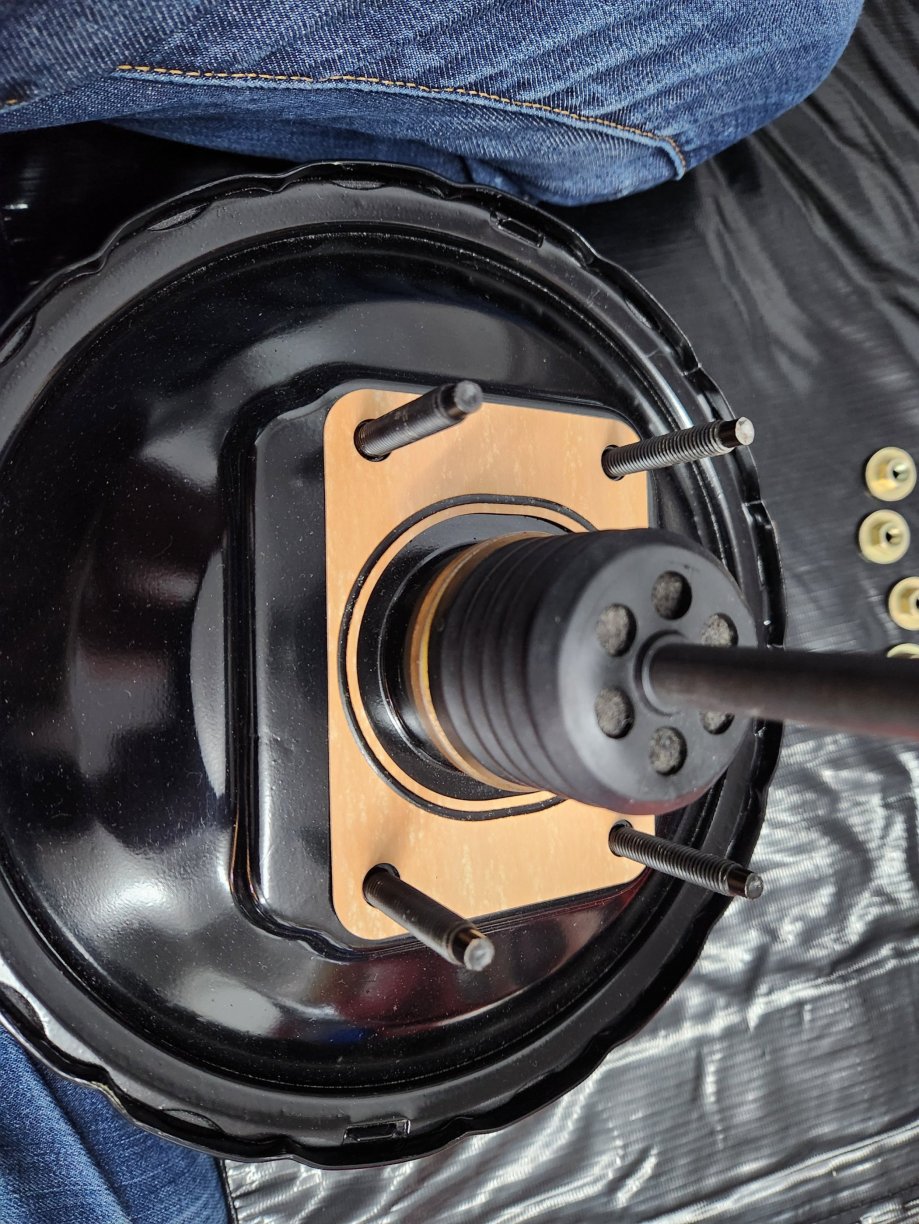
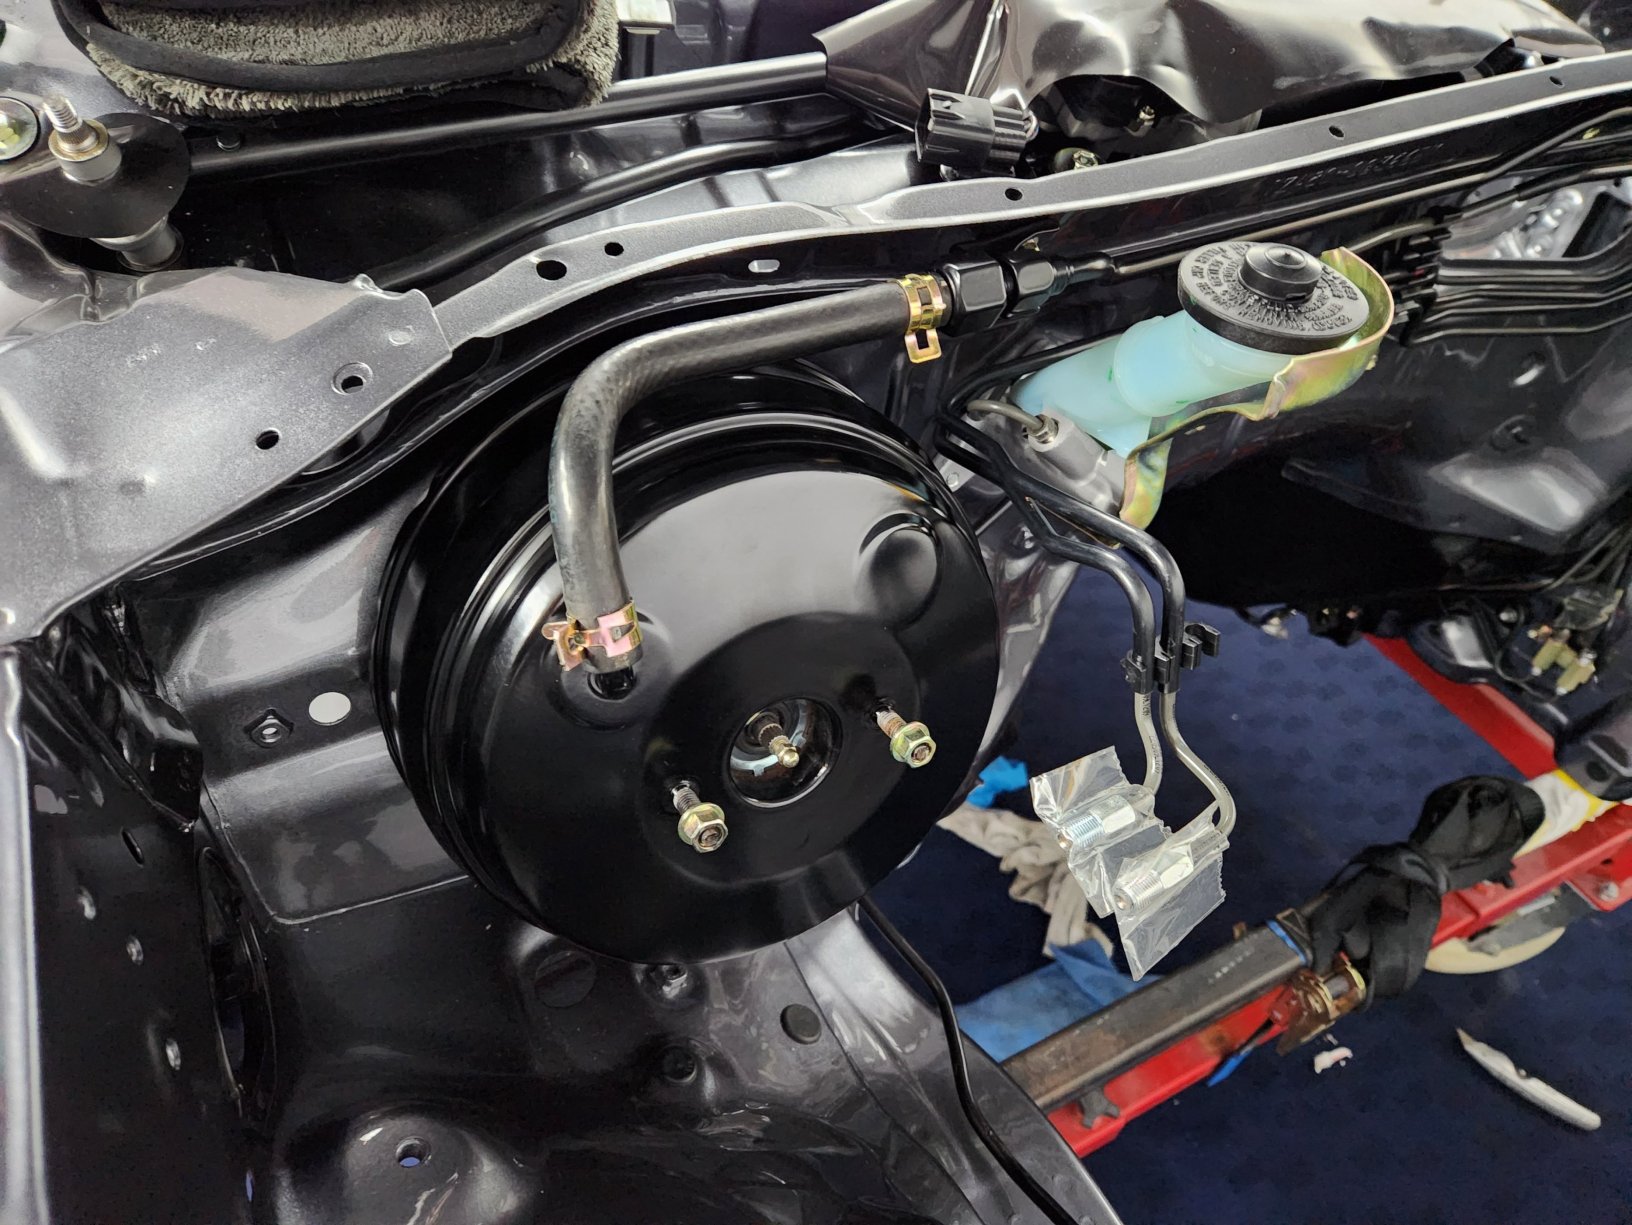
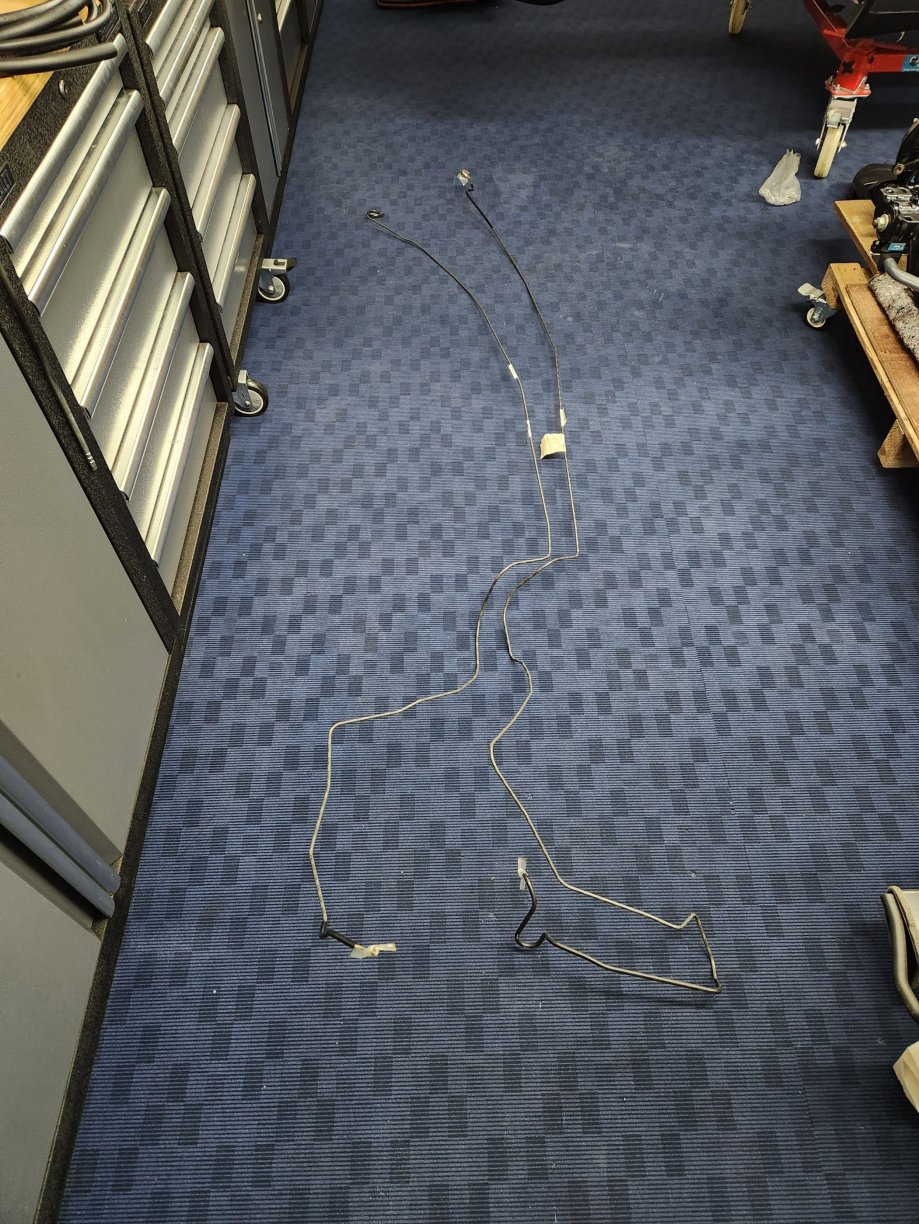
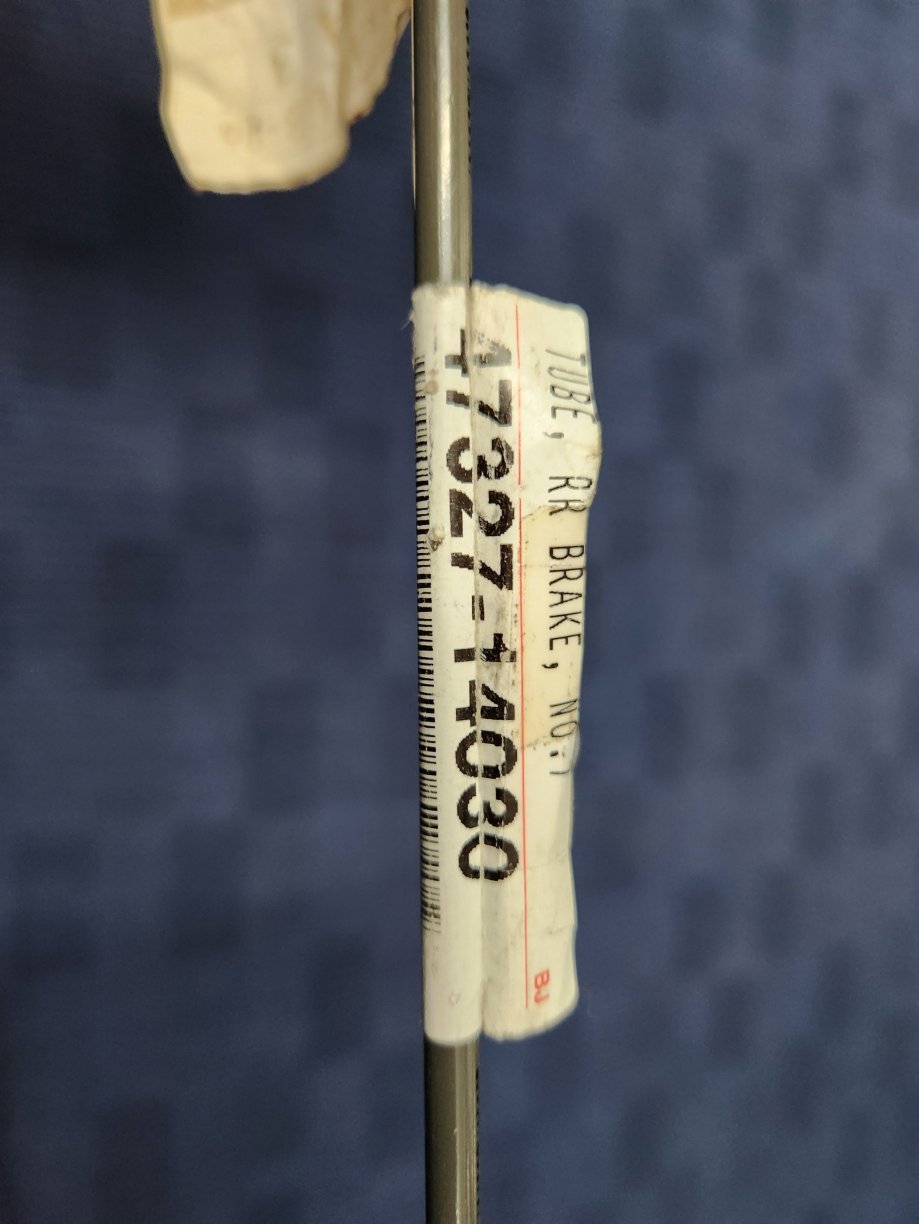
I've now installed the engine bay bulkhead pipe work. First were the two rear brake pipes that rund from the ABS actuator to the union pipe at the base of the nearside of the engine bay. I managed to get pne new a the other I had to reuse as it is now discontinued. I was also able to still get a replacement near side front brake pipe and losely install it. I then installed the two pipes that run from the brake reservoir. These were both new replacements. I then installed the pipe from the clutch reservoir to the gearbox. I reused my original pipe. Finally I installed the offside front brake pipe. This is annoyingly discontinued, so i had to reuse my original pipe. I then installed the two pipe spacers. The larger one goes on the back of thevpipes whwre the HVAC drain pipe comes through the bulkhead. The other spacer separates the two pipes going into the brake reservoir. I then installed the new clutch master cylinder. Although I bought a new guard and bolts I decided to reuse my zinc plated old ones instead. Next was the repainted brake booster.

-
There's room to run the wire up behind the radio over the transmission tunnel.
-
Do you mean thread the new wires from one side of the dash to the other? You'll definately be able to thread a wire behind the dash from one side of the car to the other. As to how neat and tidy that willl be is a matter for you and your patience.
-
If you remove the pin, it will allow the door to open wider. The hinges in the doors have a stop to prevent the edge of the door fowling on the wing and base of the A pillar if opened wide. But I'd still be careful.
-
Same as non-heated wing mirror glass, just pull from the bottom. Heated glass part numbers are: 87931-14590 Mirror Sub-Assy, Outer Rear View, Rh 87961-1B130 Mirror Sub-Assy, Outer Rear View, Lh.
-
You can check your vehicle on this tool: https://tfl.gov.uk/modes/driving/check-your-vehicle/ I very much doubt the mkiv Supra is ULEZ compatible.
-
I hadn't planned to, but can if people think it might be useful. Outside of my own annotations, this is just info from the Toyota EPC.
-
I bought these about 4-5 years ago, before they were discontinued. I bought them through TCB Parts.
-
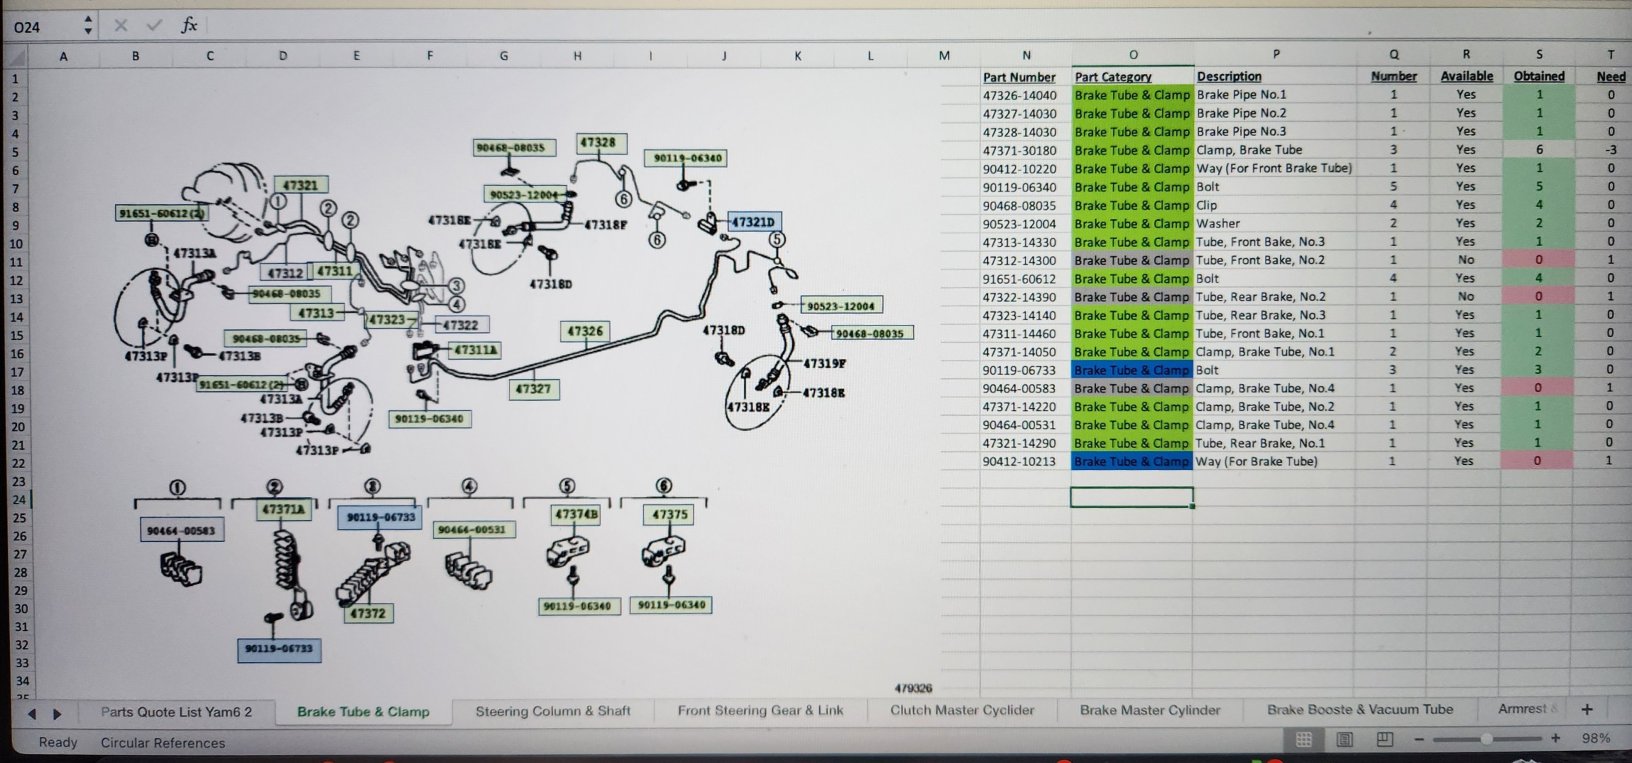
I don't All the old parts were removed and placed into bags or boxes that related to the parts catalogue pages. They are then reviewed by me to see if I can reuse / refurbish or replace them. All new parts are listed on an excel workbook I've created. Green shows a part I want to buy, grey shows an unavailable part and blue a reused part. Here is one of the pages I created. The new parts are then placed into the corresponding box or bag. Despite all this I still get stuck, or forget a bit and have to redo the install - like the fuel pump loom when installing the fuel tank.
-
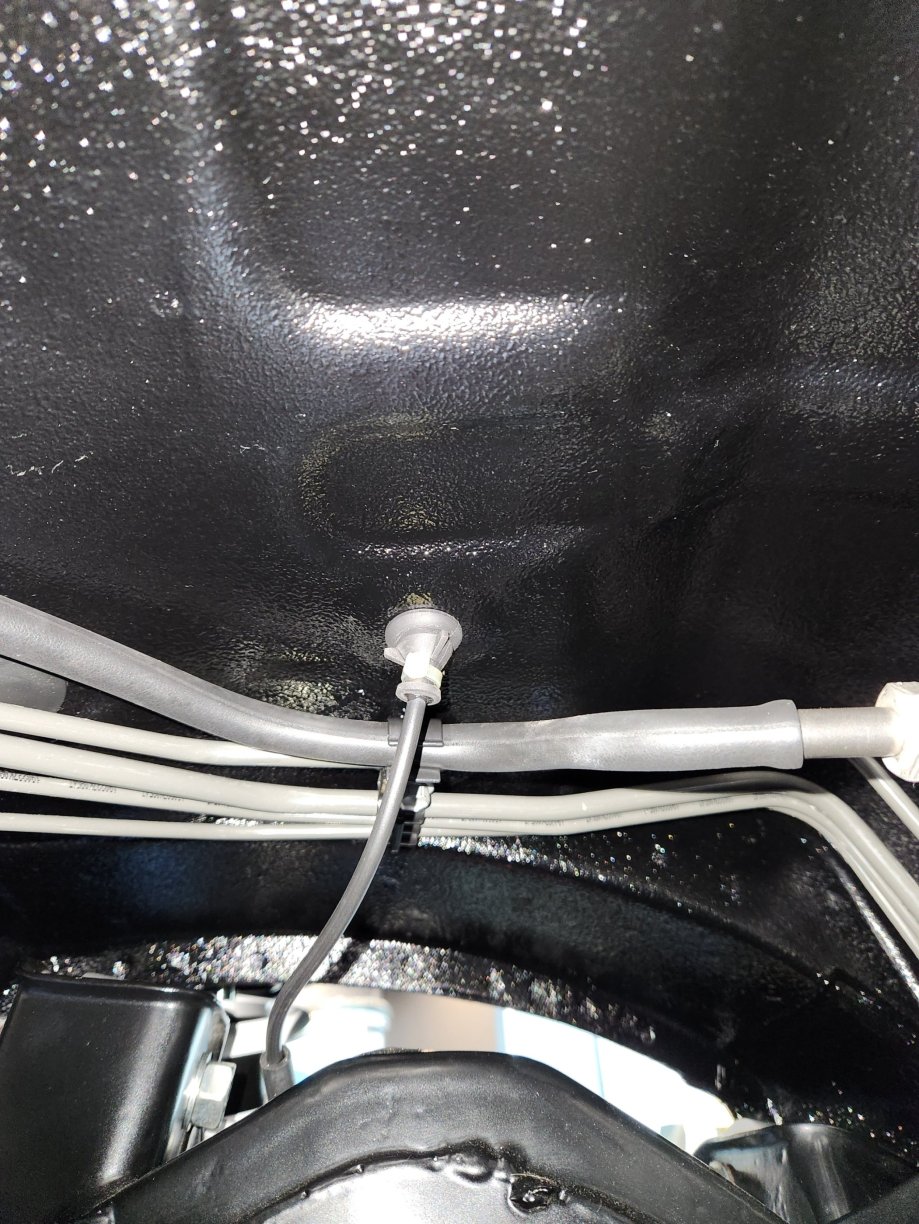
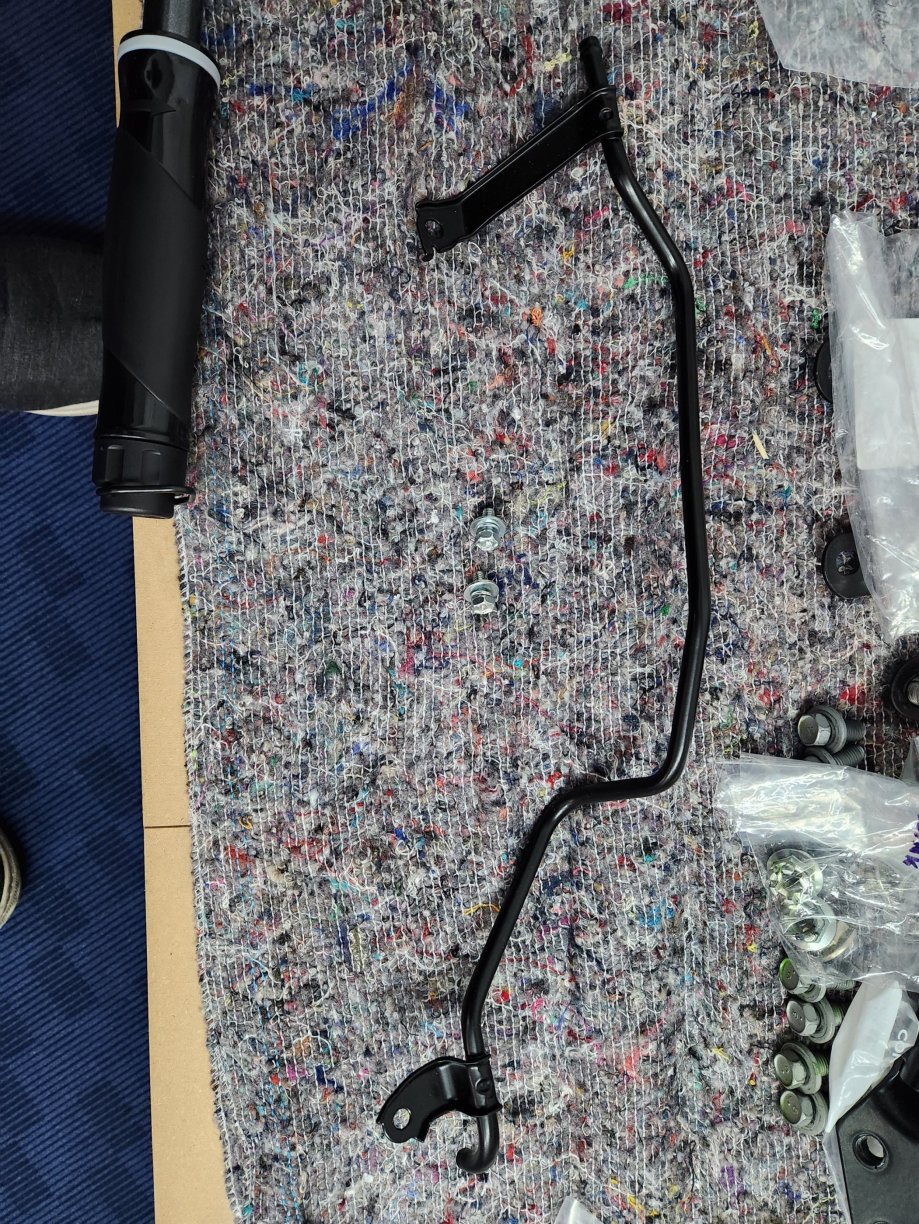
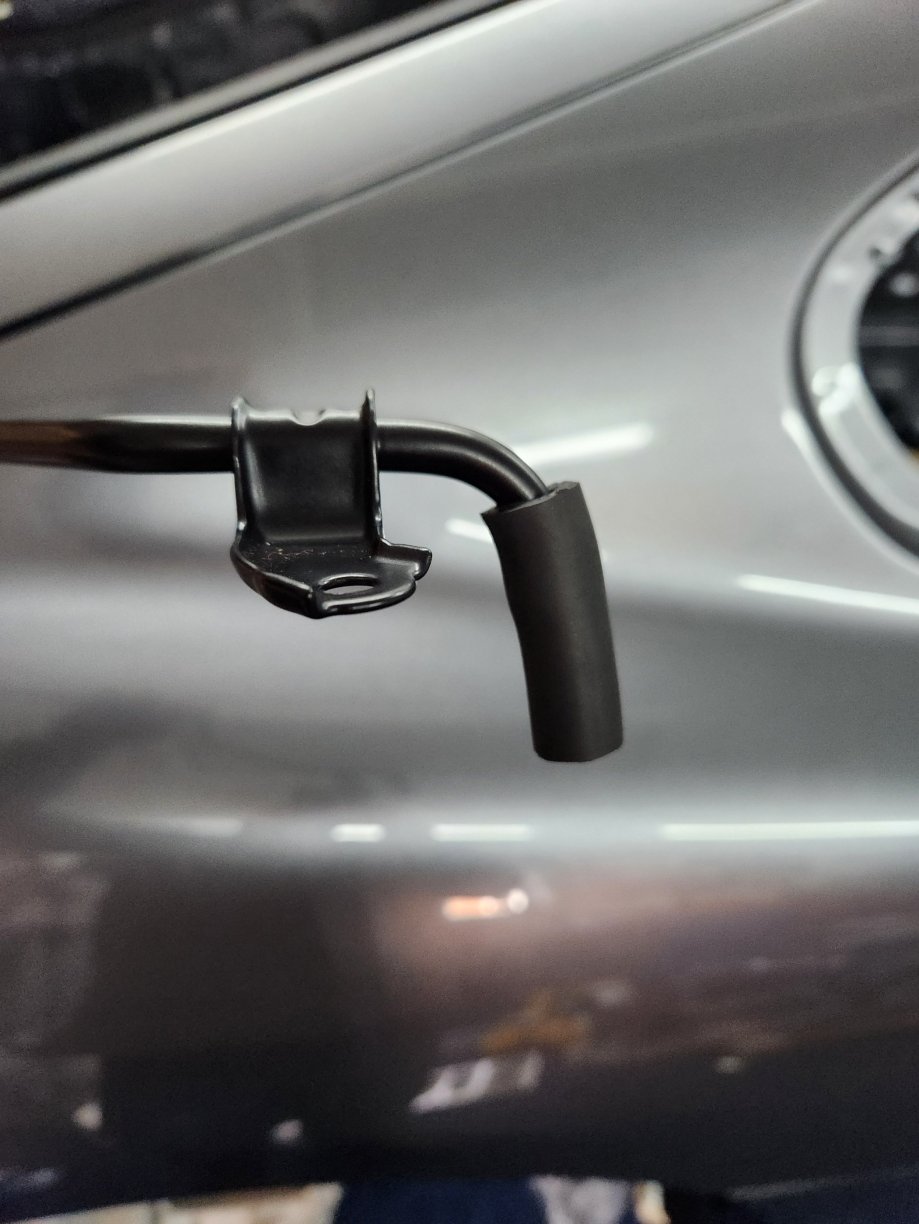
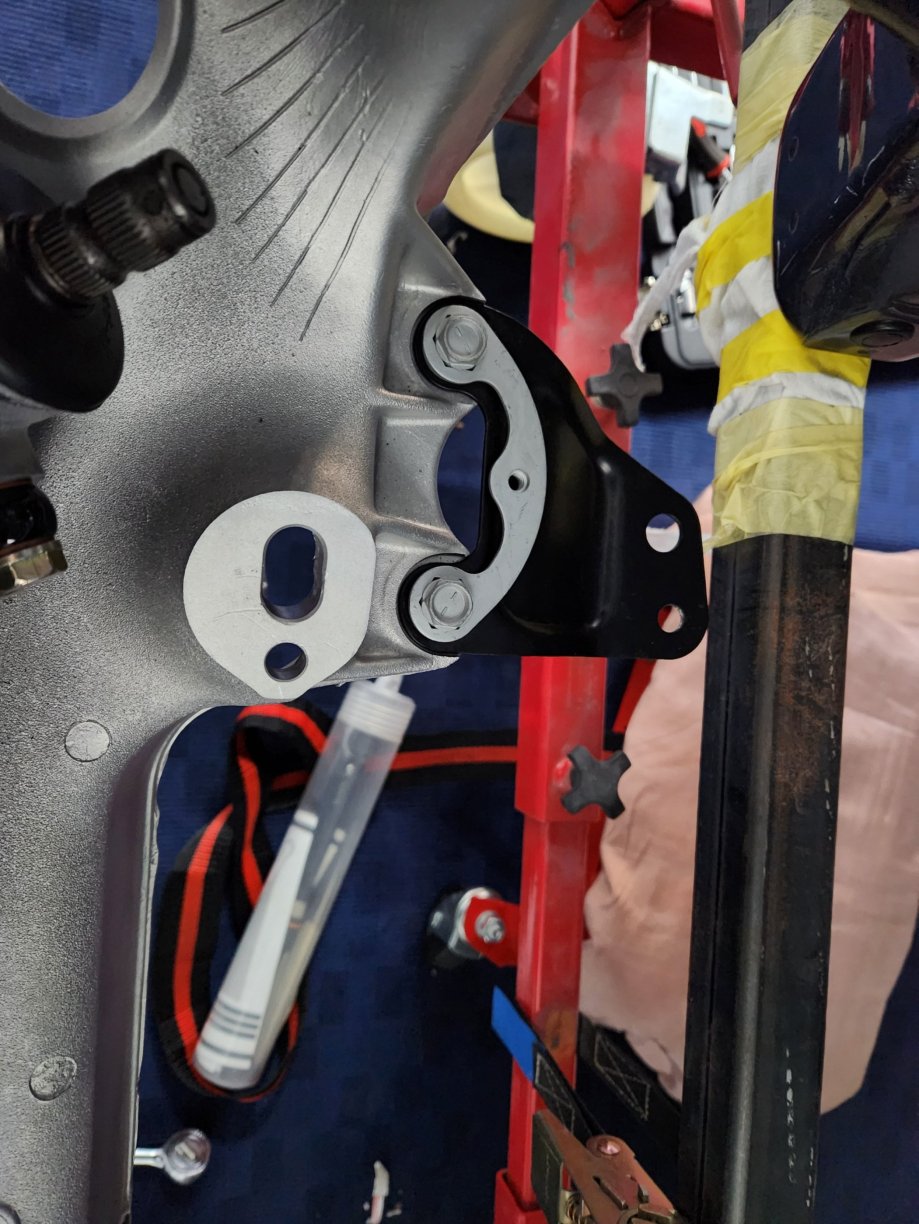
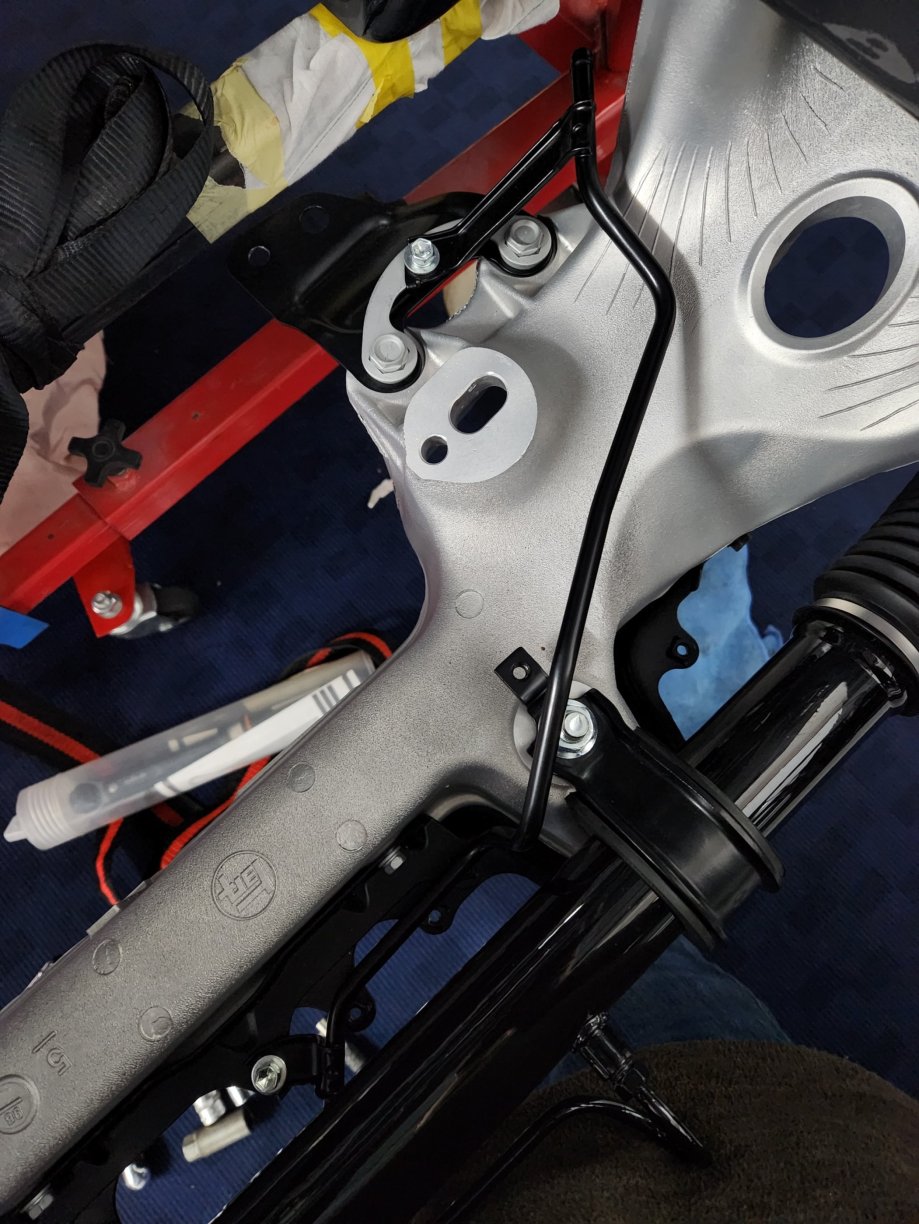
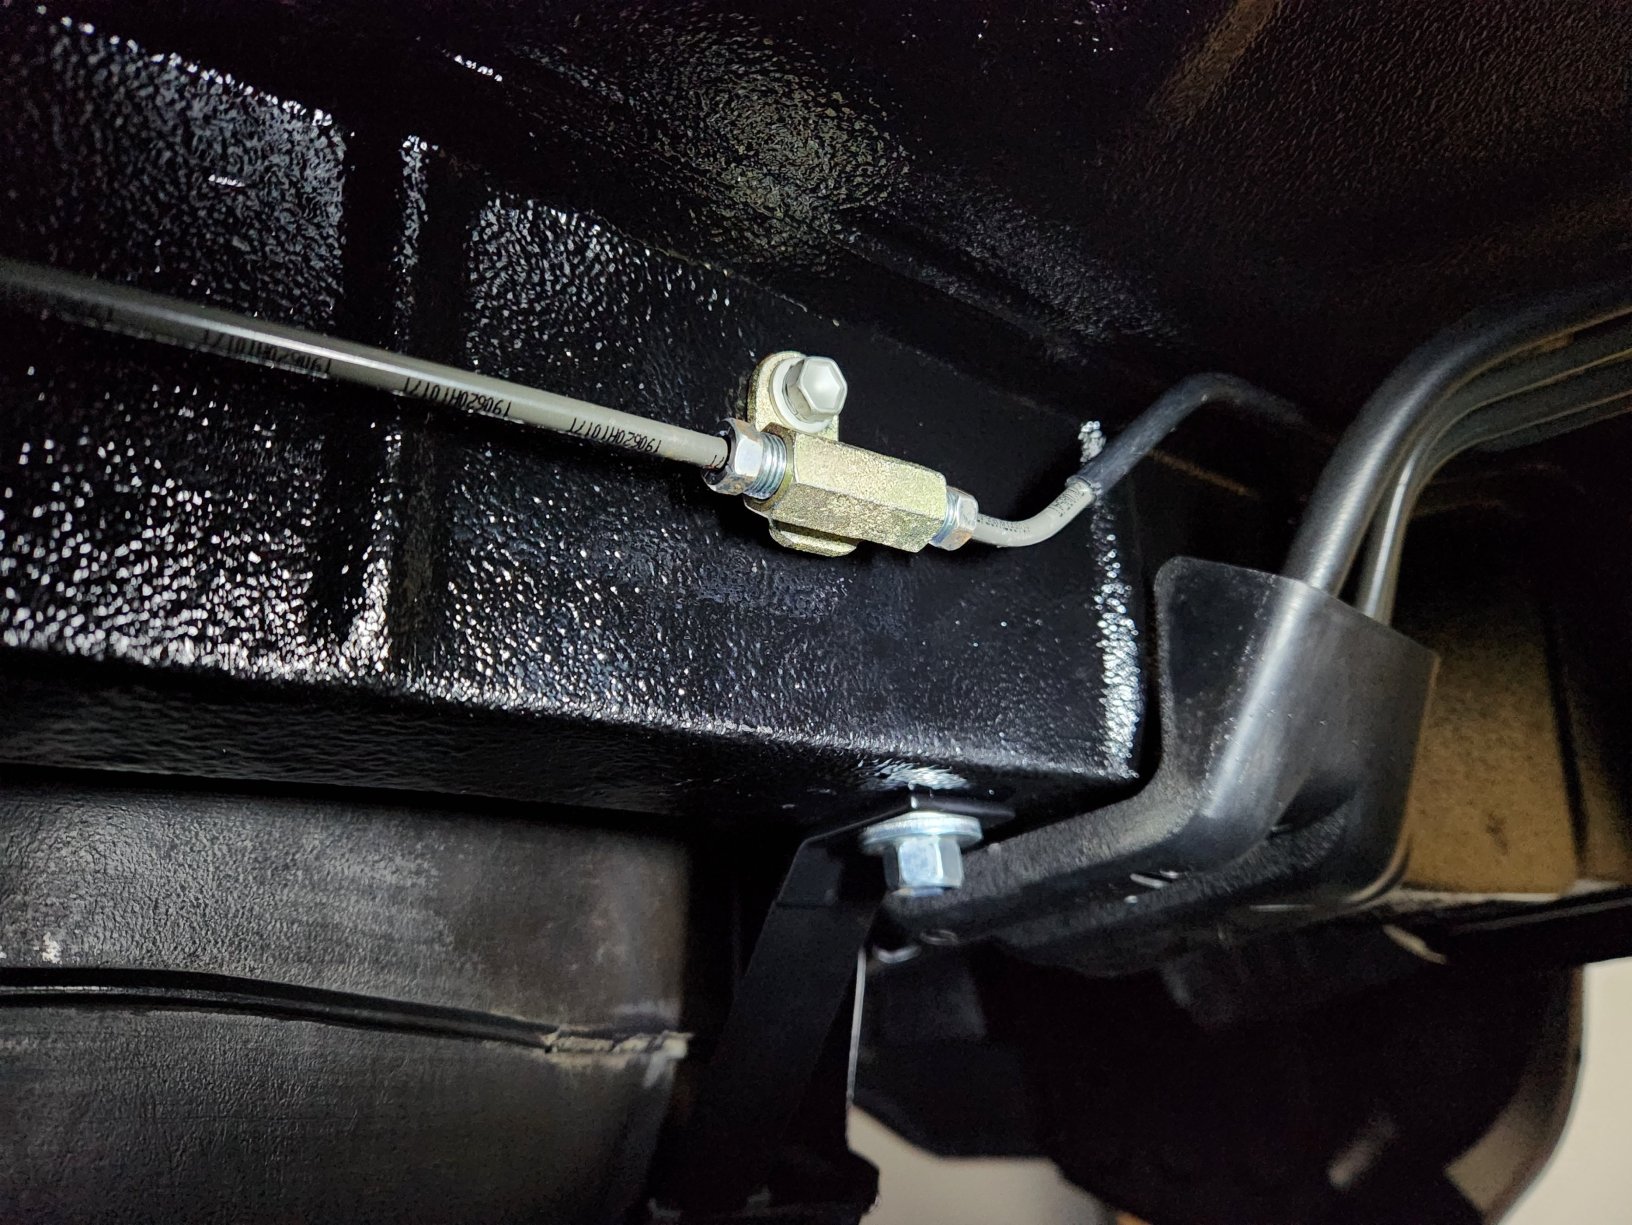
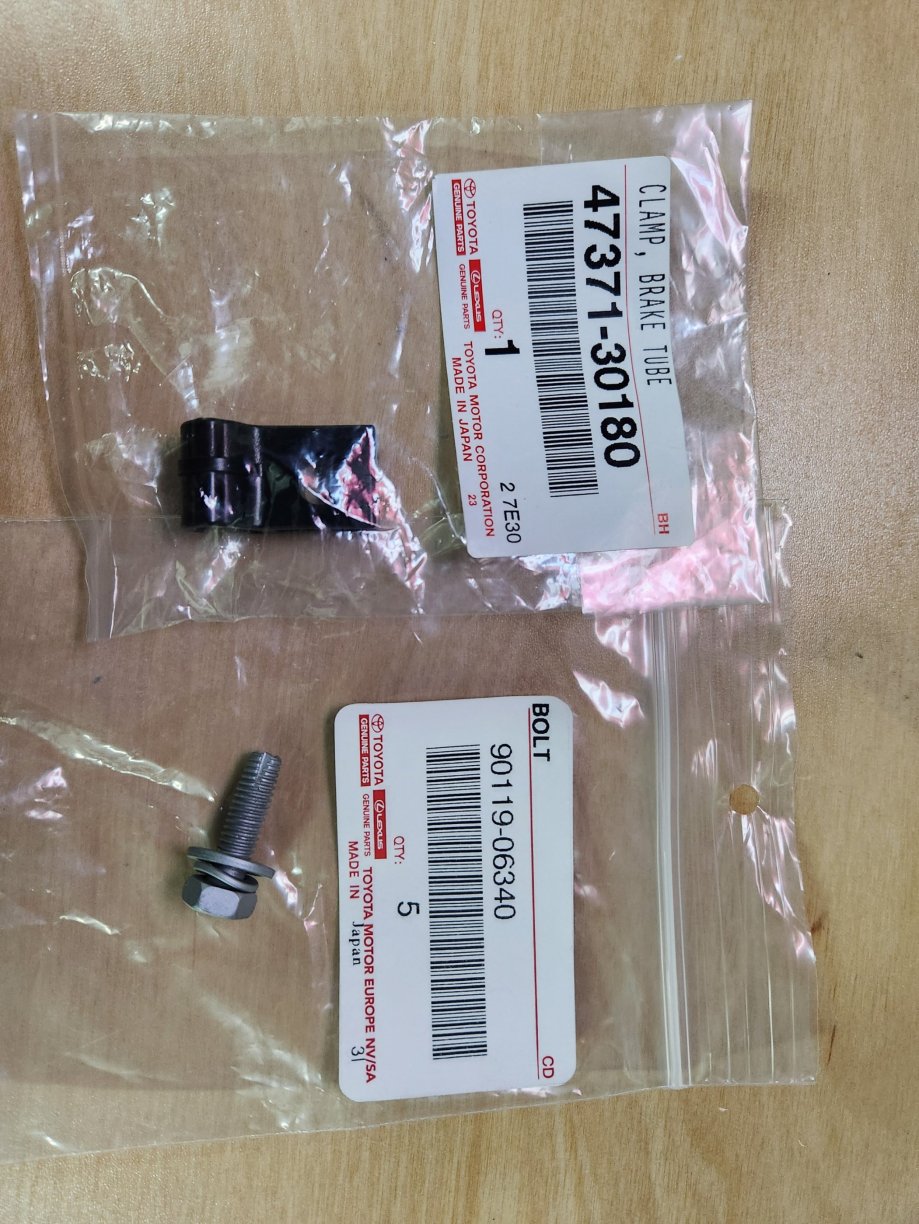
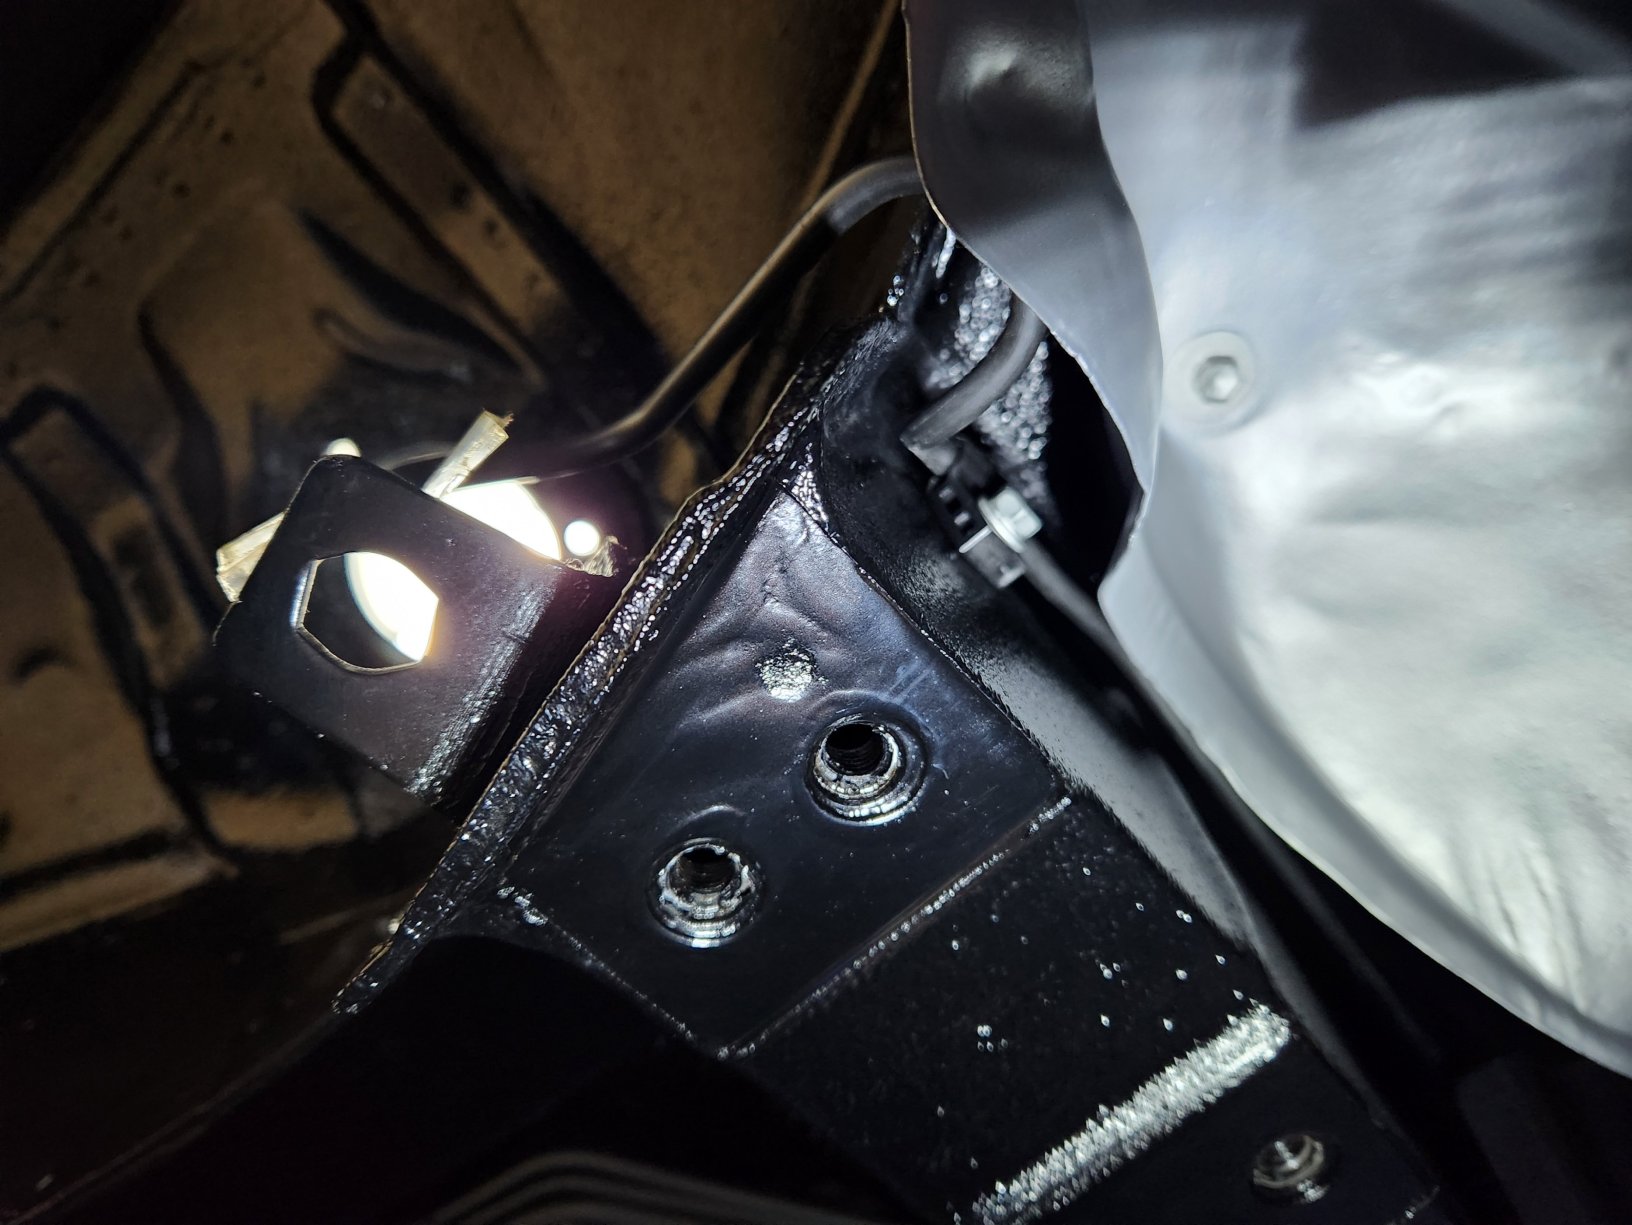
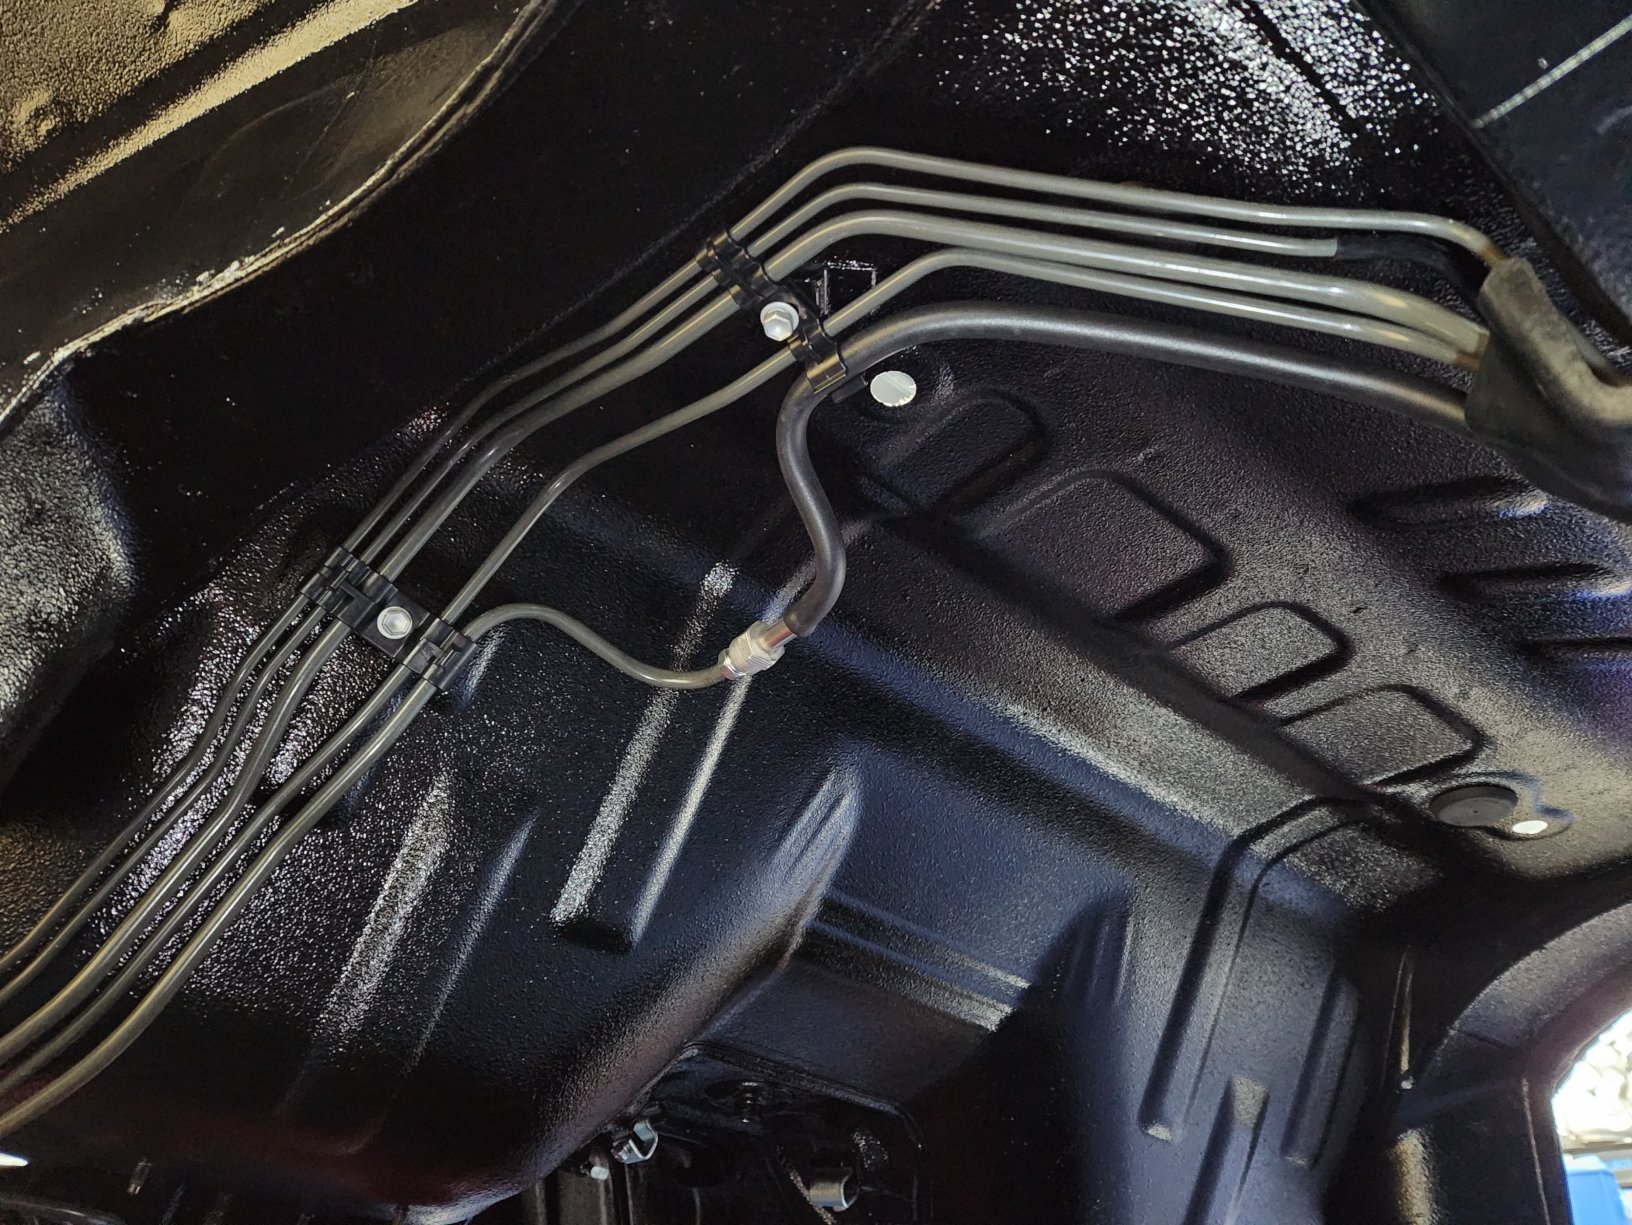
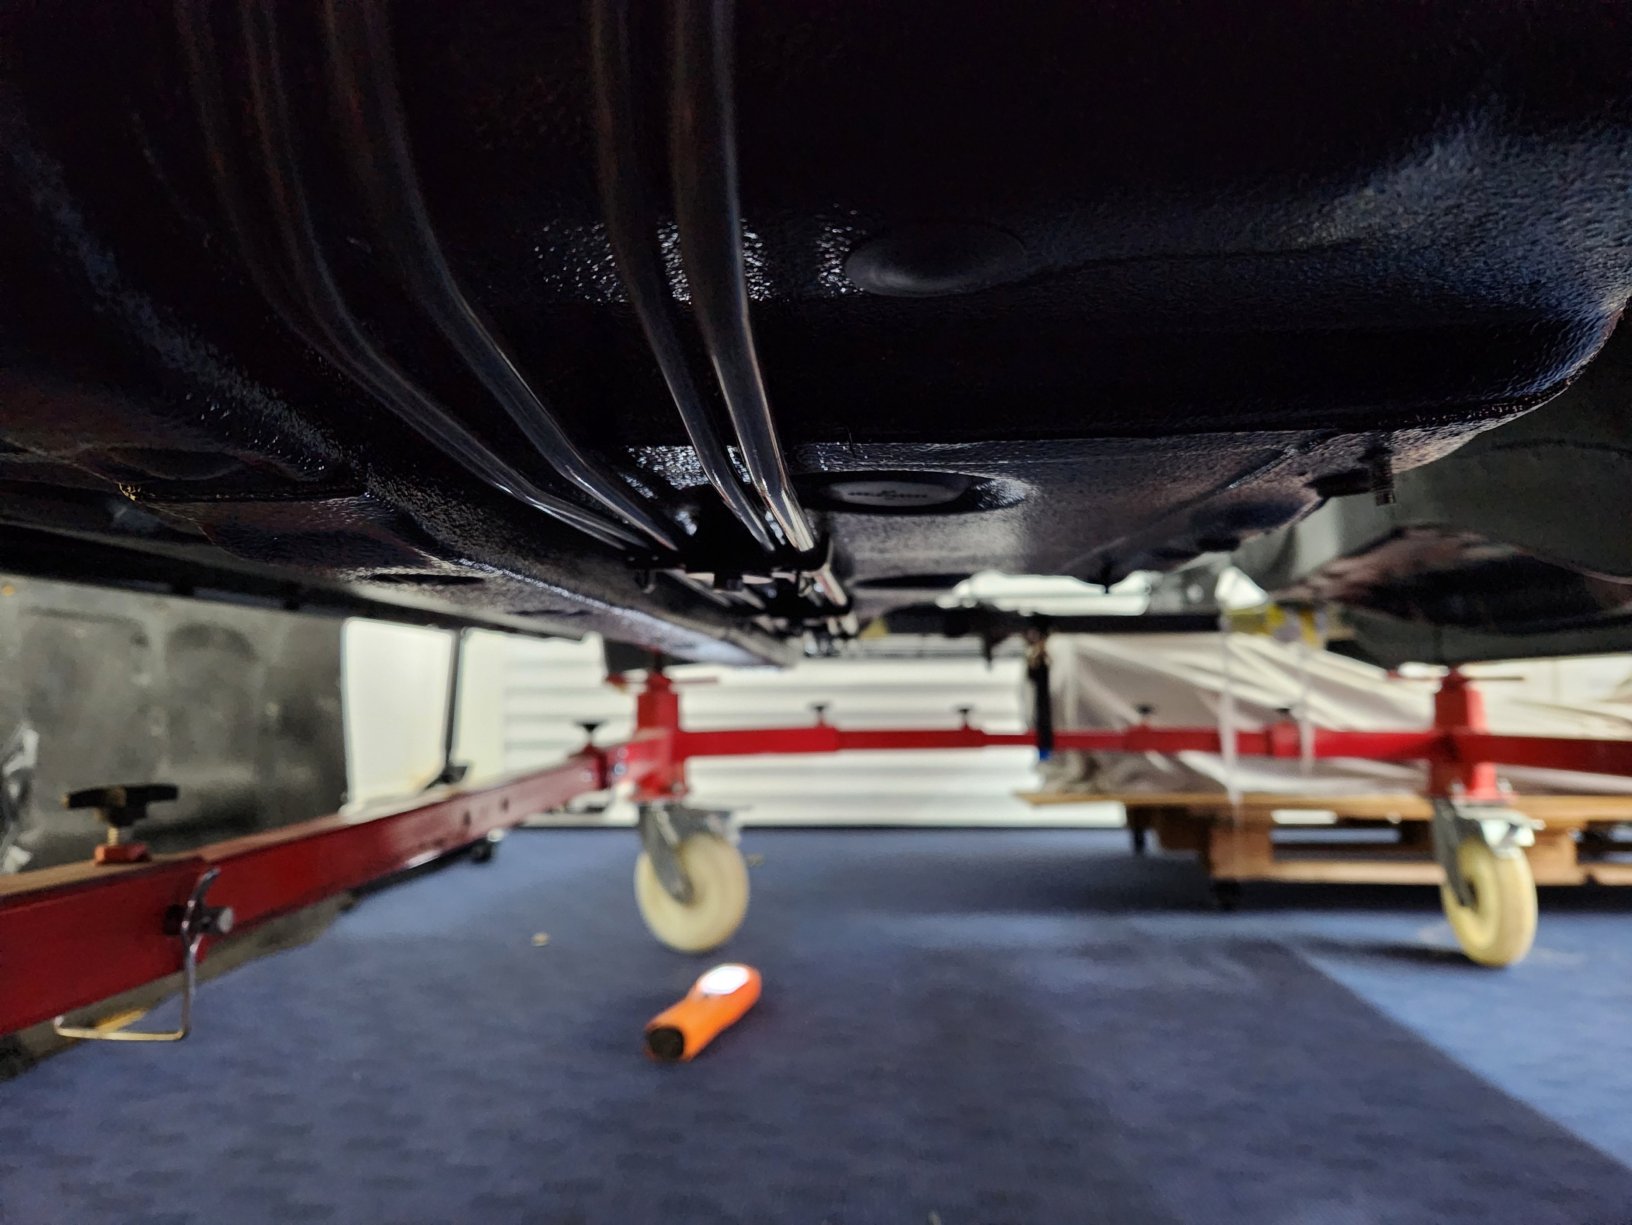
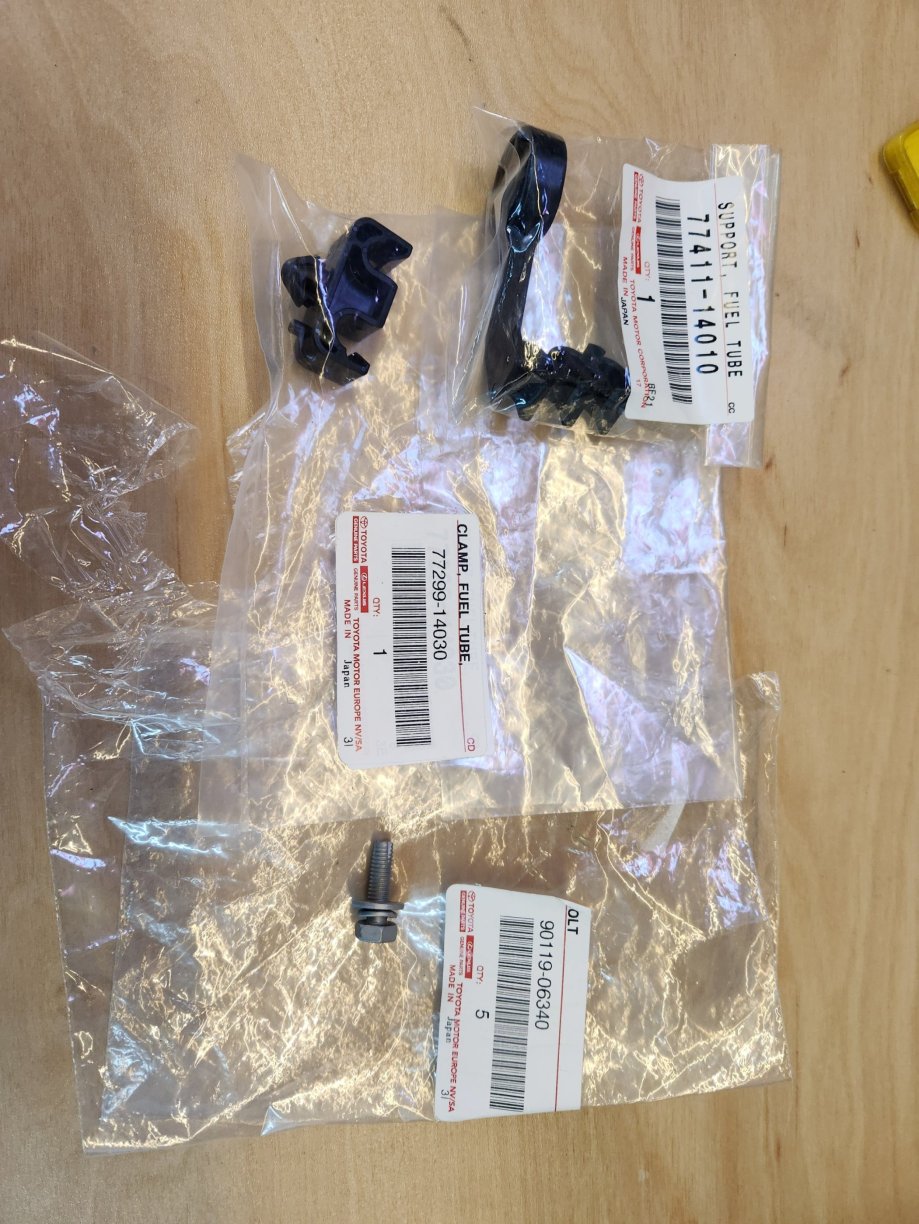
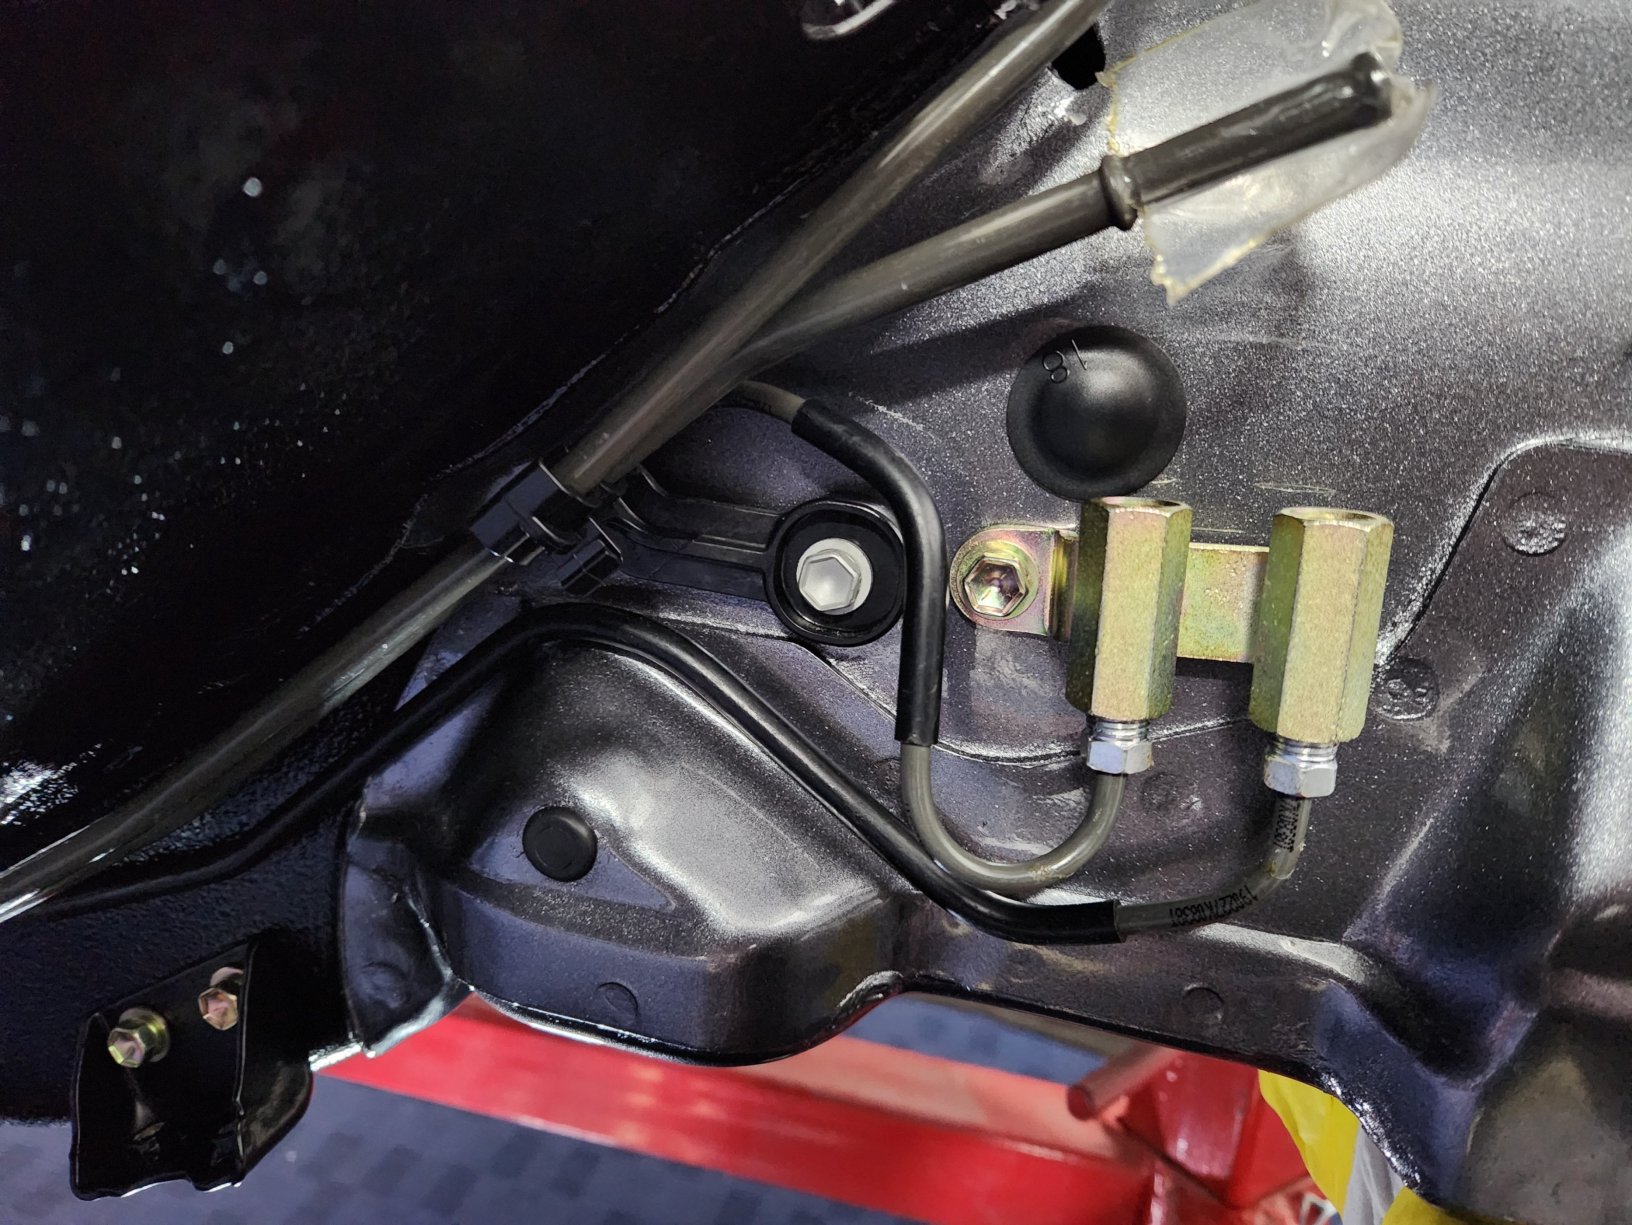
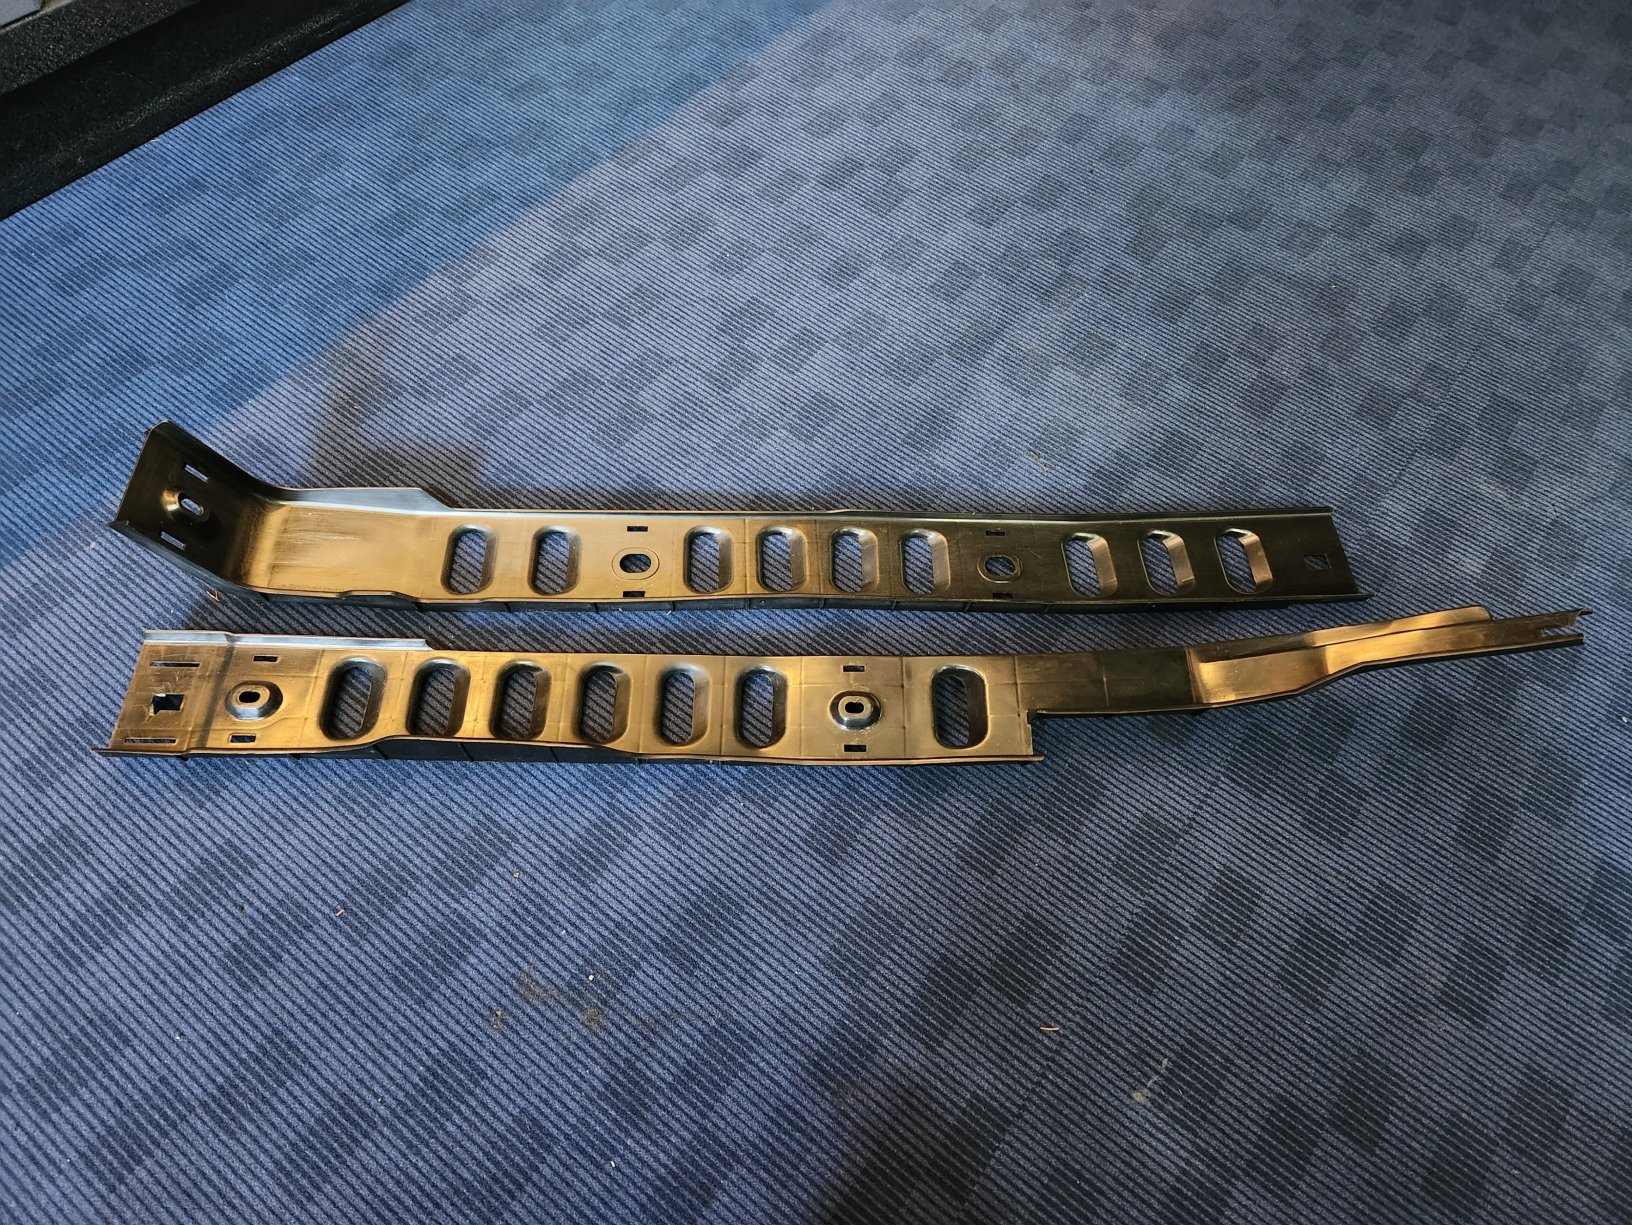
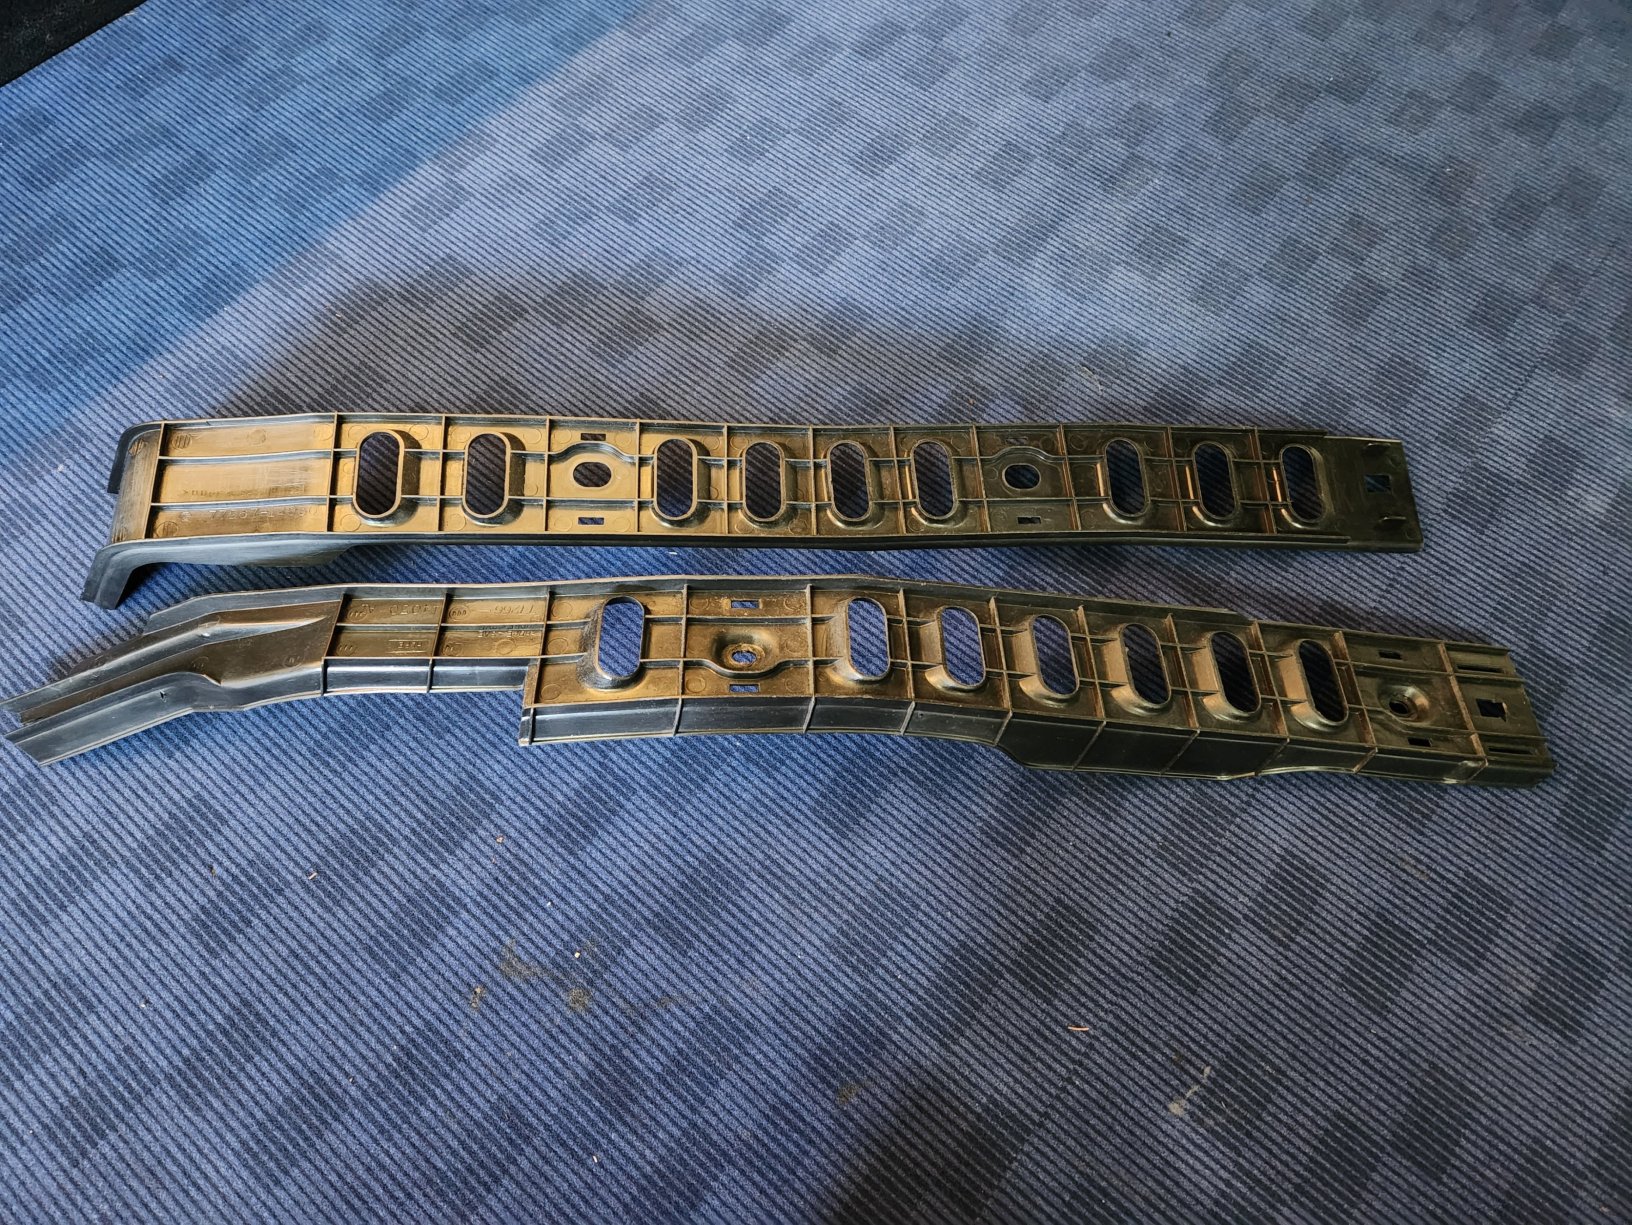
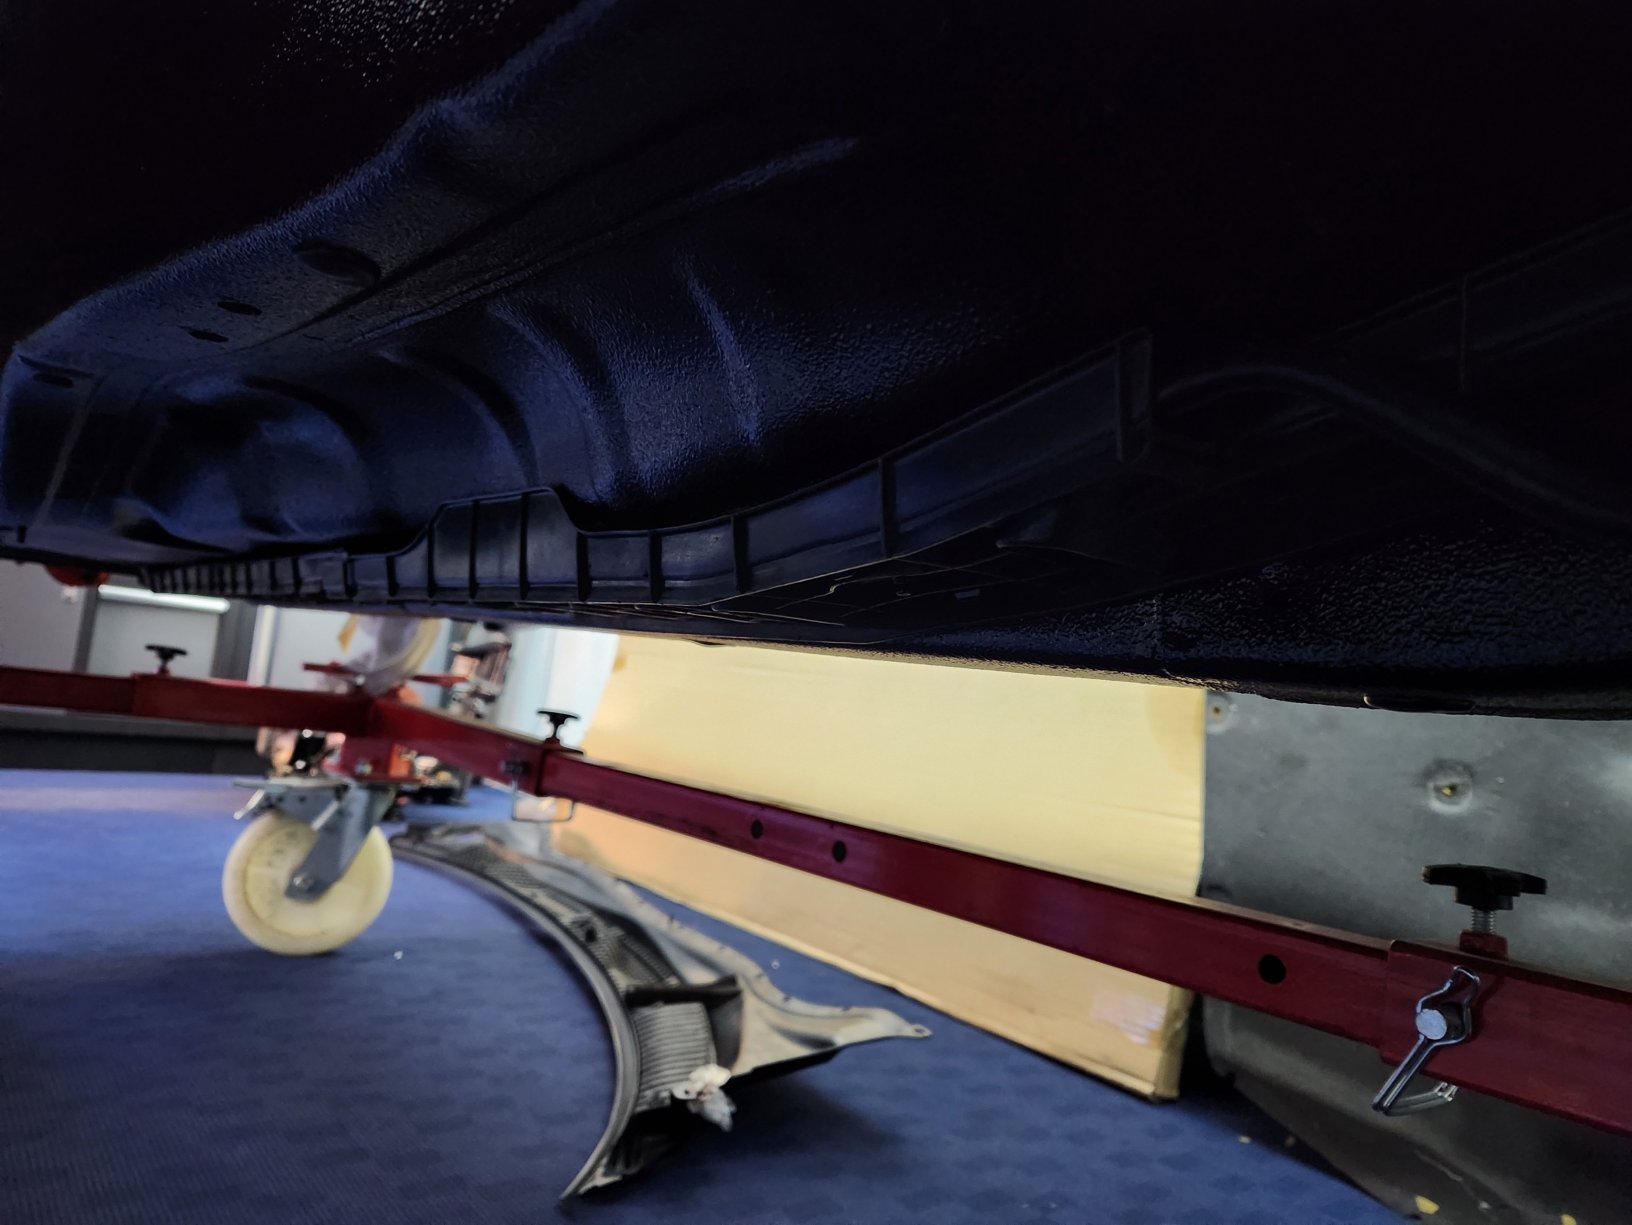
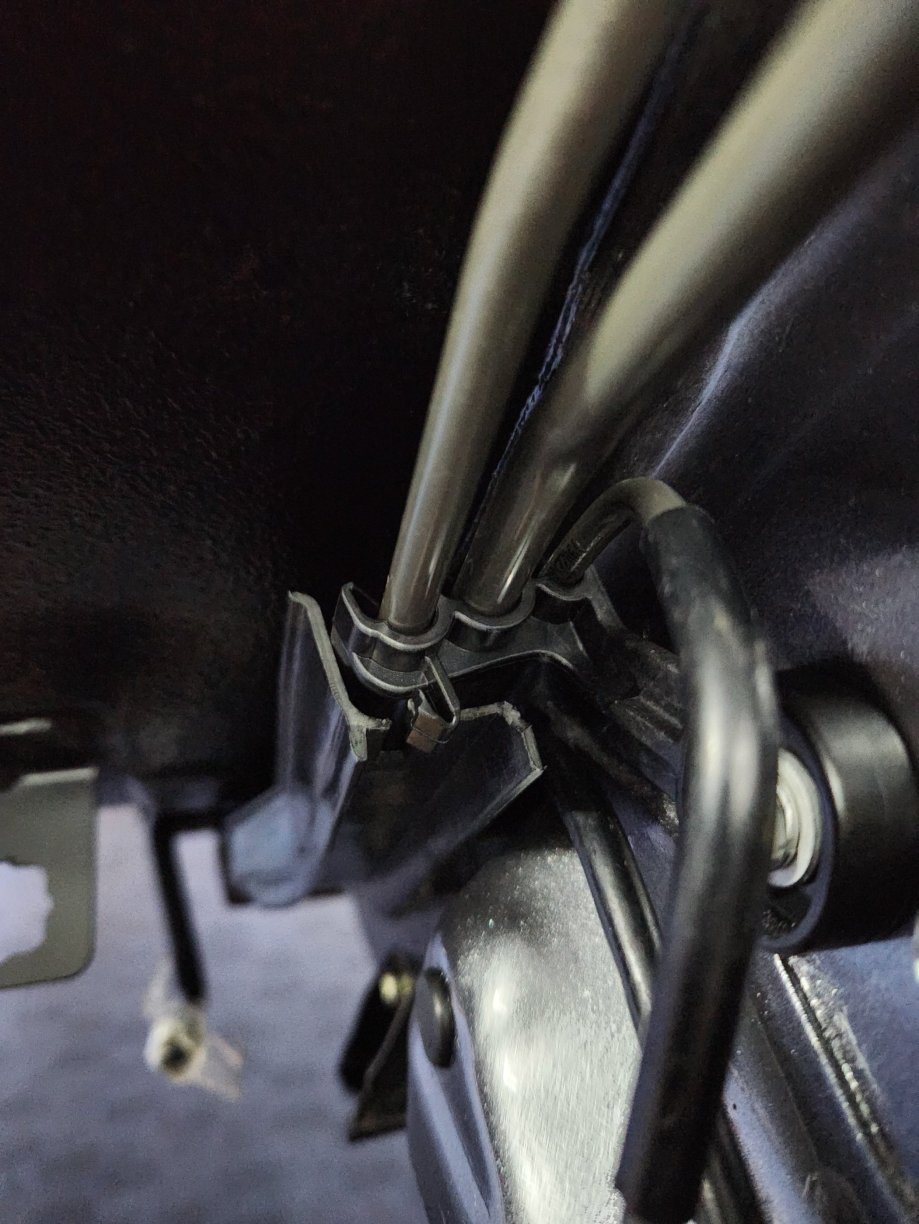
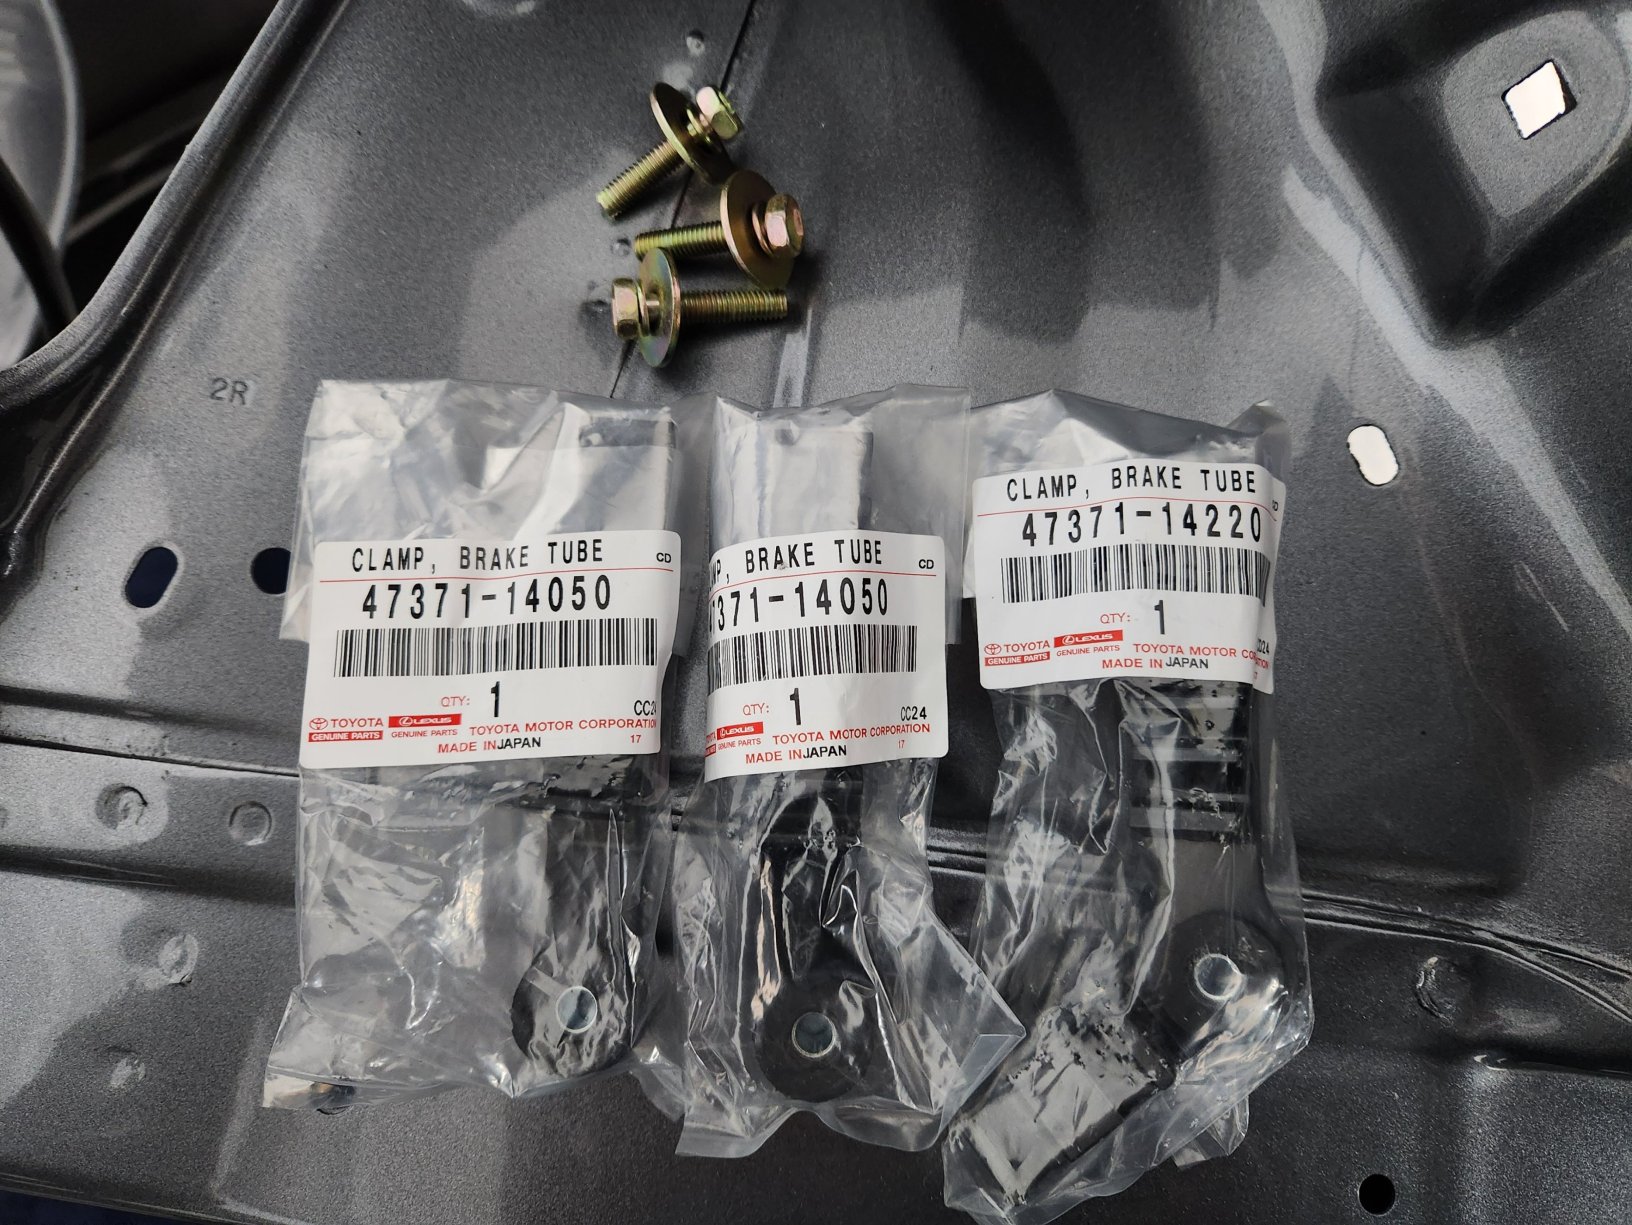
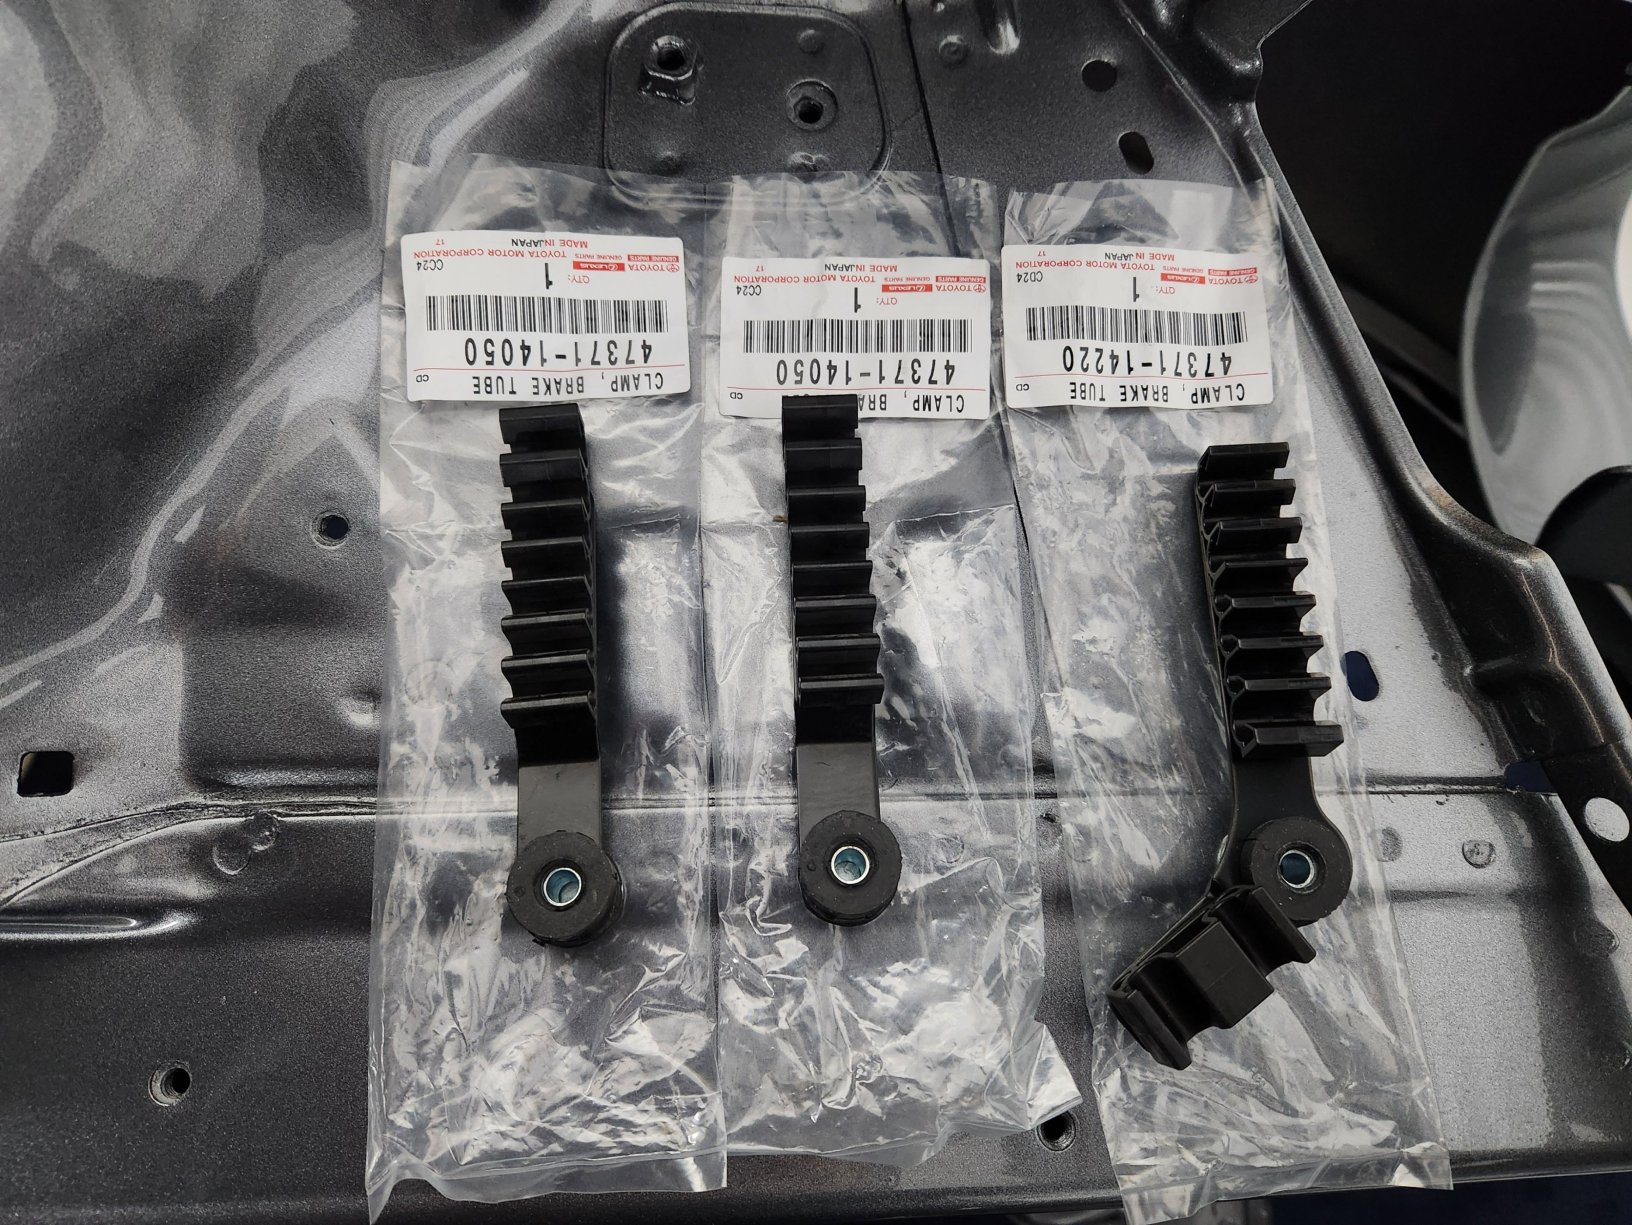
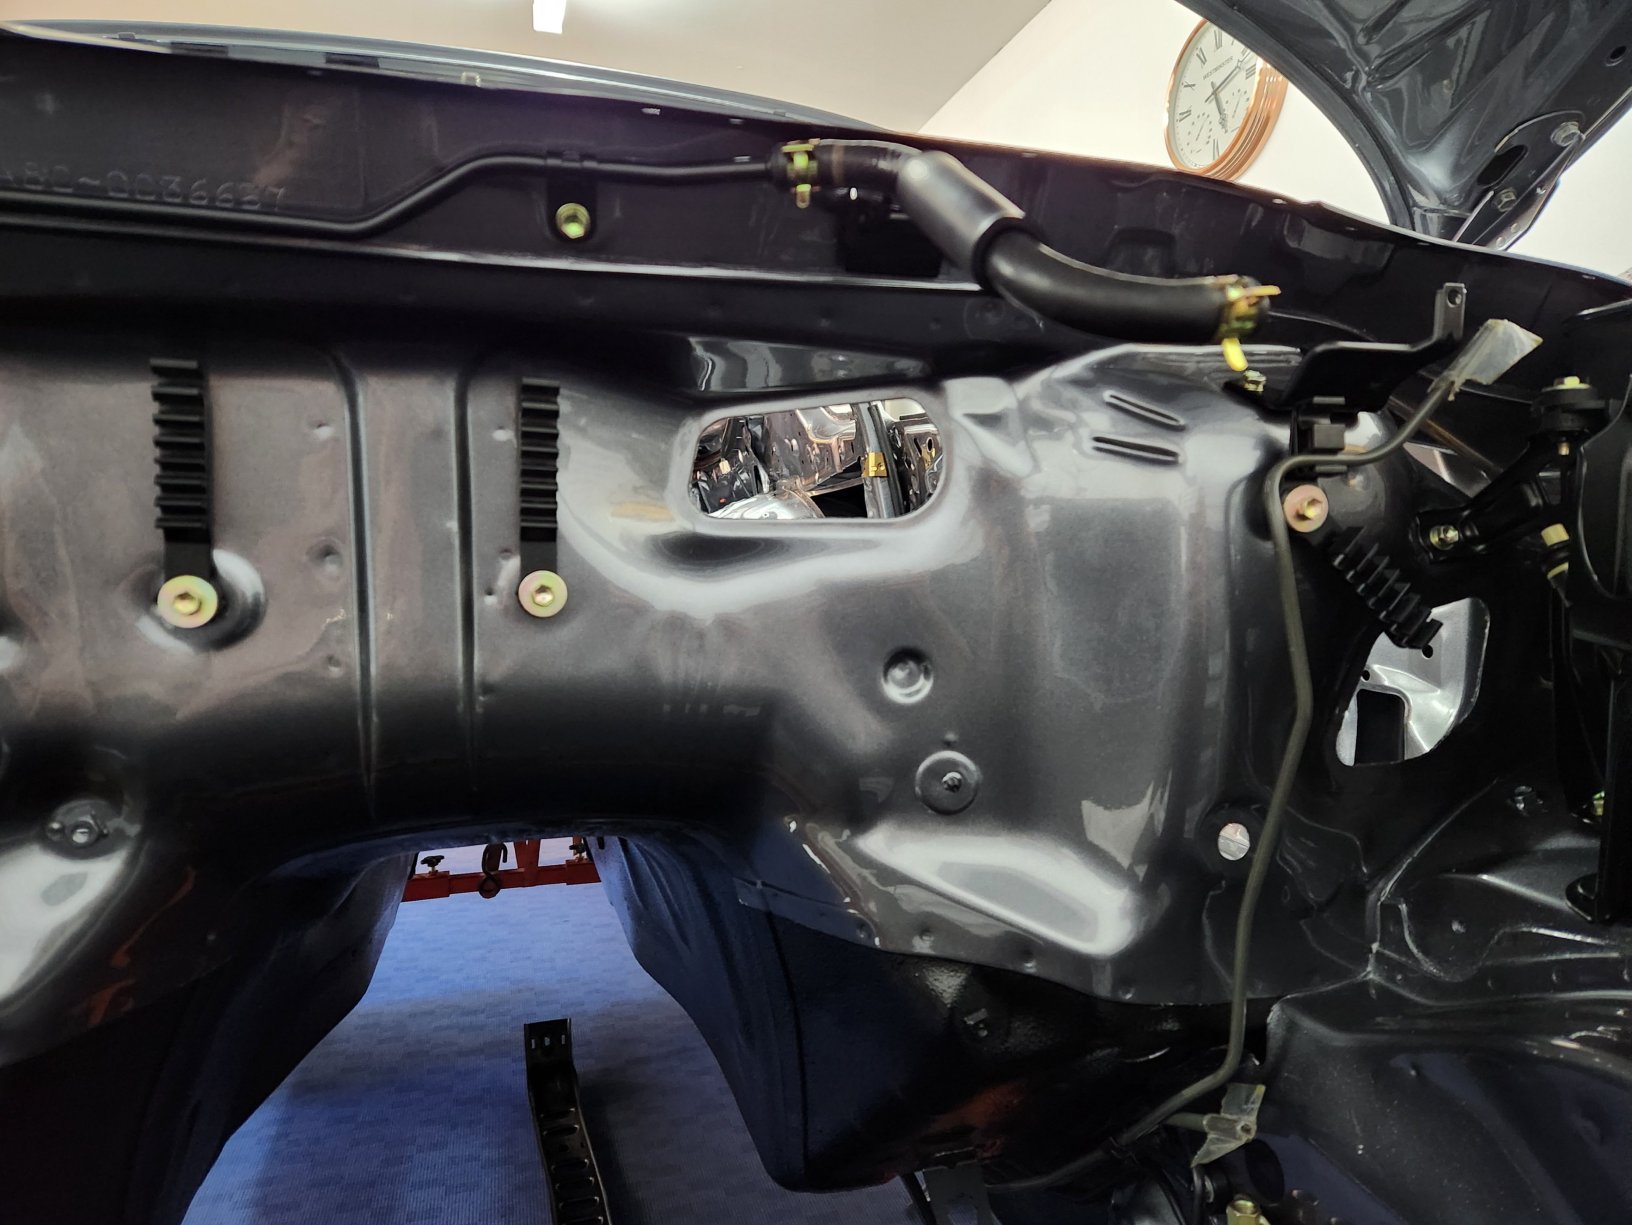
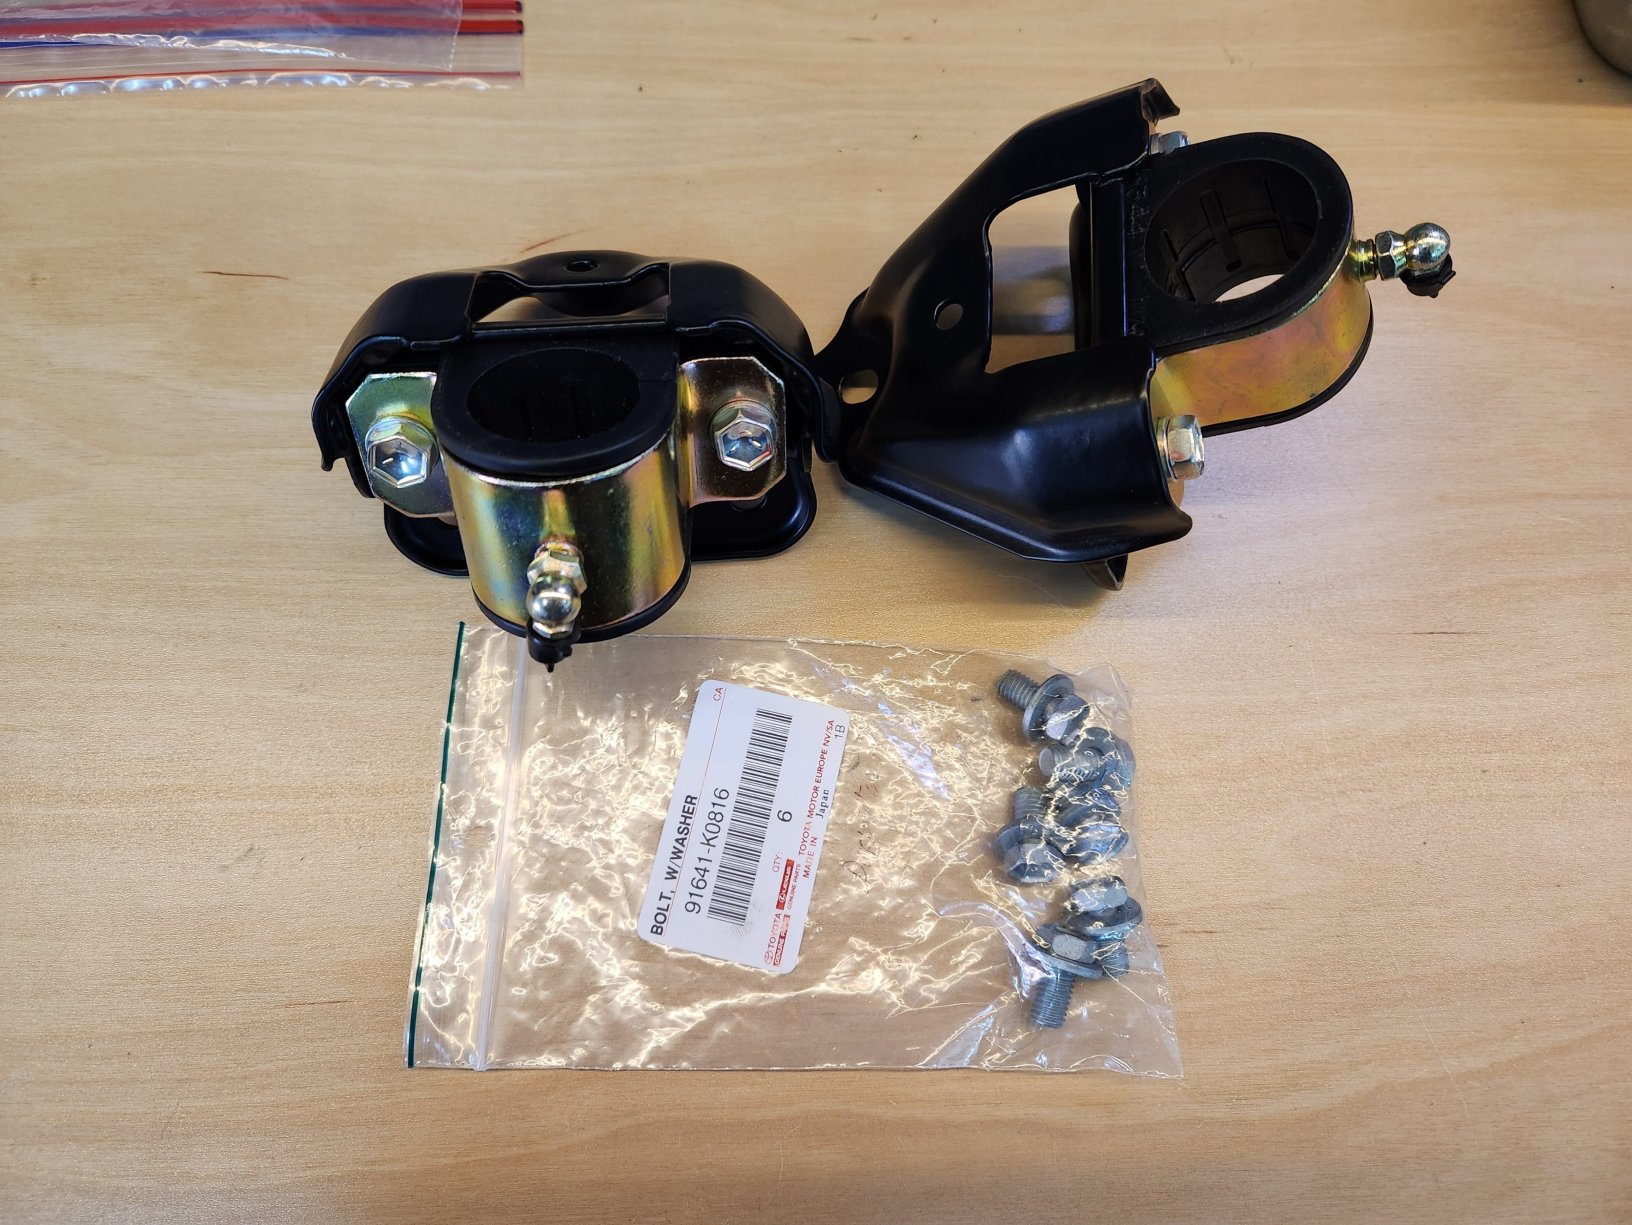
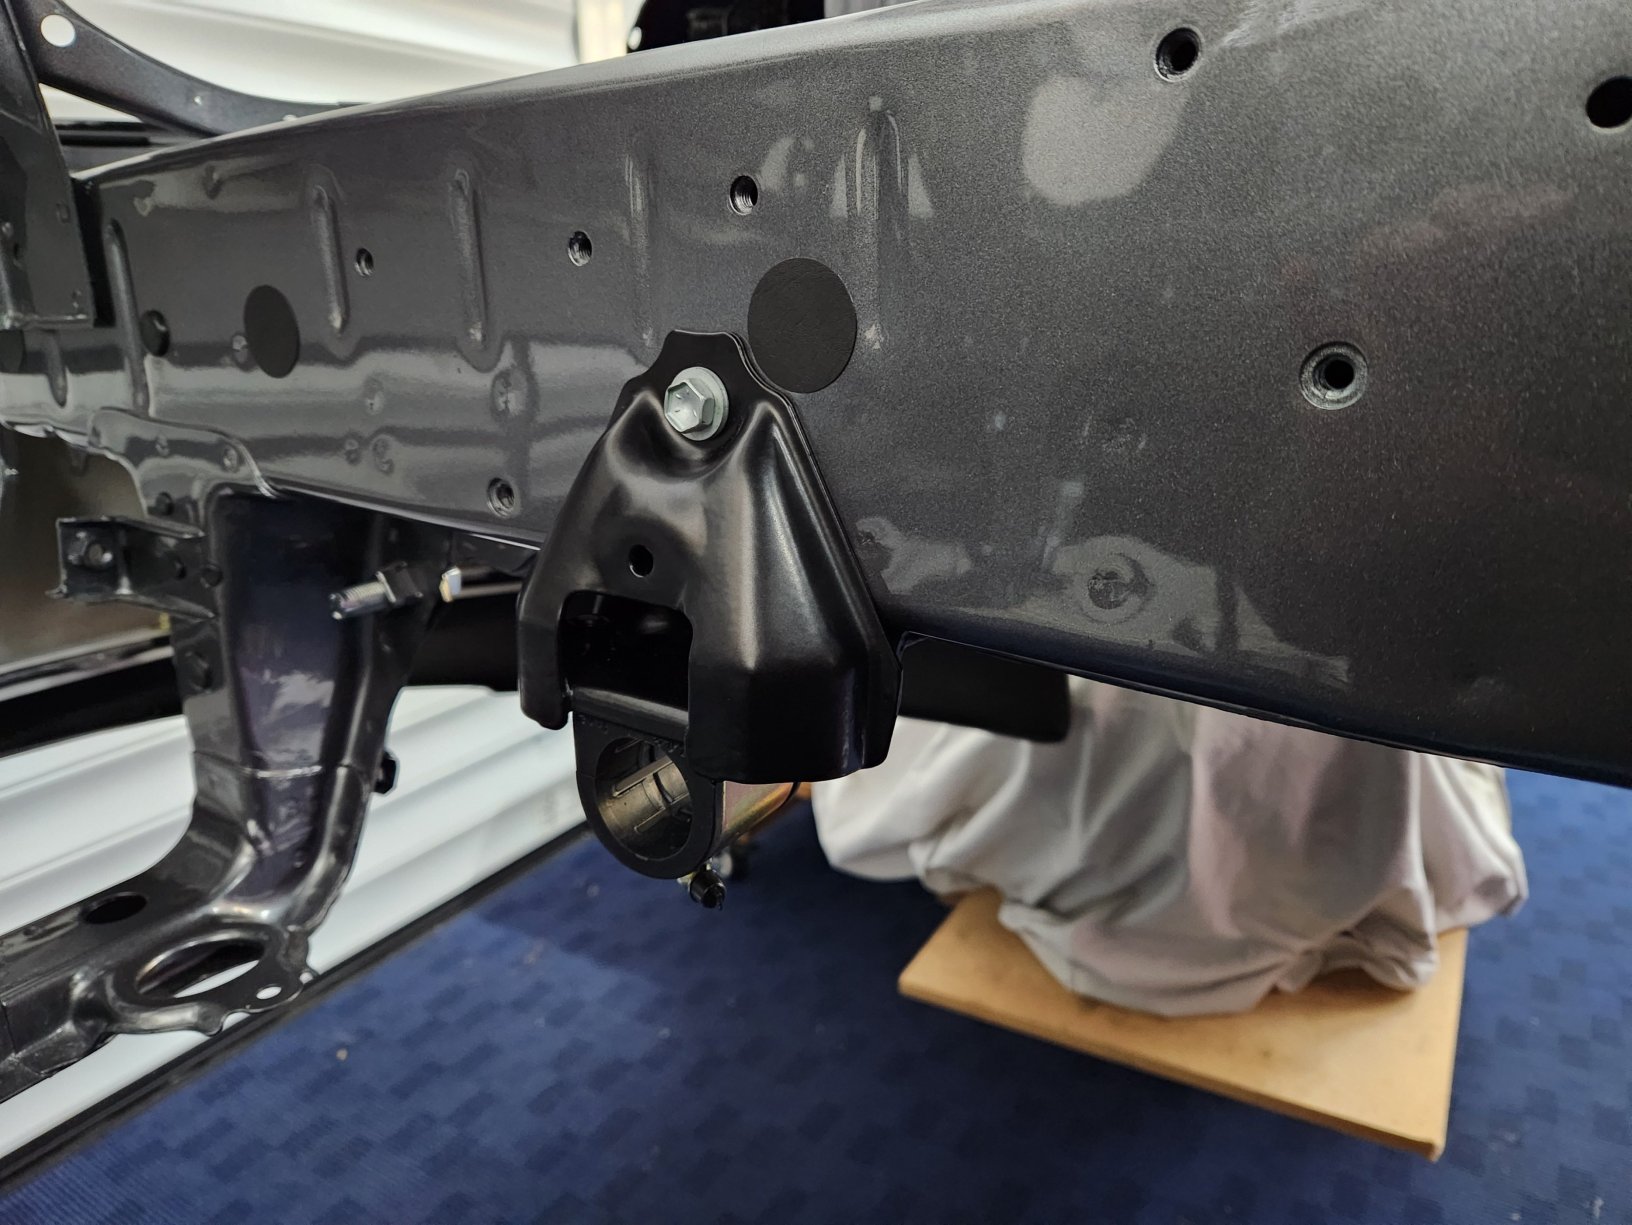
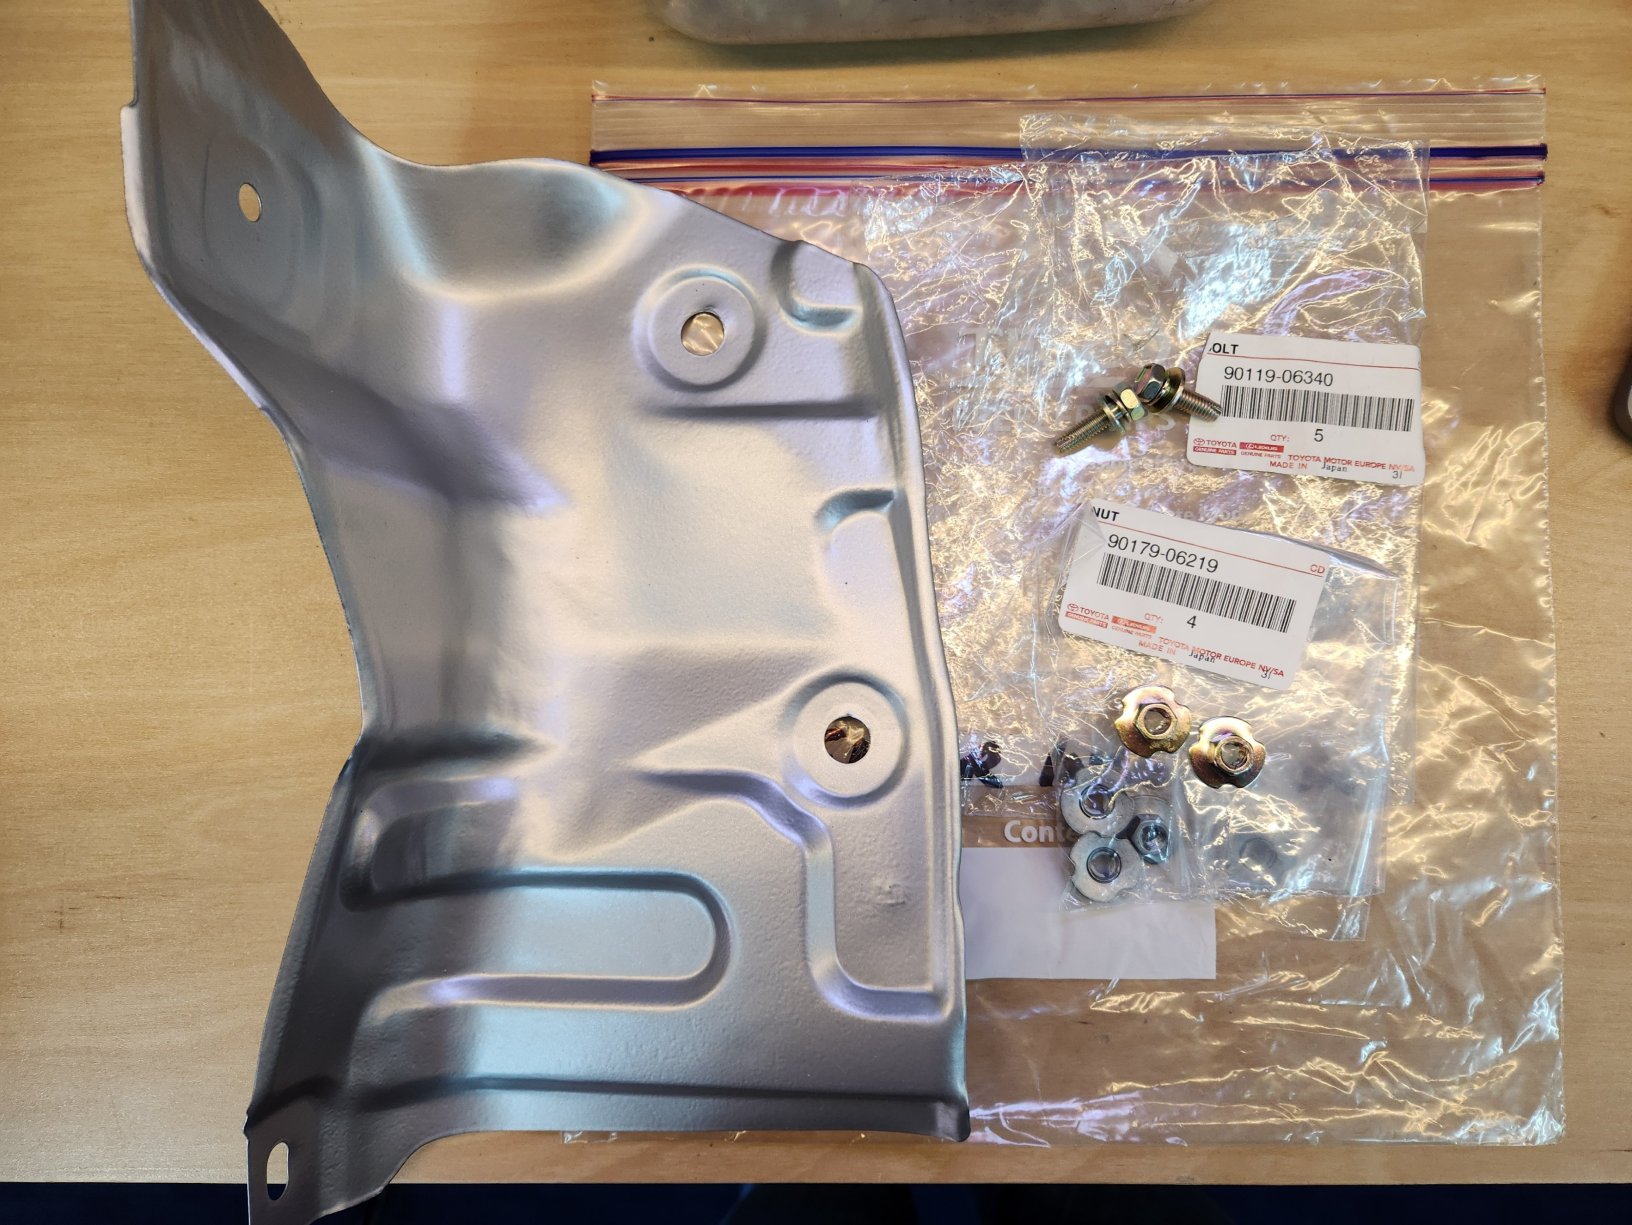
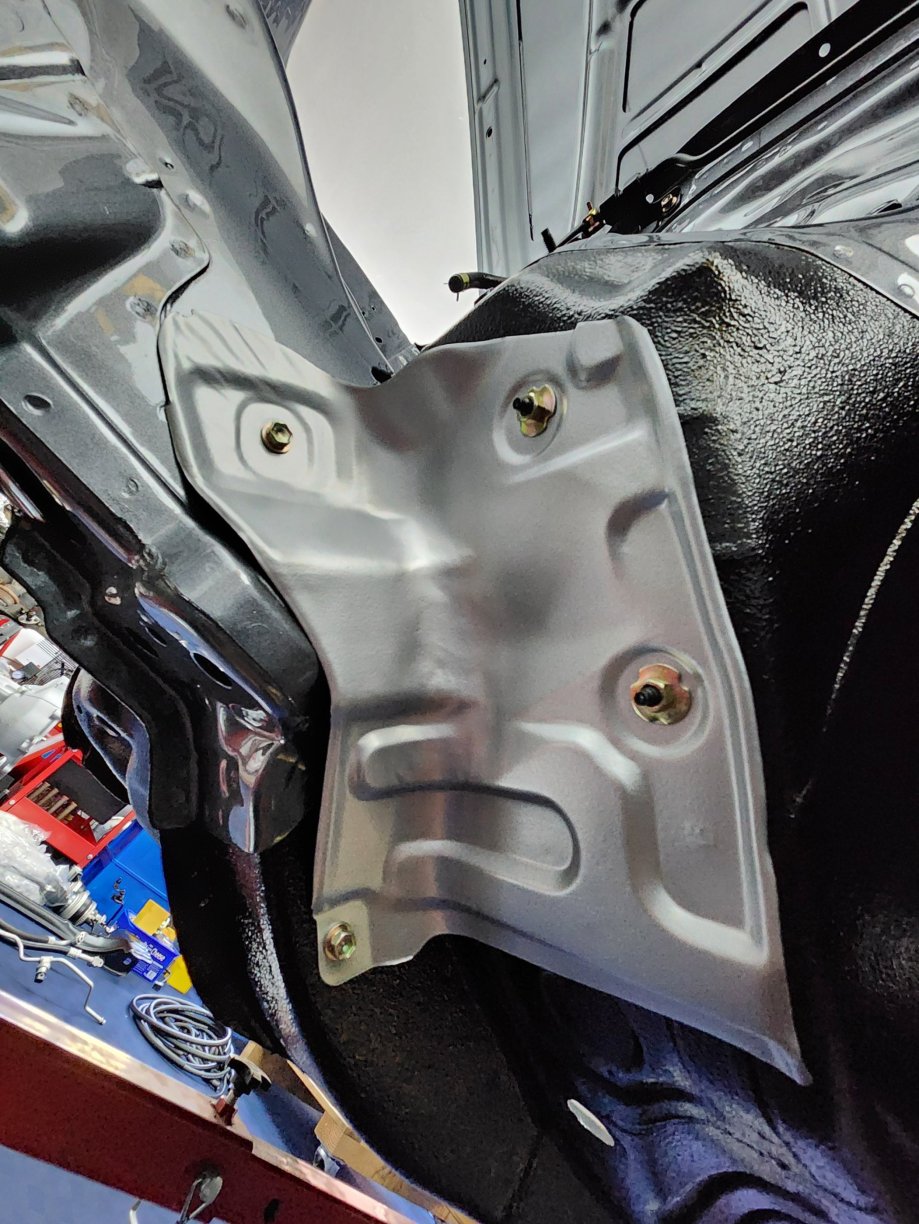
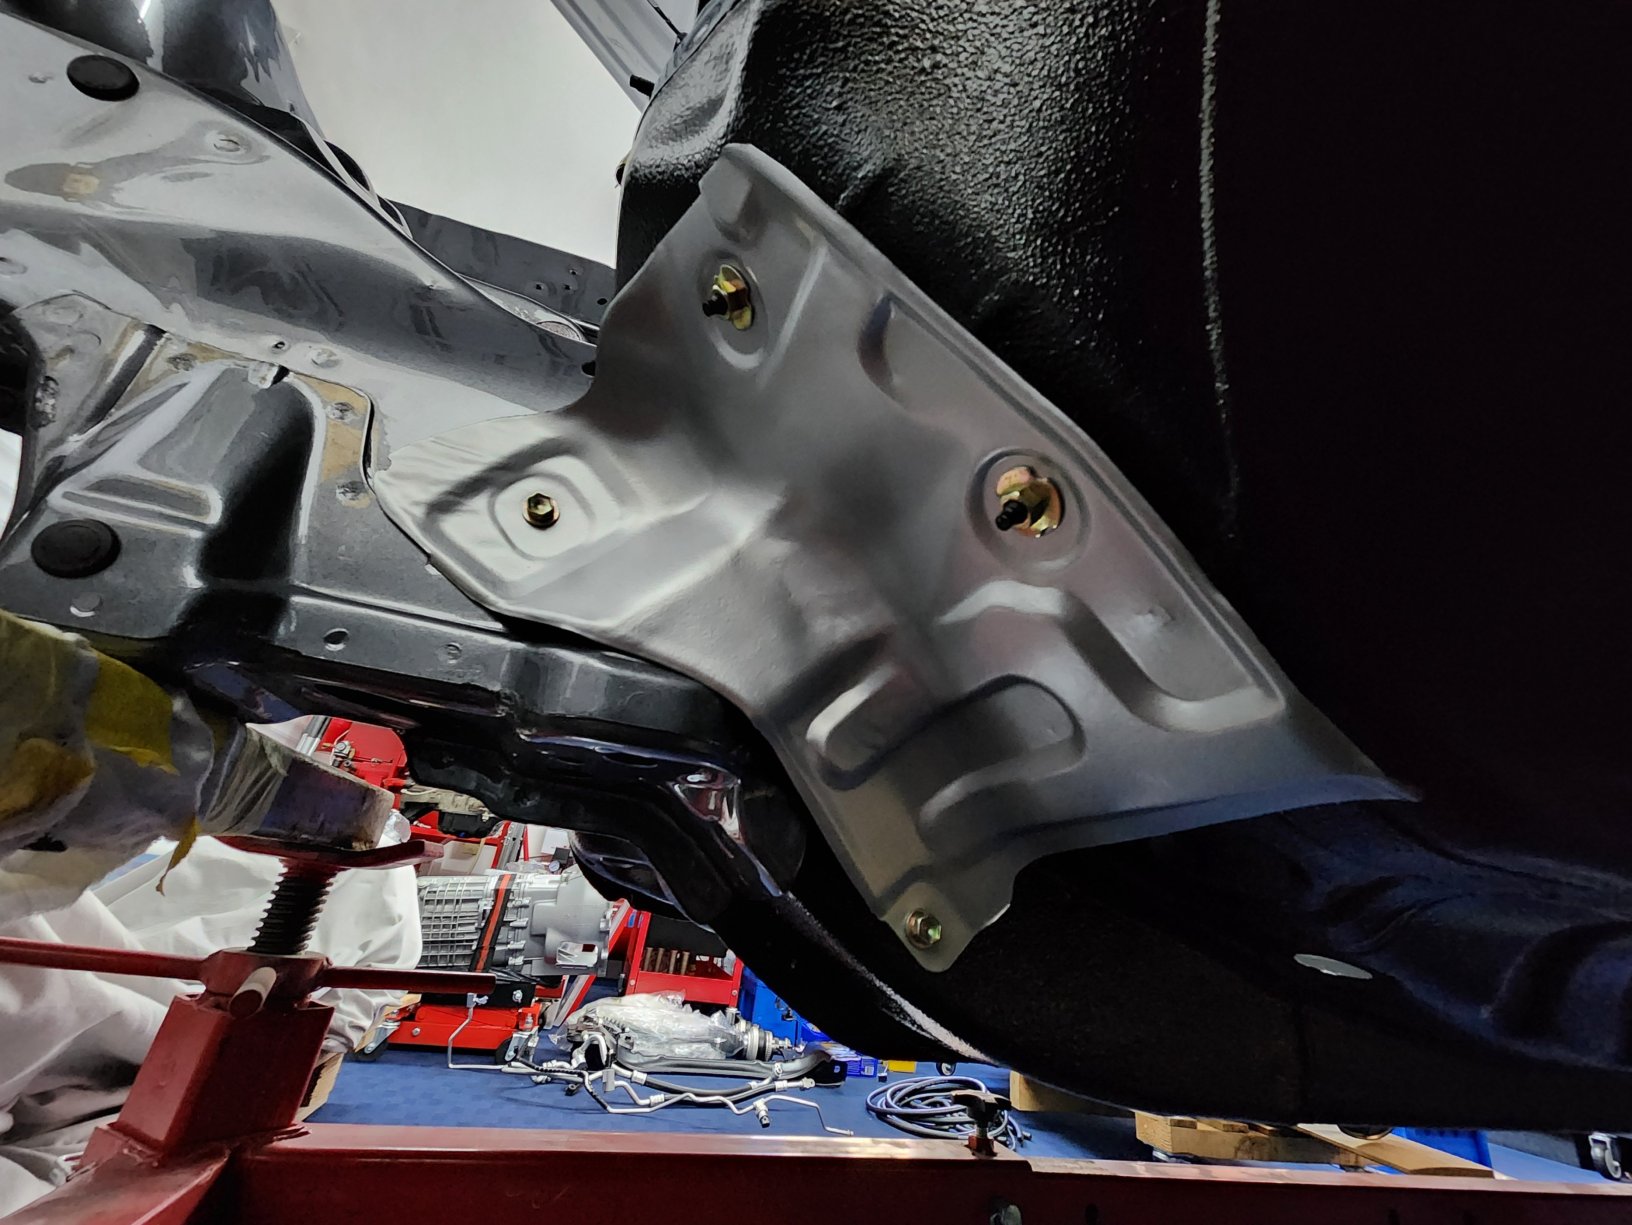
I've now finished running the fuel and brake lines under the car. I have a twin brake line setup as although the car is a facelift body, it has the non-VVTi engine, so still retains the earlier brake setup. At the front of the car there is a connector block for the brake lines to connect to and a bracket that holds the fuel lines. I do have a new brake pipe connector, but I chose to reuse my old zinc plated one. Once the pipes and brackets were all secure I refitted the pipe covers. I found out that my front one is broken at the tip, so I will need to replace this. I then installed the new bulkhead brackets so that I can start reinstalling the pipework along the bulkhead. This also allowed me to secure the fuel tank breather hose that was still flapping around in the engine bay. I reused the original zinc plated bolts here instead of the new ones I bought. I then decided to install the anti-roll brackets. These were torqued to 18Nm as per the manual. The brackets are original and have been powdercoated. Bolts are new. I have Titan anti-roll bars, so that is why the lower brackets look different. These are new lower brackets and bushings from Titan. I then installed the front heat shield. This is original and powdercoated and the bolts and nuts are all original and zinc plated.


-
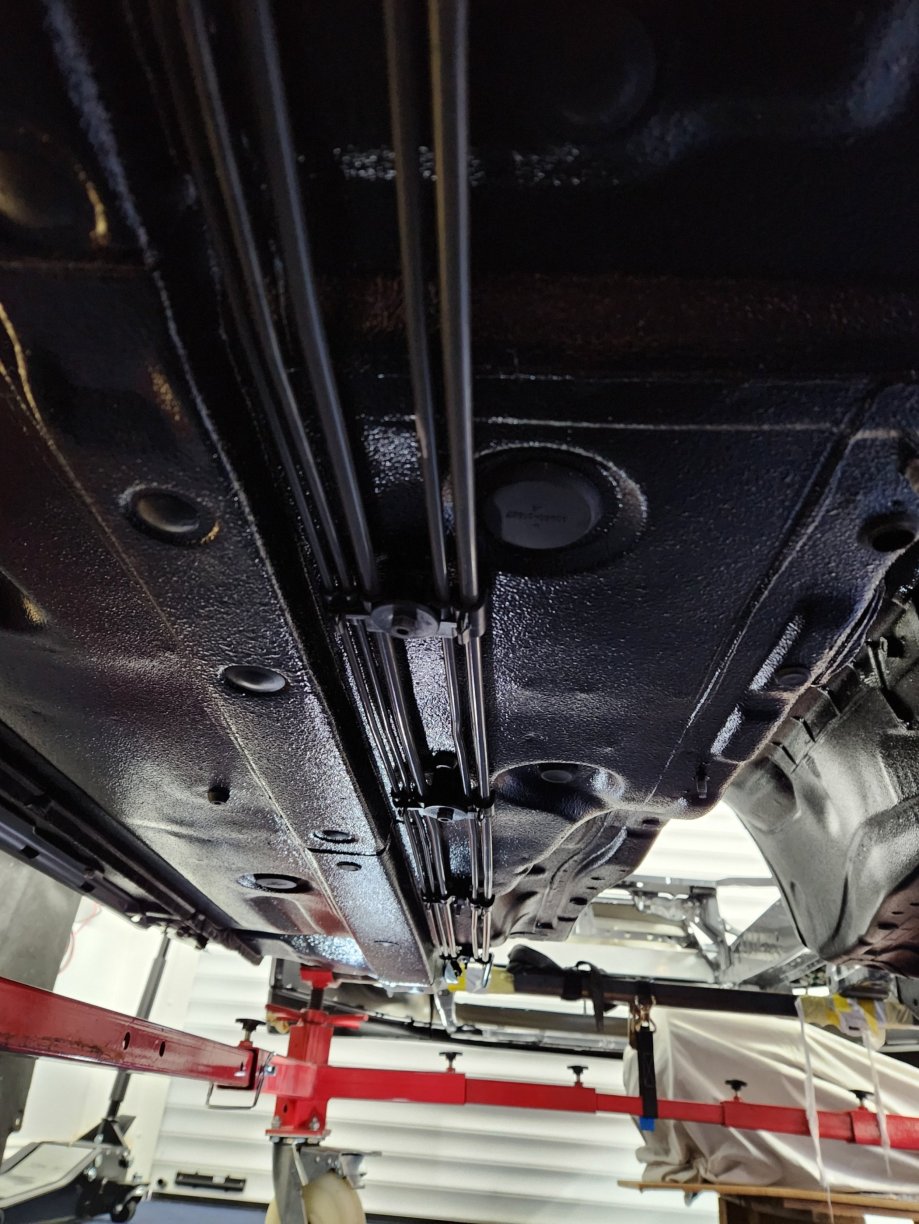
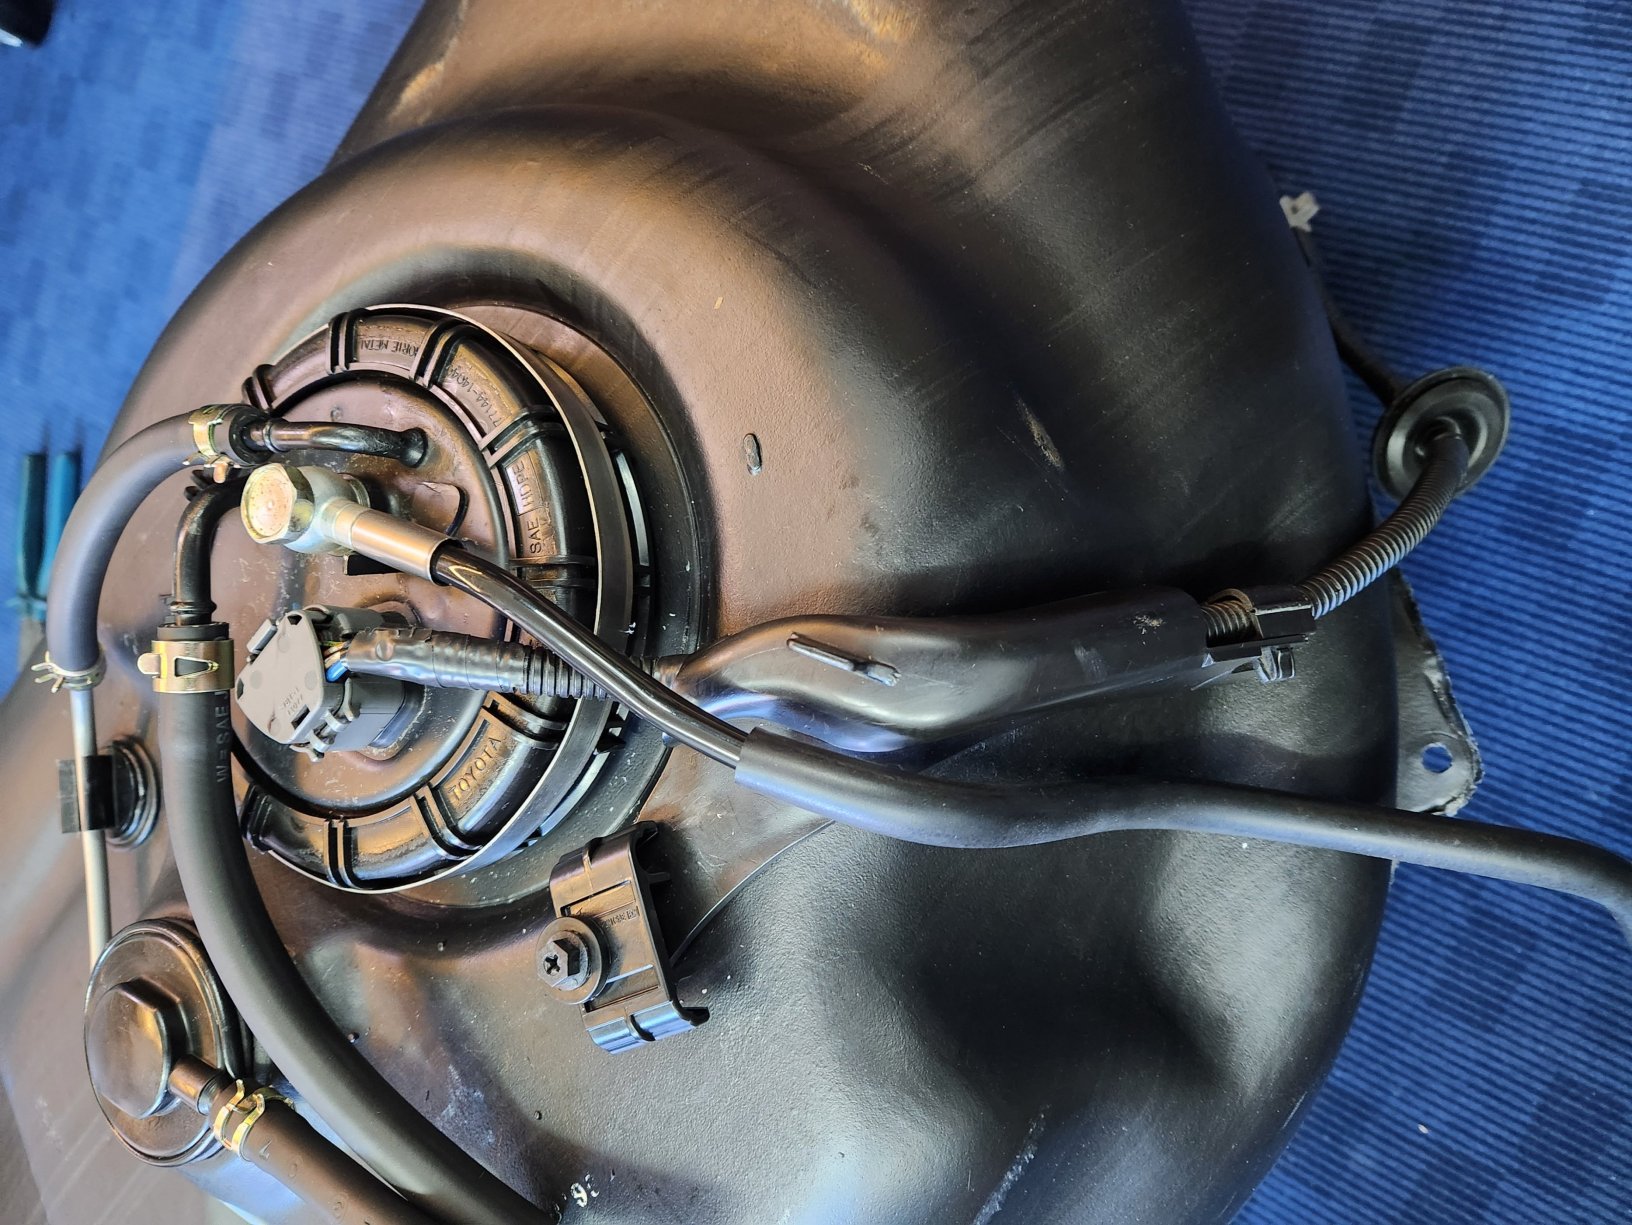
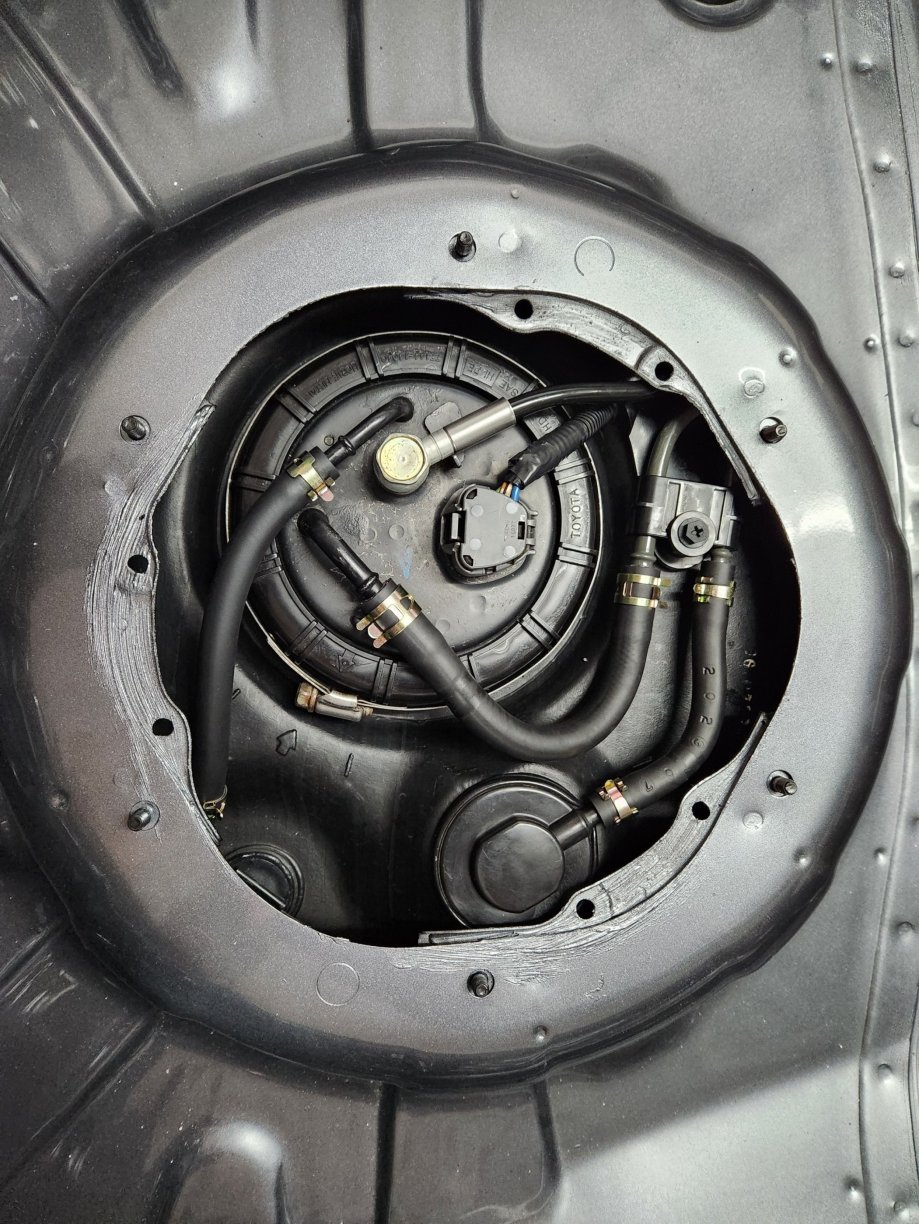
Thanks for the tip I had to drop the whole fuel tank and start again as I forgot to install the fuel pump loom - doh! I can't believe I didn't do it on first install, but there we go. For anyone else's reference this is how the pipes and loom go.
-
Might be worth speaking with an ECU repair service to see if they can help. Quick internet search shows these: https://bluehawkelectronics.co.uk/services/ https://www.autotronics.co.uk/repair/services/ecu-repair https://www.ecutesting.com/about-us/